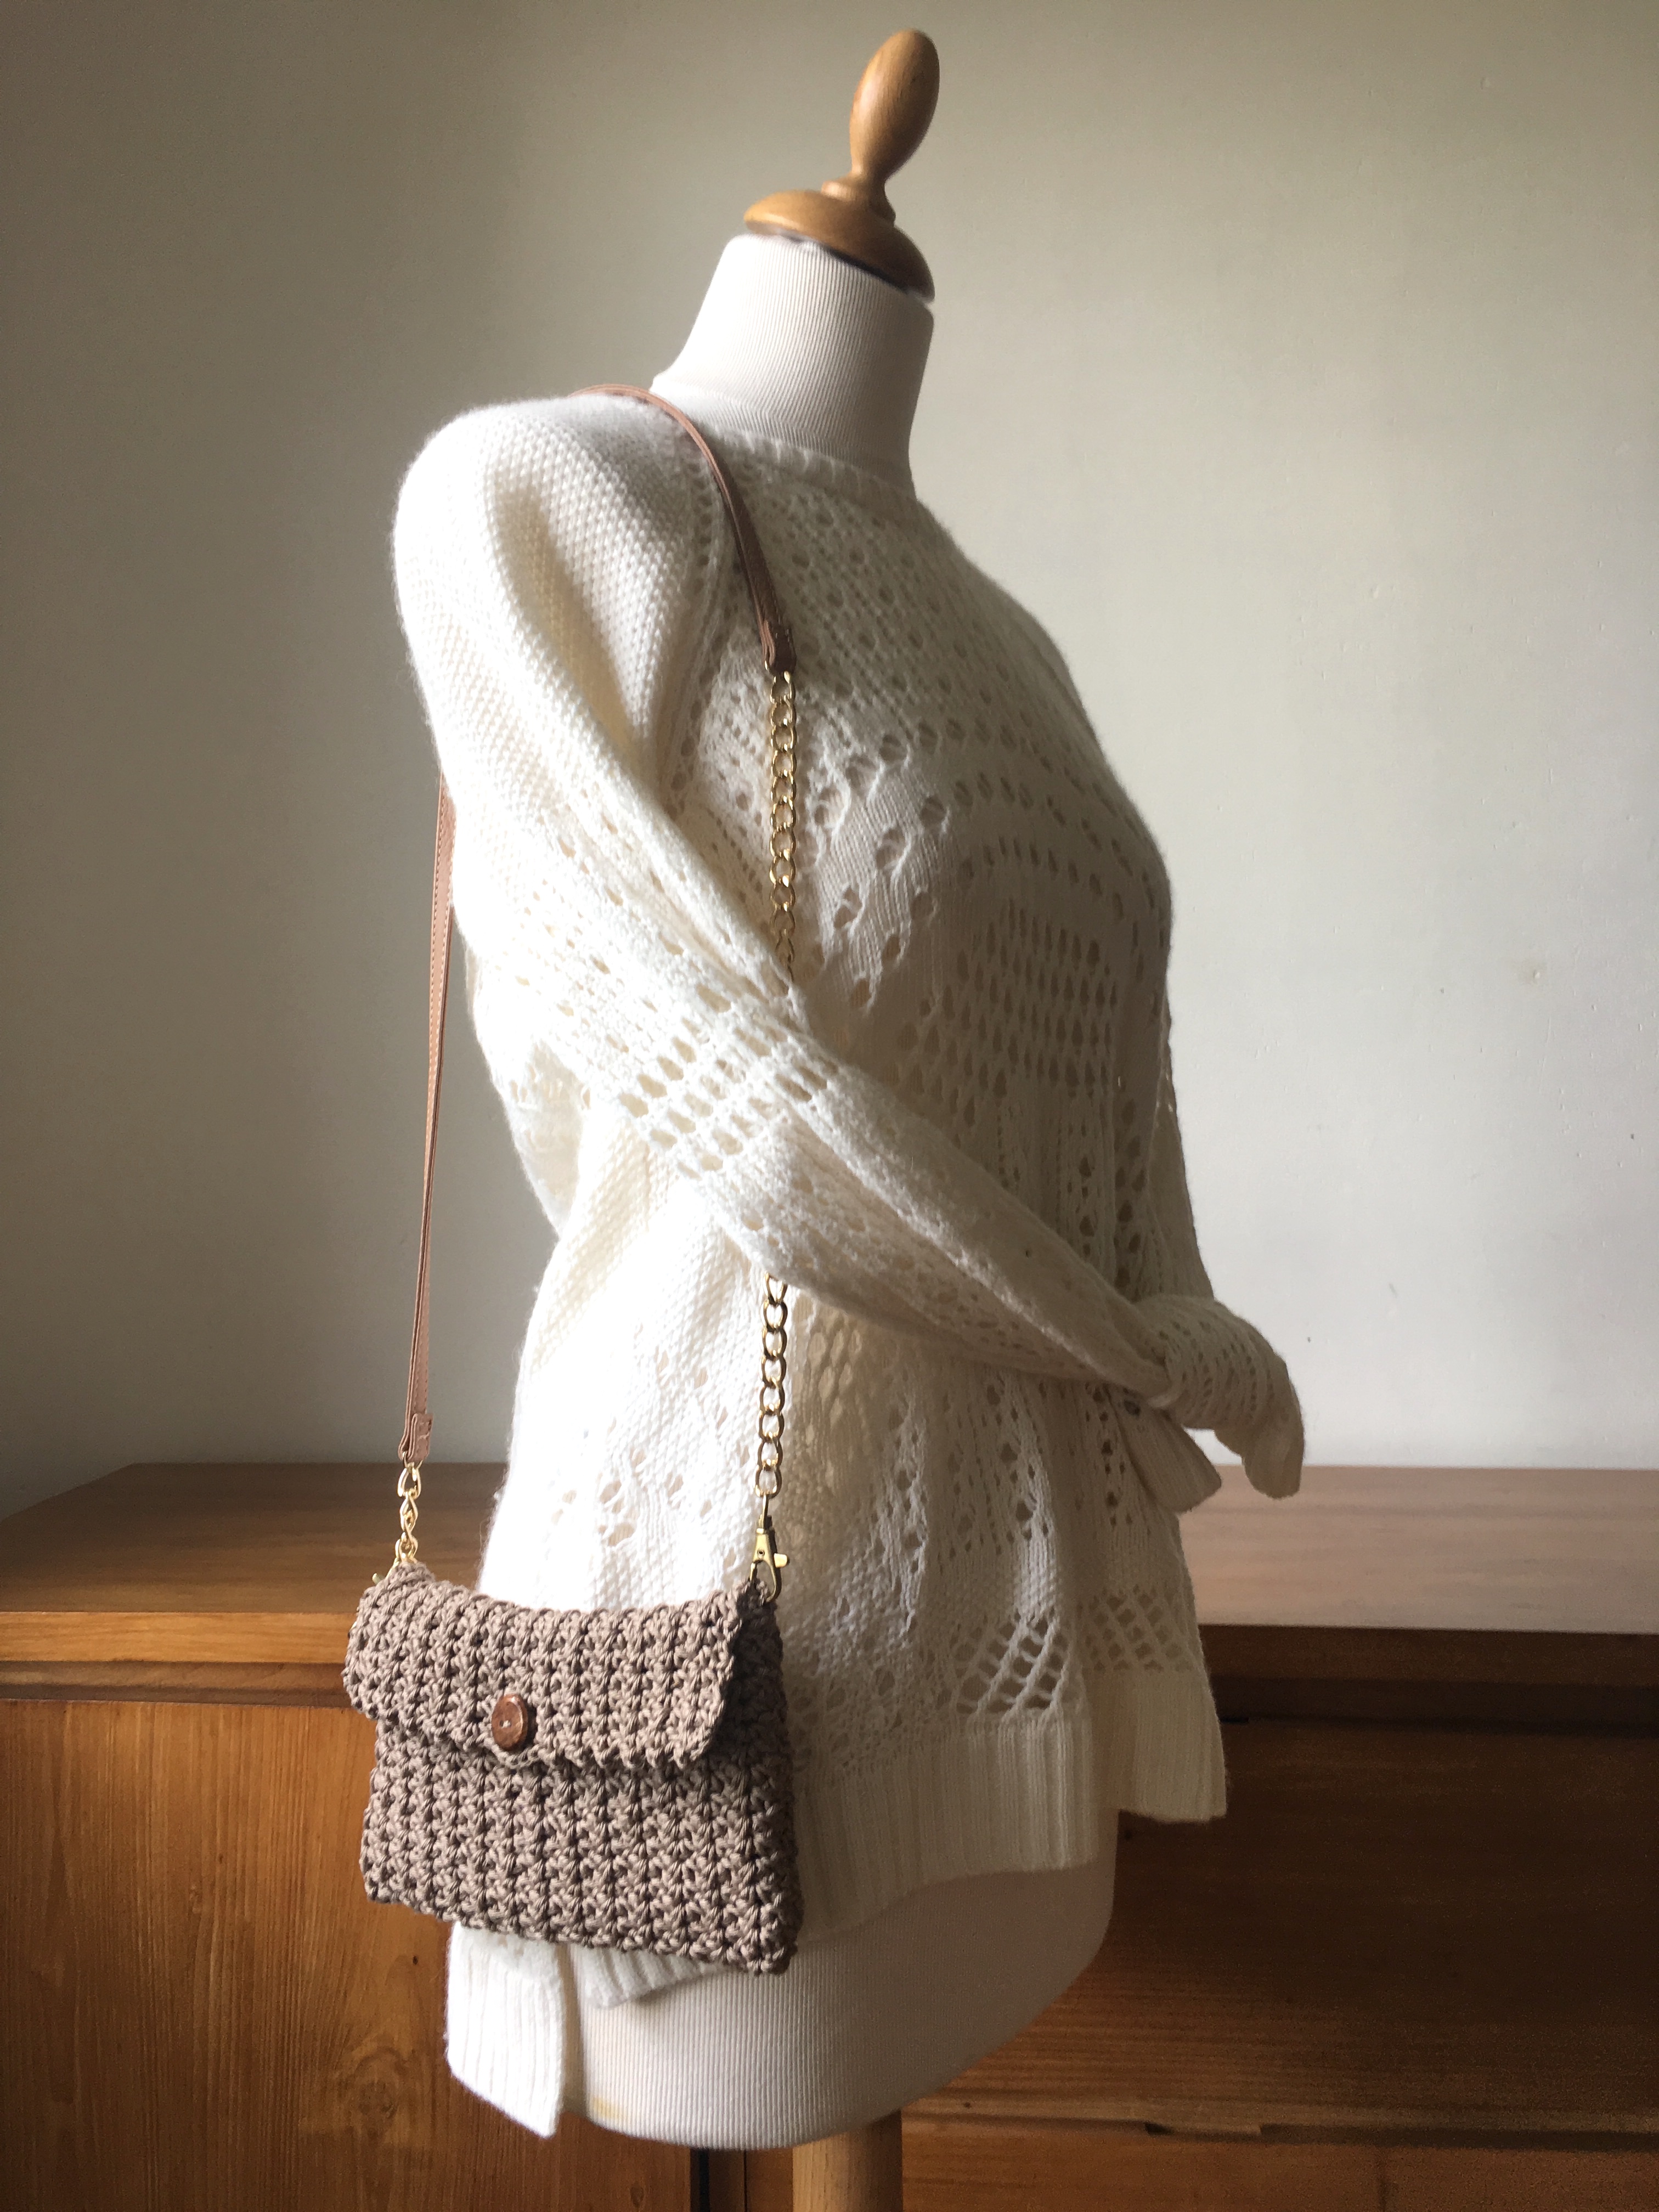
Here are the instructions to make this classy, chic purse! It’s made in 100% cotton yarn. Isn’t it beautiful and classic? I think it is. But give it another color, say something bright and flashy, and you’ll get such a modern looking clutch bag!
>>> FR : Cliquez ici pour aller au tutoriel en français <<<
Difficulty level:
Making this bag is very easy and accessible to a beginner level. You must be able to do chains, single crochet, half double crochet and slip stitch. Everything is written in US crochet terminology.
Supplies:
- Cotton yarn: you will need about 75 grams, 130 meters. A rather thick cotton, DK-weight. Mine is from Phildar, Coton 4, color « chanvre », I buy it in France.
- 4 mm hook / US G-hook
- Scissors, yarn needle, sewing needle and a button.
- One stitch marker.
- A strap from an old bag or a strap you buy. You may also crochet the strap to the lenght you wish (instructions are at the bottom of this page).
Size of bag:
20 cm = 8 inches wide
12 cm = 4 3/4 inches high (once sewn and closed).
Gauge:
Gauge is not really important, you should refer to the measurments. If the beginning chain of 44 stitches doesn’t reach 20 cm, or if you want a larger bag, or if you use a thiner yarn, then you can add chains : try to chain 50, and if not enough, 56. In any case your starting chain must be a multiple of 6, + 2.
Abbreviations:
CH: chain
SC: single crochet
HDC: half double crochet
Instructions:
With 4mm (G) hook : Chain 44.
Row 1 :
SC in 3rd chain from the hook.

Chain 2, SC in next stitch.

* Skip 1 stitch, SC, CH 2, SC in next stitch * Repeat until there is only 1 chain left.

In this last chain, do 1 HDC:


Row 2 :
Chain 2, turn.

In each chain 2 space, make : 1 SC, CH 2, 1 SC.
At the end of the row, work one HDC in the top turning chain of previous row.

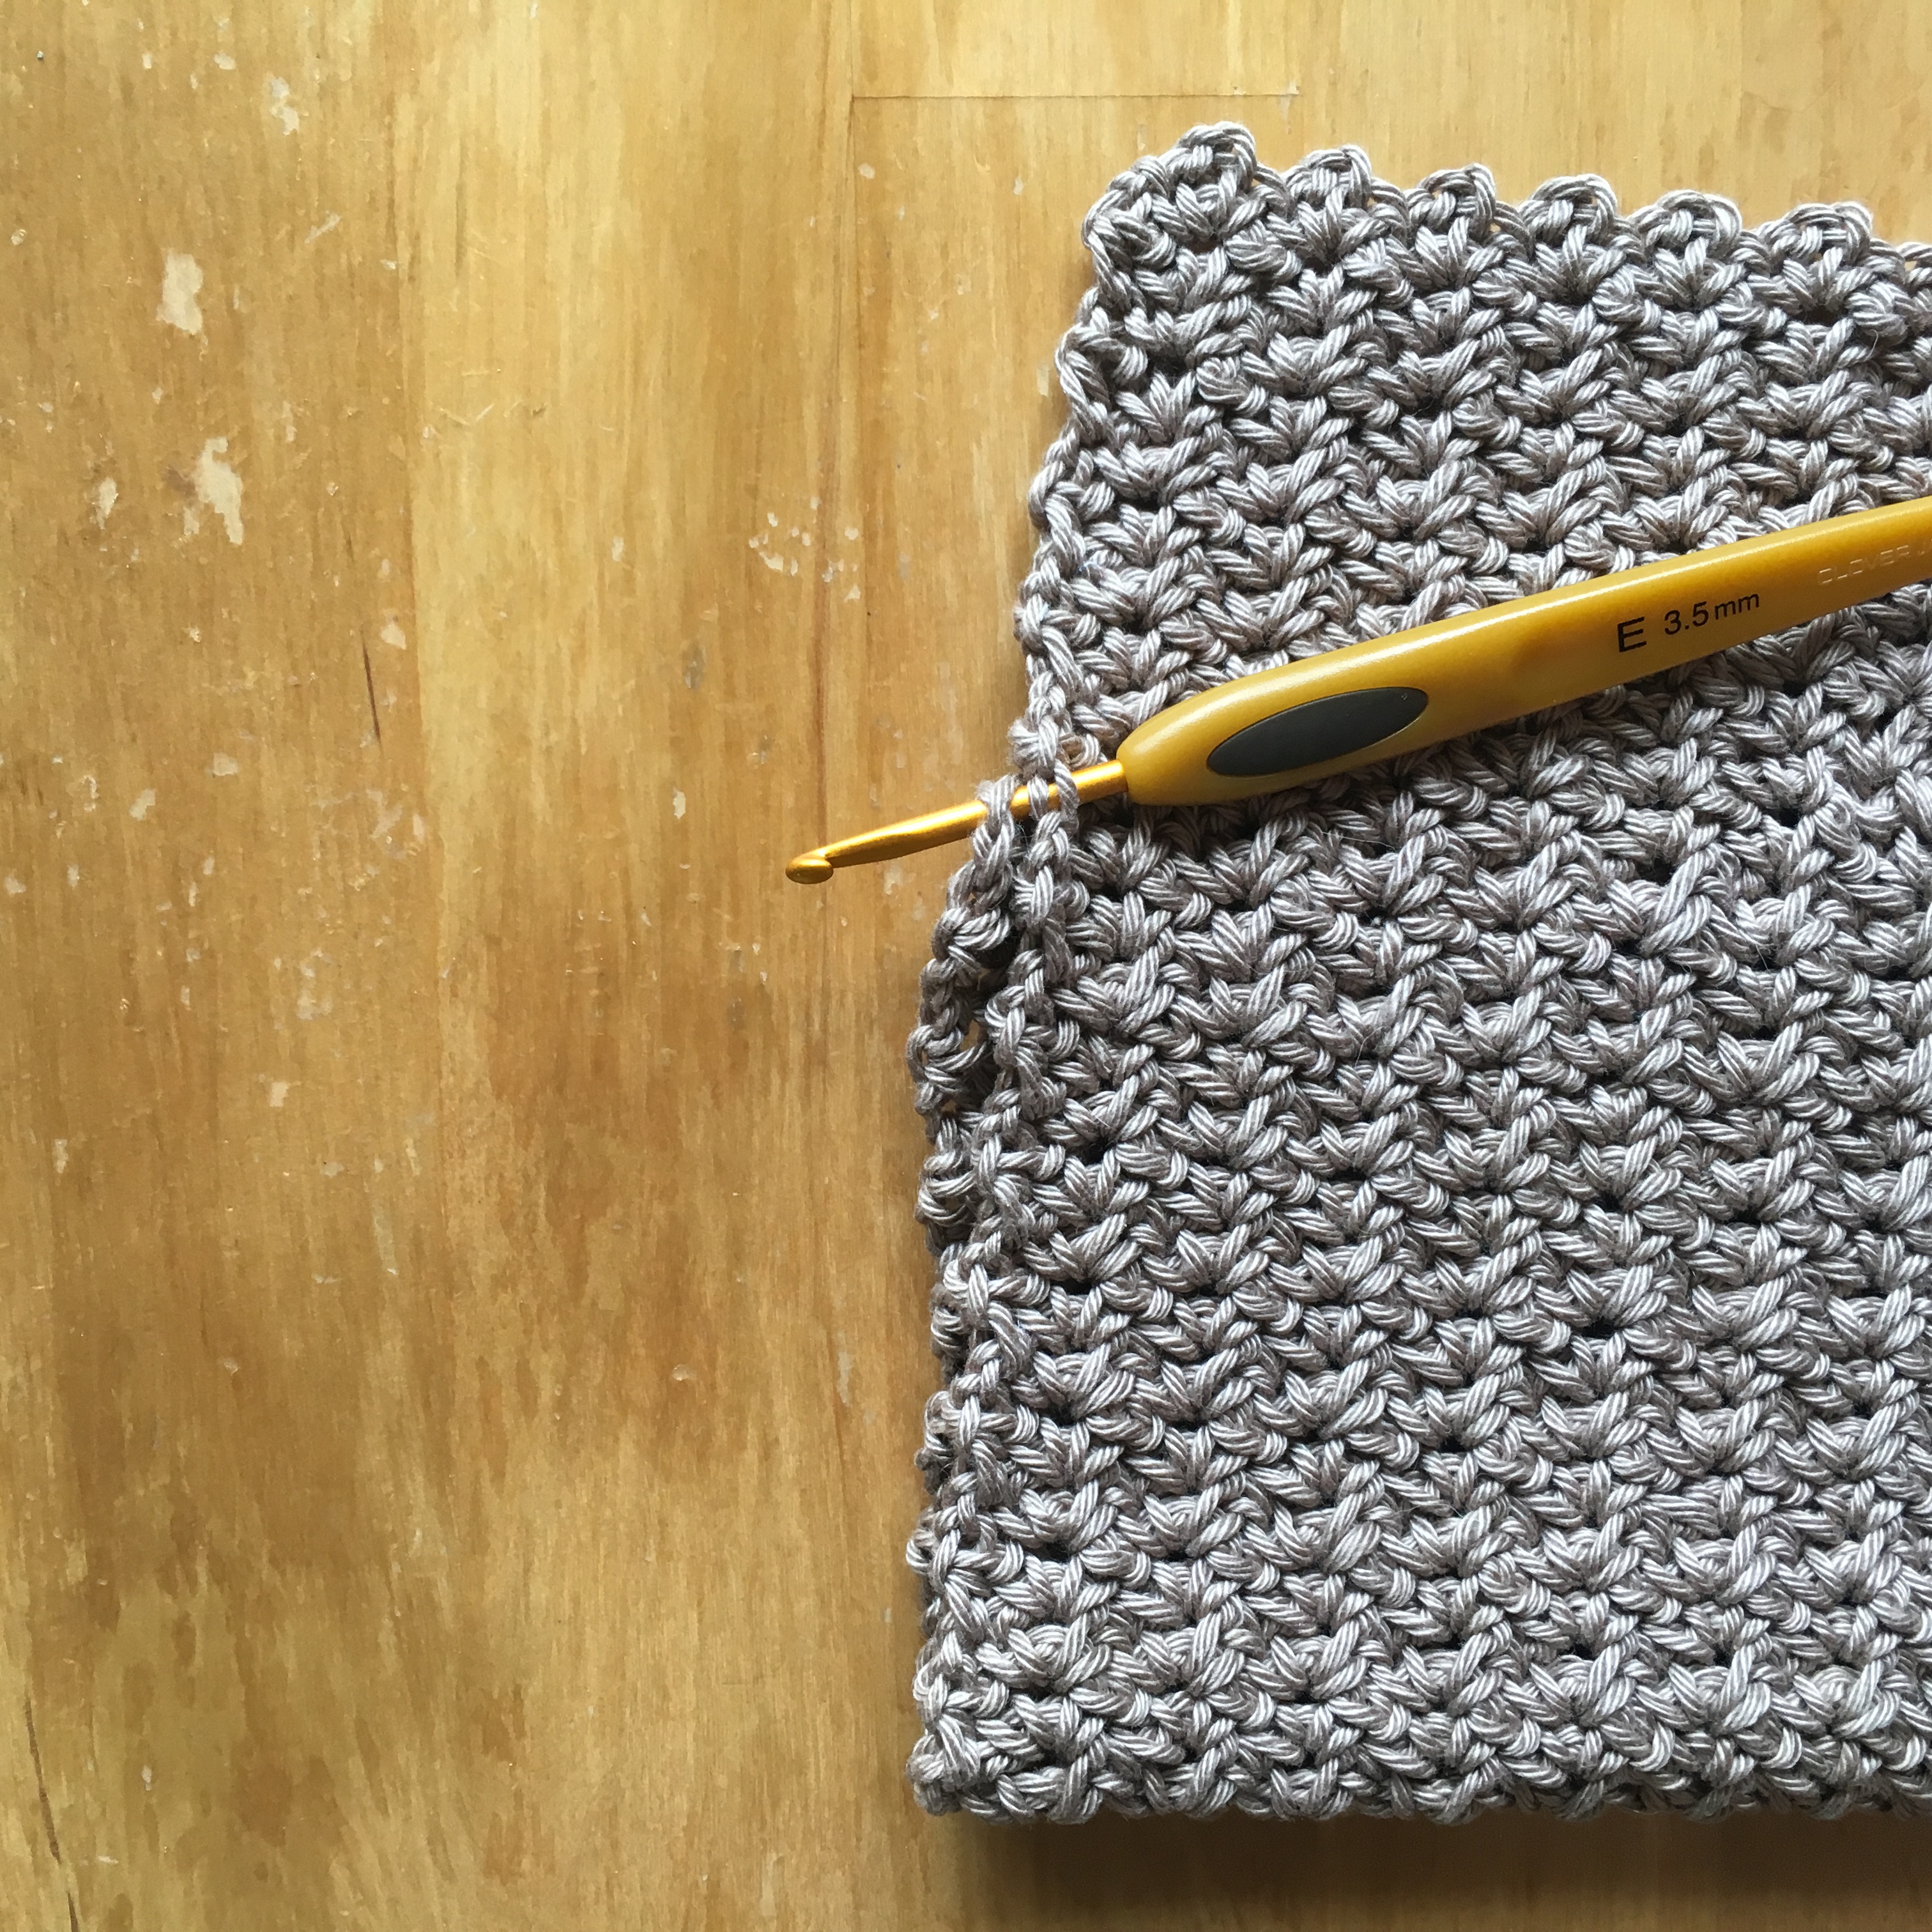
Let’s check:
It’s time to check that:
- Your work is about 8 inches wide / 20 cm wide.
- You do have 14 chain-2 spaces in each row if you follow my gauge. If you don’t for any reason, keep in mind that you must work with an even number of chain-2 spaces.
Row 3 and following:
All rows are identical to row 2.
Keep crocheting until your work is 11 inches long.

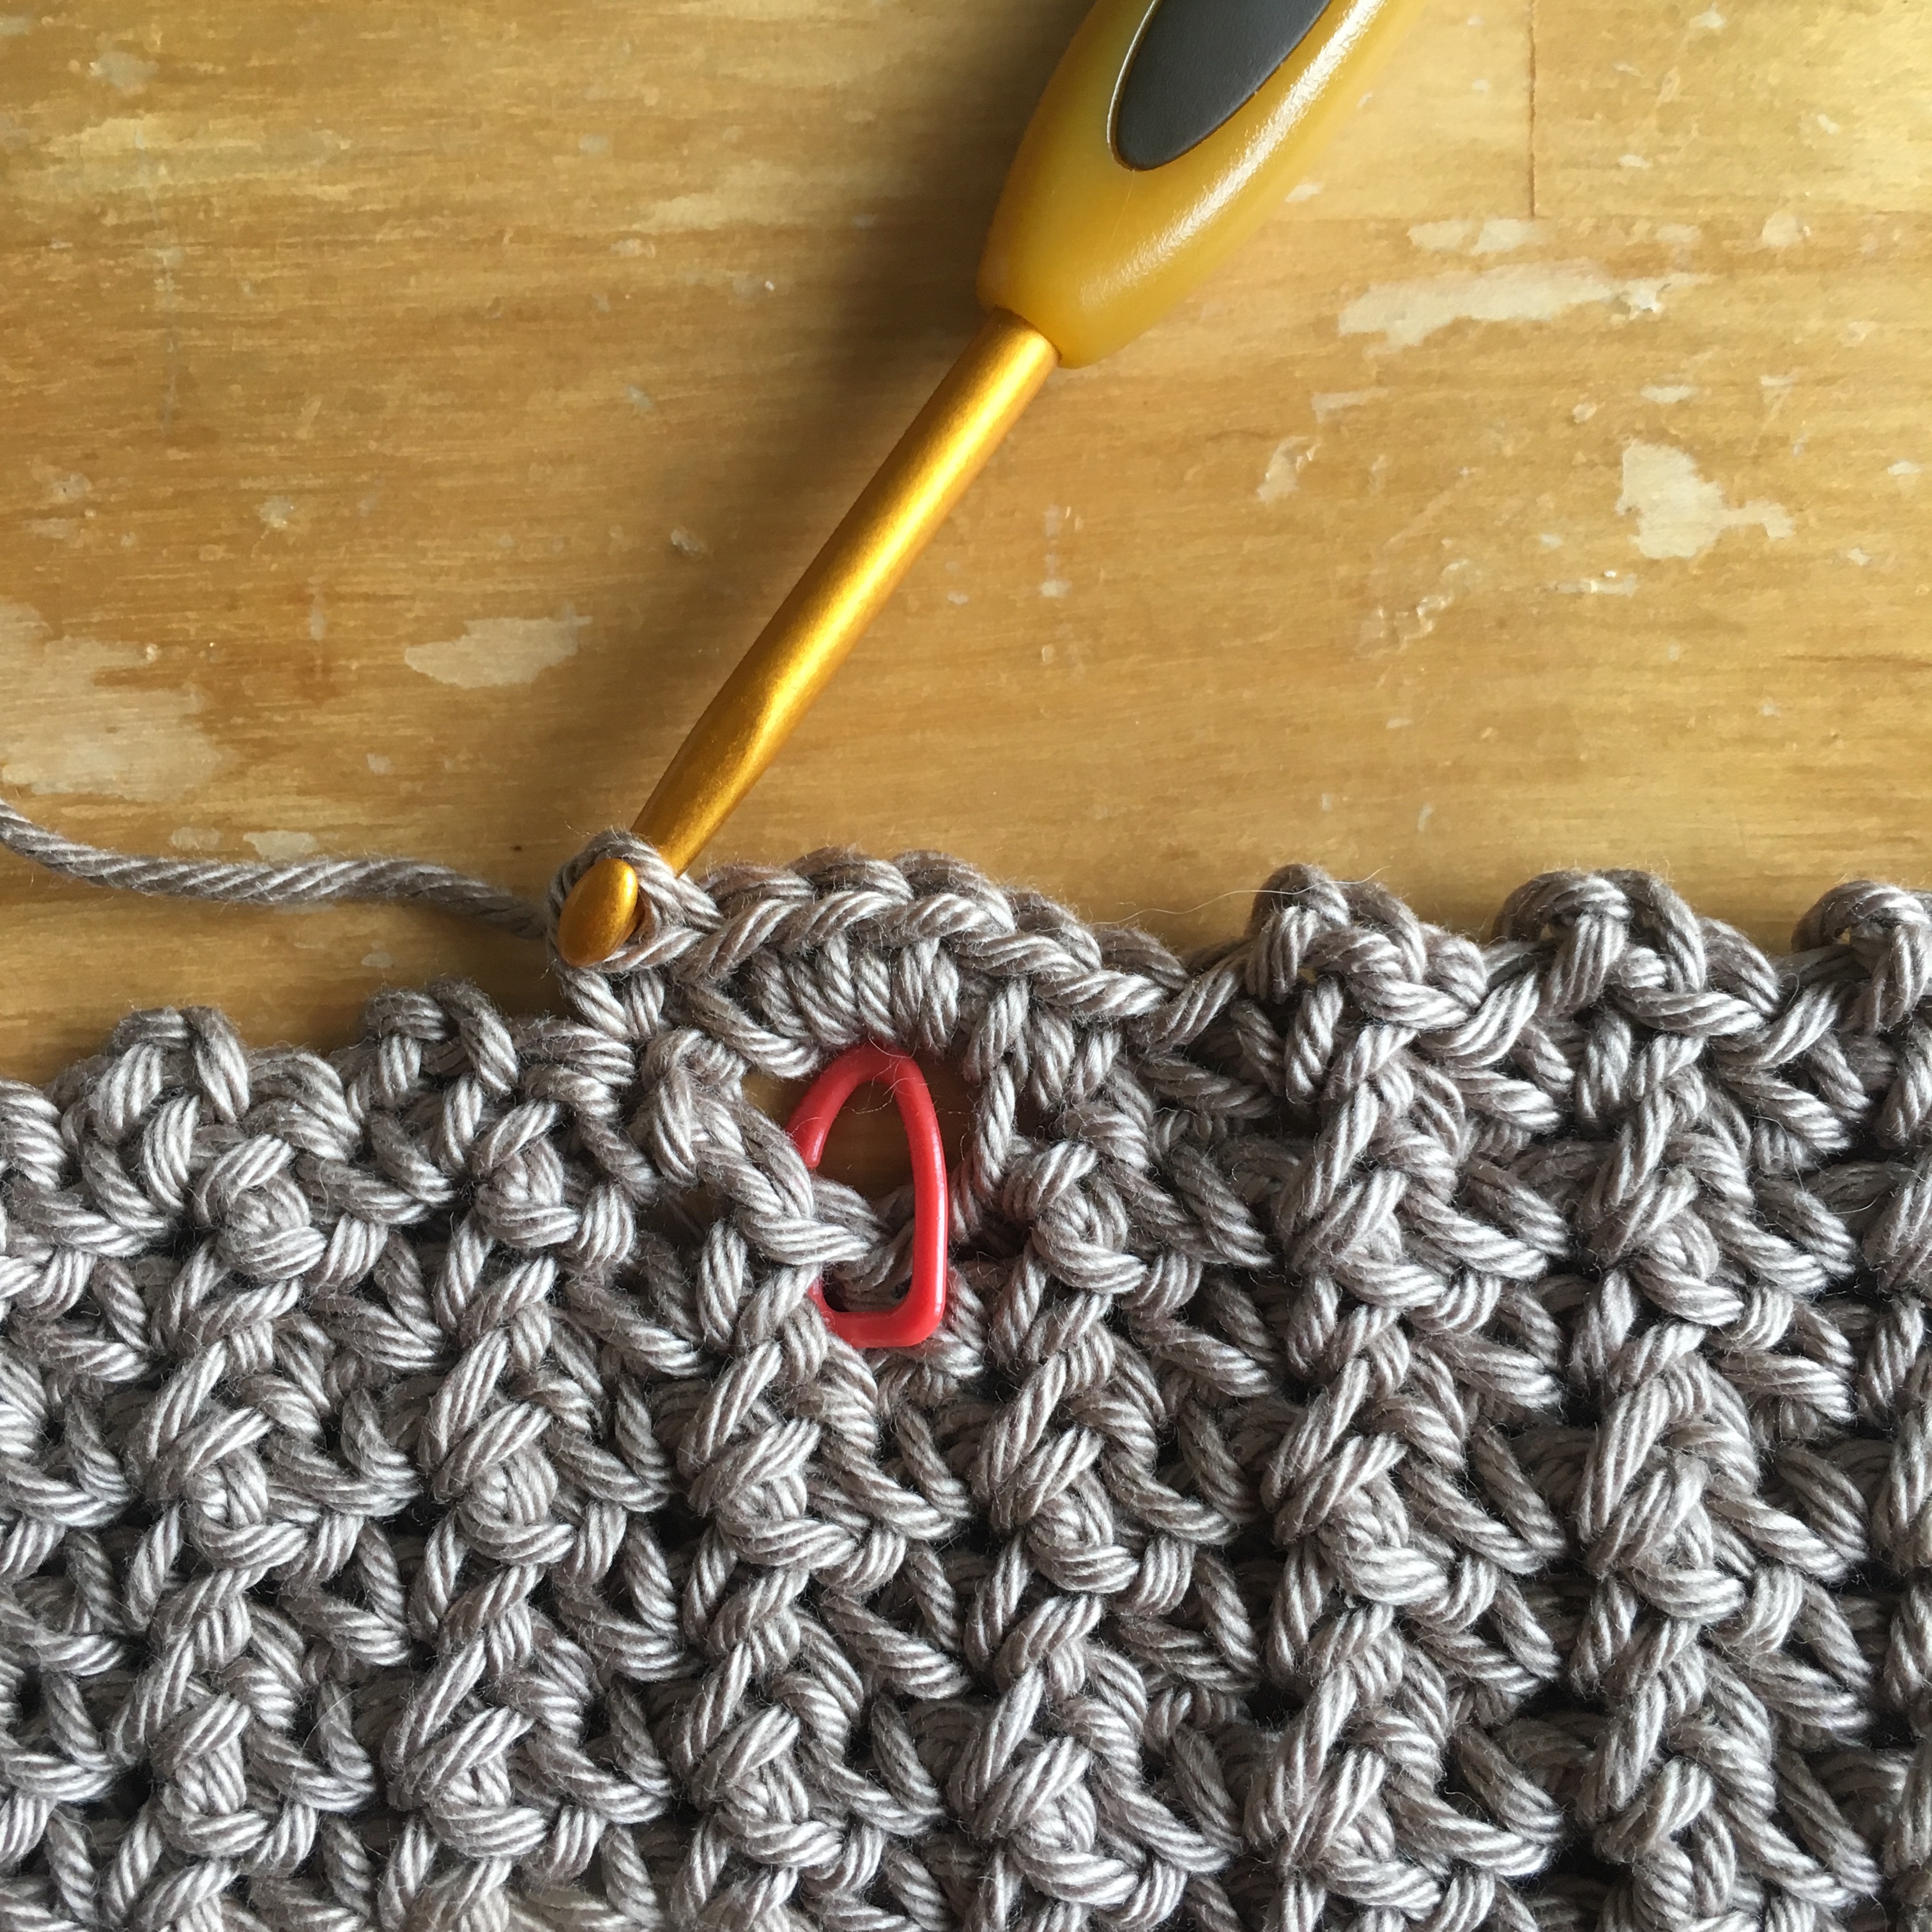
Before last row:
First, place the stitch marker in the middle of the last row : it should be between the 7th and 8th hoop if you follow my gauge.
Begin this row as all previous ones.
In the 7th hoop (7th chain-2 space), just before the stitch marker : work only one SC.
Chain 4.

In next chain-2 space, work only one SC.

Then inserting crochet into next chain-2 space (see next picture), end the row like all previous ones. (SC, chain 2, SC in each space, HDC at the end of row, chain 2, turn).

Last row:
Start as usual: work *SC, chain 2, SC* in the first 6 chain-2 spaces.
Before reaching the stitch marker, you will encounter a single standing SC : simply work a SC on top of it.

In the chain-4 space, work 4 SC.

Work one SC on the next SC.
Then finish the row with the regular stitch (SC, chain 2, SC in each chain-2 space), HDC at the end of row.
Cut yarn, fasten off.
Bag assembly:
Fold the bottom part on about 4 1/4 inches (= 11 cm).
Insert hook through both layer, under 4 strands of yarn. The hook should be inserted from the back to the front.

Yarn over, draw up a loop, chain 1.

Work 21 SC to attach both layers together. Cut yarn, fasten off.


Now, insert hook in the fold, as shown with the white arrow in next picture. Draw up a loop, chain 1, and slip stitch all along the inside border.


Don’t cut yarn, we will now attach the left side of the bag with 21 SC (or as many as you needed for the other side).
Cut yarn, fasten off.
Hide any yarn ends.
Now, our bag is on the wrong side: I want the seams inside, so let’s turn the bag inside out.
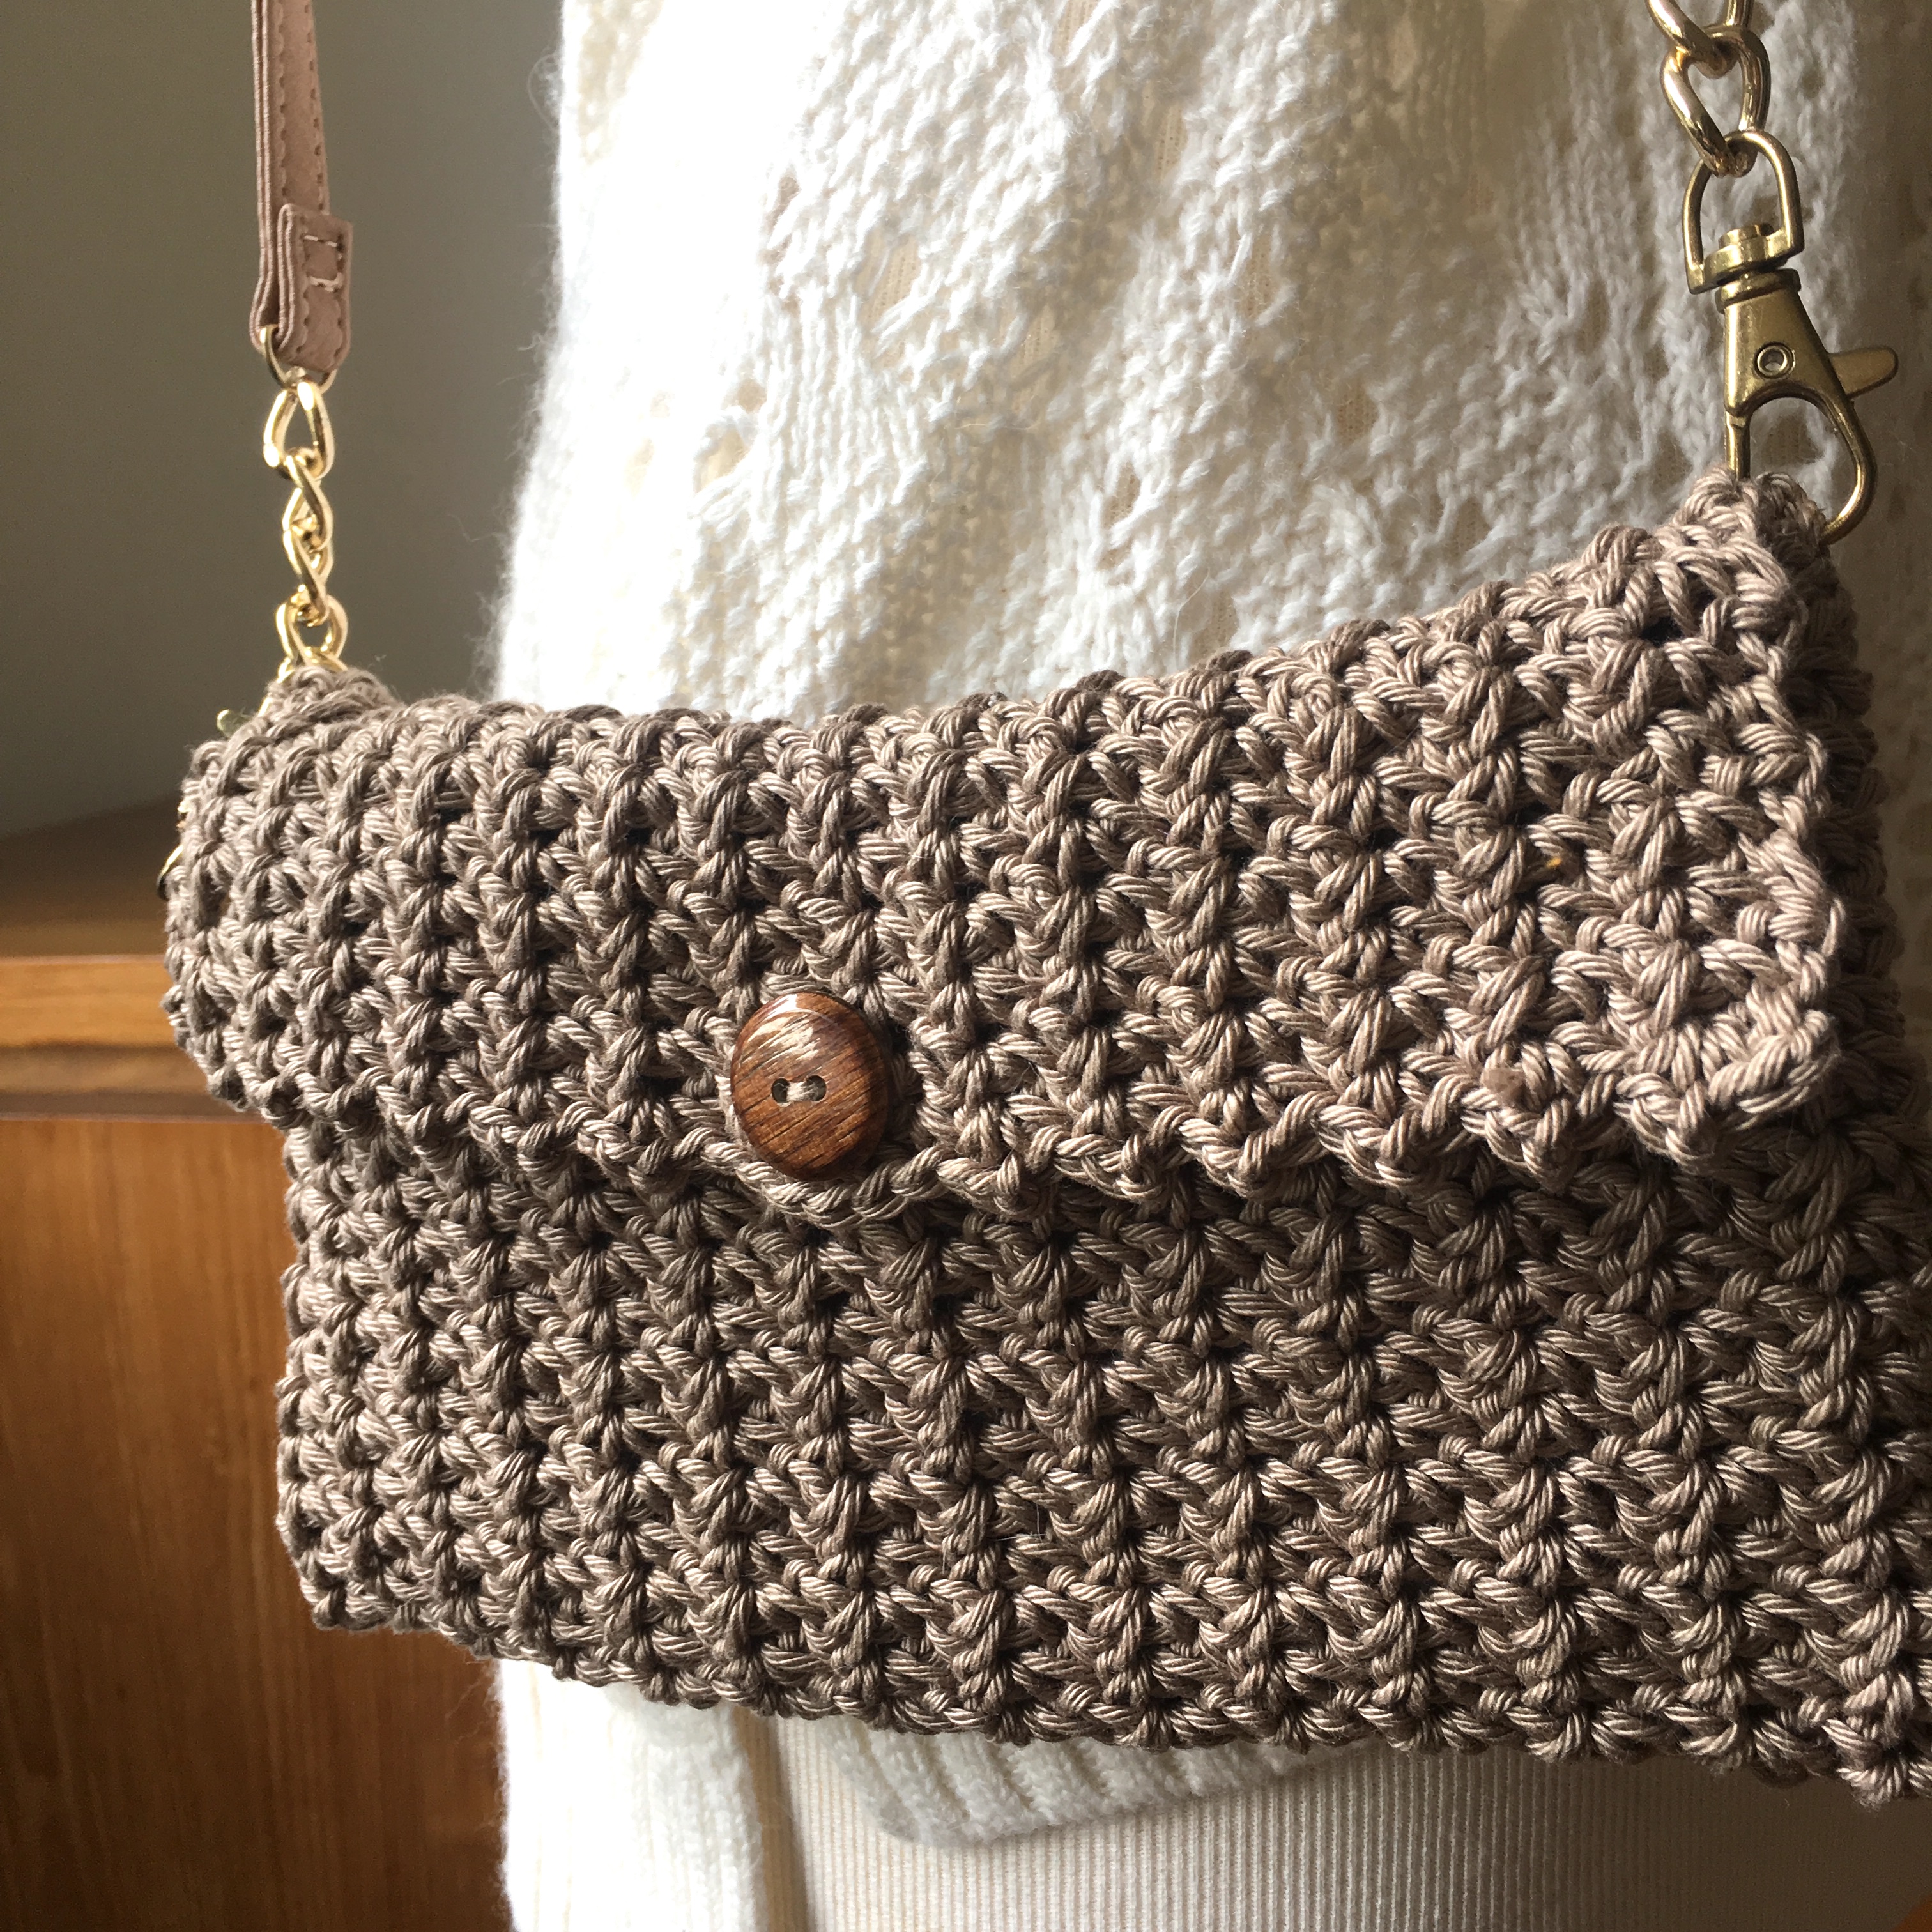
Button:
Fold the top of the bag and mark the place where the button should be. Sew the button securely.


Strap :
You may prefer to wear this purse in your hand, or use it in a larger bag, to store small personal items, in which case your work is done 😀 (congratulations!)
But if you wish to carry the bag on the shoulder, or across the shoulders, you could either recycle a strap from an older bag, or buy one in a DIY store.
For this project, I love this golden chain which looks so chic.
I didn’t have a golden button, it could look great too.
You may also crochet the strap, and obtain a more casual look.
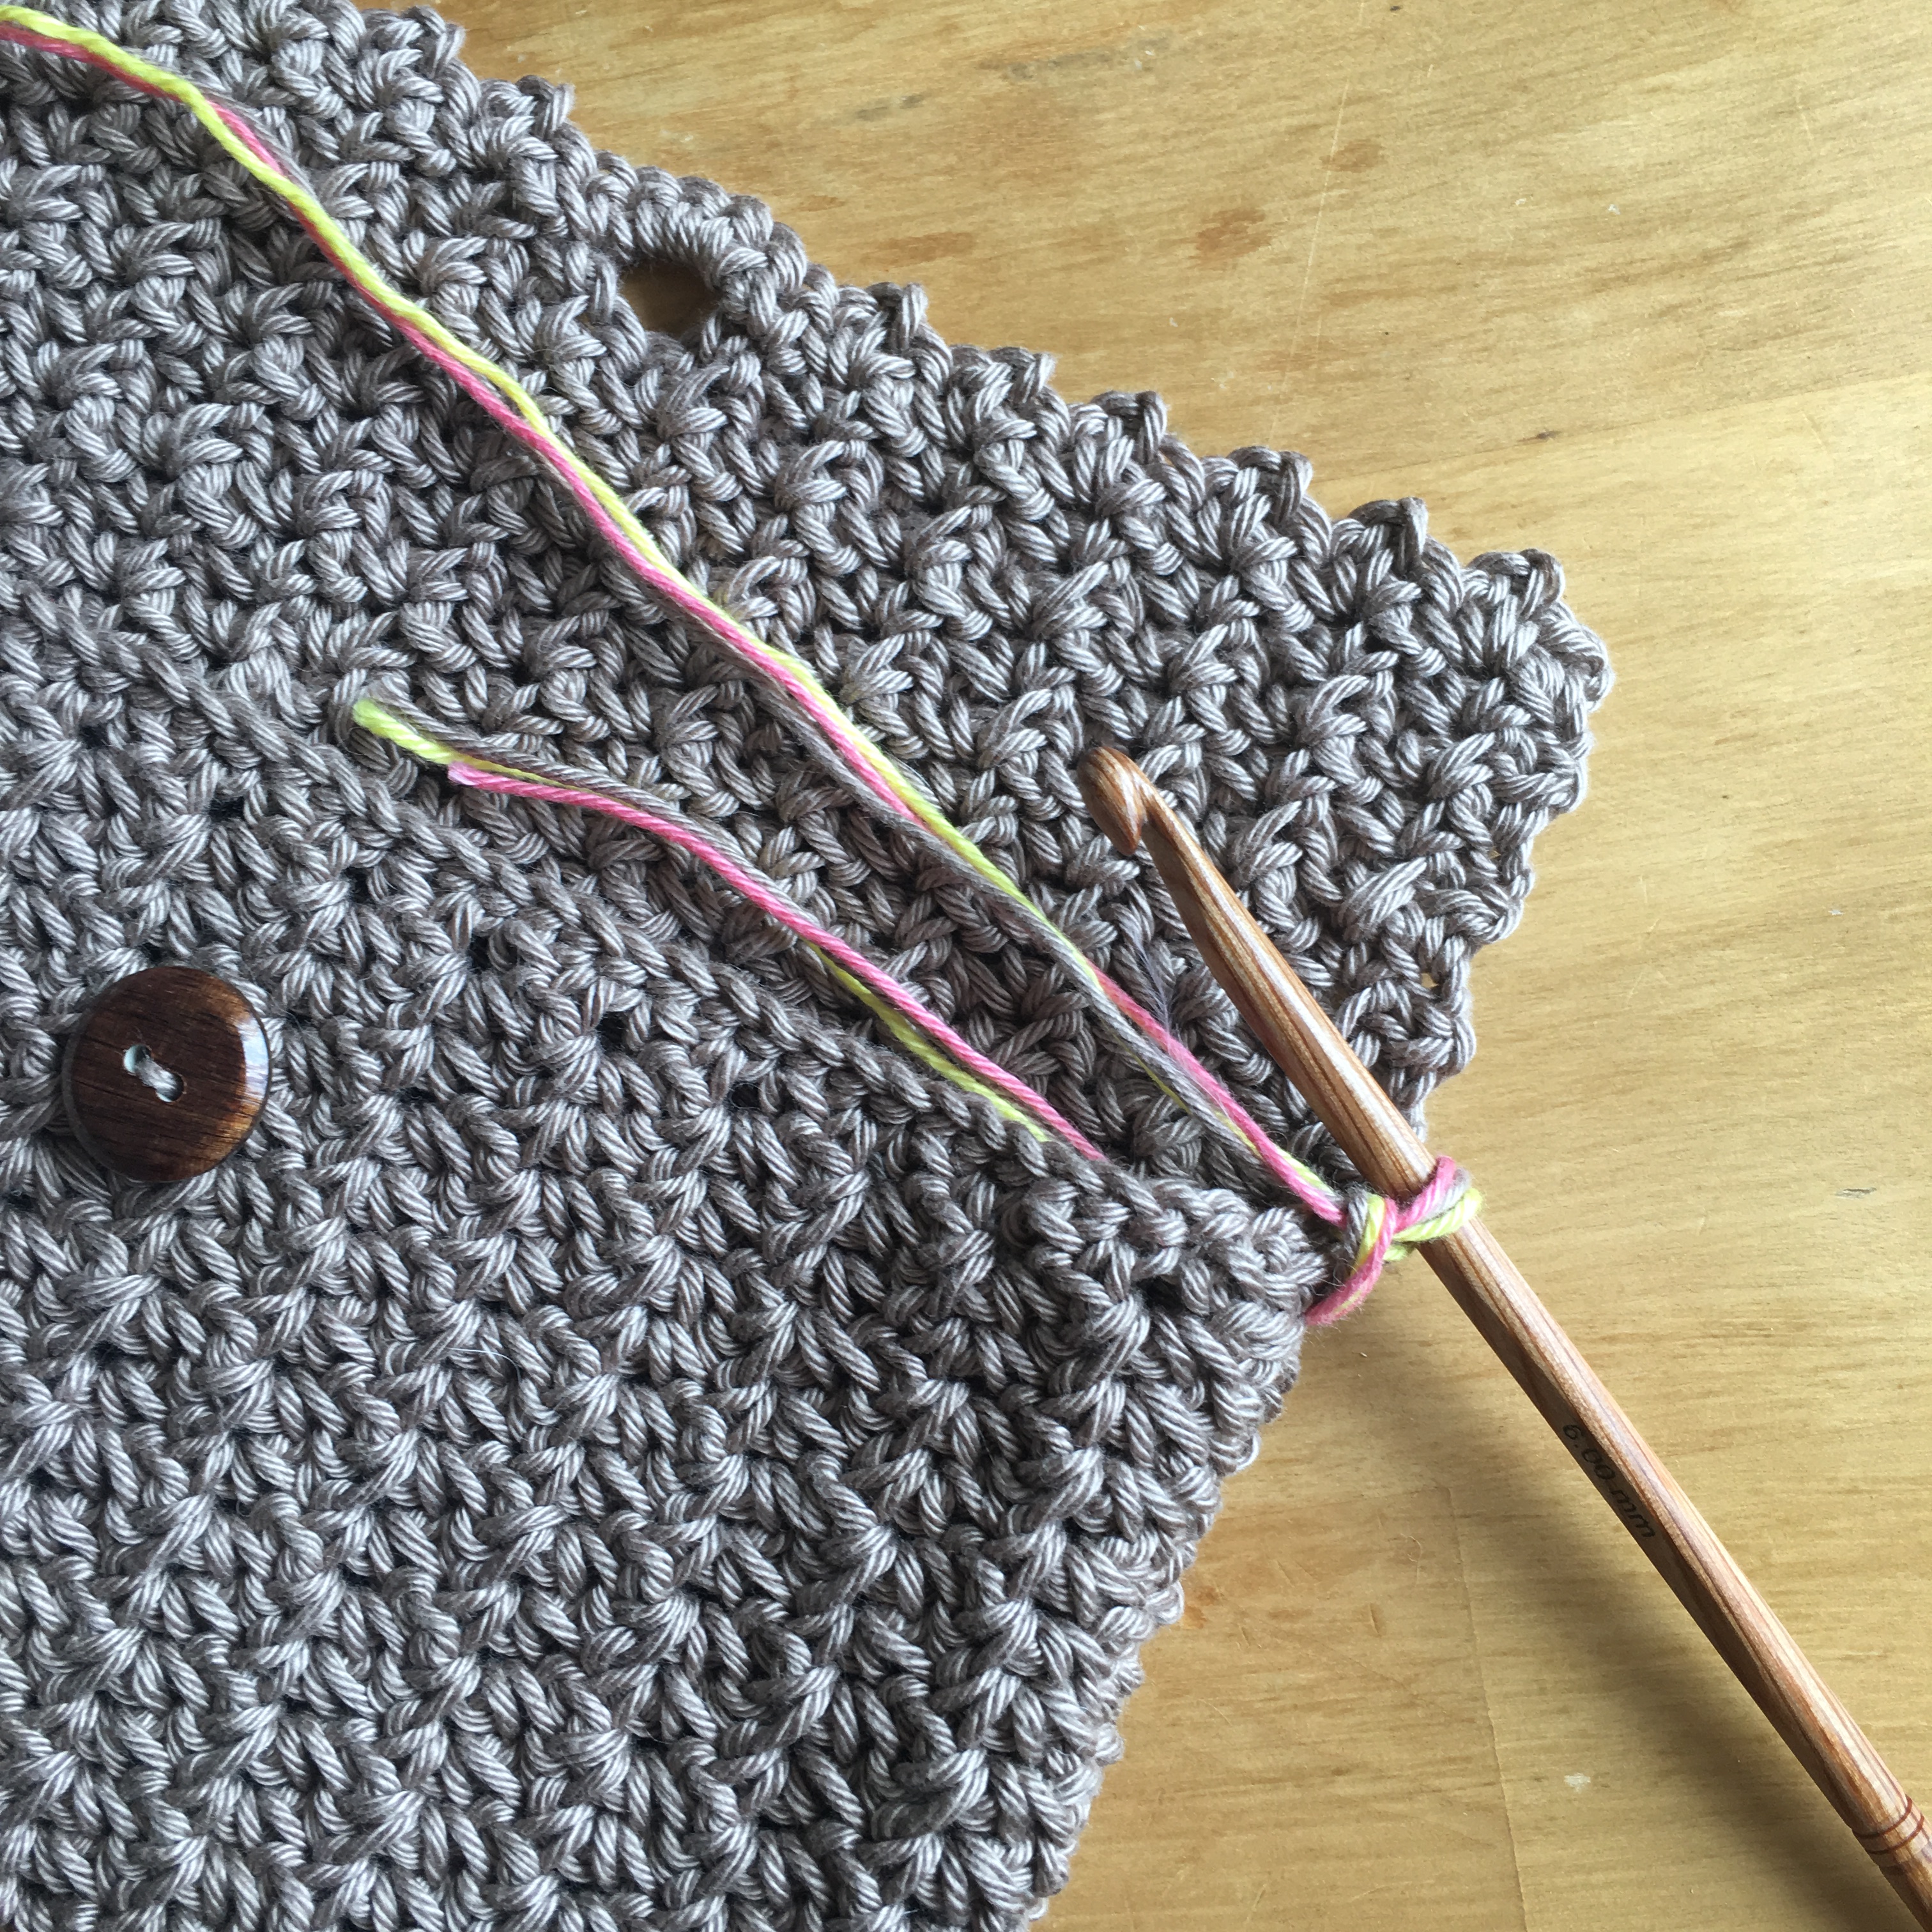
To this end, I crocheted 3 strands of yarn together with a 6 mm hook (US J hook), I picked 3 differents colors.

Insert hook in the fold of the bag, from the outside in as shown on next picture, draw up a loop (reminder: work 3 strands together). Chain until you obtain the desired lenght.

Slip stitch at the other side of the bag. Then do a return row with either slip stitch or single crochet, in each chain. I worked slip stitches.
Slip stitch and the end of row, right where you inserted the yarn at the beginning, and fasten off.


I hope you enjoyed this free tutorial. If you were to encounter any difficulty understanding some parts of this tutorial, please write to me or use the comments below. I do my own translations from French to English in my free time, I did proof-read it several times but mistakes can always happen.
And please, share your bags on the Ravelry page of this project! 😀 I’d so happy to see them!
This page shows all my free designs on Ravelry (joining is free and great!).
Follow my Instagram and never miss any new free pattern 😀
Please don't copy this pattern in any way, neither text nor images. You may create, offer, sell as many bags as you'd like. Please link back whenever possible.

Laisser un commentaire