It has been a while since I posted anything. Life has been so busy with my two littles. Ruby is two and a half, extremely articulate, and wants to have conversations all day long. Paxton is 15 months and into everything. The days are long, but the years are short, and sometimes I just have to put down my phone or my hook and be with my babies.
But here I am with a free tutorial! You will see why I’m not committed to calling this a “pattern” in just a bit. This is my most recent design, but the first sweater I feel confident enough to write up. Its pretty darn simple, and can be tweaked to whatever size or style you like! It’s also the coziest sweater I own now, and I may be living in it all winter. Thats why I’m calling it the Zuhause Sweater. The word zuhause is German for “at home.” And that is exactly how I feel in this boxy, oversized sweater.
The Design
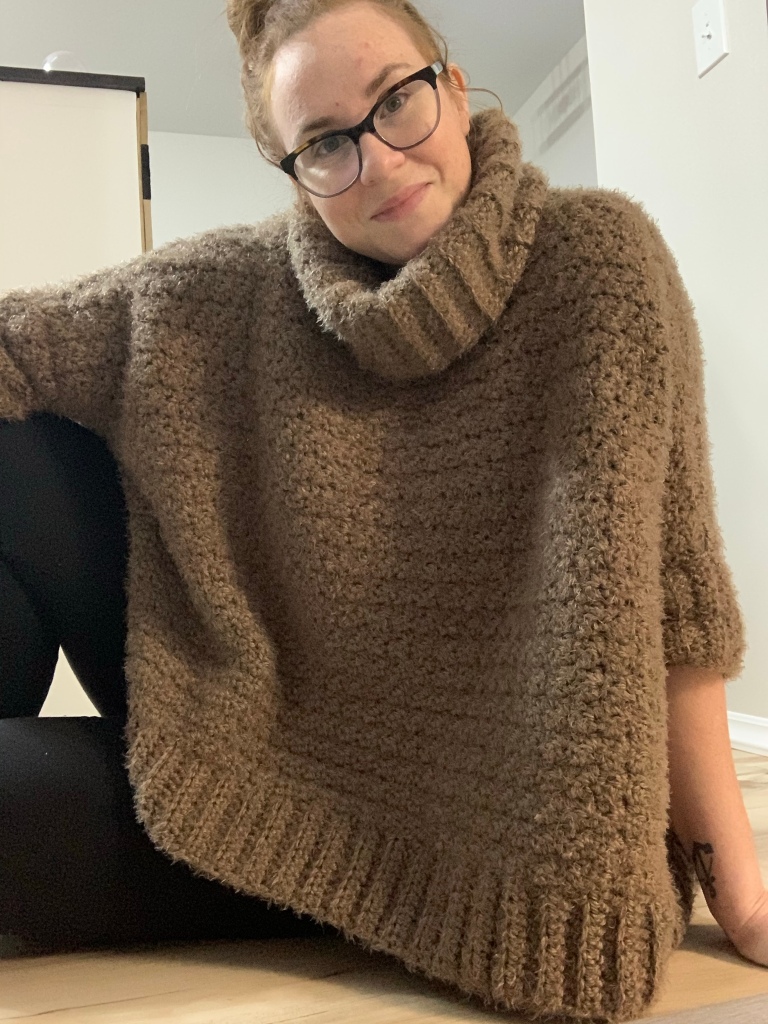
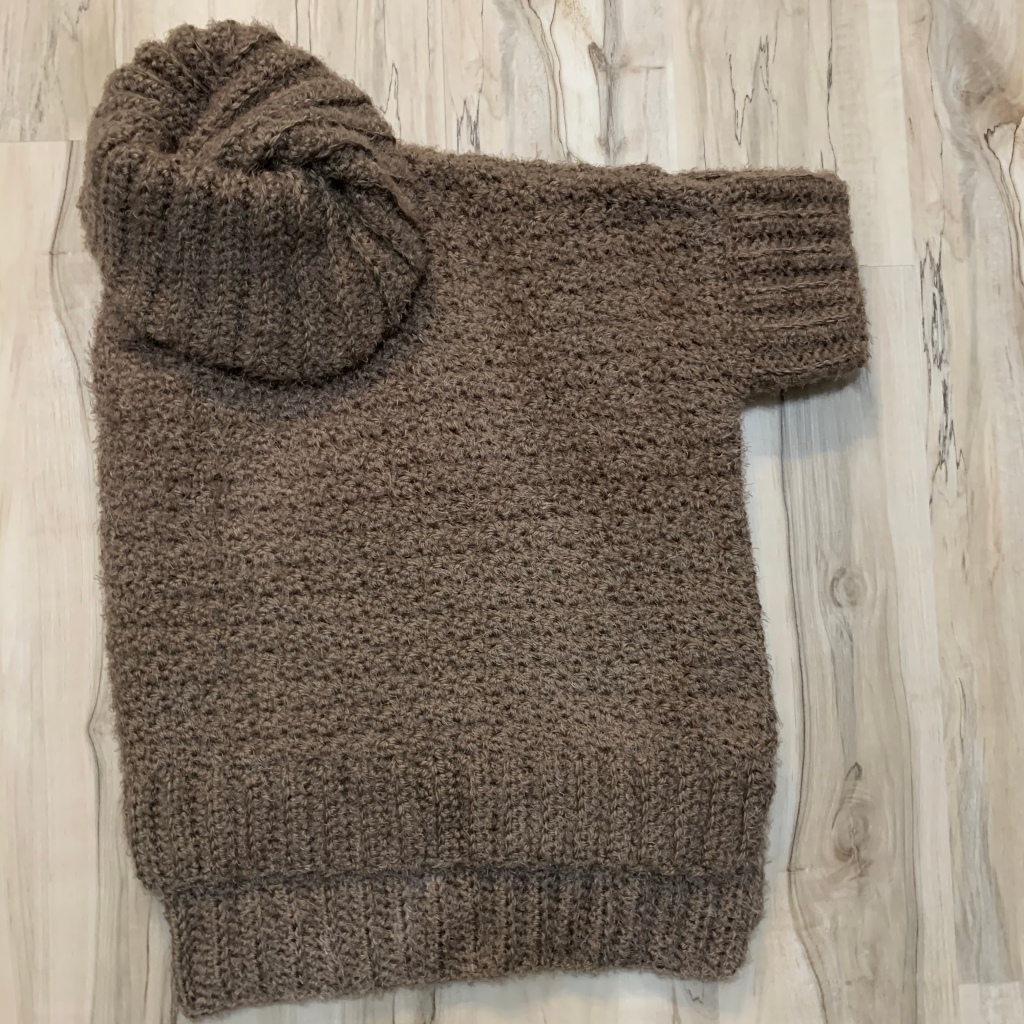
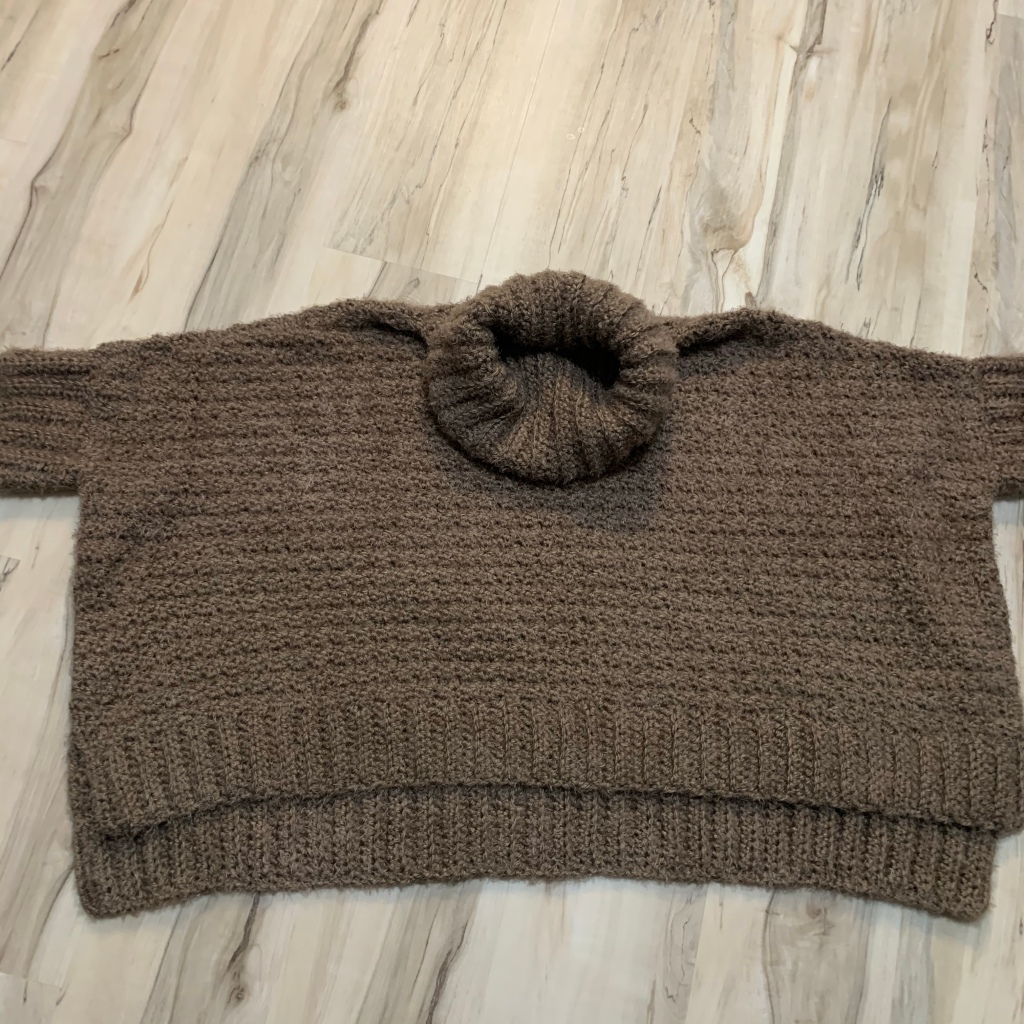
It’s a bit modern in the fit — slightly cropped, extra wide, with a GIANT turtle/cowl neck and elbow-length sleeves. The fit of this was very deliberate and tailored to my own needs. But the pattern can easily be adjusted to fit yours!
To deviate away from the sweater itself for a moment, I’d like to very quickly explain a bit about my motives. I’m 37 years old. I had my kids later in life, and quite close together (they are 15 months apart). My body…did not “bounce back.” It does, however, bounce. Quite a bit actually. But it has been a real struggle for me to accept my new body. Also, postpartum depression hit me hard after the birth of my second child. I have spent a lot of time over the last two years on the couch, eating snacks. Breastfeeding — purported to make the baby weight melt right off of me — only made me CONSTANTLY FAMISHED. I could never eat enough to feed my hunger. So, here we are. Back-to-back pregnancies and c-sections and babies, breastfeeding and snacks and couch-sitting…my body has not bounced back.
I have not accepted my post-baby body.
I know that’s what I’m supposed to do. I’m supposed to embrace it and be proud of it and be grateful and in awe of all it has done. But instead, I have no clothes that fit, and the ones that do look terrible, and I hate going out in public. Plus, I’m always stained with something. Milk. Cracker crumbs. Mystery stuff.
Anyway, I’m getting way off topic. The point is, I wanted a sweater that was somewhat chic, I could wear out and about. But it also needed to be comfy and cozy, and hide things. Namely, my mom gut. I decided I needed something oversized. Like, REALLY oversized. But I needed it to fit in such a way that it draped around my belly area without being a total potato sack. This sweater very nearly became a poncho (and still can be, if that’s what works better for you), but in the end I decided to make it a sweater, with a cozy turtleneck (which basically became a cowl, because I drastically overturtled it), and I’m really happy with how it turned out. So happy, in fact, that I decided to type out the pattern right away, so that maybe someone else could make one to cozy up in this winter too.
The Yarn
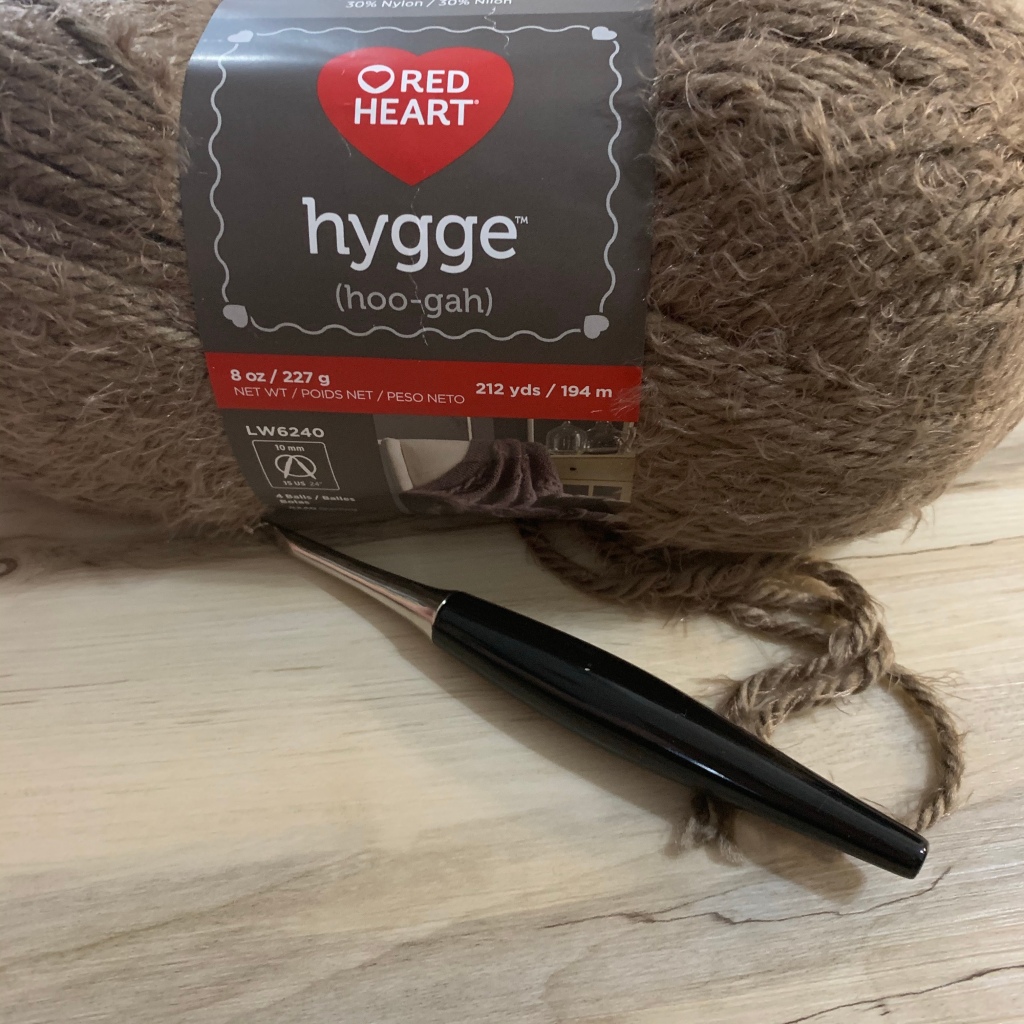
The first time I spotted Red Heart Hygge yarn in Jo-Ann stores, I could not stop touching it. It’s not quite like any other yarn I’ve worked with, and it’s so soft. The first thing I made with it was a beanie hat, and the second thing I made was a sweet fur-trimmed pixie bonnet. But I knew I needed to make a sweater out of it. It is a 5 weight chunky yarn, so I knew I had to be a bit strategic in how I used it. I didn’t want the sweater to be too heavy, in feel or in look, so I played around with stitches and hook size, and finally decided to just work it up and see how it turned out. Have I mentioned I’m living in this thing now?
The “Pattern”
For the sake of clarification, I’m calling this a tutorial instead of a pattern because it lacks some of the major points a true crochet pattern has. It has stitches and rows and all the instructions you will need to make this piece in my size. One of my BIG GOALS for 2020 is to learn how to write patterns for different sizes. Right now all I can do is make something that fits me. That’s not super helpful for other people who want to make my patterns, which is why I haven’t published any patterns yet. It’s a lot for me to wrap my head around, but I’m working at it. I have a lot to learn. So for now, anyone who wants to make a sweater for themselves out of this pattern will have to adjust the length and width to suit their own measurements and preferences. But if you have a little bit of experience making bottom-up, seamed sweaters, you should have no problem! Eventually down the line I hope to revamp this whole thing as a size-inclusive pattern. For now you have this.
With the exception of adjusting the measurements, the tutorial is pretty beginner-friendly, with some sewing that might make it a bit intermediate. Sizing is 100% adjustable to whatever you want it to be. You can make it longer or shorter, narrower, or wider (though it’s pretty darn wide as it is). The world is your oyster here. Please enjoy!
- Difficulty: Intermediate
- Yarn: Red Heart Hygge or a comparable bulky 5 yarn (Or really any yarn you like! This is fully customizable. But if you want soft, snuggly, and cozy, get the Hygge! I used 6 8oz skeins, approx. 1272yds.
- Hook: Furls Odyssey M (8mm) or any 8mm hook
- Gauge and Size/Fit: I did not swatch this for gauge. My opinion on this is that you can adjust the rows and stitches to be the length and width that you prefer. All directions in this pattern are for MY measurements. I am 5’6, 195lbs, with (roughly) a 41″ bust, 38″ waist, and 48″ hips. My finished sweater is about 36″ across, so there is about 15″ inches of positive ease (meaning the sweater is about 15″ wider than half of my chest circumference. So if you want a very wide boxy fit like mine, I would measure around your chest, divide by two, and add about 15″. The front of my sweater is shorter than the back, but again, you can adjust it to fit how you like.
- You will also need: a yarn needle for weaving in ends; several stitch markers, (not required, but will make seaming a bit easier) — I like to use the plastic kind that close like safety pins; a tape measure; and scissors.
Terms and Abbreviations
- sc – single crochet
- dc – double crochet
- hdc – half double crochet
- sl st – slip stitch
- ch – chain
- rep – repeat
- hdcBLO – half double crochet in the back loop only (insert hook into the back loop of the stitch, rather than both loops).
- SM – Stich Marker
- ScDcTog – This is an optional stitch when forming the neckline, as you will see in the instructions below. Begin sc, but before final pull through, yarn over and go into the next stitch. Yarn over, pull through two loops, yarn over, pull through all three loops on the hook, completing a dc).
- DcScTog – This is an optional stitch when forming the neckline, as you will see in the instructions below. Begin dc, but before the final pull through, go into the next st. Yarn over and pull through all three loops on the hook, completing a sc).
Instructions
Back
Band:
R1: Chain 11, hdc in second chain from hook and in each chain across. Ch 1 & turn. (10)
R2-69: HdcBLO in each stitch across, ch 1 & turn (10).
This band determines the width of your sweater. You may want to add or reduce the rows of the band to suit your measurements and preferences.
Body:
You should now have a long narrow band of ribbing. After you have finished your last stitch of hdcBLO, ch 1 and turn your work 90 degrees. You will now be working across the long edge of your band.
R1: sc in first stitch, dc in the next stitch. Repeat (sc, dc) across entire row for 92 stitches. Ch 1 at the end of the row and turn. The number of stitches will be different if you changed the number of rows of ribbing. 92 stitches is roughly four stitches for each 3 rows of ribbing. (92)
R2-44: (sc, dc) across the row. Ch 1 and turn. (92) Each sc will be into a dc of the previous row, each dc will be stitched into a sc of the previous row. There are several different names for this stitch pattern, but I learned it as griddle stitch, and it’s one of my favorites!
At the end of row 44, turn your work without chaining.
R45: Do not chain. Sl st into the first 4 stitches, then Ch1. (sc, dc) 84 stitches (until 4 stitches remain), leave last 4 stitches unworked. Turn without chaining. Place a SM in 1st sc worked. (88)
R46: sl st 4, ch 1. (Sc, dc) 76 st. Turn without chaining. Place SMs in 1st sl st and 1st sc worked (80)
R47: sl st 4, ch 1. (sc, dc) 68 st. Turn without chaining. Place SMs in 1st sl st and 1st sc worked (72)
R48: sl st 4, ch 1. (sc, dc) 60 st. Turn without chaining. Place SMs in 1st sl st and 1st sc worked (64)
R49: sl st 4, ch 1. (sc, dc) 52 st. Turn without chaining. Place SMs in 1st sl st and 1st sc worked (56)
R50: sl st 4, ch 1. (sc, dc) 44 st. Turn without chaining. Place SMs in 1st sl st and 1st sc worked (48)
R51: sl st 4, ch 1. (sc, dc) 36 st. Turn without chaining. Place SMs in 1st sl st and 1st sc worked (40)
R52: sl st 4, ch 1. (sc, dc) 28 st. Turn without chaining. Place SMs in 1st sl st and 1st sc worked (32)
Front:
Make a band identical to the band you made for the back (69 rows of 10hdc ribbing). Turn your work 90 degrees and continue along the long edge of the band for the body.
Body:
R1: (sc, dc) across, make 92 stitches. Ch 1 & turn. (92)
R2-36: (sc, dc) across. Ch 1 & turn. (92) (do not chain before turning at the end of R36)
R37: sl st 4, ch 1. (sc, dc) 82 st. Turn without chaining. Place SM in 1st sc worked (88)
R38: sl st 4, ch 1. (sc, dc) 76 st. Turn without chaining. Place SMs in 1st sl st and 1st sc worked (80)
R39: sl st 4, ch 1. (sc, dc) 68 st. Turn without chaining. Place SMs in 1st sl st and 1st sc worked (72)
R40: sl st 4, ch 1. (sc, dc) 60 st. Turn without chaining. Place SMs in 1st sl st and 1st sc worked (64)
Here we will begin to make a neckline. This part is optional. You can continue to decrease each row by 4 stitches on each end for 4 more rows, or you can continue on here. For these last four rows my instructions will split each row into two sides.
R41: sl st 4, ch 1. (sc, dc) 16. ScDcTog. Ch 1 & turn. Place SMs in 1st sl st and 1st sc worked (21)
R42: DcScTog. Dc in next st. (sc, dc) 10. Turn without chaining (12).
R43: sl st 4, ch 1. (sc, dc) 6. ScDcTog, ch 1 & turn. Place SMs in 1st sl st and 1st sc worked (11)
R44: Sc in all 3 stitches. (3) Fasten off.
Opposite Side (attach yarn in 38th stitch from opposite end):
41: ScDcTog. (sc, dc) 16 st. Turn without chaining (17)
42: sl st 4, ch 1. (Sc, dc) 10. Sc 1. DcScTog. Ch 1 & turn. Place SMs in 1st sl st and 1st sc worked (16)
43: ScDcTog. (sc, dc) 6. Turn without chaining. (7)
44: sl st 4, ch 1. Sc in next 3 st. (7) Fasten off.
You should now have two pieces with sloping shoulders, one longer than the other. The shorter piece should have a dip for the neck hole. Line up the tops of these two pieces, matching up the stitch markers, and seam across the top using your method of choice, leaving the neck hole open. For this part I used a whip stitch, but I think if I were to do it again I would use a mattress stitch. Once you have seamed across the top, seam down the sides, leaving an opening for the arms. I began my seam about 12-13 rows down from the shoulder, and seamed down to the top of the ribbed band on the front piece, leaving the sides open where the bands are.
Sleeves:
Ch 13
R1: hdc in 2nd ch and in each ch across. Ch 1 & turn. (12)
R2-24: hdcBLO in each st across. Ch 1 & turn. (12). Fasten off after row 24 and seam R1 to R24 using your seaming method of choice (I prefer a mattress stitch) to form a sleeve cuff. Attach each cuff to the sleeve openings.
Neck:
Ch 36 (You may want to reduce the amount of stitches here. I made mine very tall and have to fold the neck twice when I wear it. If I were to make this again I would probably go quite a bit shorter on the neck, maybe 25 stitches or even less. You could also decide not to do a turtleneck/cowl at all and just do a few stitches of ribbing around the neckline to polish it off. Make it your own!)
R1: idc in 2nd ch from hook and in each ch across. Ch 1 & turn (35)
R2-44: hdcBLO in each st across. Ch 1 & turn (35). Fasten off after row 44 and seam R1 to R44 using your seaming method of choice (I prefer a mattress stitch) to form the neck. Attach the neck to the neck opening.
YOU’RE DONE!
Pleas please PLEASE take a picture of yourself wearing your new comfy boxy Zuhause Sweater and share it on Instagram! Tag me @riotousrootshandmade and use #zuhausesweater on social media! I would LOVE to see a few people make this for themselves.
Also, if you really want to help me out as I continue on this journey learning to write patterns and use sizing, send me a DM or email (riotousrootsco@gmail.com) how many stitches per row and how many rows you ended up using to customize your Zuhause Sweater.
If you made it this far, I can’t thank you enough. Nothing would make me happier than for someone to make this pattern for themselves and show it off for me. Happy hooking!!
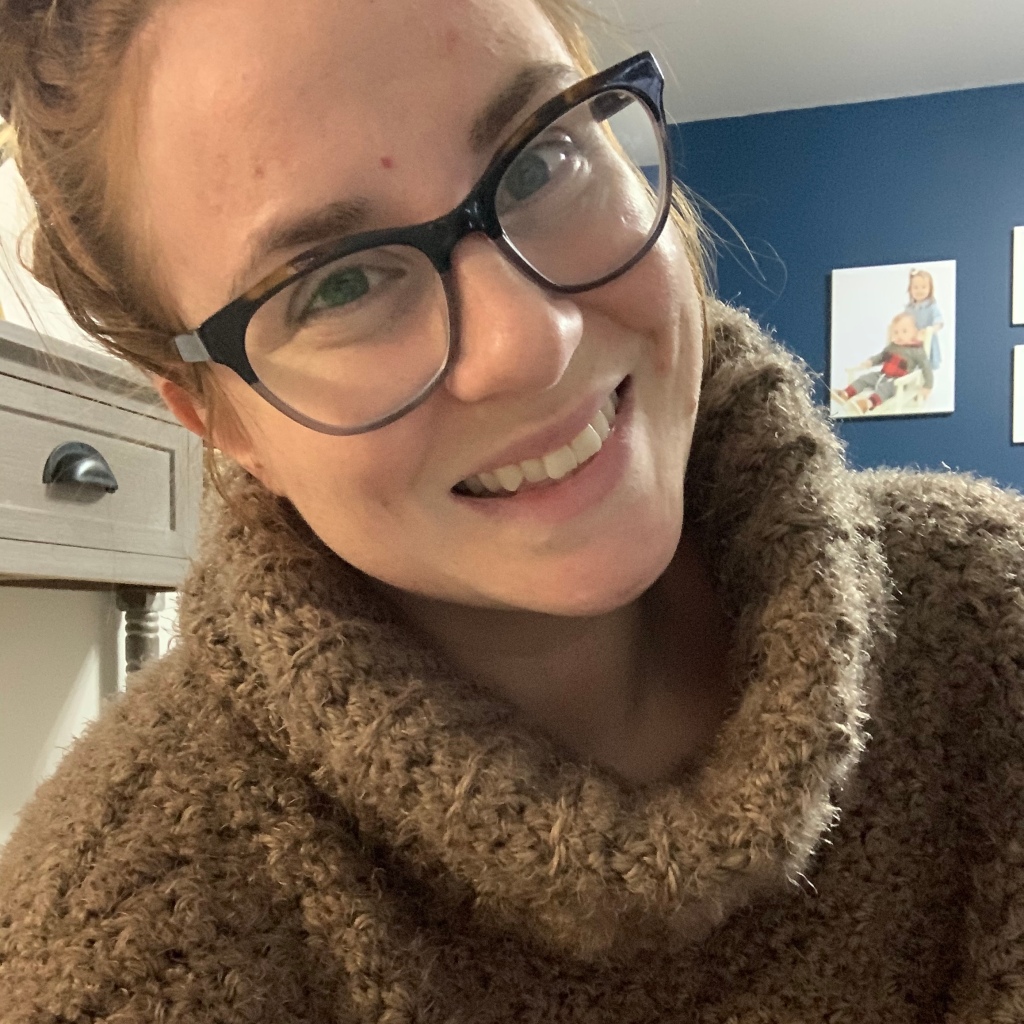
Hello, I pretty much look at Raverly every day! I love seeing new patterns!!!! I love to crochet and try to make time for it every day, it actually helps with keeping my mind off of my fiscal pain. I have been looking for a pattern like this forever!!!!!! Please keep writing, I love your work!!
LikeLiked by 1 person