
Crochet Hair Bow – Photo Tutorial
Who doesn’t love a cute hair bow? Today’s project is a Hair Bow made with Half Double Crochet and Single Crochet. These make great gifts for little girls, or, with the right clip, can even make a cute bow tie for the little gentlemen out there!
If you are a seasoned crocheter and want to skip the photo tutorial, the written pattern can be found at the bottom of this post.
So, let’s get started
Crochet Hair Bow Supplies
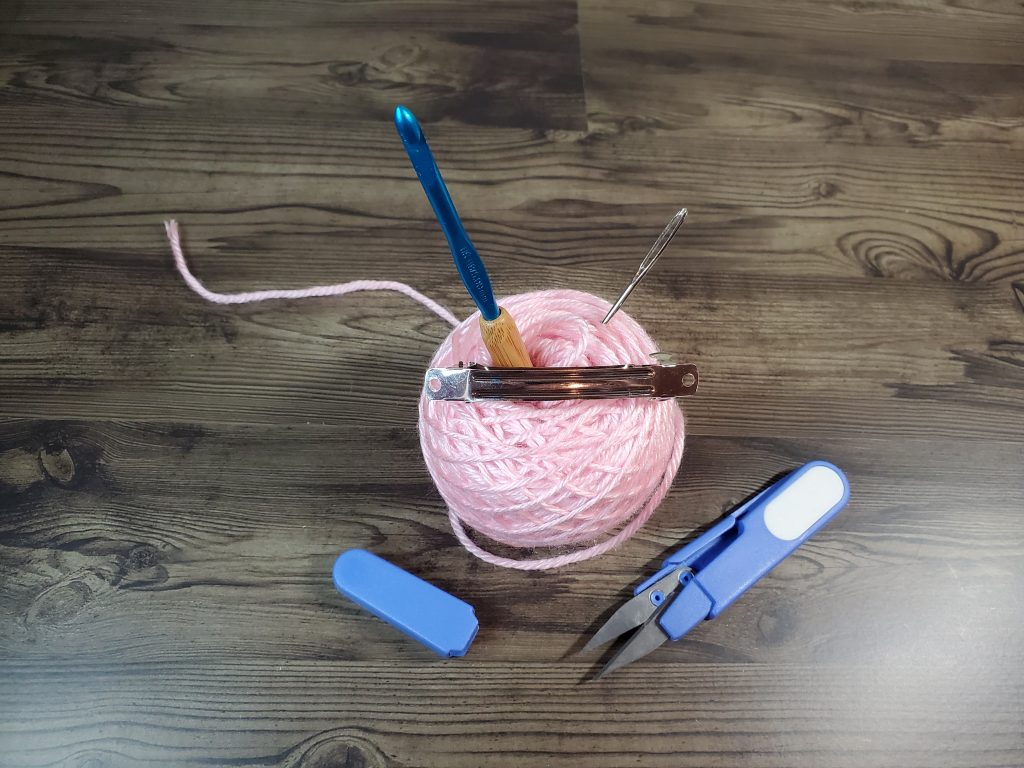
You’re going to need the following materials to make the Crochet Hair Bow.
Yarn (I used Caron Simply Soft)
Size H (5mm) crochet hook.
3” Hair Clip (I used a French Barrette)
Yarn Needle
Scissors or Snips
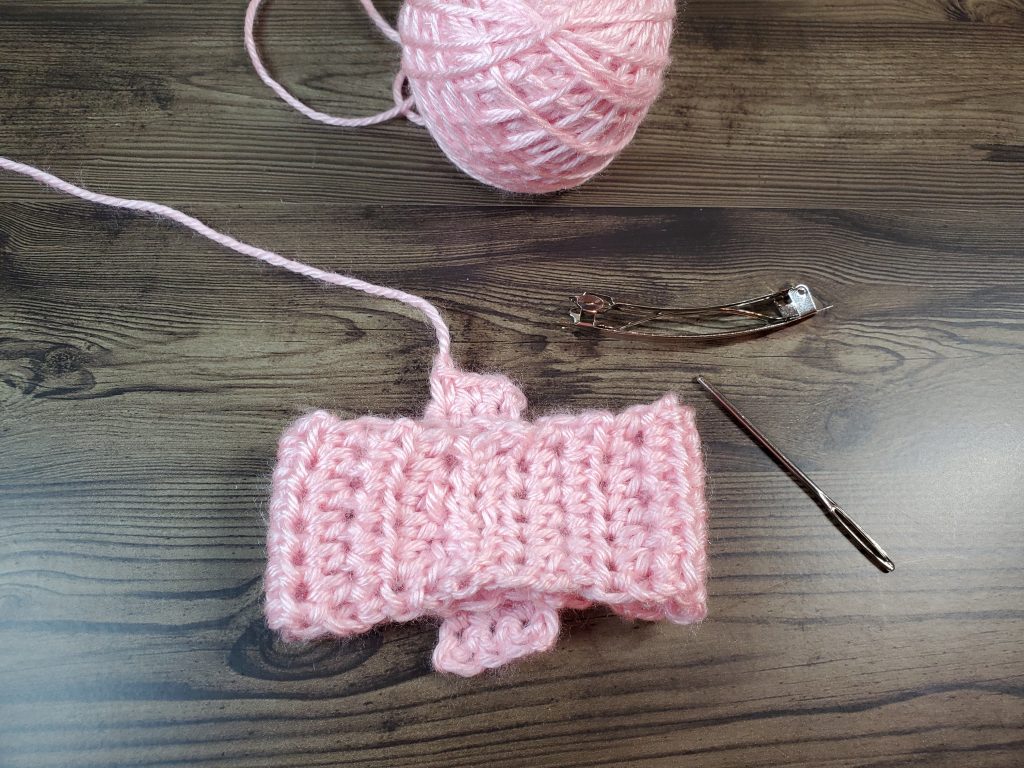
Body of the Crochet Hair Bow
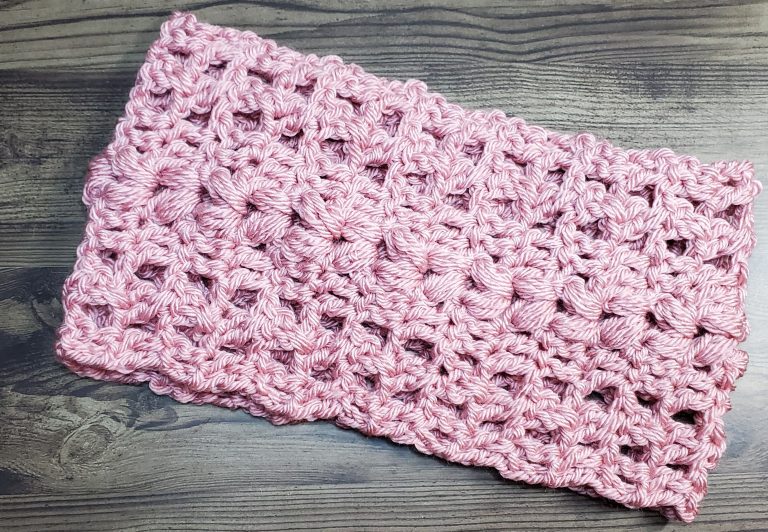
The body of the Crochet Hair Bow is made with Half Double Crochet. We will make a long flat panel, and sew it together to create a tied effect for our bow.
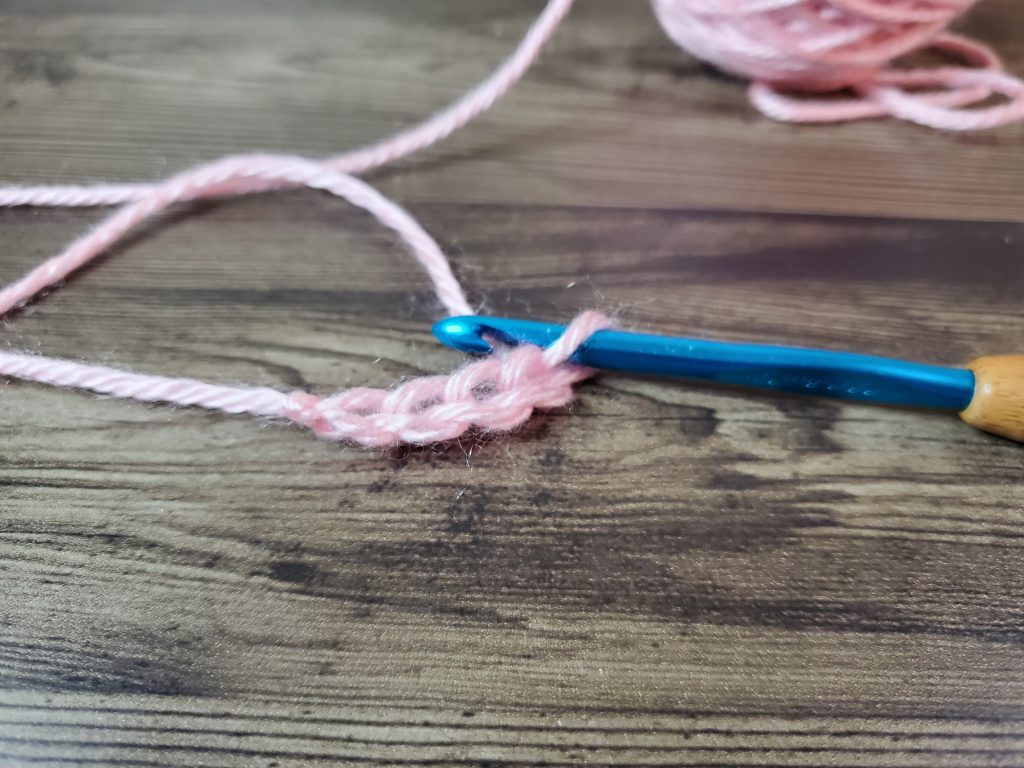
Begin by making a chain of 8.
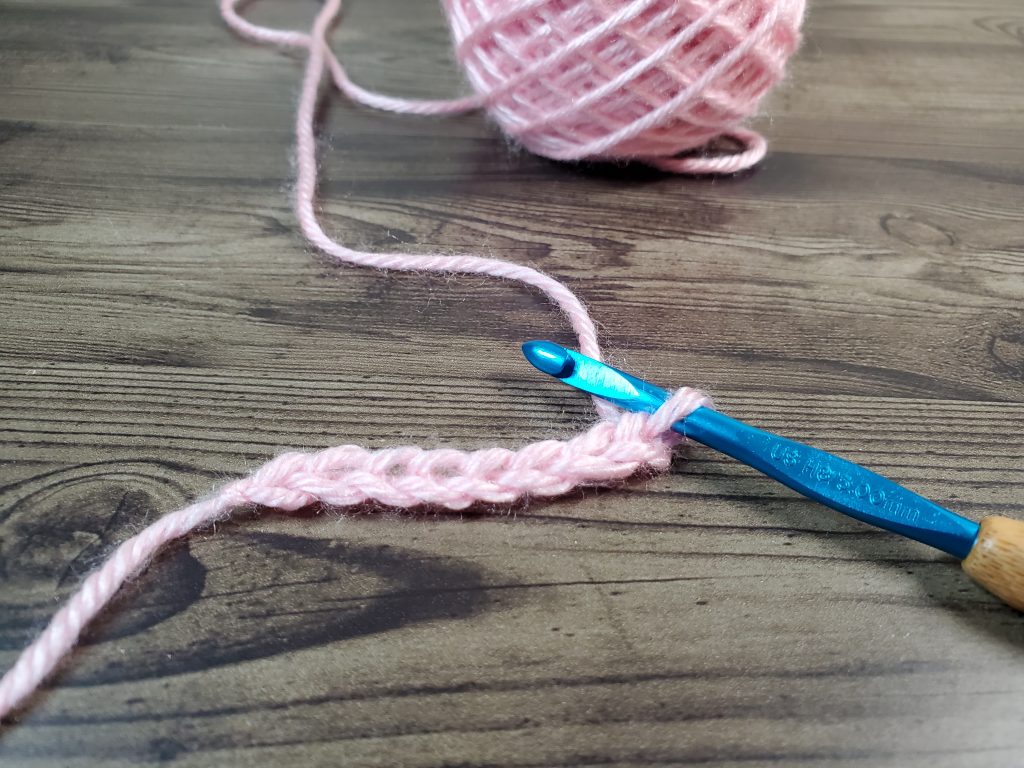
Next, half double crochet in the third chain from the hook, across. You will have 6 HDC in this row.

When you’re done, create a turning chain of 2, and turn your project. Half Double Crochet this row, as well, for a row of 6 stitches.
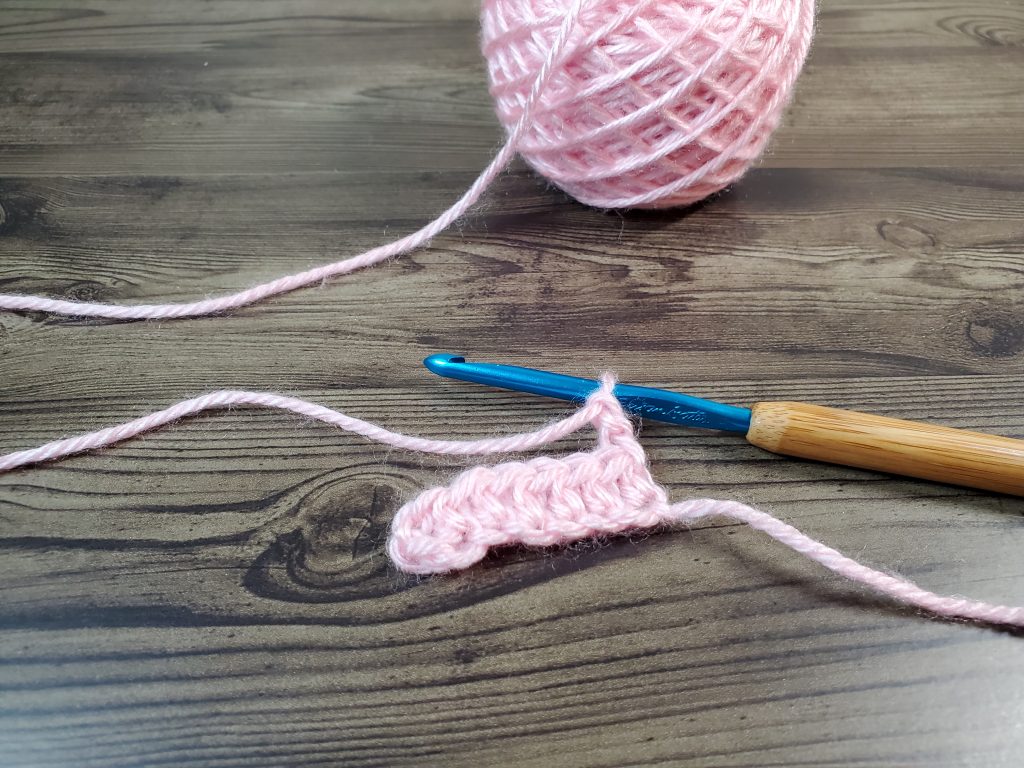
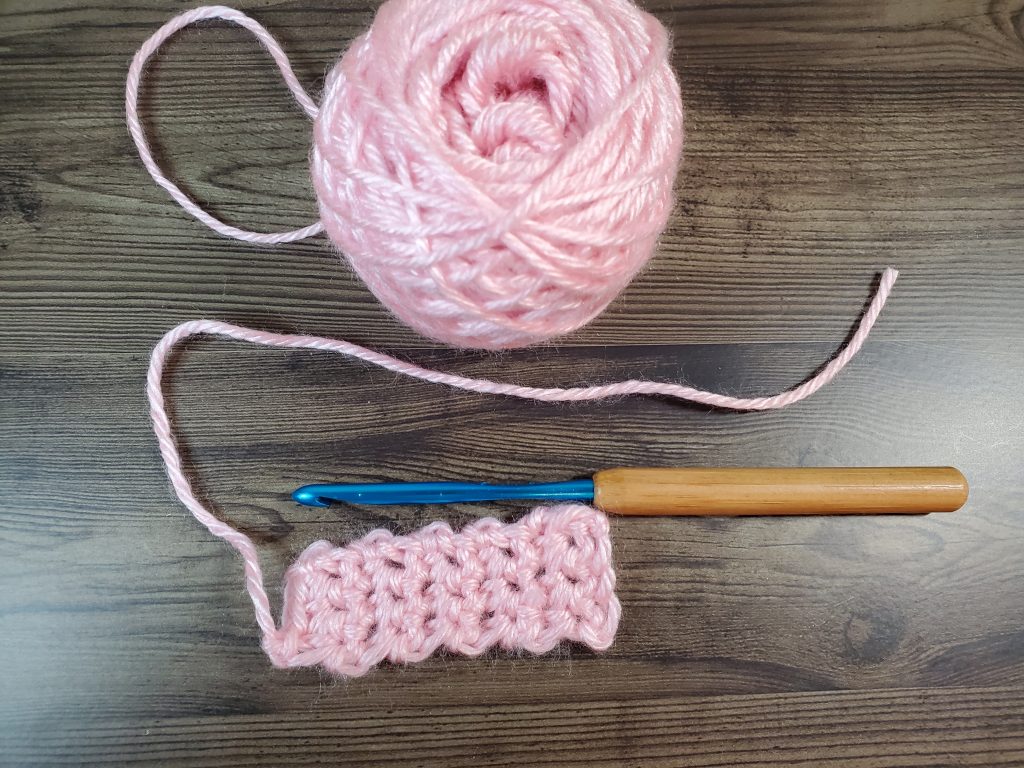
Continue until you have a total of 20 rows of 6 Half Double Crochet. We are creating our bow to be slightly larger than our clip, so that our clip is completely covered by the bow.

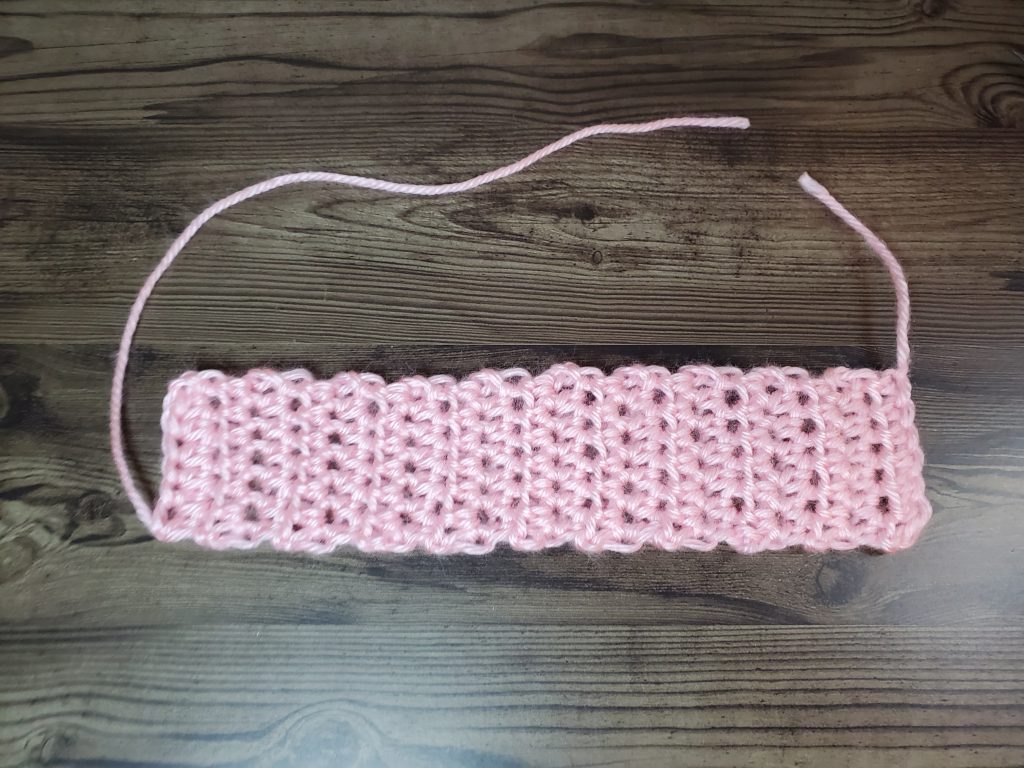
When you are done, fasten off, and leave a long tail for sewing.
The Knot
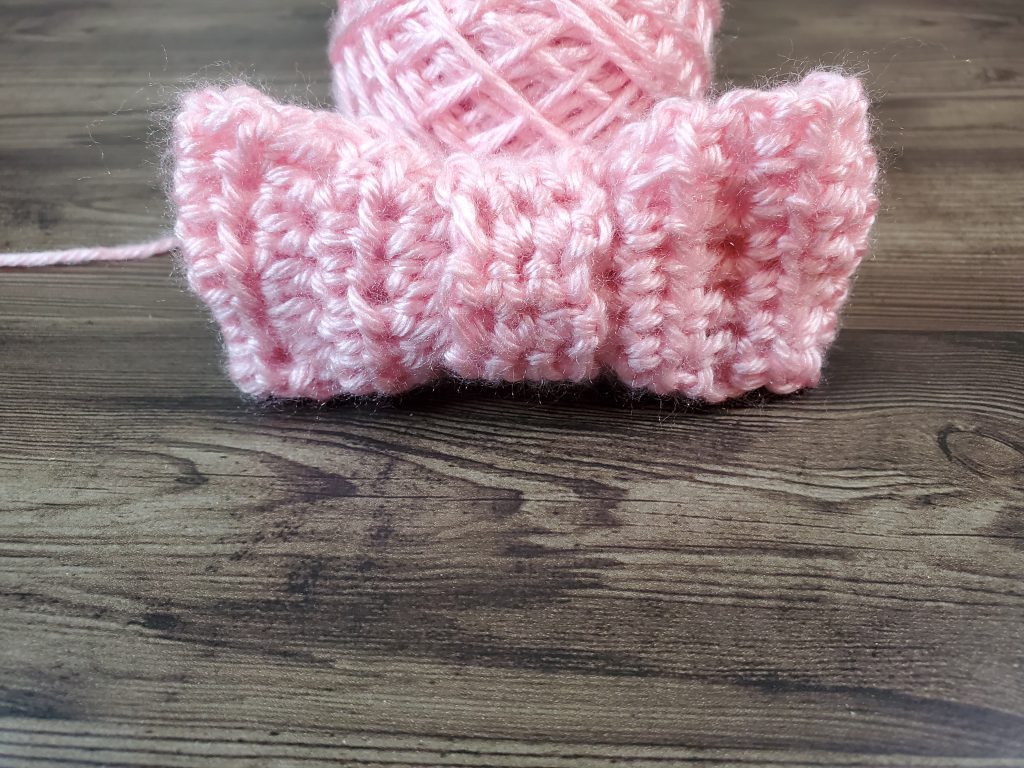
The knot of our Crochet Hair Bow is going to be a long strip of single crochet.
Begin by making a chain of 4. Single crochet in the 2nd chain from the hook, and each chain across. You will make a row of 3 single crochet. Chain one, turn, and single crochet in each stitch across. For a looser knot, create a fabric of 10 rows. For a tighter knot, create a fabric of 8 rows. Fasten off, and leave a long tail for assembly.

Assembling the Crochet Hair Bow
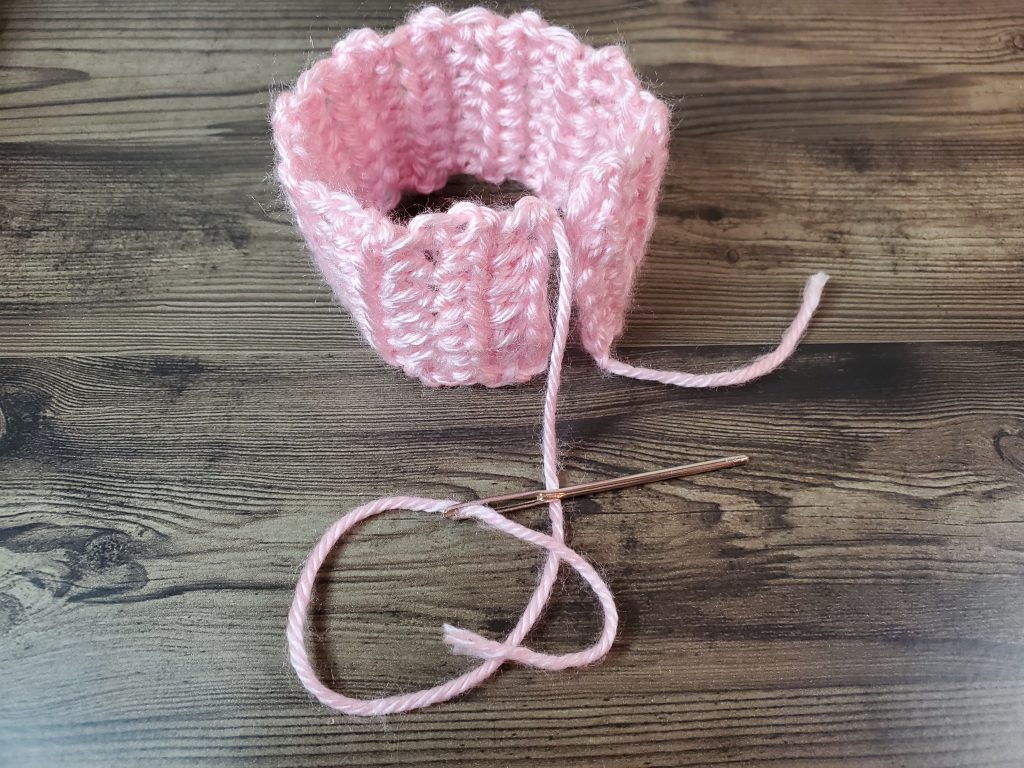
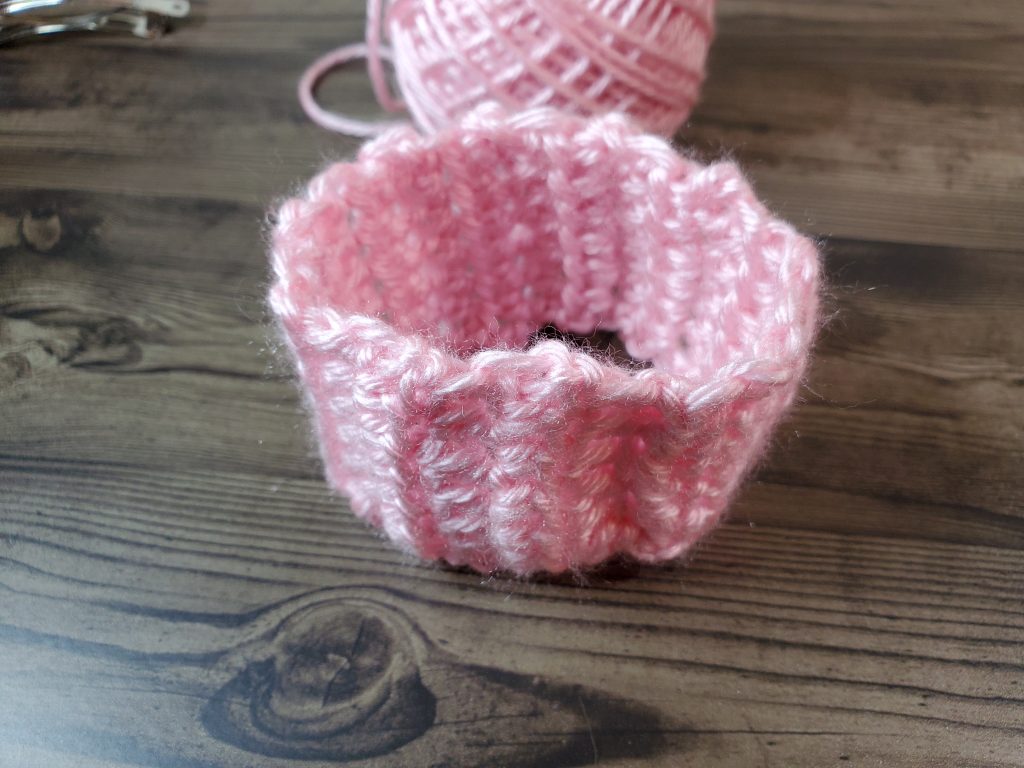
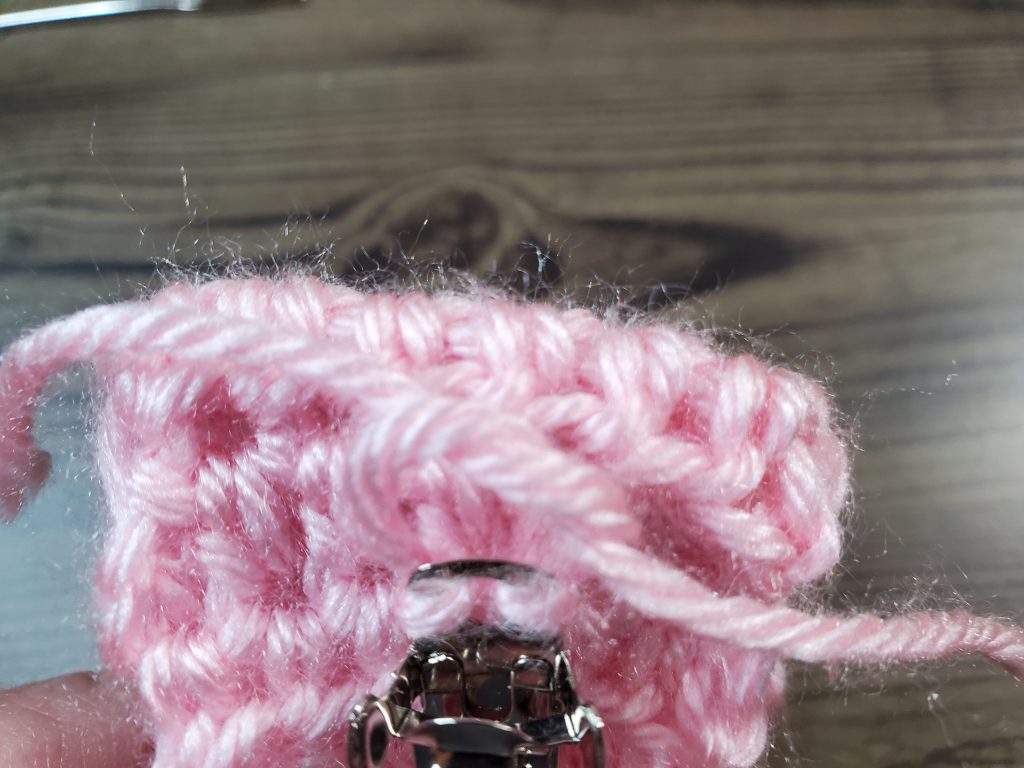
The first step to assembling our crochet hair bow, is to sew our body into a circle. Do this with the long tail you left when you fastened off your fabric. Whip stitch the short ends of the fabric together, and weave in your ends.
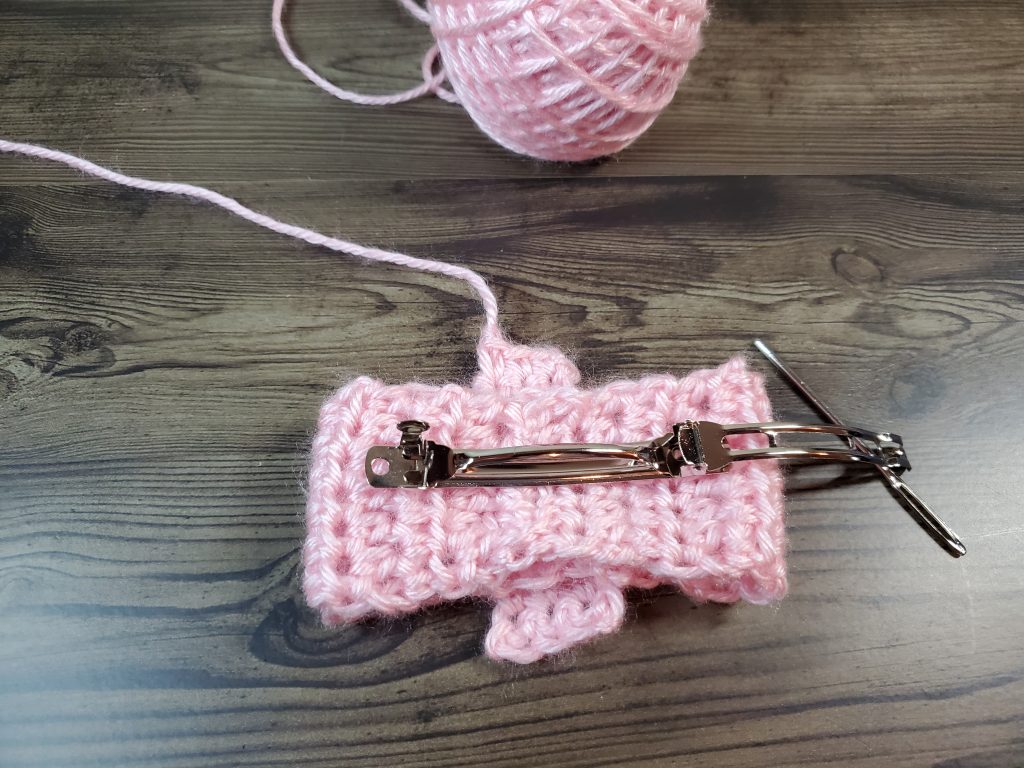
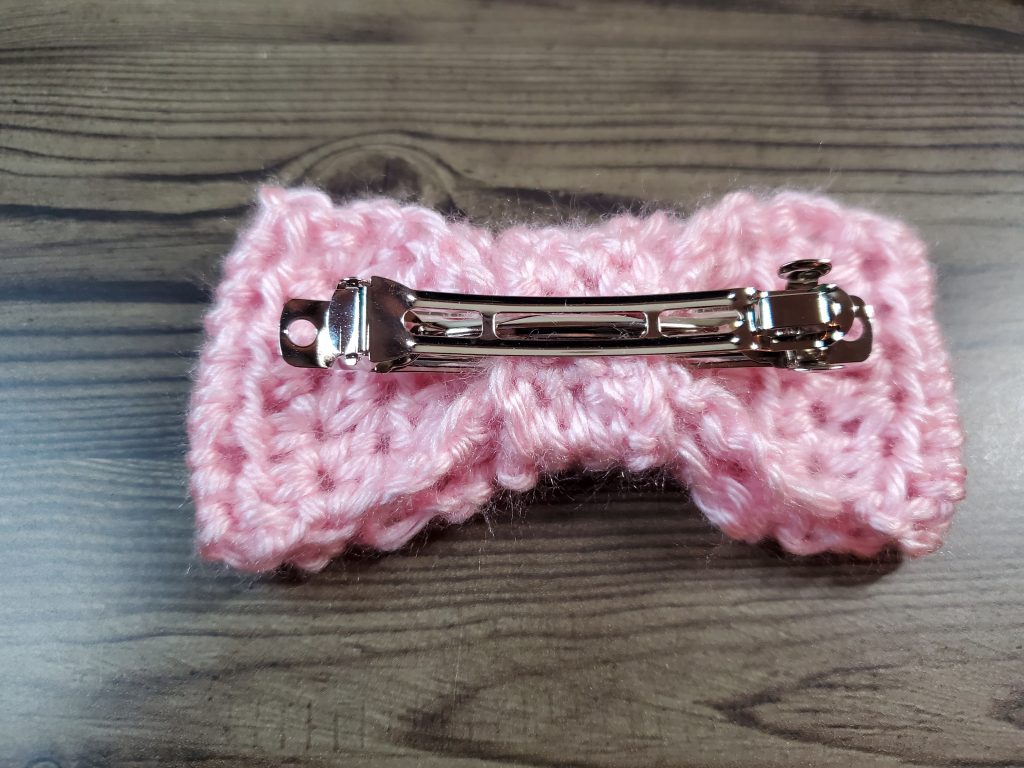
Next, place flatten body of your bow over the knot, with the seam in the middle, so the short sides of the knot are on the long edges of the body. If you keep the seam in the middle, the knot will cover it. Once you’re set up, place your barrette or clip on top of the body of the bow in the lengthwise direction.
Sew the fabric of the knot together, through the bow. This will connect the fabric to the bow. Make sure to cinch the body of the bow with your knot. Fasten off and weave in your ends.
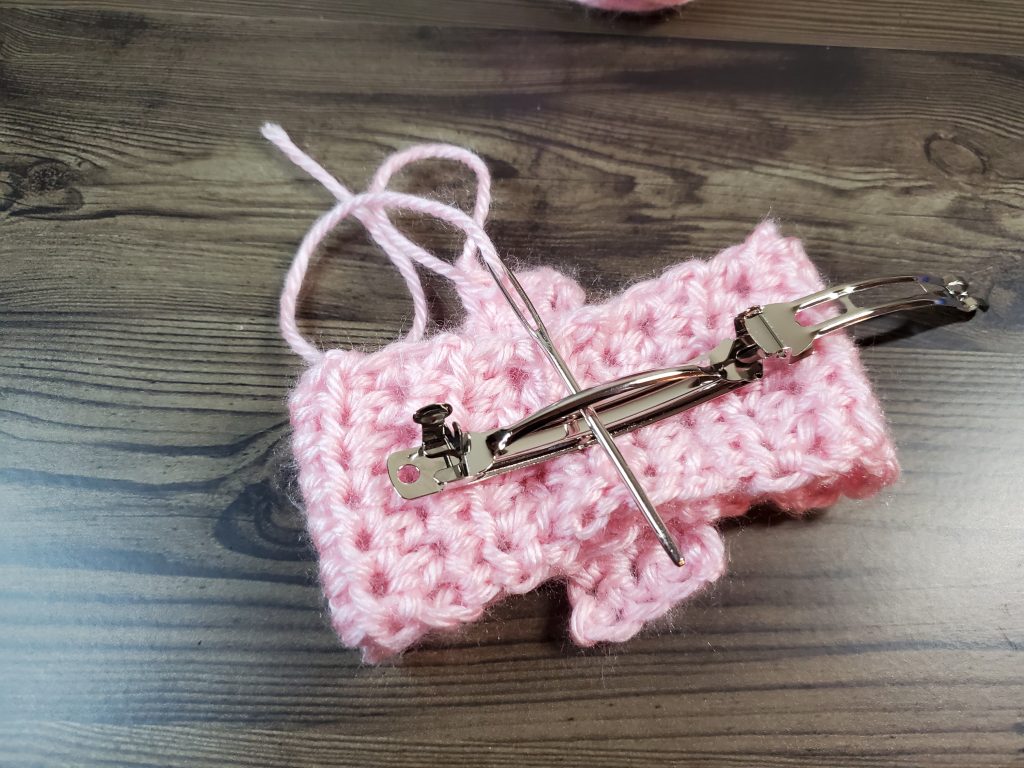


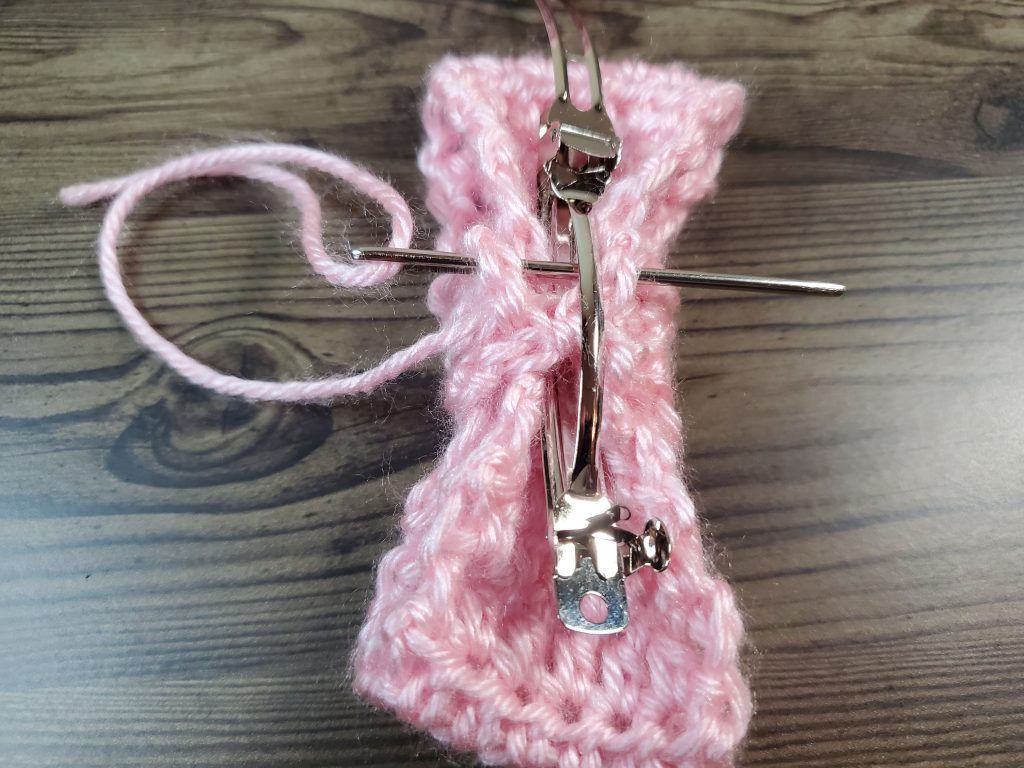

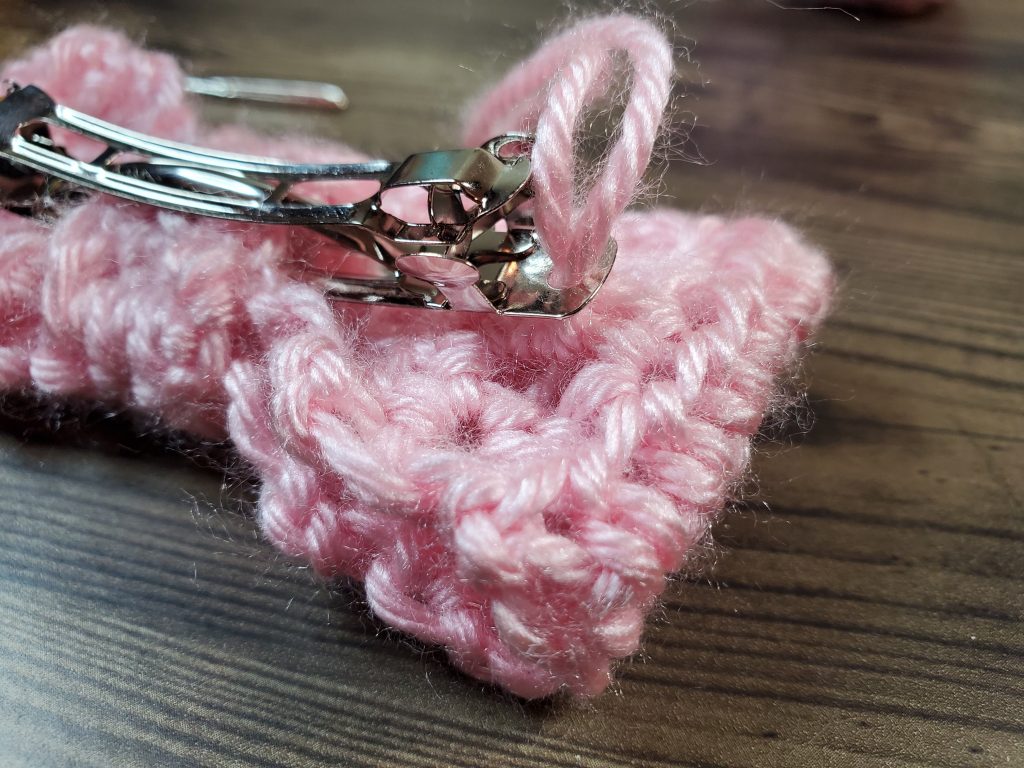
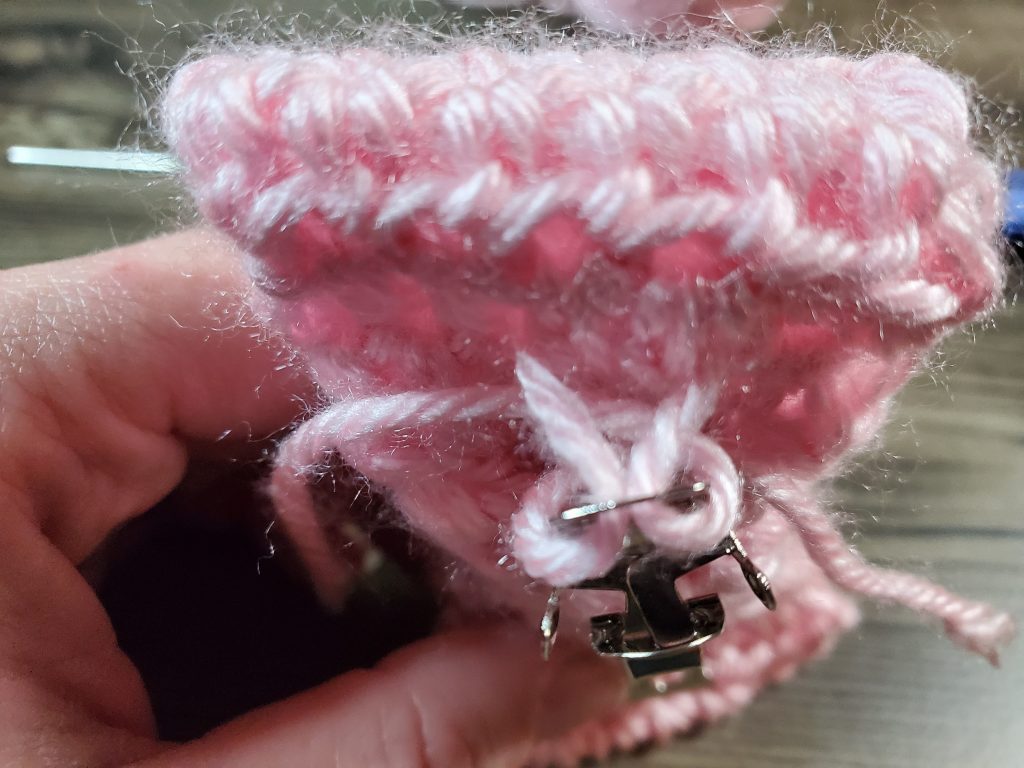
Now, to make sure that the body of the bow doesn’t slip out of the knot, secure it to the barrette by tying it through the holes on either end of the barrette clip. I placed a piece of yarn around a stitch on the back side (not through the front!) of the body of the bow, and through the hole. I wrapped the ends of the yarn around the clip, and tied a double knot. Next I fed the ends of the yarn into the bow and cut the ends. I did this on each side.

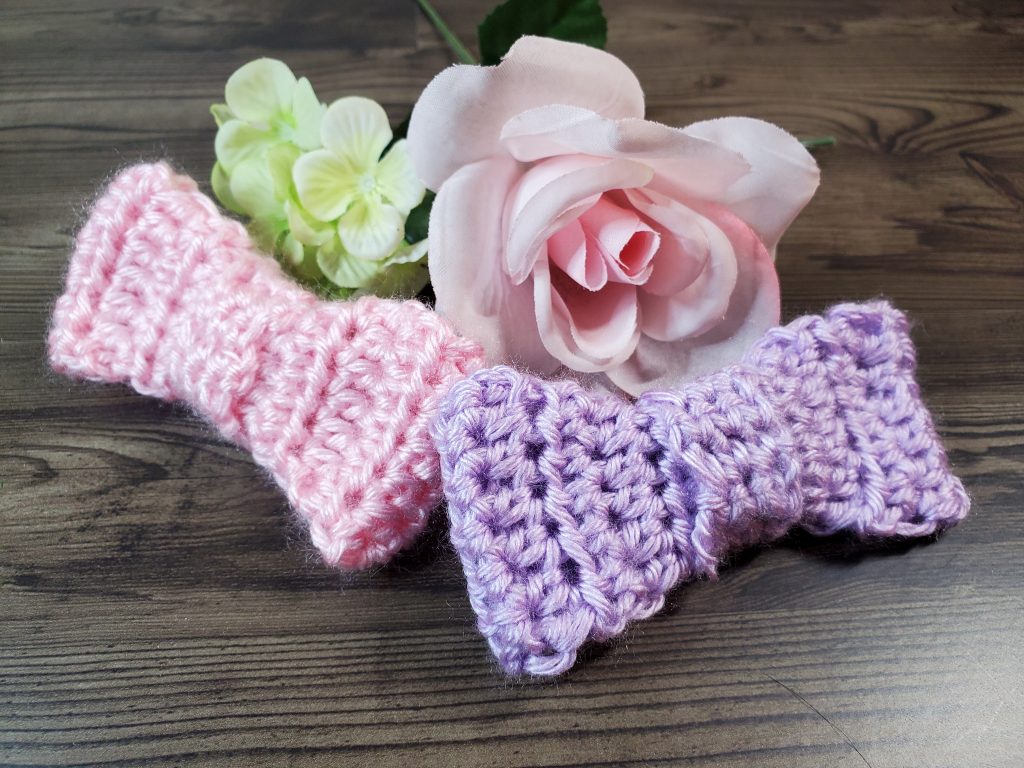
Your bow is complete! Isn’t it cute?
The Written Pattern
For the more advanced hooker, who doesn’t want the photo tutorial, the pattern for the bow is below:
Body
Chain 8.
Row 1: HDC in 2nd chain from the hook, across. (6)
CH 2, turn
Row 2-20: HDC across, CH 2, turn (6)
Fasten off, leaving long tail for sewing
Knot
Chain 4
Row 1: SC in 2nd chain from the hook, across (3)
Ch 1, turn
Row 2-10: SC across, CH 1, turn (3)
(For tighter knot, stop after row 8)
Assembly
Sew body into circle, lengthwise. Flatten with seam in center.
Place body on knot, and place barrette on top of body.
Sew the knot together through the barrette, cinching center to create bow.
Secure the bow to the loops on barrette with yarn, through back side of bow only.
Tell me, what are you using your bow for??


One Comment