Crochet Teddy Bear Hat Pattern

I loved teddy bears growing up! Forget the Cabbage Patch dolls that were all the rage in the 80s - I was all about my collection of bears! In fact, I’m still a big teddy bear fan, and one of my favorite gifts to make for kids is this adorable crocheted teddy bear hat. A very good friend of mine is having her first baby this summer - a little boy - and I wanted to create a gift for her that was both practical and fun. This teddy bear hat, combined with a matching teddy bear lovey (coming soon) will make the perfect present.
To create this hat, I used Bernat Softee Baby Cotton yarn, which is slightly thinner than the yarn I typically use to make an earflap hat. To compensate, I used a slightly smaller hook and increased the stitch count from my typical pattern, and it turned out great. Be sure to check your gauge when picking a size below as the exact size of the hat will vary based on your own crochet style, yarn and hook that you are using.
This cute hat is created from the top down. I’ll show you how to make all of the pieces for the face, and then we’ll stitch them all together and add the braided ties to finish off the look.
Specifications
Sizes
Instructions included below for sizes 0-3 months through child size
Gauge
6 rows and 9 sts in DC = 2” x 2”
MATERIALS
Hook: Size G crochet hook. This is my favorite crochet hook and yarn needle set I got from WooCrafts. The set is really affordable and comes with 9 different-sized crochet hooks, 8 yarn needles, stitch markers and a cute carrying case.
Yarn: ~125 - 200 yds DK weight yarn in tan (A), cream (B), baby blue (C) and scrap amounts of dark brown for the eyes and mouth. I used Bernat Softee Baby Cotton yarn.
Yarn or tapestry needle
Scissors
ABBREVIATIONS
Ch = chain
Sl st = slip stitch
SC = single crochet
SCD = single crochet decrease
HDC = half double crochet
DC = double crochet
MR = magic ring - find a great tutorial here
Instructions
HAT
Size: 0 to 3 months
Magic ring, 10 DC in magic ring, join to first DC, chain 2
Round 2: 2 DC in each around, join, chain 2 (20 DC)
Round 3: *2 DC in first, DC in next*, repeat around, join, chain 2 (30 DC)
Round 4: *2 DC in first, DC in next 2*, repeat around, join, chain 2 (40 DC)
Round 5: *2 DC in first, DC in next 3*, repeat around, join, chain 2 (50 DC)
Round 6: *2 DC in first, DC in next 9*, repeat around, join, chain 2 (55 DC)
Round 7-16: DC in each around, join, chain 2
Size: 3 to 6 months
Magic ring, 10 DC in magic ring, join to first DC, chain 2
Round 2: 2 DC in each around, join, chain 2 (20 DC)
Round 3: *2 DC in first, DC in next*, repeat around, join, chain 2 (30 DC)
Round 4: *2 DC in first, DC in next 2*, repeat around, join, chain 2 (40 DC)
Round 5: *2 DC in first, DC in next 3*, repeat around, join, chain 2 (50 DC)
Round 6: *2 DC in first, DC in next 9*, repeat around, join, chain 2 (55 DC)
Round 7: *2 DC in first, DC in next 10*, repeat around, join, chain 2 (60 DC)
Round 8-16: DC in each around, join, chain 2
Do not fasten off; begin on earflap - see pattern below
Size: 6-9 months
Magic ring, 10 DC in magic ring, join to first DC, chain 2
Round 2: 2 DC in each around, join, chain 2 (20 DC)
Round 3: *2 DC in first, DC in next*, repeat around, join, chain 2 (30 DC)
Round 4: *2 DC in first, DC in next 2*, repeat around, join, chain 2 (40 DC)
Round 5: *2 DC in first, DC in next 3*, repeat around, join, chain 2 (50 DC)
Round 6: *2 DC in first, DC in next 9*, repeat around, join, chain 2 (55 DC)
Round 7: *2 DC in first, DC in next 10*, repeat around, join, chain 2 (60 DC)
Round 8: *2 DC in first, DC in next 10*, repeat around, join, chain 2 (65 DC)
Round 9-17: DC in each around, join, chain 2
Do not fasten off; begin on earflap - see pattern below
Size: 9-12 months
Magic ring, 10 DC in magic ring, join to first DC, chain 2
Round 2: 2 DC in each around, join, chain 2 (20 DC)
Round 3: *2 DC in first, DC in next*, repeat around, join, chain 2 (30 DC)
Round 4: *2 DC in first, DC in next 2*, repeat around, join, chain 2 (40 DC)
Round 5: *2 DC in first, DC in next 3*, repeat around, join, chain 2 (50 DC)
Round 6: *2 DC in first, DC in next 9*, repeat around, join, chain 2 (55 DC)
Round 7: *2 DC in first, DC in next 10*, repeat around, join, chain 2 (60 DC)
Round 8: *2 DC in first, DC in next 10*, repeat around, join, chain 2 (65 DC)
Round 9: *2 DC in first, DC in next 12*, repeat around, join, chain 2 (70 DC)
Round 10-18: DC in each around, join, chain 2
Do not fasten off; begin on earflap - see pattern below
Size: 18 months - ~2 years
Magic ring, 10 DC in magic ring, join to first DC, chain 2
Round 2: 2 DC in each around, join, chain 2 (20 DC)
Round 3: *2 DC in first, DC in next*, repeat around, join, chain 2 (30 DC)
Round 4: *2 DC in first, DC in next 2*, repeat around, join, chain 2 (40 DC)
Round 5: *2 DC in first, DC in next 3*, repeat around, join, chain 2 (50 DC)
Round 6: *2 DC in first, DC in next 9*, repeat around, join, chain 2 (55 DC)
Round 7: *2 DC in first, DC in next 10*, repeat around, join, chain 2 (60 DC)
Round 8: *2 DC in first, DC in next 10*, repeat around, join, chain 2 (65 DC)
Round 9: *2 DC in first, DC in next 12*, repeat around, join, chain 2 (70 DC)
Round 10: *2 DC in first, DC in next 12*, repeat around, join, chain 2 (75 DC)
Round 11-18: DC in each around, join, chain 2
Do not fasten off; begin on earflap - see pattern below
Size: Child
Magic ring, 10 DC in magic ring, join to first DC, chain 2
Round 2: 2 DC in each around, join, chain 2 (20 DC)
Round 3: *2 DC in first, DC in next*, repeat around, join, chain 2 (30 DC)
Round 4: *2 DC in first, DC in next 2*, repeat around, join, chain 2 (40 DC)
Round 5: *2 DC in first, DC in next 3*, repeat around, join, chain 2 (50 DC)
Round 6: *2 DC in first, DC in next 9*, repeat around, join, chain 2 (55 DC)
Round 7: *2 DC in first, DC in next 10*, repeat around, join, chain 2 (60 DC)
Round 8: *2 DC in first, DC in next 10*, repeat around, join, chain 2 (65 DC)
Round 9: *2 DC in first, DC in next 12*, repeat around, join, chain 2 (70 DC)
Round 10: *2 DC in first, DC in next 12*, repeat around, join, chain 2 (75 DC)
Round 11: *2 DC in first, DC in next 12*, repeat around, join, chain 2 (80 DC)
Round 12-19: DC in each around, join, chain 2
Do not fasten off; begin on earflap - see pattern below
EARFLAP PATTERN
Row 1: ch1, SC in next 10, ch1, turn (10 SC)
Row 2: SCD, SC in next 6, SCD, ch1, turn (8 SC)
Row 3: SC in next 8, ch1, turn (8 SC)
Row 4: SCD, SC in next 4, SCD, ch1, turn (6 SC)
Row 5: SC in next 6, ch1, turn (6 SC)
Row 6: SCD, SC in next 2, SCD, ch1, turn (4 SC)
Row 7: SC in next 4, ch1, turn (4 SC)
Row 8: SCD, SCD, ch1, turn (2 SC)
Row 9: SCD, fasten off, weave in ends
The second earflap will follow the same pattern as the first. To see placement of second earflap, see photo in Monkey Hat Crochet Pattern.
OPTIONAL: ACCENT TRIM
If desired, in yarn (C): ch1, then SC around the entire bottom border of the hat including over the edges of the earflaps; at the tips of the earflaps, 2 SC in order to more smoothly round the corners; join; bind off; weave in ends.
Snout
To start: With cream yarn (B), Ch 7
Rd 1: 2 DC in 3rd ch from hook, DC in next 2 ch, 2 DC in final ch, rotate so you are now crocheting down the other side of the chain: 2 DC, then DC in next 2 ch, 2 DC in final ch, sl st to join to first st in round. (12 sts)
Going forward, crochet in the round
Rd 2: ch 2, *2 DC in first st, 2 DC in next, DC in next 2 sts, 2 DC in next, 2 DC in next* repeat from * sl st to join to first st in round. (20 sts)
Rd 3: ch 2, *2 DC in first st, DC in next, 2 DC in next, DC in next 4 sts, 2 DC in next, DC, 2 DC in next st* repeat from * sl st to join to first st in round. (28 sts)
Rd 4: ch 2, *2 dc in first st, DC in next 6* repeat from * around sl st to join to first st in round. (32 sts)
Rd 5: ch 2, *2 dc in first st, DC in next 7* repeat from * around sl st to join to first st in round. (36 sts)
Rd 6: SC in each st around, sl st to join to first st in round. Tie off. Leave long tail to sew on hat. The finished snout should be slight domed shape (see Image 1 below).
Nose
To start: with blue yarn (C), Ch 5
Row 1: SC in 2nd from hook, SC across, ch 1, turn (4 sts)
Row 2: scd, scd, ch 1, turn (2 sts)
Row 3: scd, do not tie off. SC around entire nose, placing 2 SC in each corner. Tie off, leaving long tail to sew onto snout. (See Image 2 below)
Ears
(make two)
Rd 1: Using yarn color (B), Mr, 9 DC in MR sl st to join
Rd 2: ch1, 2 SC, 2 SC, 2 DC in next 5, 2 SC in next two st, sl st to join (18 sts)
Rd 3: sl st, insert hook into next stitch as if to slip stitch, instead of pulling through the cream yarn switch to the blue yarn (C), yarn over and pull blue yarn through to complete the slip stitch using the blue yarn, *2 SC in next st, SC* repeat from star 6 more times. You will not fully complete this round round with blue yarn, there should be 4 sts left unworked at the end of this round (25 sts total - 21 in blue, 4 in cream)
Rd 4: switch to tan yarn (see Image 3 below), ch1, *2 HDC in next st (cream st), HDC in next 2 st* repeat from * around until one st remains, HDC, sl to join to first HDC st in round (33 sts)
Rd 5: ch1, SC in each st around, sl st to join, tie off leaving long tail to sew ear onto hat.

Image 1

Image 2
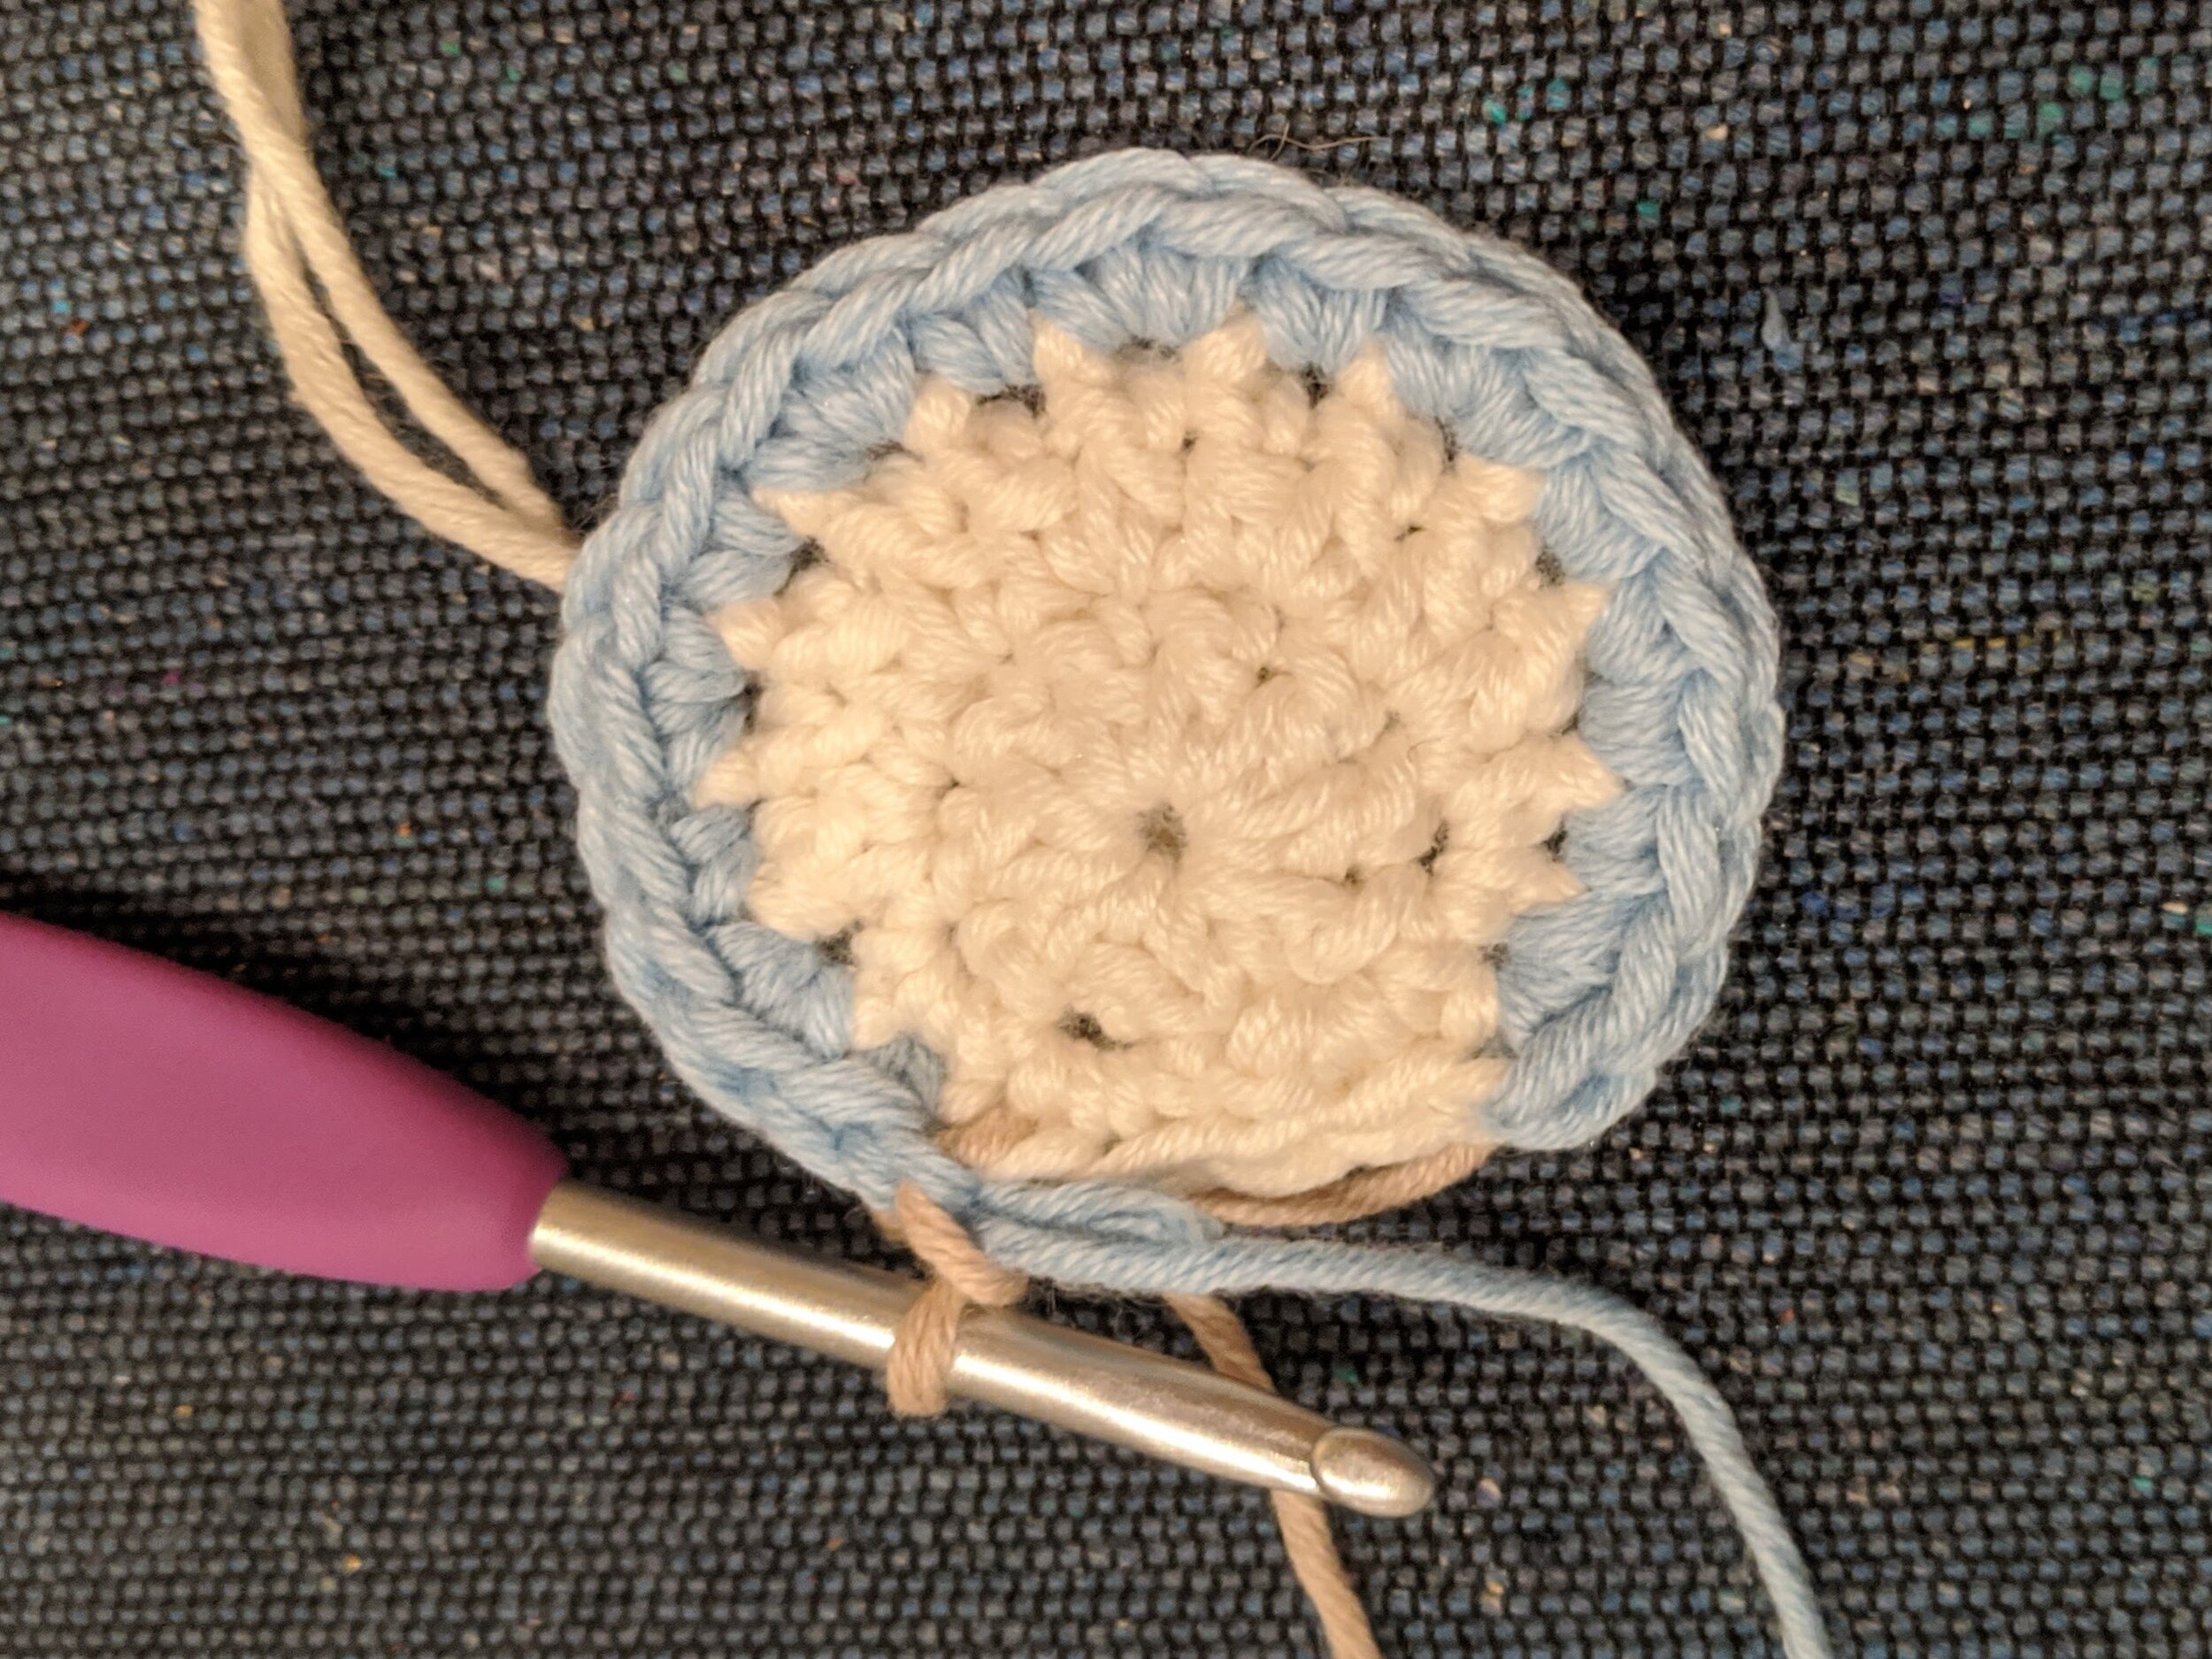
Image 3
Assemble the Hat
Step 1: Using the long tail of blue yarn, sew the nose onto the snout. The top of the nose should align with the top of round 4 of the snout. Tie off and weave in ends.
Step 2: Using dark brown yarn and yarn needle, stitch the mouth onto the snout as indicated in the photos. Tie off.
Step 3: Using the long tail of cream yarn, stitch the snout onto the body of the hat. The bottom of the snout should be positioned 2 rows above the bottom of the hat (not including the optional accent row. Once you have stitched ~75% of the way around the snout, stuff the snout with poly-fil stuffing or scrap yarn until it is firm to the touch. Close the gap by stitching the remaining 25% of the way around the snout onto the hat. Tie off and weave in ends.
Step 4: Using dark brown yarn and yarn needle, stitch the eyes and eyebrows (optional) onto the hat. The eyes should be centered one round above the snout about 4-5 sts apart. Tie off.
Step 5: Using the long tail tan yarn and yarn needle, sew the first ear onto the hat. On the 12 month old hat, the top of the ear is positioned around round 6 and the bottom at round 10. Use your best judgment and place the ears where they look best to you. Tie off and weave in ends. Repeat with the second ear.
Braided Ties
To make the tie for one side of the hat, cut the following:
2 strands of yarn A; ~4 ft long each
2 strands of yarn B; ~4 ft long each
2 strands of yarn C; ~4 ft long each
Thread all 6 pieces of yarn through the corner stitch at the bottom of the earflap so that half of each strand is on either side of the earflap. Group the like colors together and braid together. Tie all strands together in a knot at the end. Cut yarn so that tassel measuring about 1-1.5” remains.
Repeat this same process for the tie on the other side being careful to ensure that the ties on both sides are the same length.

***You may make and sell products from my patterns but if you do I ask that you link back to my post. Please do not copy and post this pattern and claim it as your own, or attempt to sell this pattern. Please do not re-publish photos as your own.