For those of you following my Crochet Bucket List Series. In between filling those buckets I have also been crocheting baskets and rugs. The baskets make perfect teacher gifts. Which you can fill with chocolates or flowers. If they are yarn lovers, you can fill them with yarn.
They are super easy to crochet and you can use T-yarn, any bulky yarn or any other yarn in your stash.
Let me show you how to make them.
Difficulty: Beginner.
Time: 60 minutes. (depending on size)
Sizes: Will depend on your number of beginning rounds as well as your number of side rounds.
With t-shirt yarn and a 12 mm hook: 4 rounds at the bottom and 8 rounds on the sides, gives me a basket of 20 cm in diameter and 20 cm in height.
With eco-fusion from Nurturing Fibres and a 3,5 mm hook: 2 rounds at the bottom and 7 rounds on the sides, gives a cute tiny basket of 3 cm in diameter and 4 cm in height.
For the photo tutorial I used a DK Acrylic and a 4,5 mm hook.
Terminology used is US (American).
ABBREVIATIONS
| mc
ch
ss
sc
rnd
st/s
beg
hdc
bl/s
dc
[12] |
magic circle
chain
slip stitch
single crochet
round
stitch/es
beginning
half double crochet
back loop/s
double crochet
stitch count for round in green and Italic |
DOUBLE CROCHET IN THE ROUND INCREASES
(Remember: When you are working in a spiral, you need to use a stitch marker to mark your last stitch of the round)
| round |
increase in every |
total of stitches |
| 1 |
No increase |
12 |
| 2 |
Every stitch |
24 |
| 3 |
Every 2nd stitch |
36 |
| 4 |
Every 3rd stitch |
48 |
| 5 |
Every 4th stitch |
60 |
| 6 |
Every 5th stitch |
72 |

Bottom:
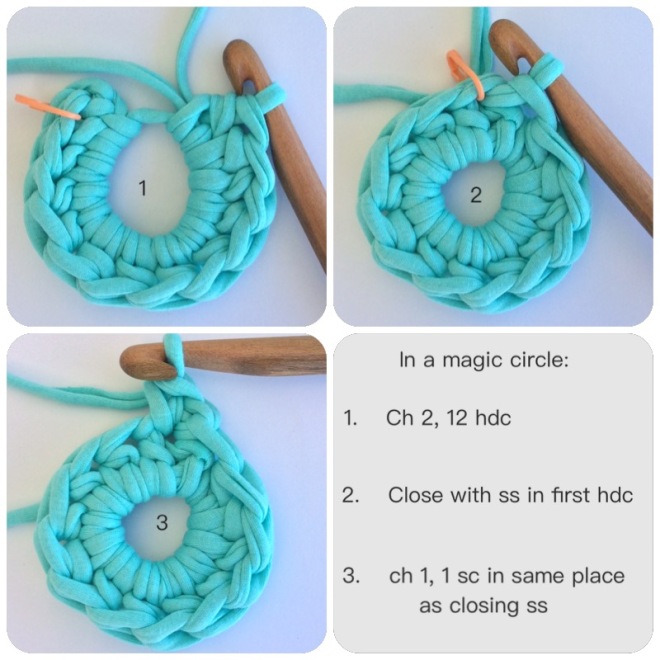
rnd 1: Into mc: ch 1, 2 sc, 2 hdc, 8 dc, do not close round [12 sts]
rnd 2: ( Your first dc of rnd 2 is going into the first sc of rnd 1. ( and that is how you begin a dc spiral! )
From here on you need to put a stitch marker in your last stitch of each rnd.
Make sure you can find that 1st sc to work into before you pull your magic ring tight. )
2 dc in each st all around, do not close rnd. [24 dc]
rnd 3: Your first dc of rnd 3 is going to be into the first dc of rnd 2
* 1 dc, 2dc * all around, stitch marker in last stitch, do not close rnd. [36 dc]
You should have a pretty good idea of spiral crochet now. You can now decide how big you want the bottom of your basket. For a larger bottom, you just carry on with your spiral rounds using the increase table above.
After your last dc in rnd 3 you need to taper down to get an even “end”.
This is how you do it:
Work the following into each of the next stitches:
last dc, 2 hdc, 2 sc
Your spiral should look a bit more roundish now! Do not end off here. You are starting your side right here after that last sc.

Side:
Work in the back loops for the first round of your side.
To bring your side up to dc height: 2 sc, 2 hdc, then dc all around. ( stitch marker in your 1st sc )

When you come around to your first sc you made in the back loop, you simply dc in the normal way (under both loops of that sc) and then carry on with normal dc stitches in each stitch all around.

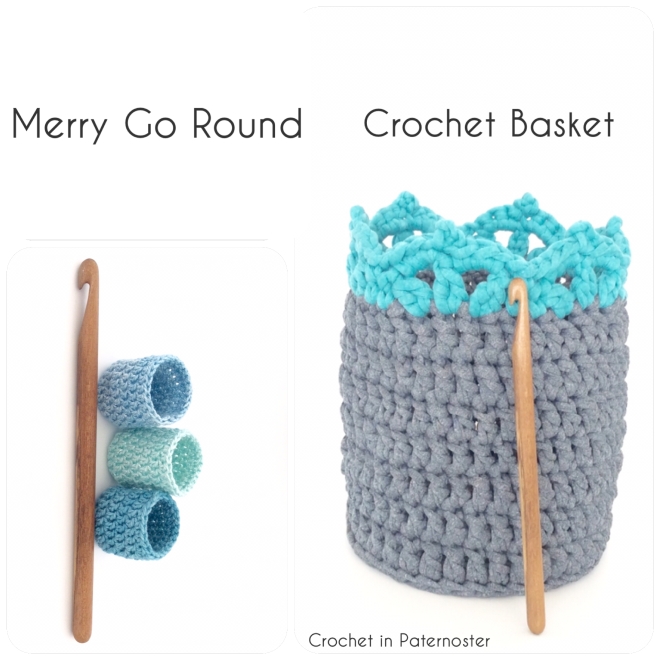
You do not need stitch markers for your rounds from here on, because you are just going around and around until you are happy with the height of your basket. Hence the name: Merry Go Round!
When you decide you are happy with the height of your basket, you taper down again to get the top part sort of even: last dc, 3 hdc, 3 sc, 2 ss and work away the end.
OR don’t work away the end and carry on with a pretty edge/border.
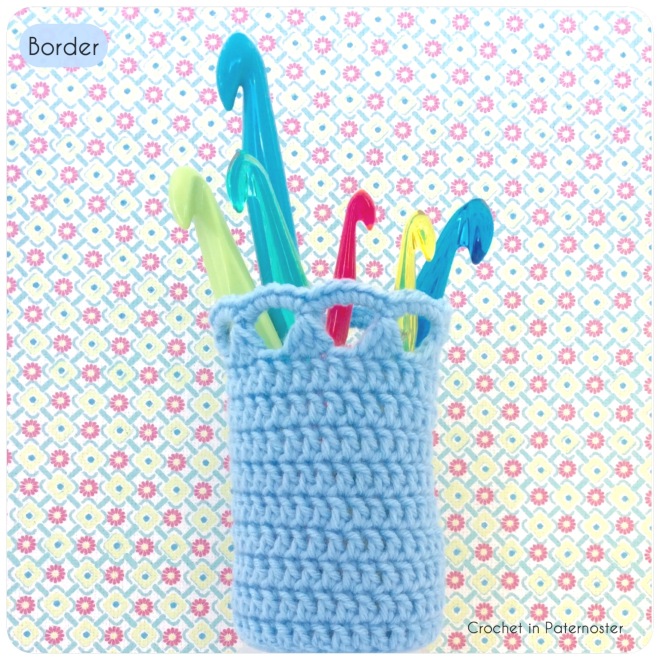
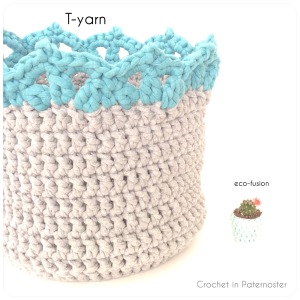
My Border on this light blue basket is done over two rounds. ( the border also “doubles” as handles if you want to carry your basket )
1st round: dc 3 tog, skip 1, ch5
2nd round: into each ch5 loop: 5 sc
What else can you crochet with this pattern?
Chair Leg Socks:
I used Eco-Fusion from Eco-Fusion from Nurturing Fibres and a 3,5 mm hook.
Measure the diameter of the bottom of your chair leg.
Mine was 2,5 cm. Crochet your bottom until it is 2,5 cm, then crochet in the back loops to bring the sides up. (Work away your beginning tail here, as it is difficult reaching it when your sock is finished.) Then you go around and around until you decide they are long enough. I stopped at eight rounds.
These will come in very handy to protect our painted cement floors in our new house.

My wonderful Testers’ basket photos started coming in and I just love what they made!

Nicci left her basket as is with no border. Neat!

Elize made a scallop edge on her basket. Love the pink and the heart!

Ria used a scallop edge as well and added a red ribbon.
Susan used the crab stitch for her edge.
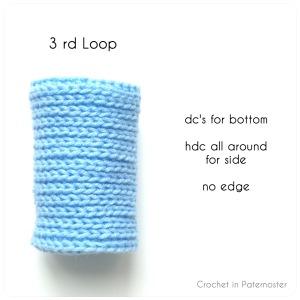
Crochet in the 3rd Loop to get this knit like basket.
Polly from Every Trick on the Hook has an excellent tutorial for crocheting in the 3rd loop. Do take some time and browse her blog. She is an excellent designer, her patterns are stunning and very well written and explained.
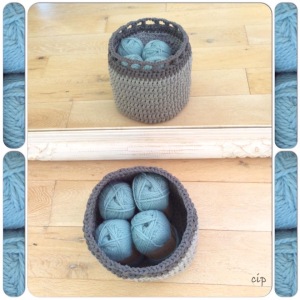
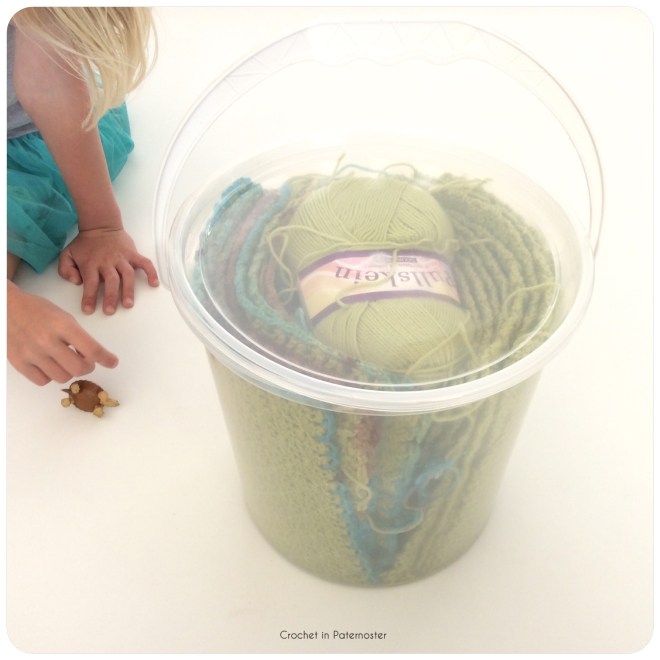
Make a fellow yarn addict’s day with a basket filled with yarn. I made this one for our neighbour after she looked after our cats when we went on holiday.

For this one I used slip stitches for the top edge round.

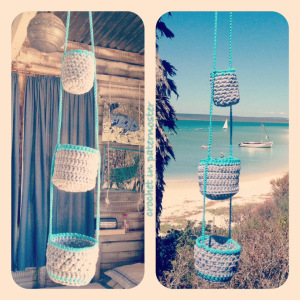
Make three baskets. Crochet a long string and attach them all together. These hanging baskets are ideal for small spaces.

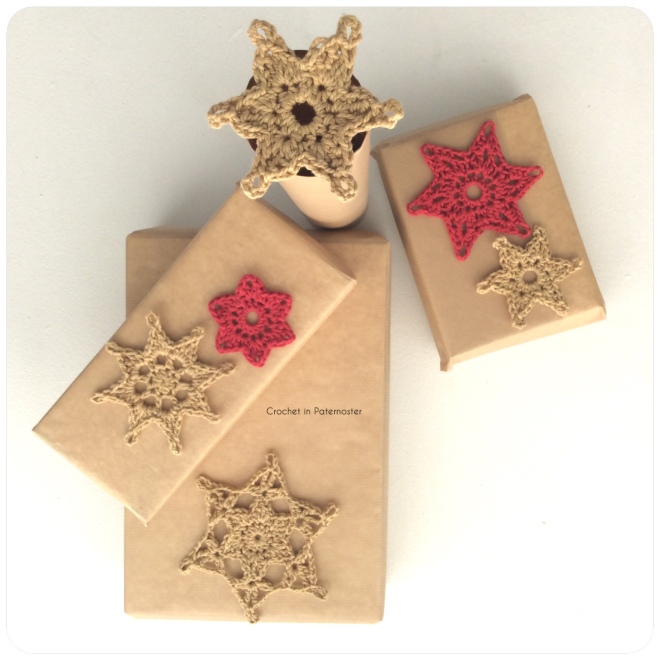
I made these teeny tiny plant pot covers with eco-cotton. They are 3 cm in diameter. A very cute gift .
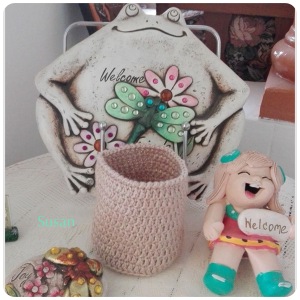
This photo gives you an idea of the sizes. The t-shirt yarn basket was a gift to a crochet friend. I love the fancy border. I will have to share the border in a next post, because it is getting very late now.