FRIDAY FUN DAY!
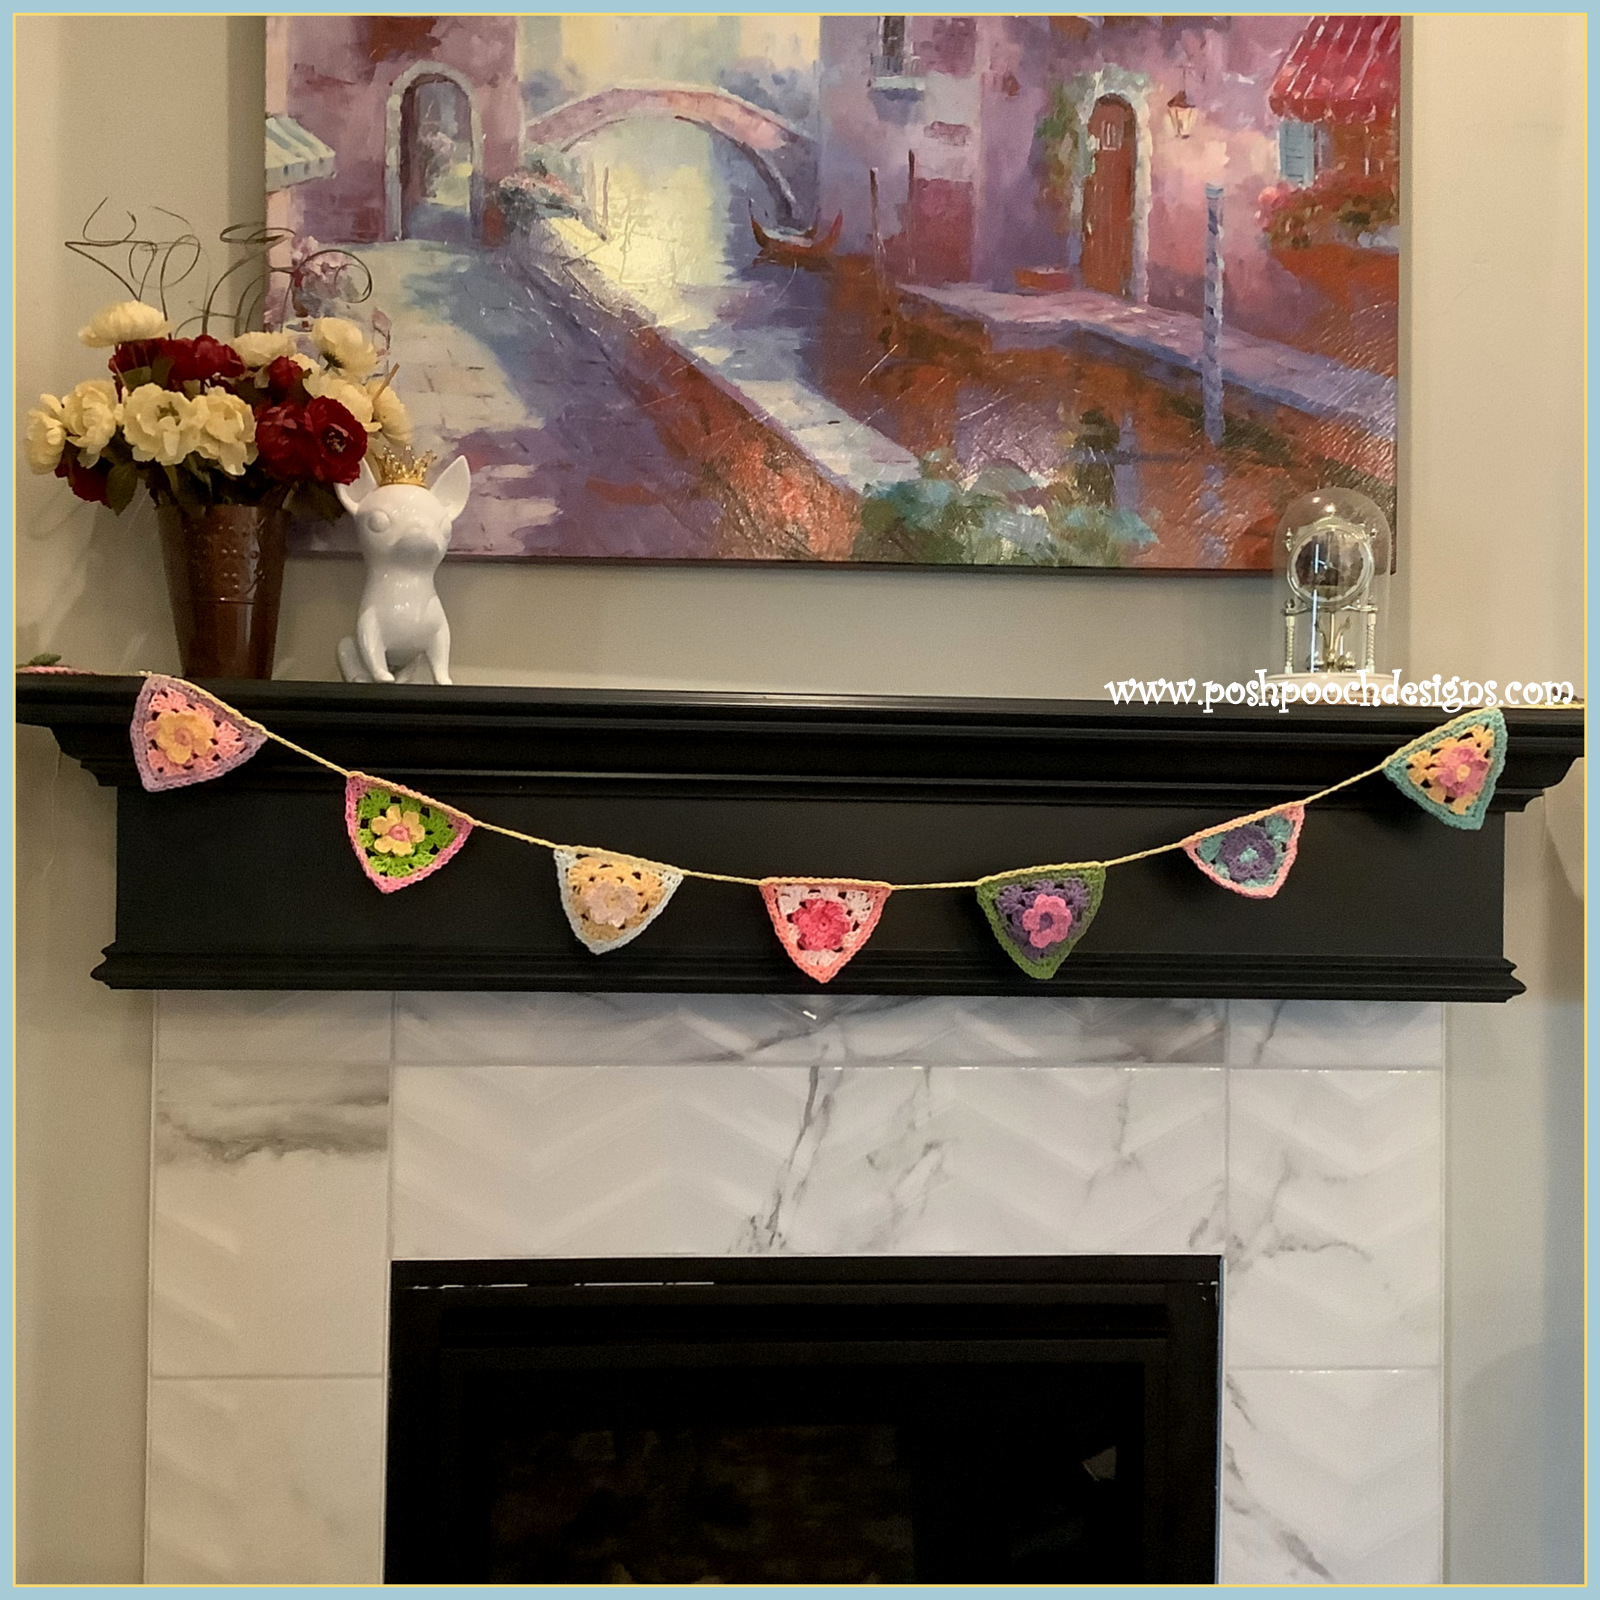
Flower Bunting Crochet Pattern
The Flower Bunting is a fun way to add spring and
summer to your garden, deck, patio,
porch or even indoors.
The Flower Bunting / Banner is perfect for decorating for
parties, get togethers and celebrations. So many color
and theme possibilities.
I designed it using left over medium (4) weight
cotton yarns and really love the combination
of spring colors. You can choose any colors of yarn
or colors you have on hand.
Acrylic yarn also works great for this project, as well.
They stitch up quickly, too. They Measure about 5 Inches
each pennant, so you can stitch up a bunch in just a
short time. And be ready to decorate.
See The Video On My Crochet Youtube
Flower Bunting Crochet Pattern
Please Add This Crochet Pattern To Your Raverly Favorites
Skill: Easy
Materials:
Crochet hook
– H / 5 mm.
Yarn - med
(4) Cotton 1 oz. per Bunting/ assort colors
Yarn needle
Stitches:
Chain (ch)
Single
Crochet (sc)
Double
Crochet (dc)
Space (sp)
Size: 5 X 5 Inches
Notes:
Ch1 Does Not
Count as a st
Ch3 Counts
as a dc
Color changes
are not indicated in the Pattern
When
changing colors ch3 after the color change
Pattern:
R: 1 – Ch5,
join in a circle, ch1
6 sc in the
circle, join to the 1
st sc with a slst
(6 sc)
R; 2 – Ch2,
2 dc, ch2 in the 1st sc,
*Slst in the
next sc, Ch2, 2 dc, ch2 in the sc*
Repeat From
* to * 4 more times,
Join to the
ch2 with a slst (6 petals)
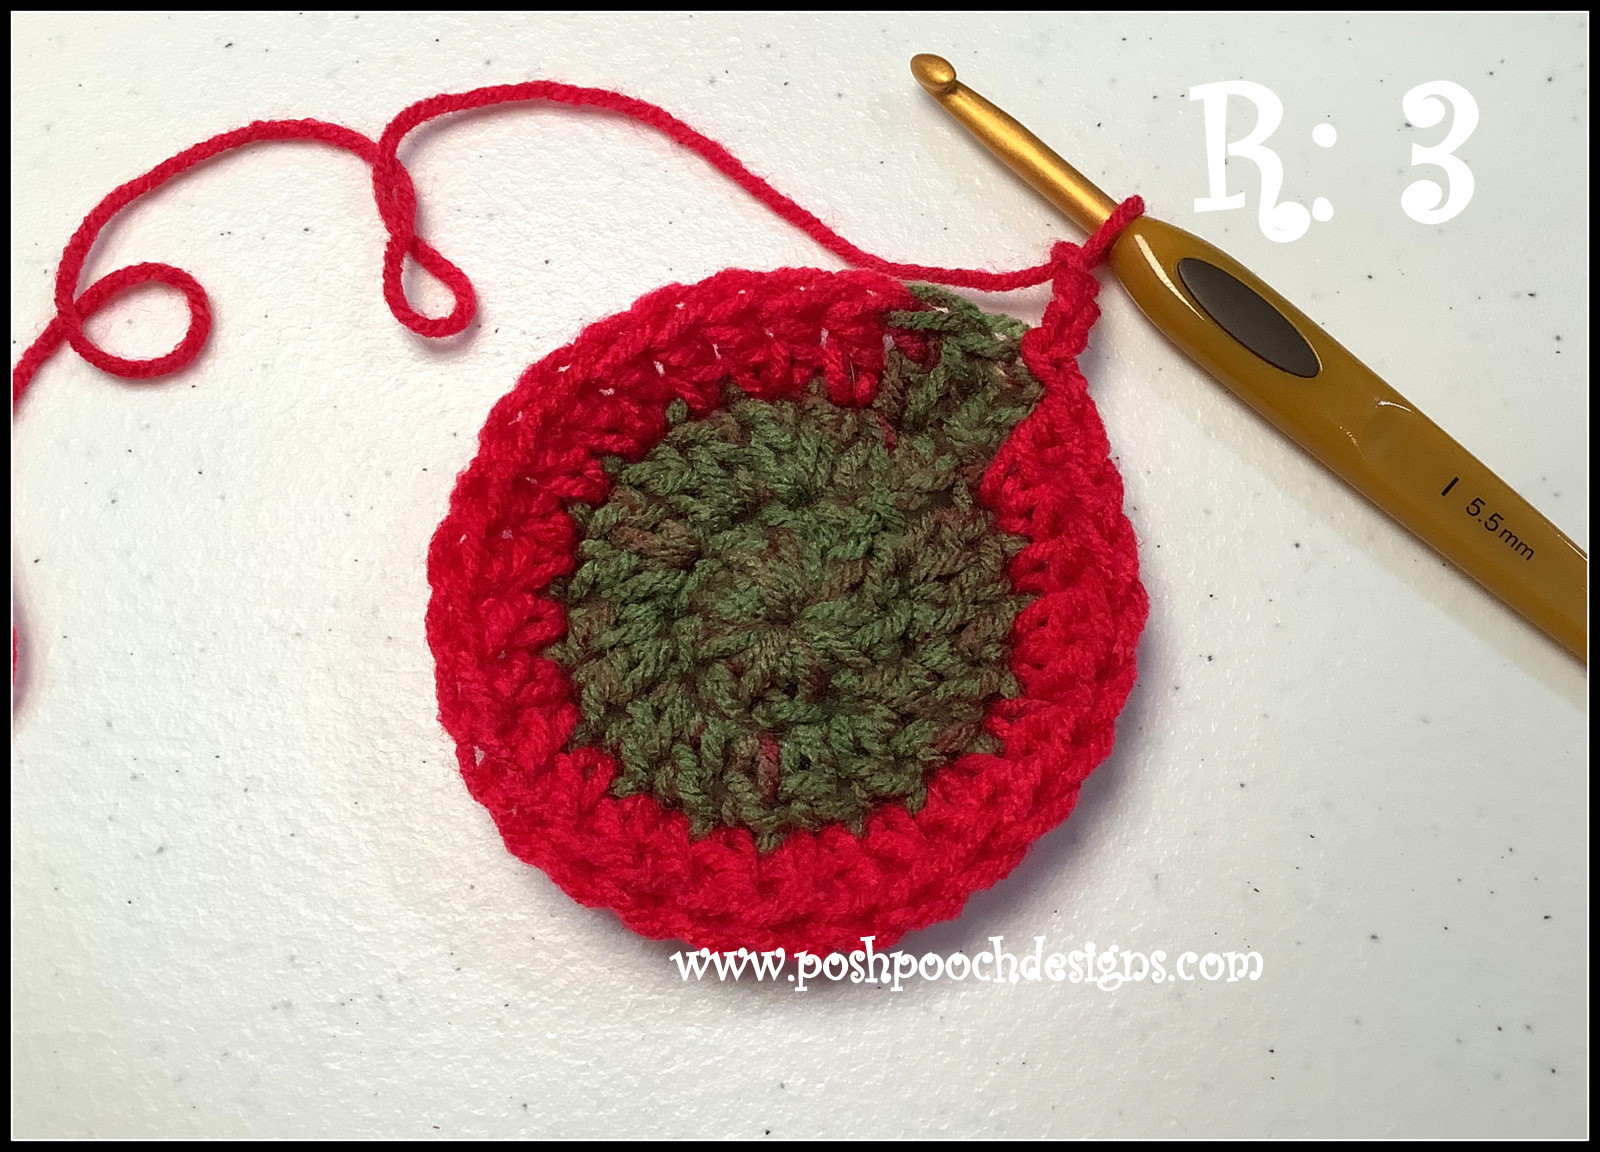
R: 3 –Slst in
the back of the 1st slst, ch 3,
Sk the next
slst, Slst in the back of the 3rd slst, ch 3,
Sk the next
slst, Slst in the back of the 5th slst, ch 3,
Join to the
1st slst with a slst, slst in the ch3 sp.
(3 chs)
R: 4 – Ch3,
2dc, ch2, 3dc, ch2 in the 1st ch3 sp,
3dc, ch2,
3dc, ch2 in the 2nd ch3 sp,
3dc, ch2,
3dc, ch2 in the 3rd ch3 sp,
Join to the
ch3 with a slst, slst in the next 2 dc,
Slst in the
ch2 sp and ch3
(3 corners
made)
R: 5 - Ch3,
2dc, ch2, 3dc, ch2 in the 1st ch2 sp,
3 dc in the
next ch2 sp,
3dc, ch2,
3dc, ch2 in the next ch2 sp,
3 dc in the
next ch2 sp,
3dc, ch2,
3dc, ch2 in the next ch2 sp,
3 dc in the
next ch2 sp,
Join to the
ch3 with a slst, slst in the next 2 dc,
Slst in the
ch2 sp and ch1
(3 corners and
3 dc clusters)
R: 6 – *Sc,
ch2 sc in the 1st corner, ch 3,
Sk the 3 dc,
sc in the next ch2 sp,
Ch3, Sk the
3 dc, sc in the next ch2 sp,
Ch3, Sk the
next 3 dc*
Repeat From
* to * 2 more times,
Join to the sc
with a slst, slst in the ch2 sp
(3 corners,
3 ch3, 2 sc on each side)
R: 7 – *Sc,
Ch1, SC in the corner, sc in the next sc,
3 sc in the
next ch3 sp, sc in the sc,
3 sc in the
next ch3 sp, sc in the sc,
3 sc in the
next ch3 sp, sc in the sc*
Repeat from
* to * 2 more times,
Join to the
sc, slst in the ch1 sp,
Tie off weave
in the ends.
Blocking in necessary,
but it makes for nice crisp triangles.
Make as many
as needed for the size
Bunting you are making.
Ch 20, slst
across the top of the 1st triangle,
*ch1, sk 1 st, slst in the next*
Repeat from * to *across the top of the bunting
* Ch 10, Repeat from * to *across the top of the bunting
Continue to
repeat * to * for the length needed,
Ch 20, tie
off, knot both ends of the ch and you are
Ready to
hang your flower bunting.
An Add Free PDF file is Available
In My Ravelry Shop At This LINK