
Crochet Crochet for Her or Him
July 7th, 2018
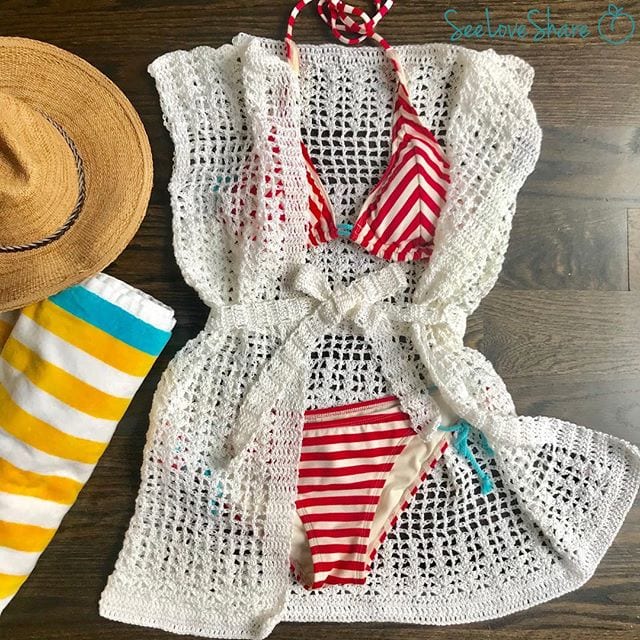
Crochet Shells & Squares Coverup
I finally made something for myself and it is so so so so worth it. Using crochet thread takes a bit of getting used to but the result is a very unique look that looks like it has a designer spin to it. Try it out and let me know how you like it!

Notes:
This pattern is worked from the bottom up in one solid piece. The pattern alternates from large shells, to medium, to squares.. etc. Please follow diagram below for pattern repeat. Directions are for size Small/Medium. Changes for sizes Large/X-Large and XX-Large/XXX-Large are in parentheses.
Finishing:
Fold the front panels over and sew top of shoulder together starting from the arm hole. Sew approximately 1/2 through each side panel.
Add a finishing boarder. Starting at the top of the front right collar, dc in every st around the front right panel, across the back, and over the front left panel. Bind off and weave in.


Choose the hight for the belt that best suits your preference. Weave the belt through the open loops in the shells so the belt can be adjusted easily.
Enjoy!
One Response to Crochet Shells & Squares Coverup