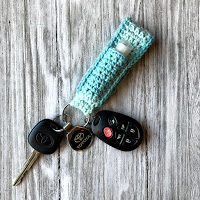
I know I’m not the only one who is always losing their chapstick! I usually keep a car chapstick, a purse chapstick, a nightstand chapstick, an office chapstick… you get the idea! But now I don’t have to search everywhere for my chapstick because it’s right on my crochet keychain.
You may look at it and worry that the chapstick will fall out. But it is made with an F 3.75mm Crochet Hook and Worsted Weight yarn. I used left over Caron Cotton Cakes in the photo. The Keychain Wristlet is not very wide, so the pocket fits tight around the chapstick.
I bought a pack of keyrings at my local Walmart store. If you follow my crochet patterns you usually find that most of the extra materials that I use can be found at Walmart. It is close to my house and the craft stores are across town.
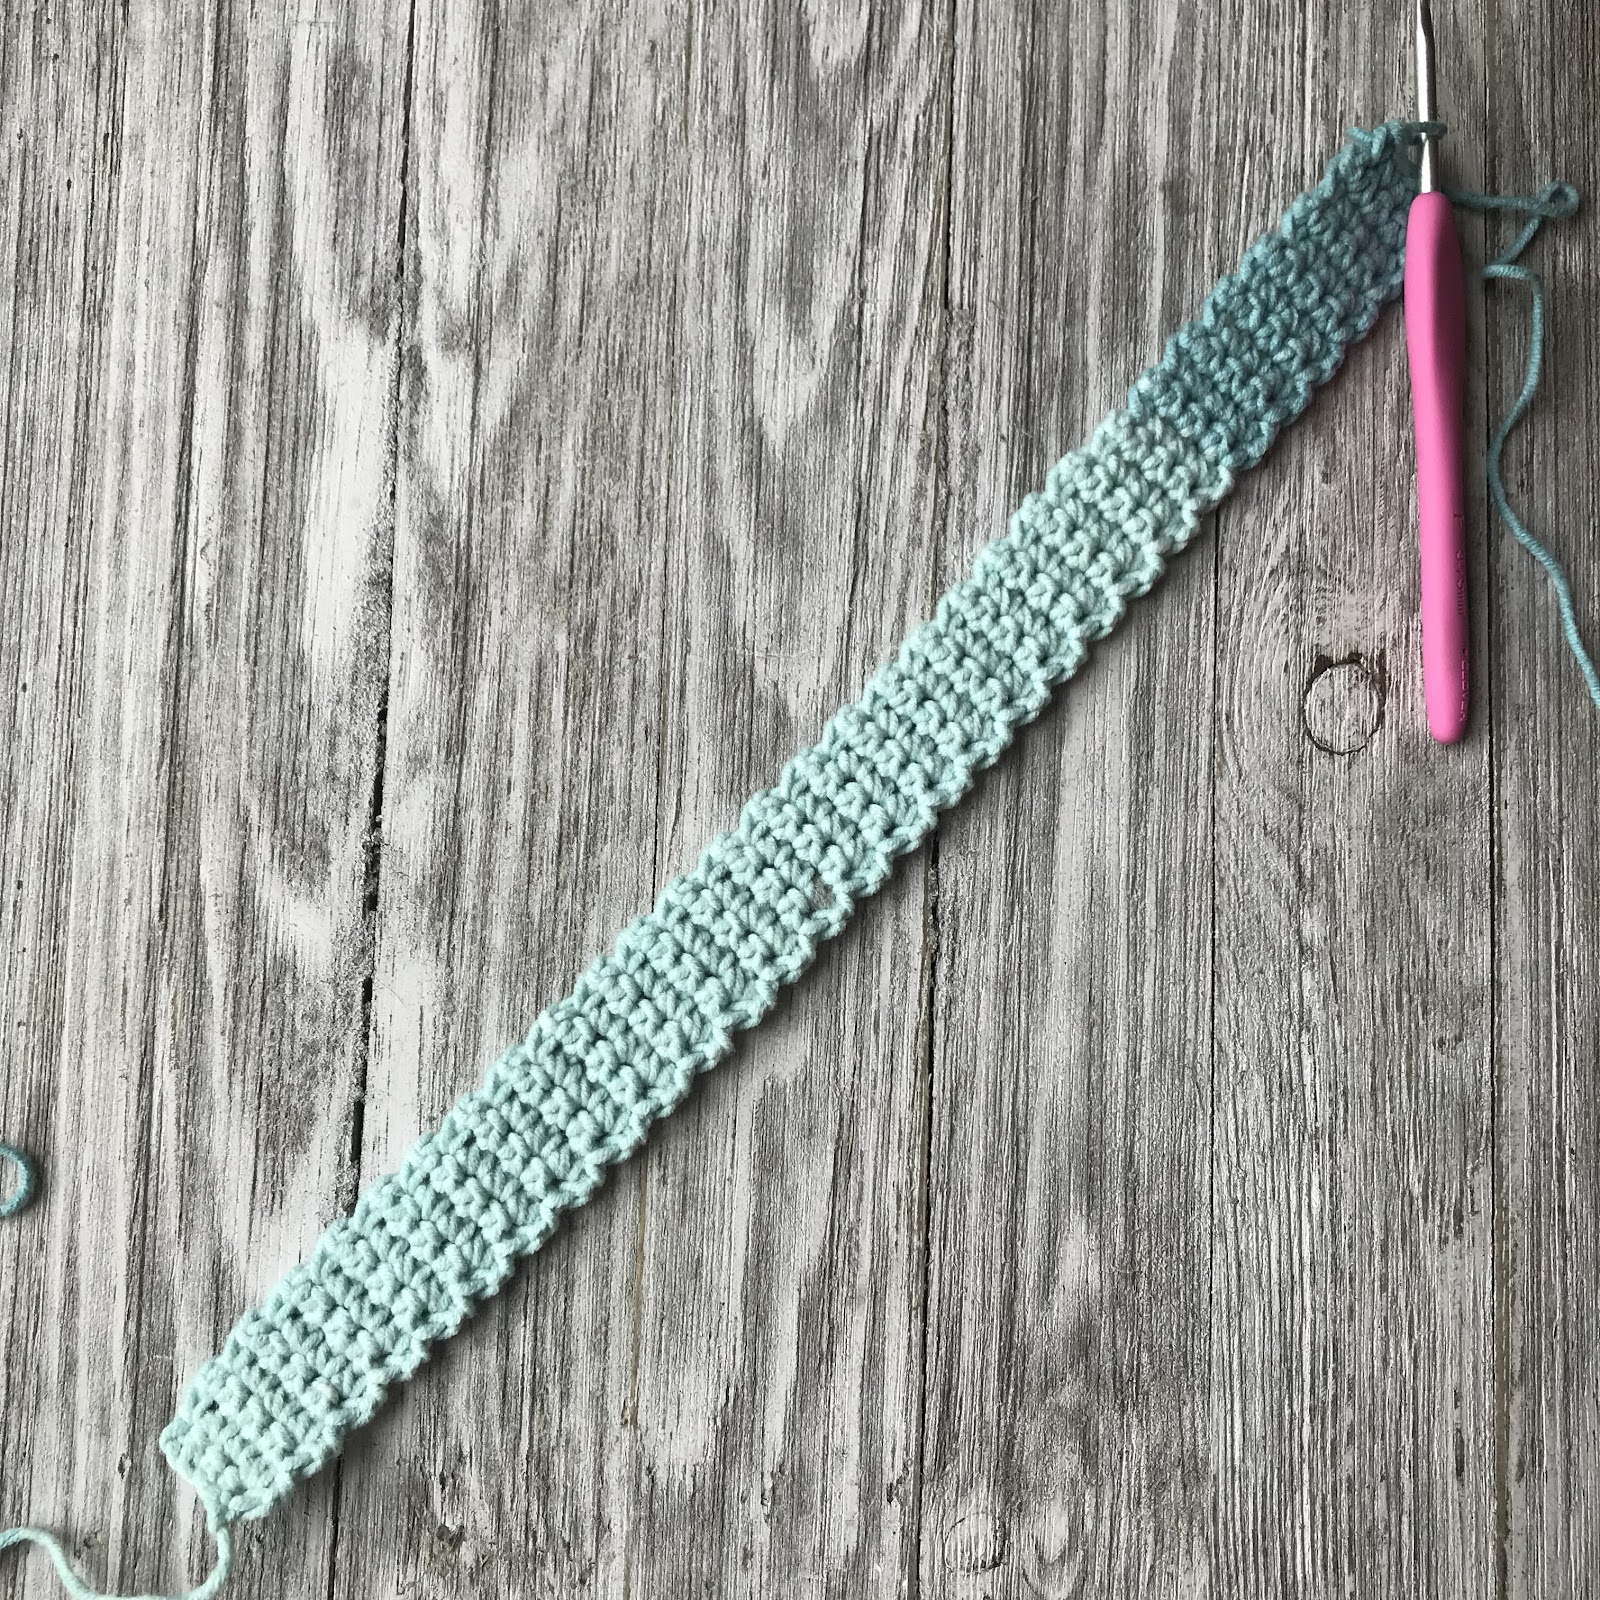
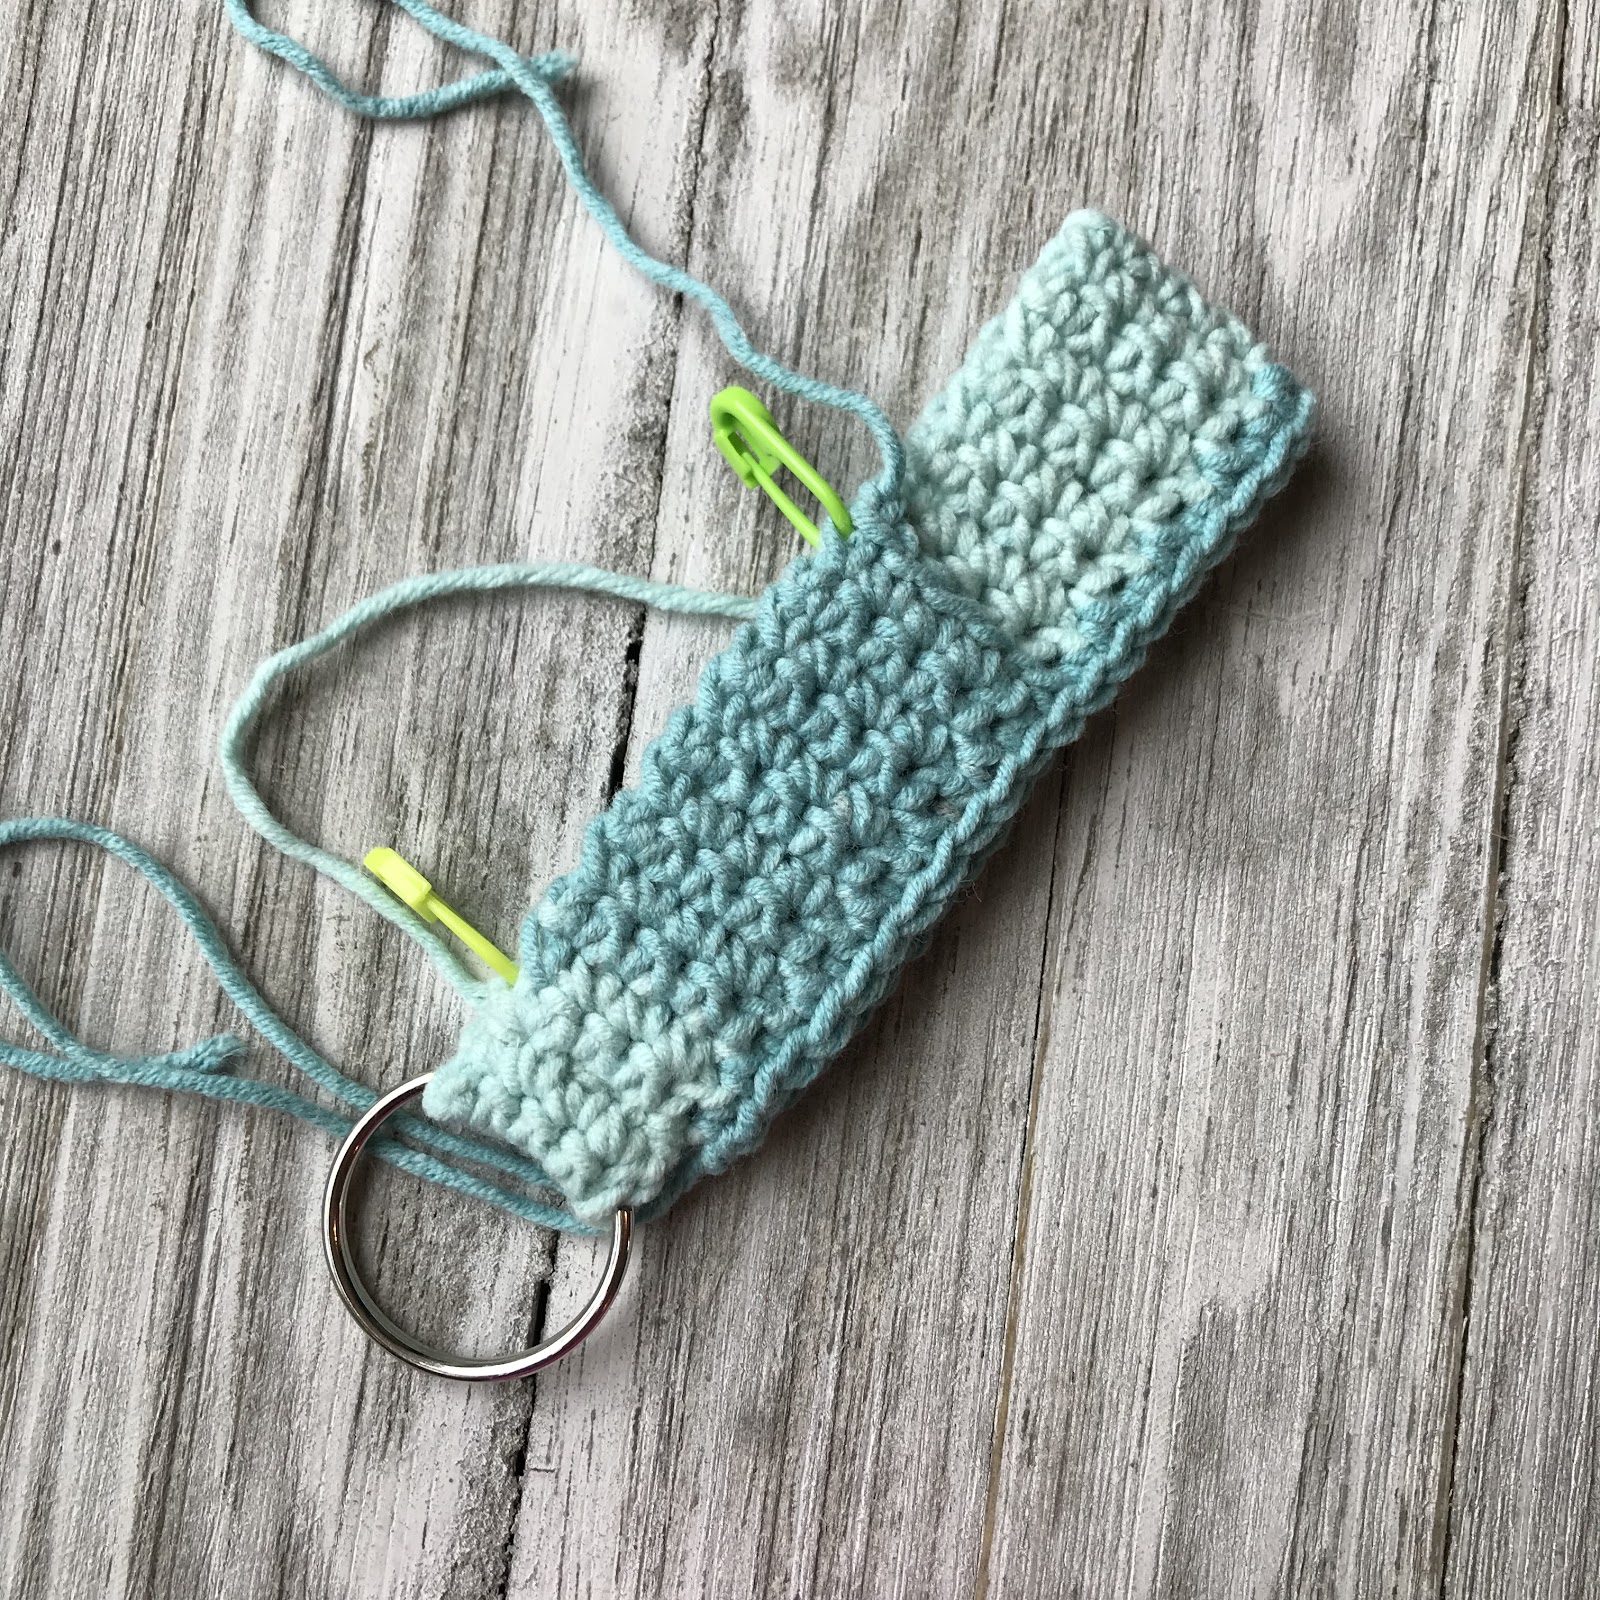
The crochet keychain pattern is worked in a long rectangle. Add a keyring then fold over the rectangle to make a pocket and sew together. Add a border and you are finished! Easy peasy!
Chapstick Keychain Wristlet Crochet Pattern by Crochet it Creations

Materials Needed
- F 3.75mm Crochet Hook
- Caron Cotton cakes or any medium #4 weight yarn
- Scissors
- Tapestry Needle
- Key Ring
- 4 stitch markers
Gauge
- 1” square = 4 SC x 4 Rows
Stitches Used/Abbreviations (US Terms)
Pattern Notes
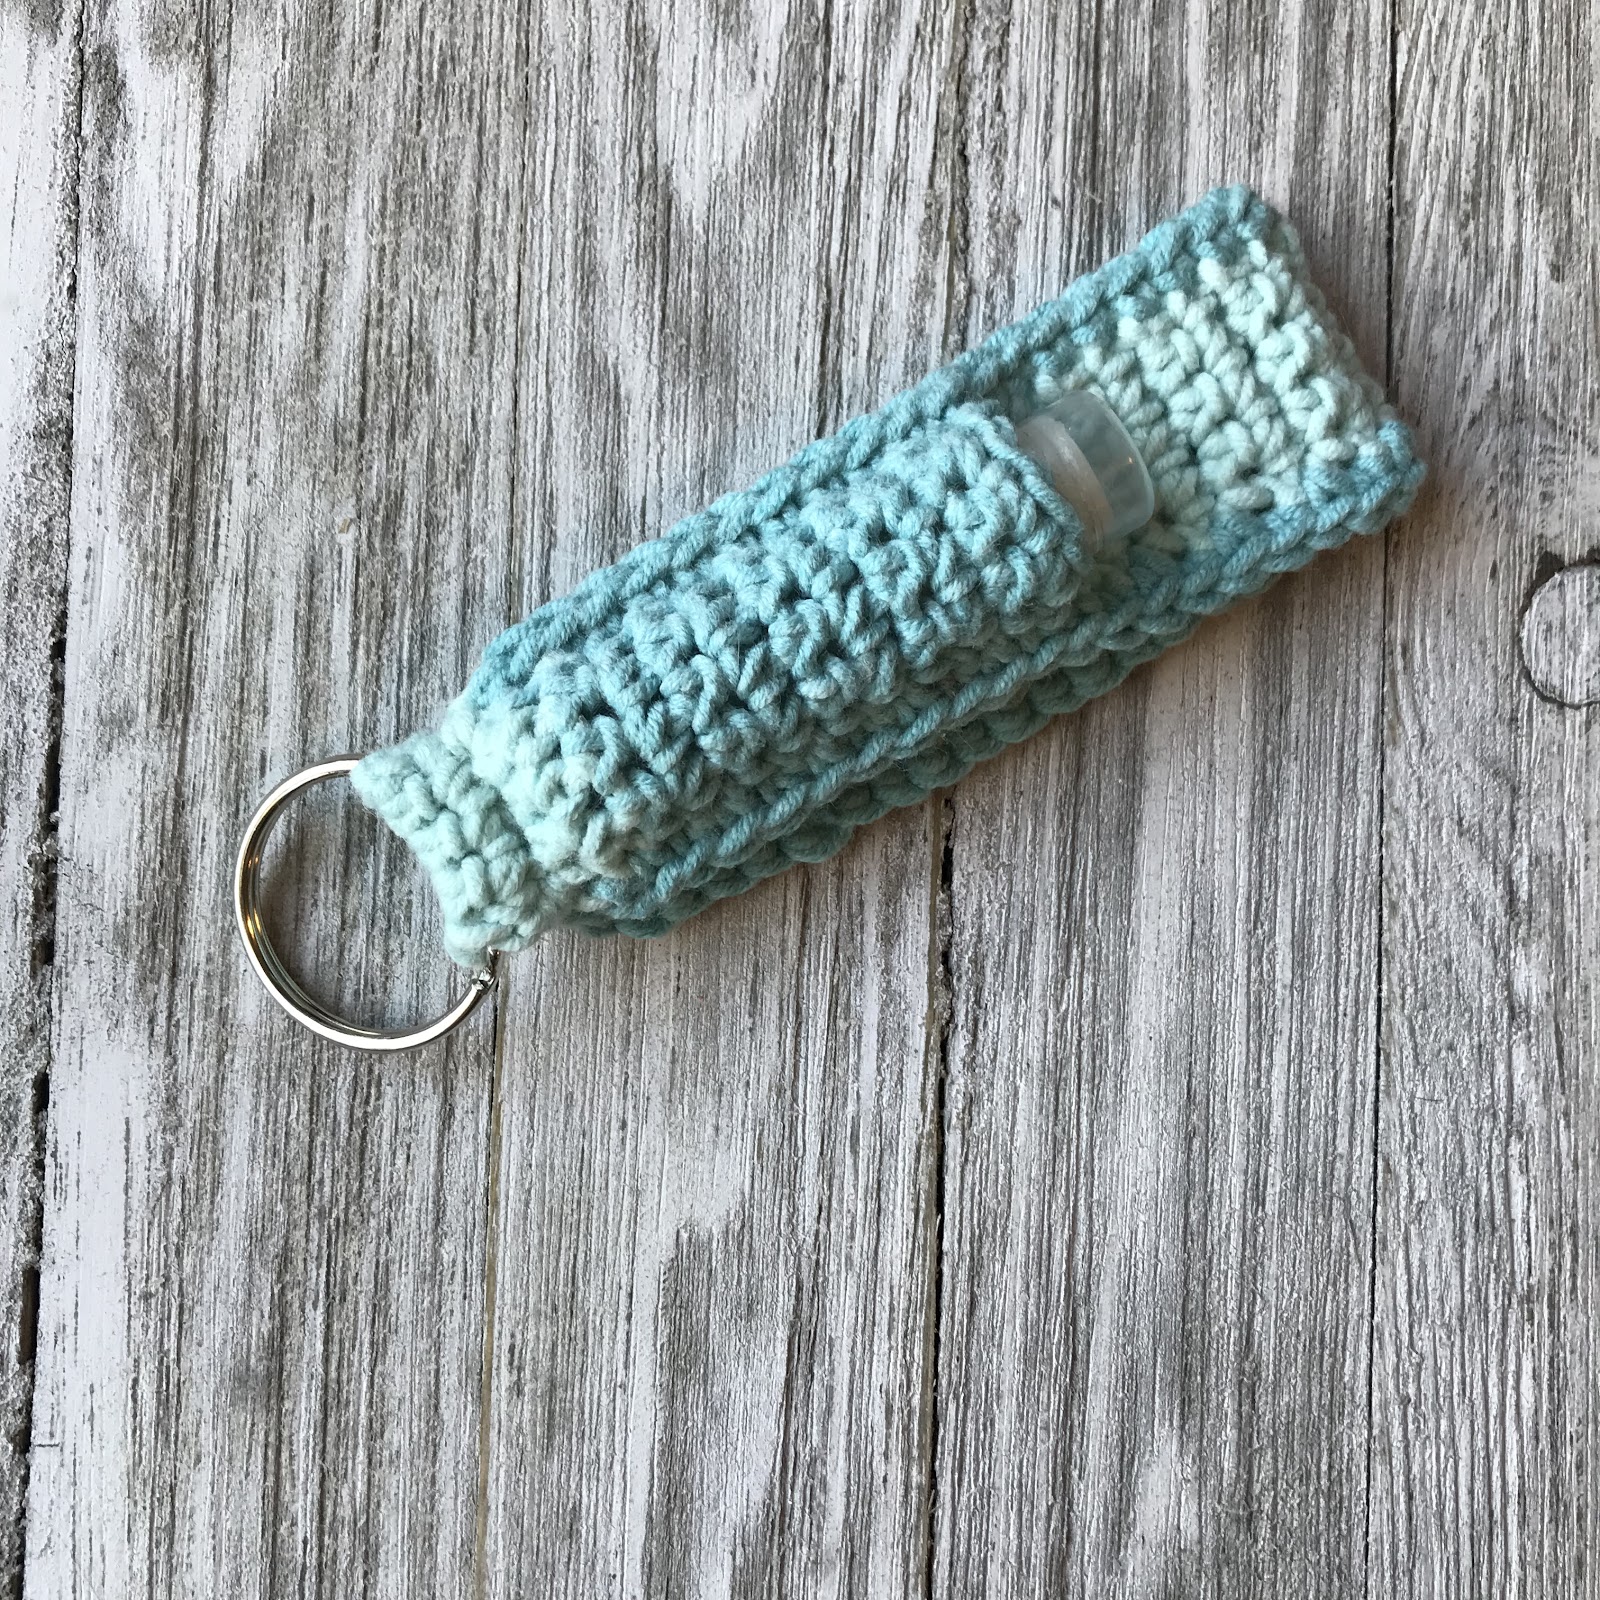
- Finished keychain measures 1”W x 5”
Leave a tail before making the slip knot for sewing. Chain 5
Row 1: SC in 2nd chain from hook and each chain across. (4) turn
Row 2 – 58: ch 1, sc across (4) turn
Finish off
Place the key ring on the strip. Your chapstick will measure about 12 rows. Count back 12 rows on the top and bottom of the strip. Fold the strip over itself where the 12 rows are overlapping. Place a stitch marker on each side to hold in place going through both layers on top and bottom where the chapstick pocket will be.

Take tail from beginning chain and sew the bottom of the chapstick pocket closed. You will need to do this from the inside of the key chain. Don’t cut tail….

Make sure that the keyring is at the bottom just below the pocket. Go across that same line just sewn and sew all the way through both layers along the keyring. This will keep the keyring from moving around. Weave in the end and cut tail.

Join to bottom stitch marker going through both rows for the pocket of the chapstick.

Place 1 SC in the end of each row around making sure to go through both rows when working around the chapstick pocket.

Continue to SC in the end of each row around. Sl st in last row, leaving rows around the keyring unworked. Finish off.
Repeat on other side being sure to close the other side of the pocket by SC through both layers together. Weave in ends.
Save for later or share with others using the share buttons at the top and bottom of post. If you have any questions please comment below or you can email me at jessica@crochetitcreations.com.
I love to see photos of your work and read your comments. Follow Crochet It Creations on all of your favorite social media sites! Join my Crochet It Creations Crochet Friends Facebook group to further connect!
You may sell your items made from my patterns. Please do not use my photos as your own to sell your work. A link back to my site is much appreciated when selling your items from my patterns. I hope you enjoy!
This site is supported by advertisers and may contain affiliate links. See copyright & disclosure policy here for more information.

Hi Jessica, I just came across your pattern at Crochet Patterns Galore. I am always looking for small items to make and give to the gals
who work at office of my family doctor. So, they are going to get one of these to hold their lip balm. I can buy the split rings at Michael’s
or Joann’s . Thank you for the pattern. 🙂
You are so welcome!
[…] Get Pattern […]