
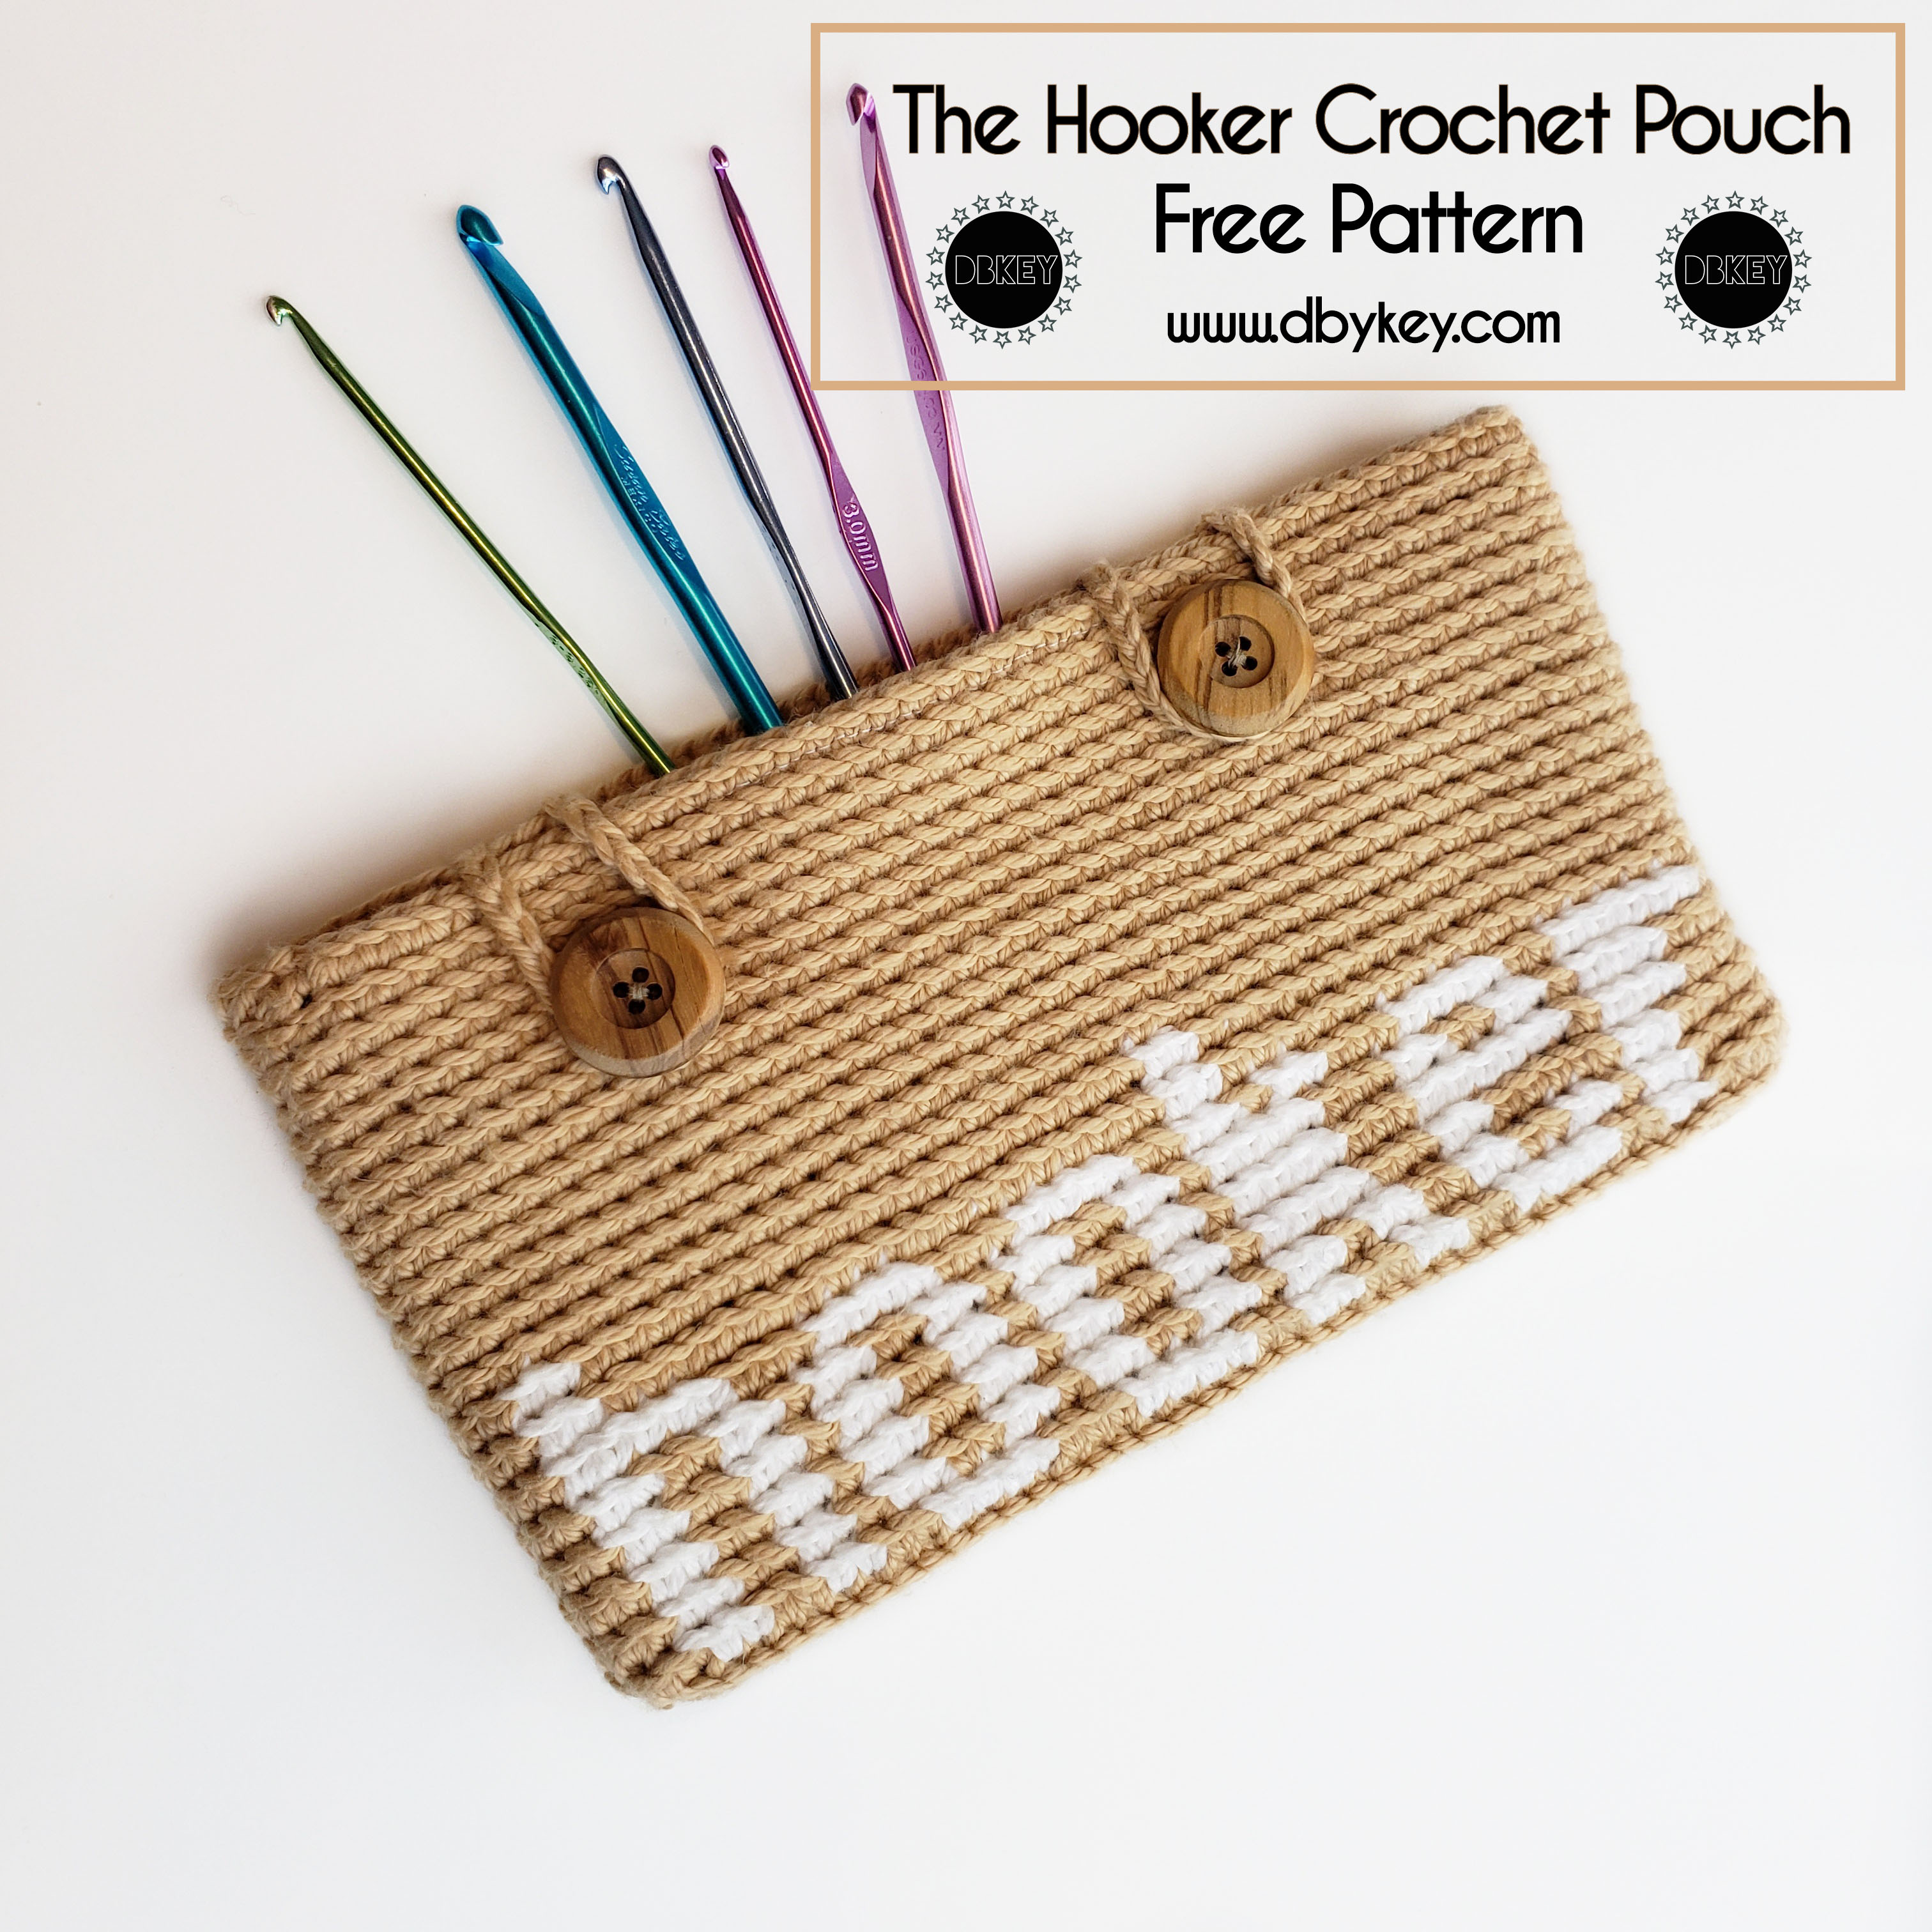
The Hooker Crochet Pouch
This post may contain affiliate links.
The perfect statement pouch to represent your tribe — the Hooker crochet pouch! If you’d like to know more about how this pouch came about, keep reading or just scroll down to get right to the free pattern.
Y’all, I’m so excited to FINALLY be sharing this pattern. This is one of my favorite pouch designs simply because it represents who I am – a hooker. No no no, not that kind of hooker…but the yarny kind of hooker. LOL!

This pouch first came about over 2 years ago! At the time I was a newbie designer and still figuring out this pattern writing thing, but I loved it so much so I couldn’t give up on it. So here we are, 2019, and the crochet pouch has risen again, and this time I just have to share it.

If you’ve been following me for a while, then you know that the first few posts on this blog were tapestry crochet pouches (Check out the Girl Boss crochet pouch or the Dope crochet pouch). I love tapestry crochet because it allows you the freedom to create almost any image you want simply by making strategic color changes. Although the color changes can be a daunting task, the great thing is the stitch never changes throughout the entire project. If you can single crochet, then you can the tapestry crochet technique should be a breeze!
The Inspiration
I am a believer that everything in your life, and everything you put back into the world should be a representation of who you are or who you want to be. I like to take that rule and apply it to everything that I create as well. Anything that I crochet or just make in general is a direct extension of me and who I am. One of the main reasons why tapestry crochet is near and dear to my heart is because as I grow and change, I can tweak this technique to grow and change with me. Today, it’s crochet pouches. Tomorrow, it could be it could be crochet garments. But they would both still use the same technique, which makes it special.
Okay, enough of the mushy stuff. Bring on the yarn!
The Pattern
- CLICK HERE to pin for later
- CLICK HERE to fave on Ravelry
- Finished Size: 4.5 inches tall x 7.5 inches wide
Materials
F/5-3.75MM Crochet Hook
2 different colors of 100% Cotton Yarn (Sample made with I Love This Cotton 100% Cotton Yarn)
Stitch Marker
Needle for weaving ends
Scissors
Closure of your choice (I used 2 buttons)
Abbreviations and Techniques
ch = Chain
mSC = Modified Single Crochet (If you’re unfamiliar with this stitch, click here to learn more!)
sl st = Slip Stitch
sts = Stitches
st = Stitch
• This pattern is worked in continuous rounds unless otherwise notated.
• Remember to place stitch marker in first stitch of each round to keep track of the beginning stitch.
• When a color is not in use, do not carry it throughout the project.
• The graph pattern is 44 stitches wide.
Start Here
Chain 45 to create the foundation chain with Color A.

Round 1: 1 mSC in the 2nd Ch from the hook (place stitch marker in 1st st); 1 mSC in the next 43 sts. (Rotate to begin working on the other side of the foundation chain.) 1 additional mSC in the last st worked ; 1 mSC in each of the next 43 sts. DO NOT JOIN. (88 mSC)
 Round 2: Add Color B. Begin working graph. (Lefties, start working the graph from the bottom left, and Righties start at the bottom right.)(88 mSC)
Rounds 3-21: Continue using graph pattern to complete rounds. After completing round 21, sl st to 1st st. (88 mSC)
Cut yarn and weave in ends.
Sew in liner (If you need help with the liner, Youtube has some great videos.
Add buttons or zipper.


I would absolutely love to see your how your project turned out! Share your finished work with me on Instagram!
@designsbykey
#dbkeypatterns


