
Marina Festival Top

For the free pattern of this top please continue on this page. Please consider supporting me by purchasing the 100% ad-free PDF with full charts for this pattern on my Ravelry or ETSY pages. Or consider joining my Patreon for member perks.
Heat Wave again! Which means it’s perfect weather to be releasing a load of summer patterns. I have a couple super cute ones ready for you guys, all in various stages of testing and finishing. So, I hope you’re excited about that!
I’ve also gotten on the planning stages of some fall/winter things as well, so I can’t wait to get started on those! Lots in the works in the next couple month!
ABOUT THIS Top:
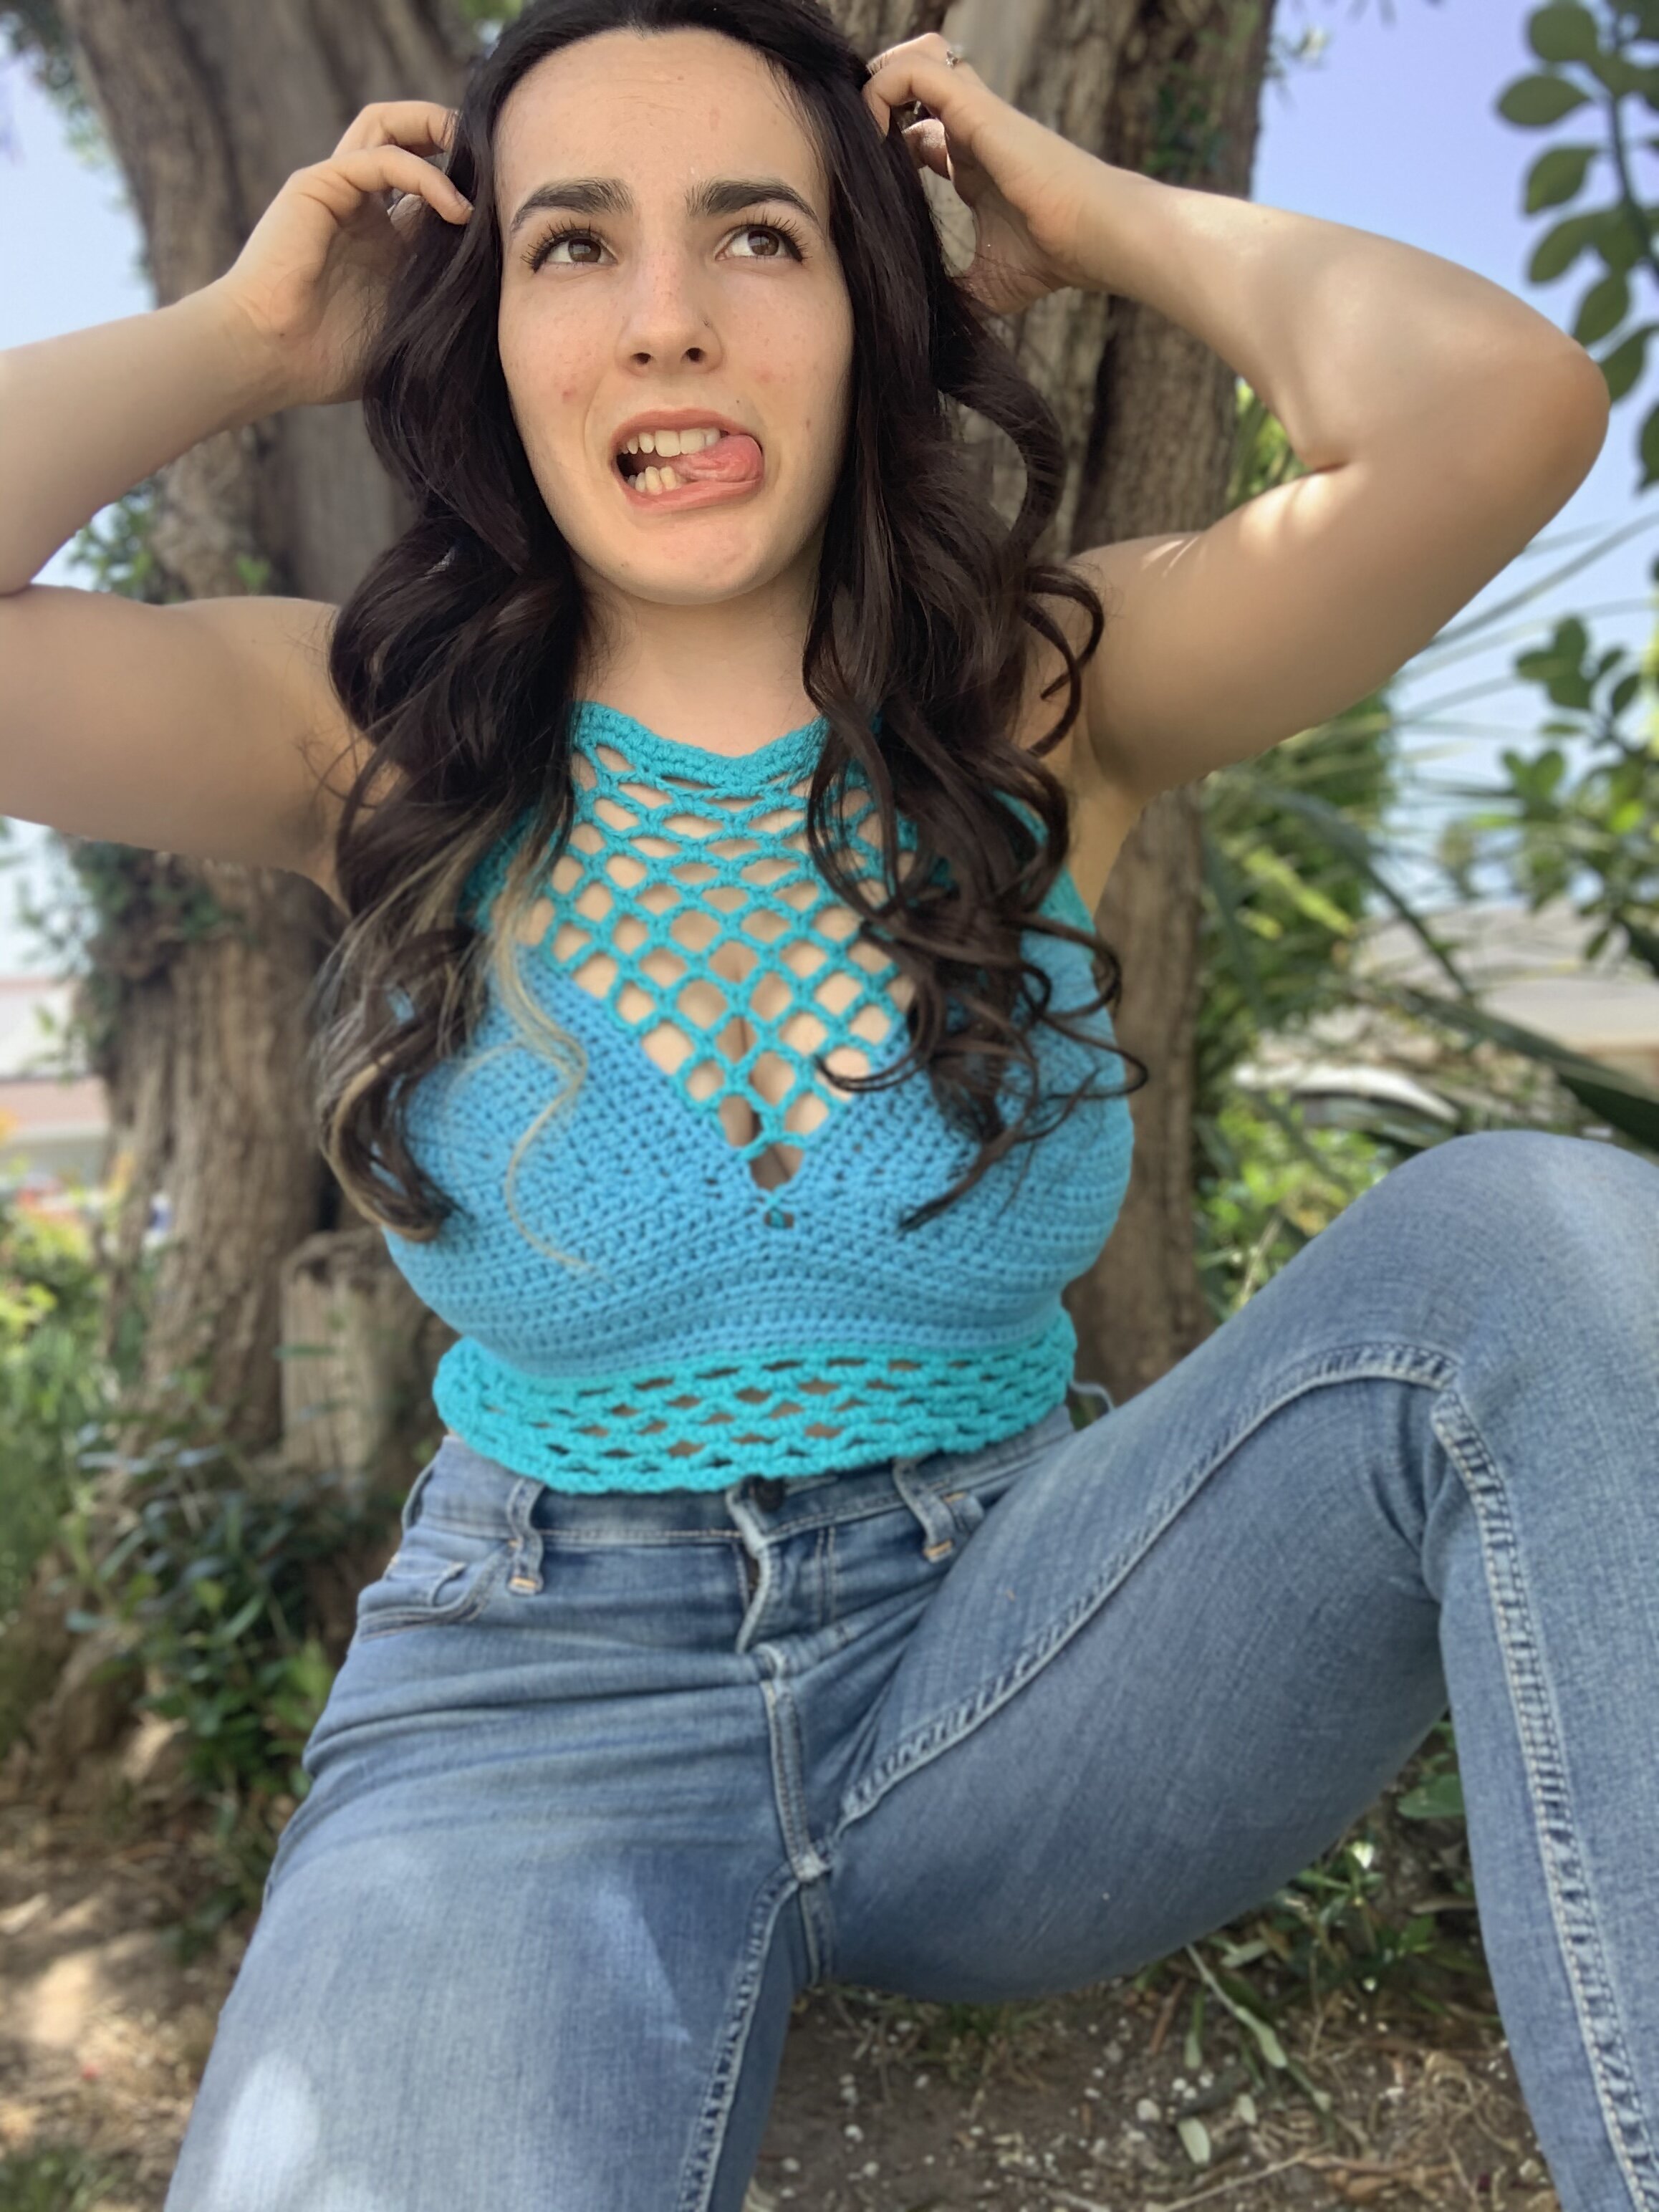
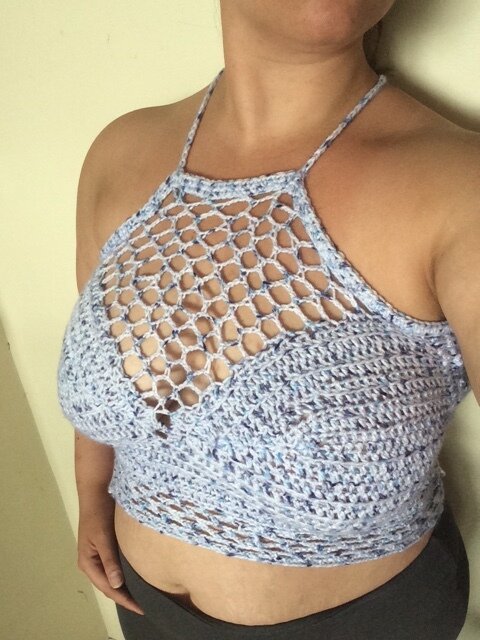
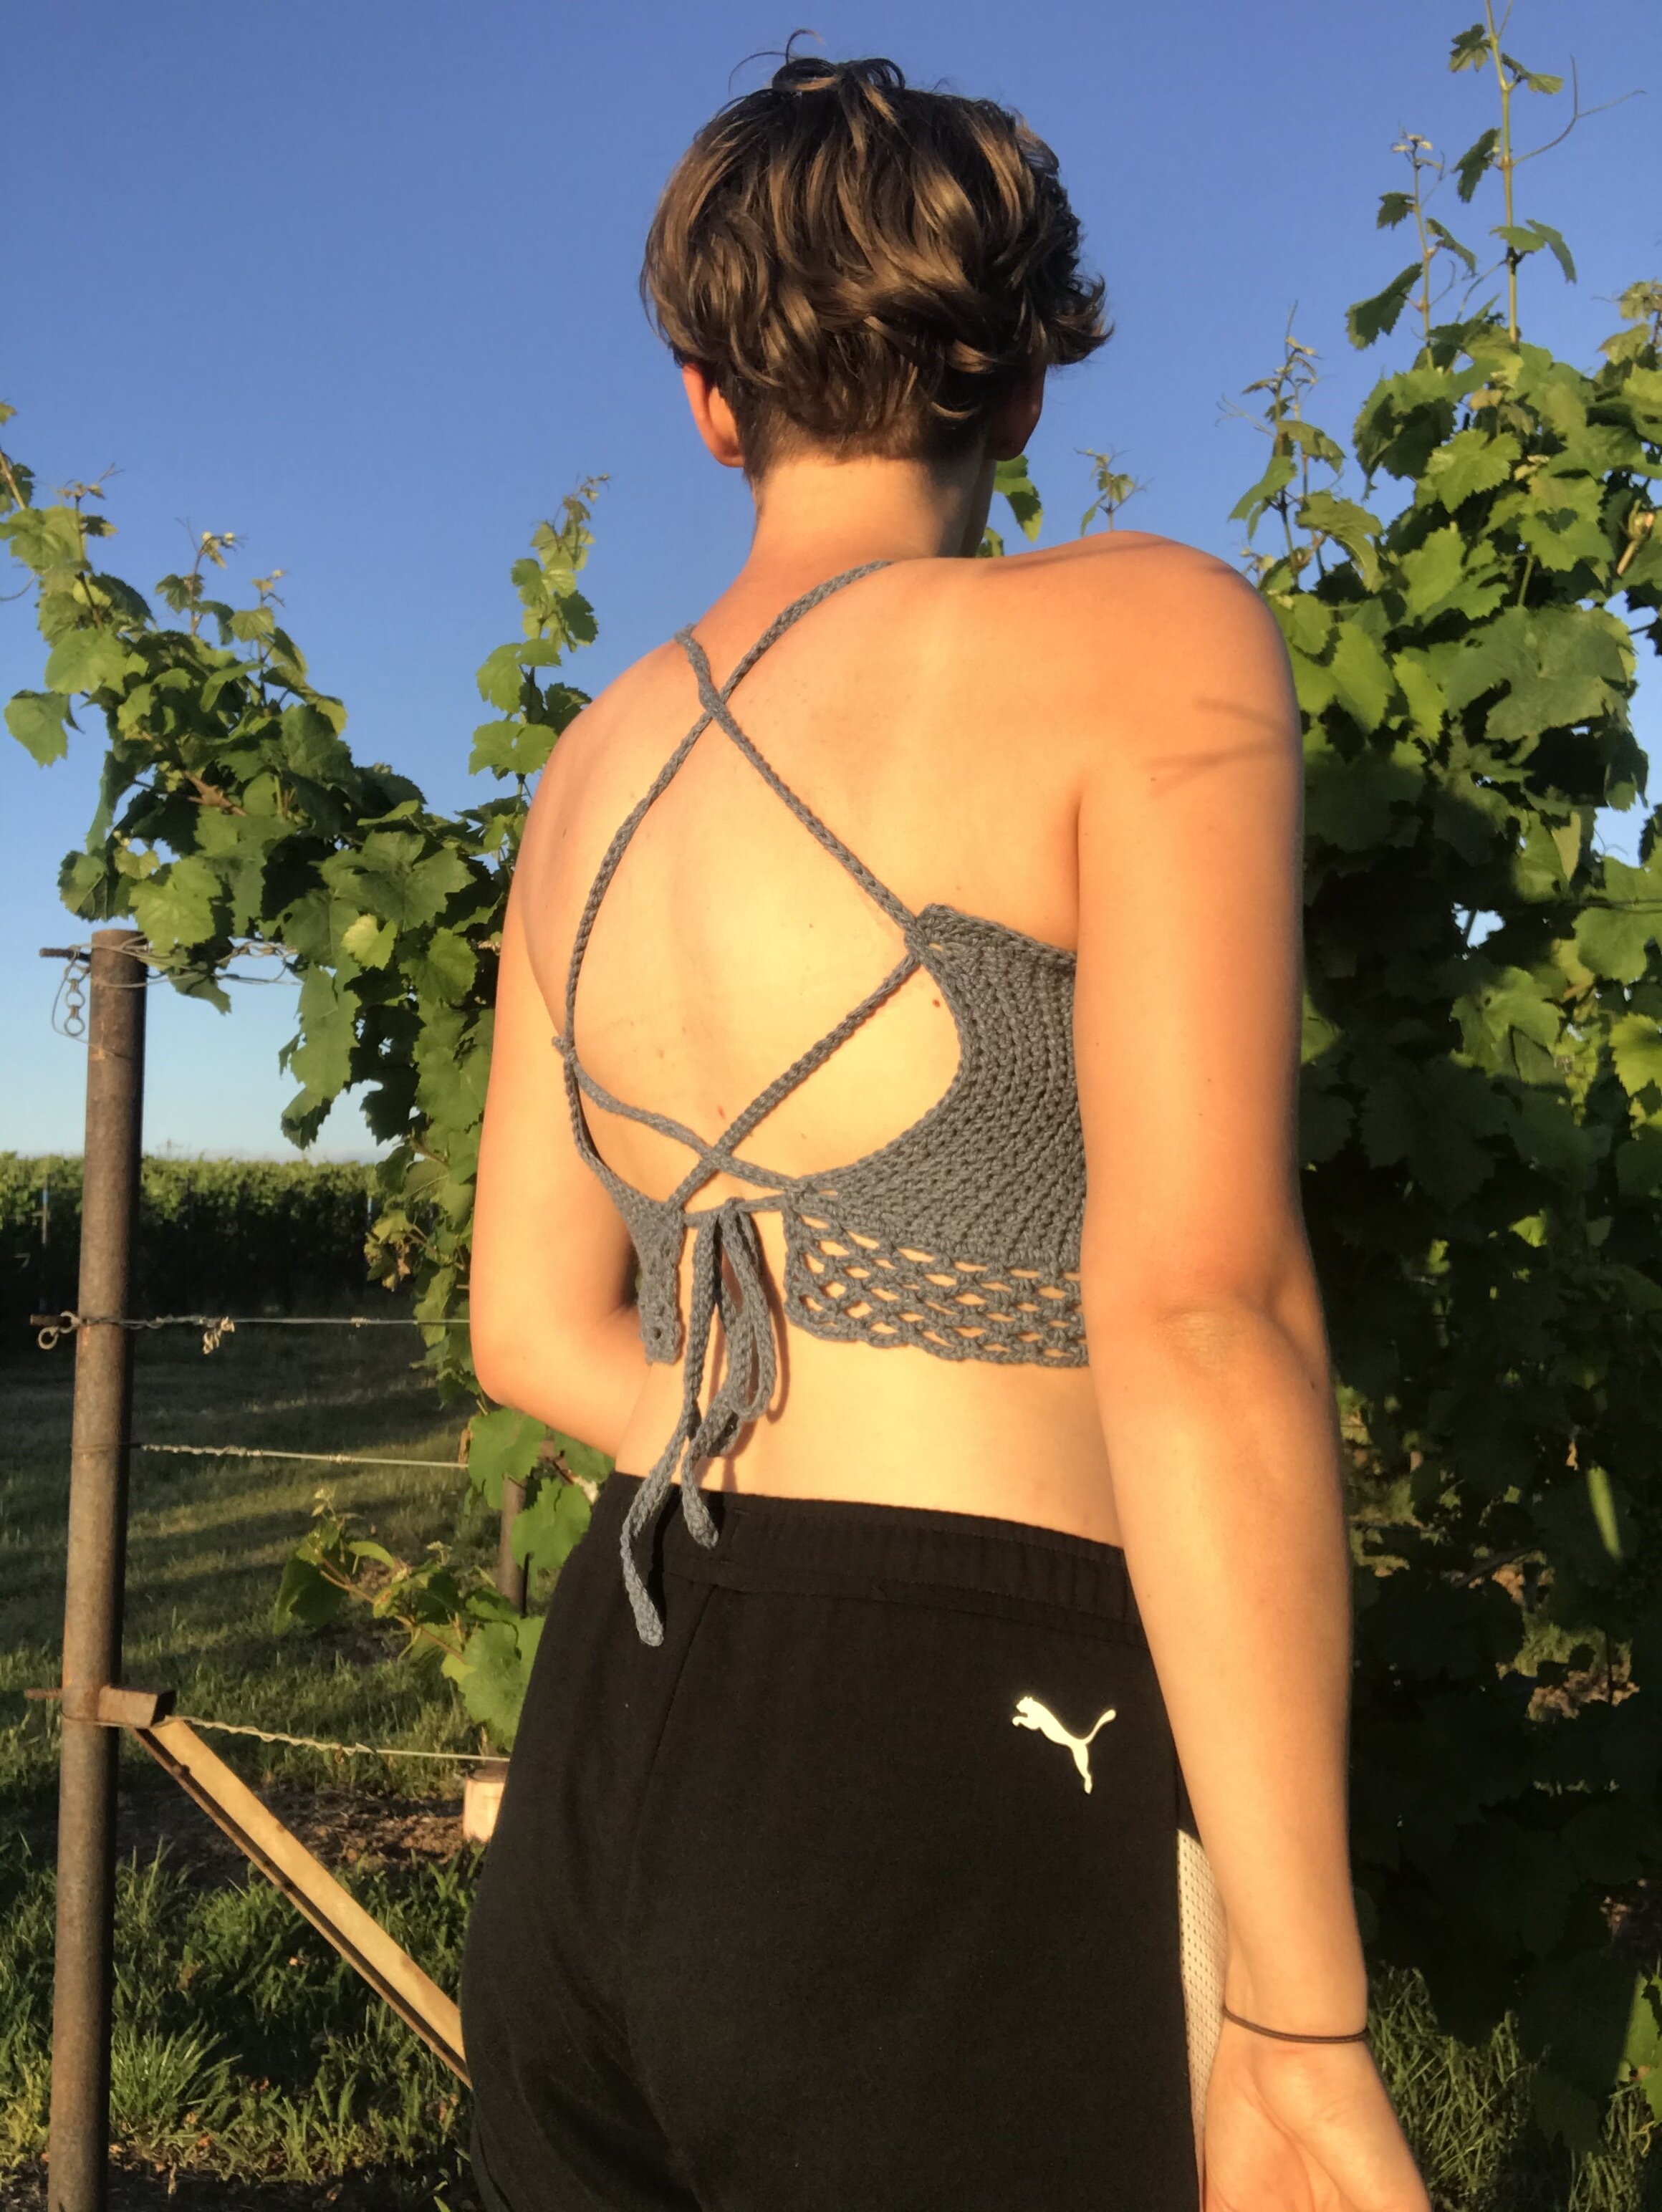
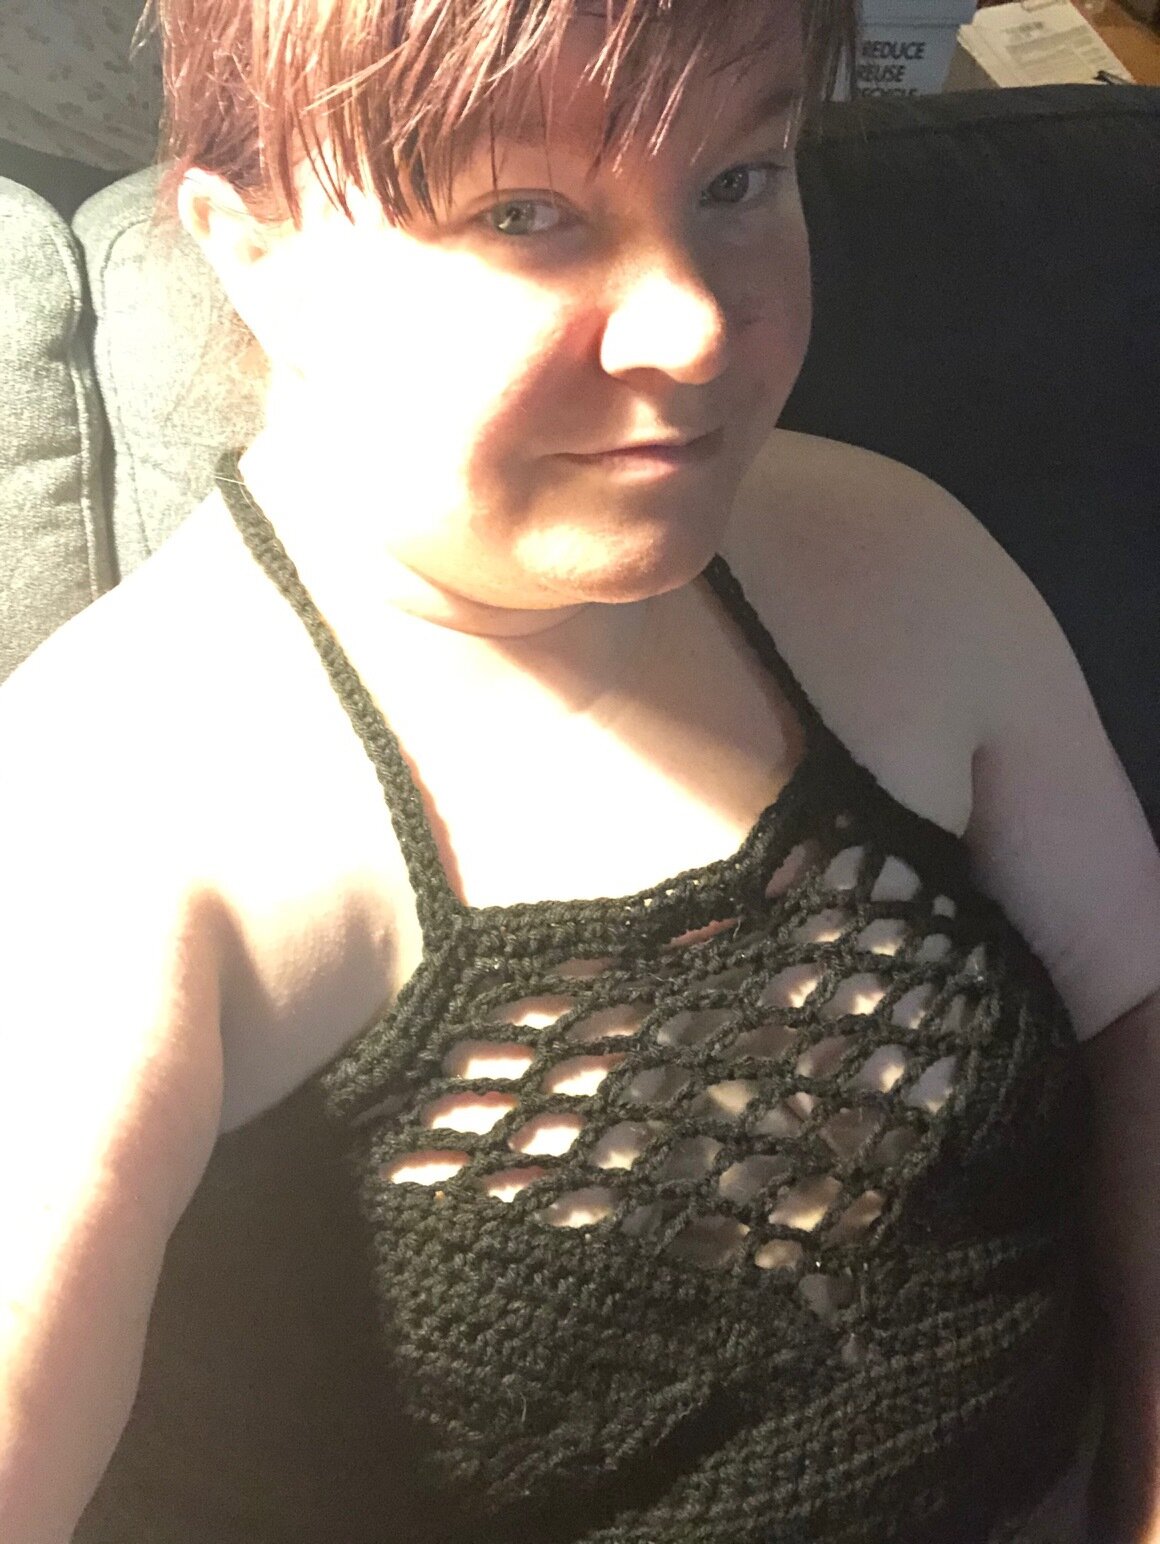
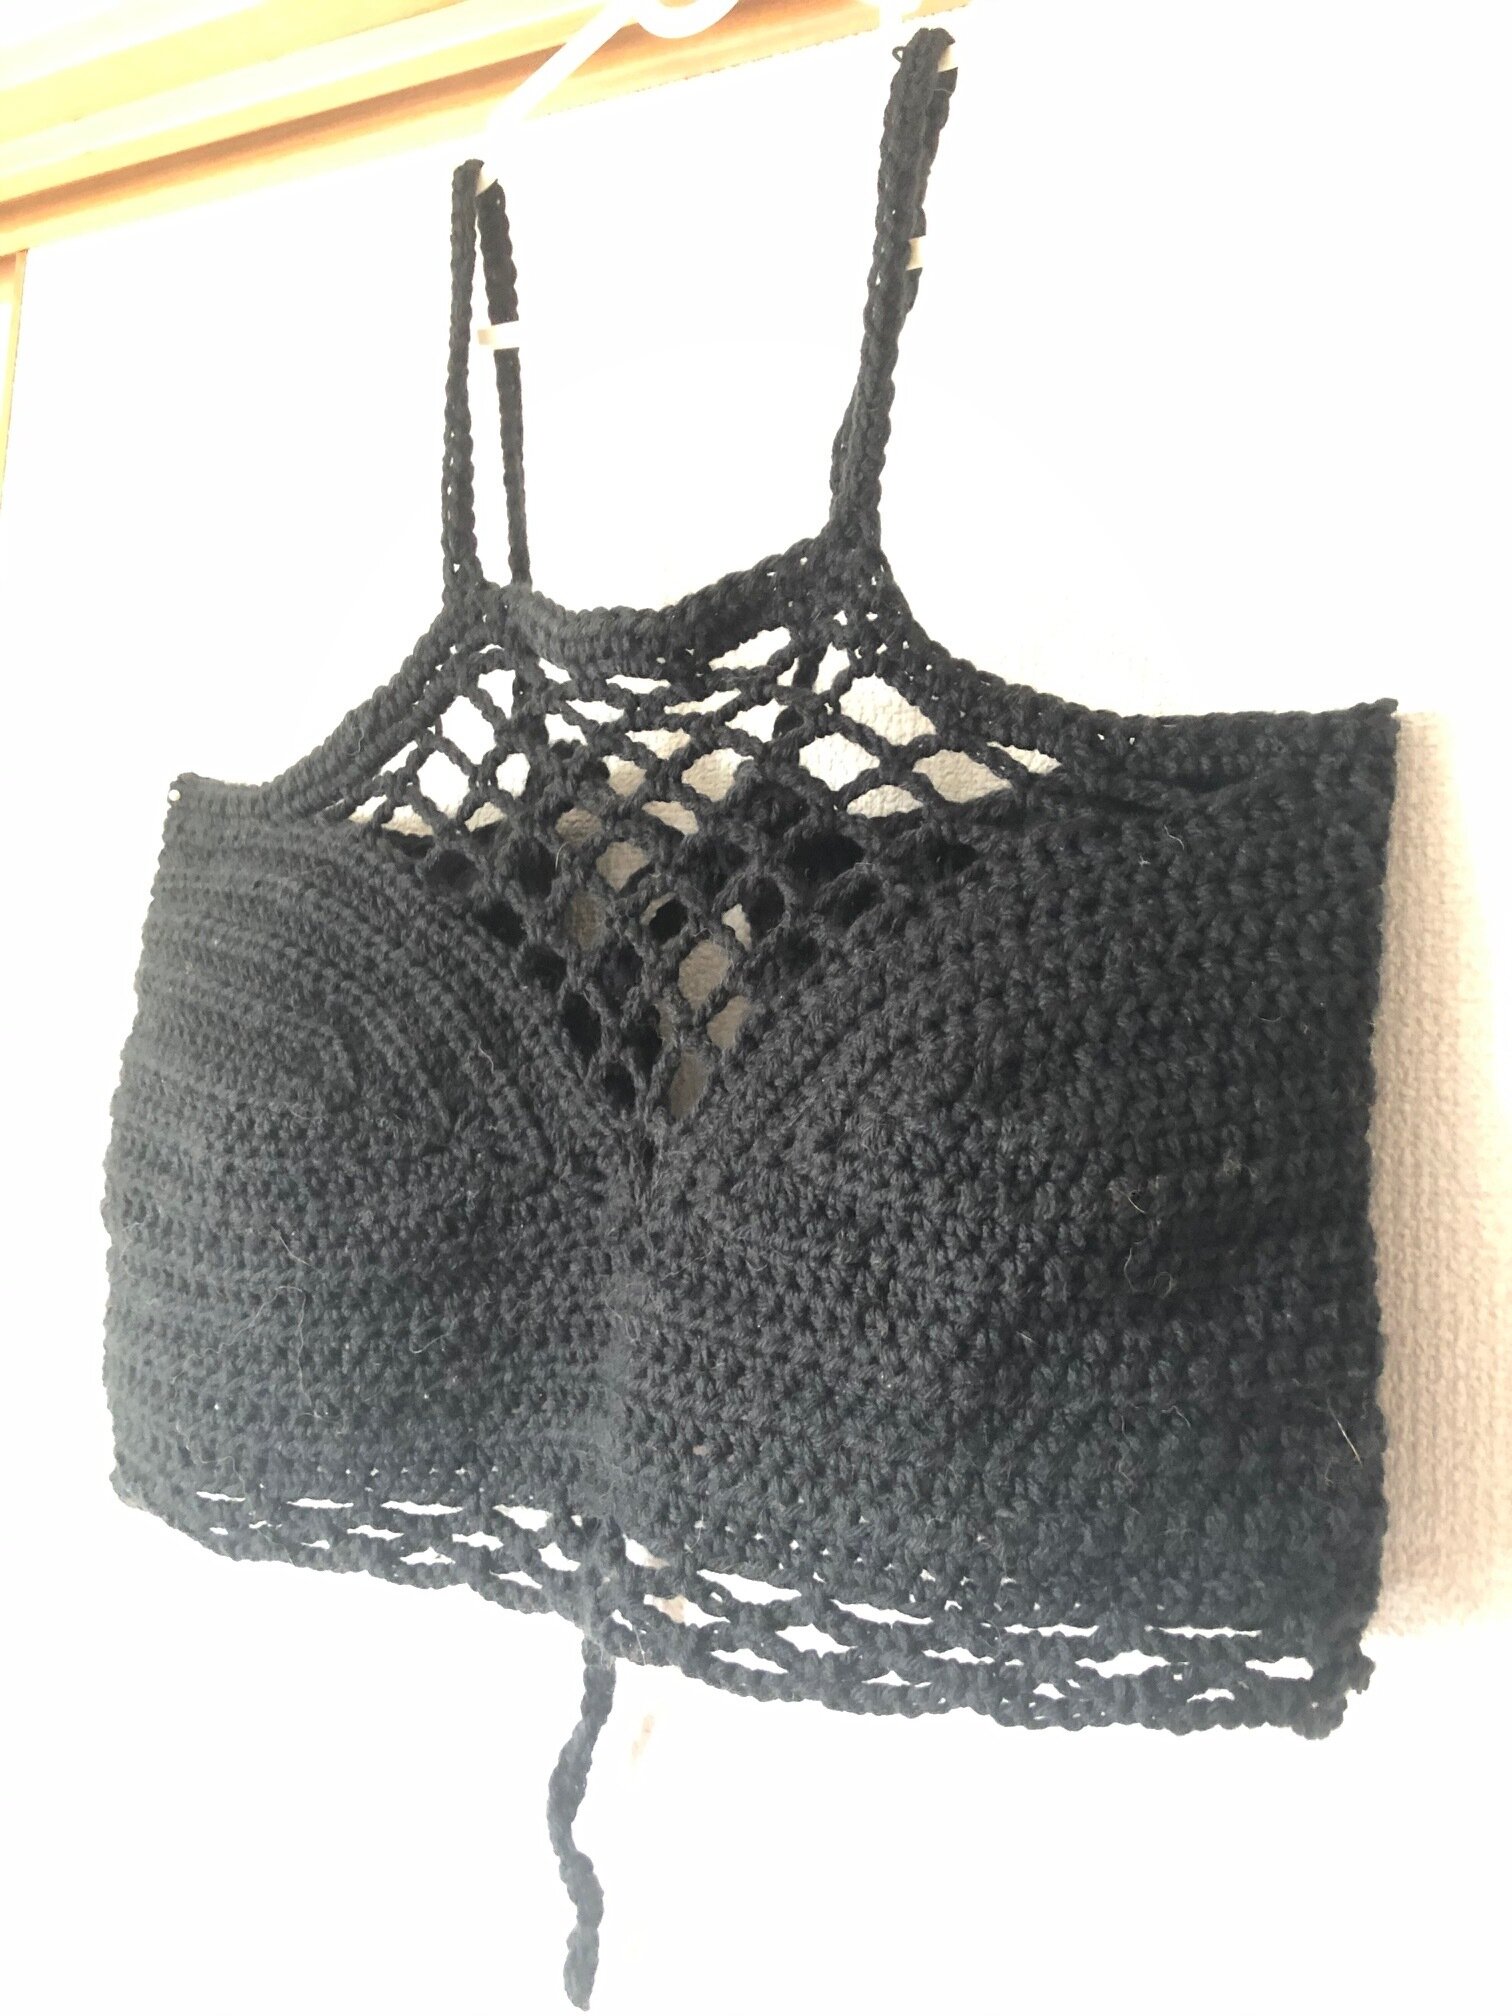
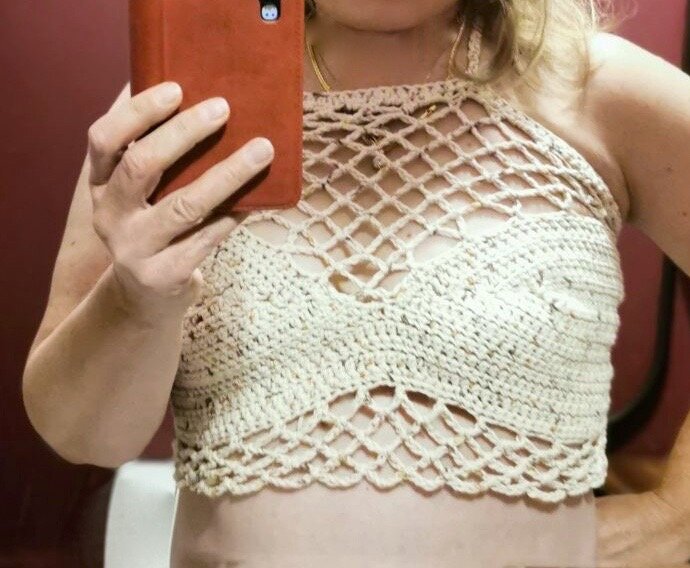
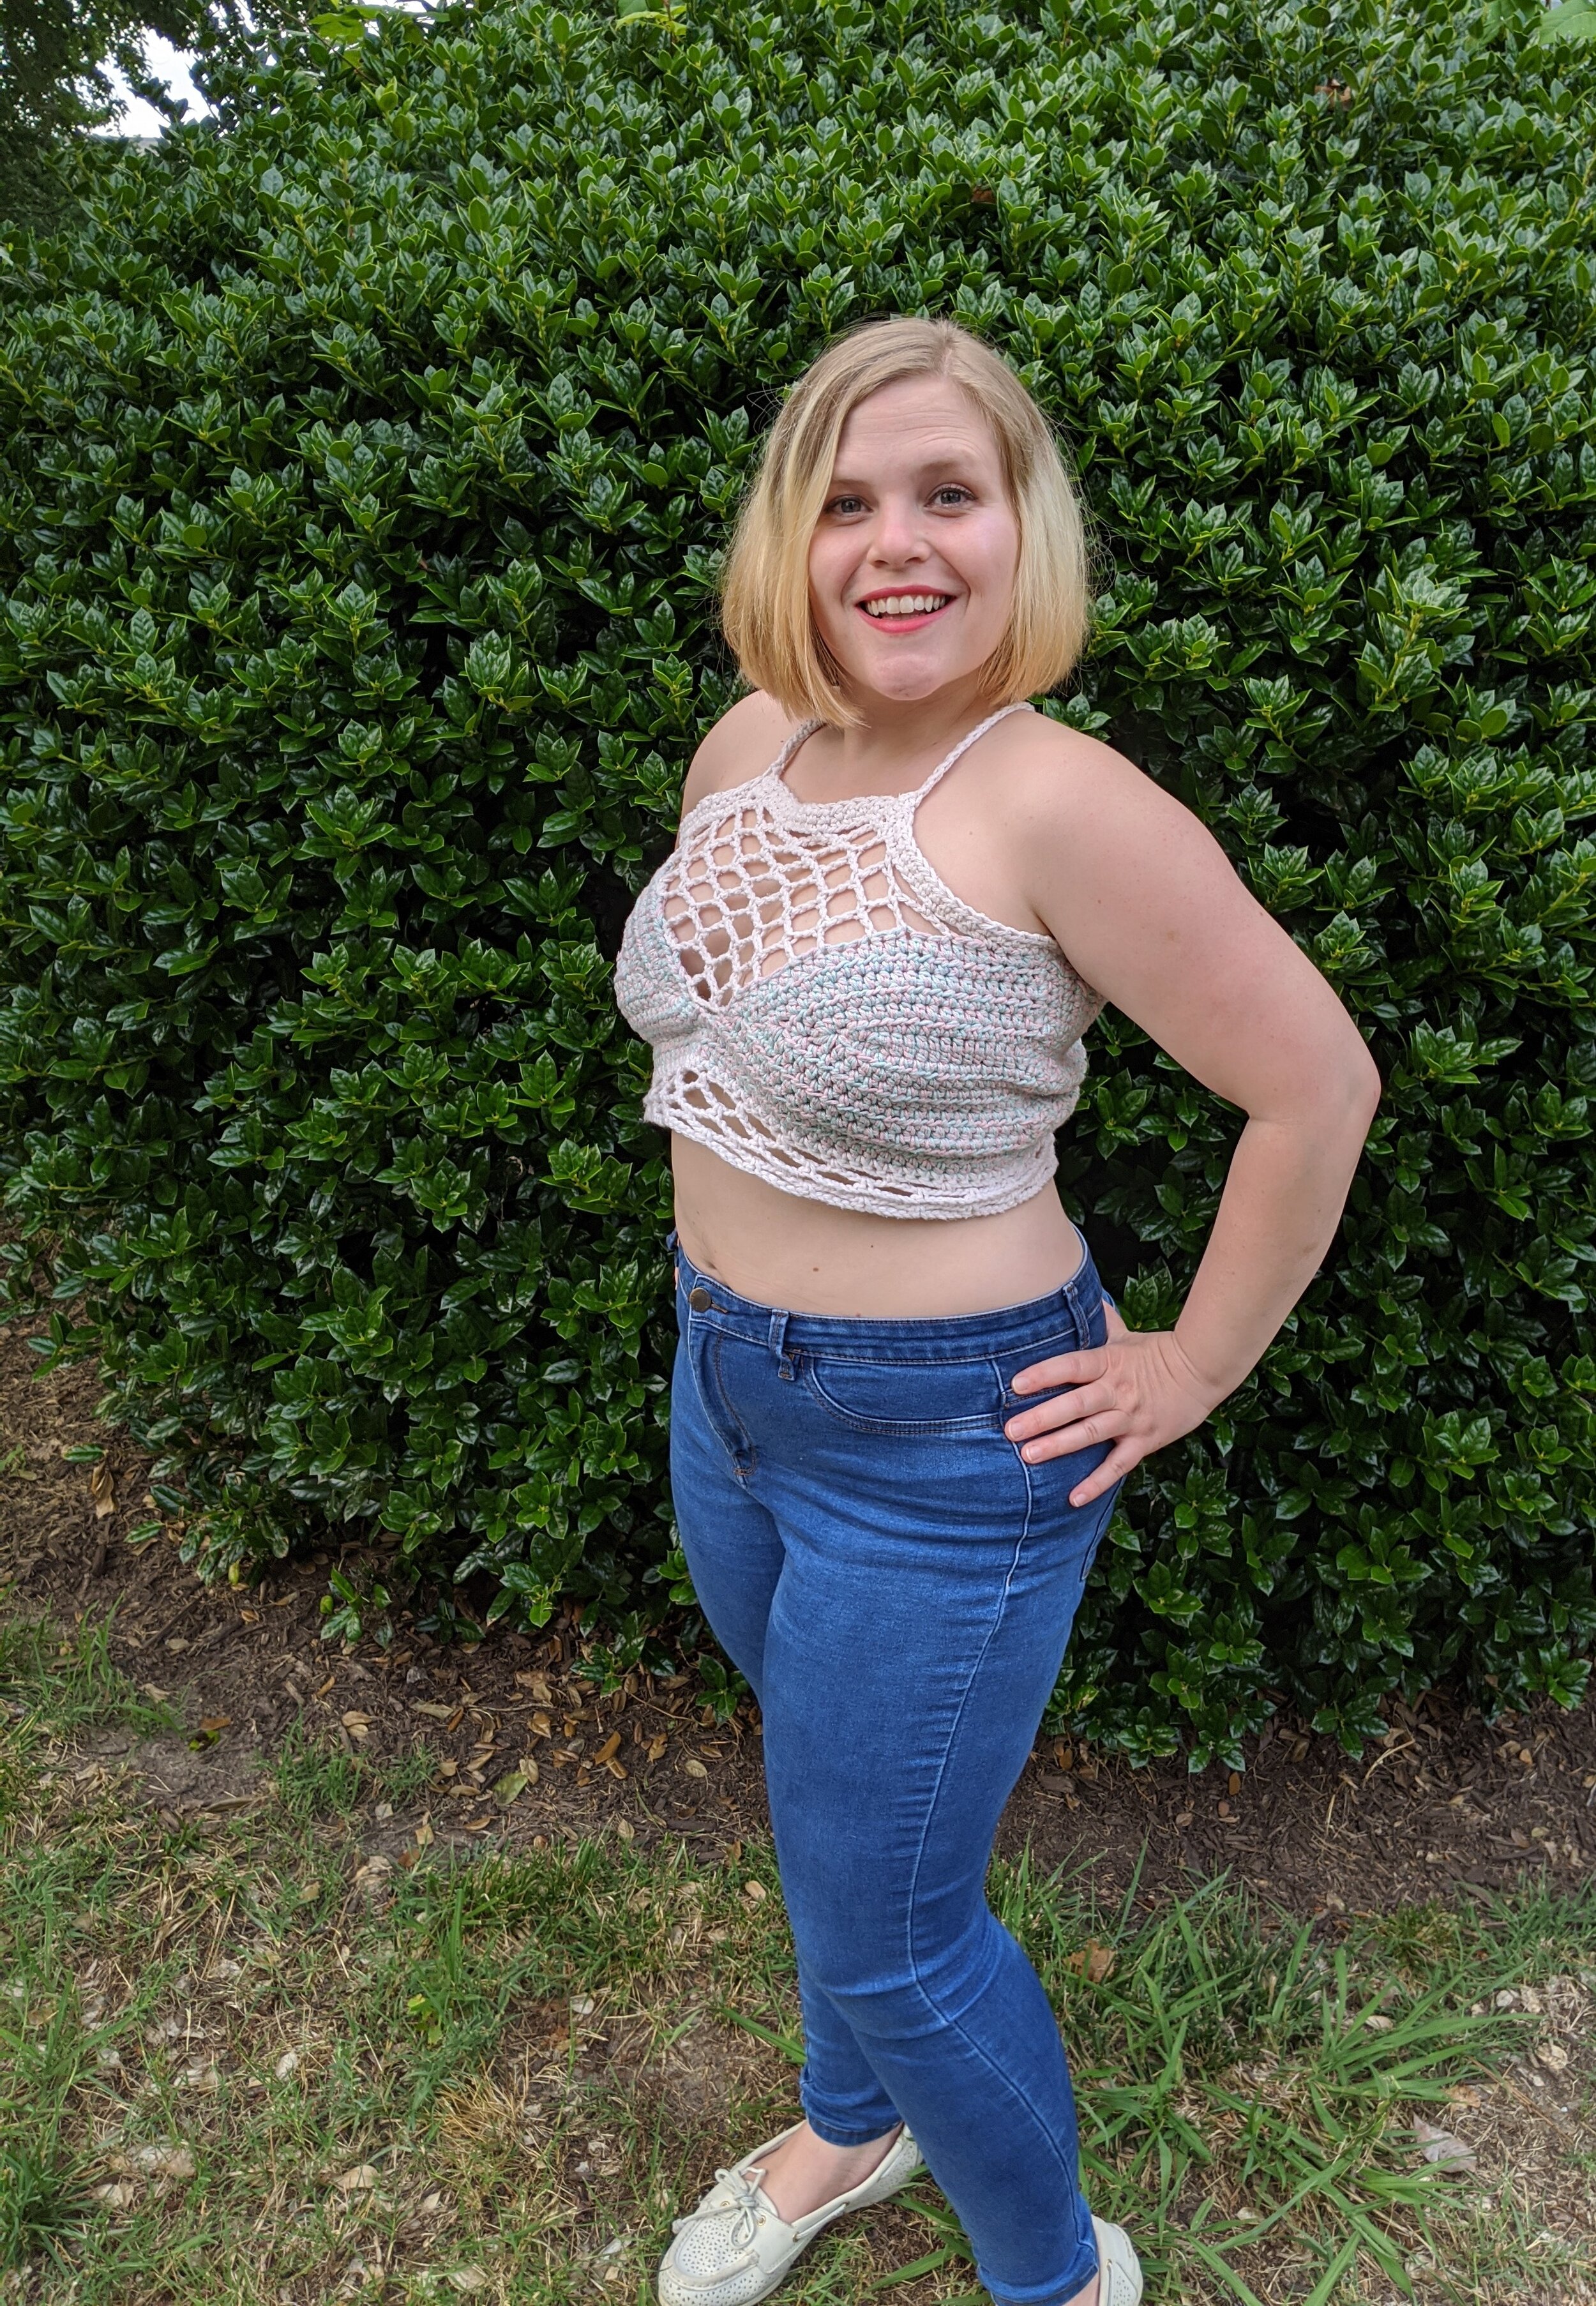
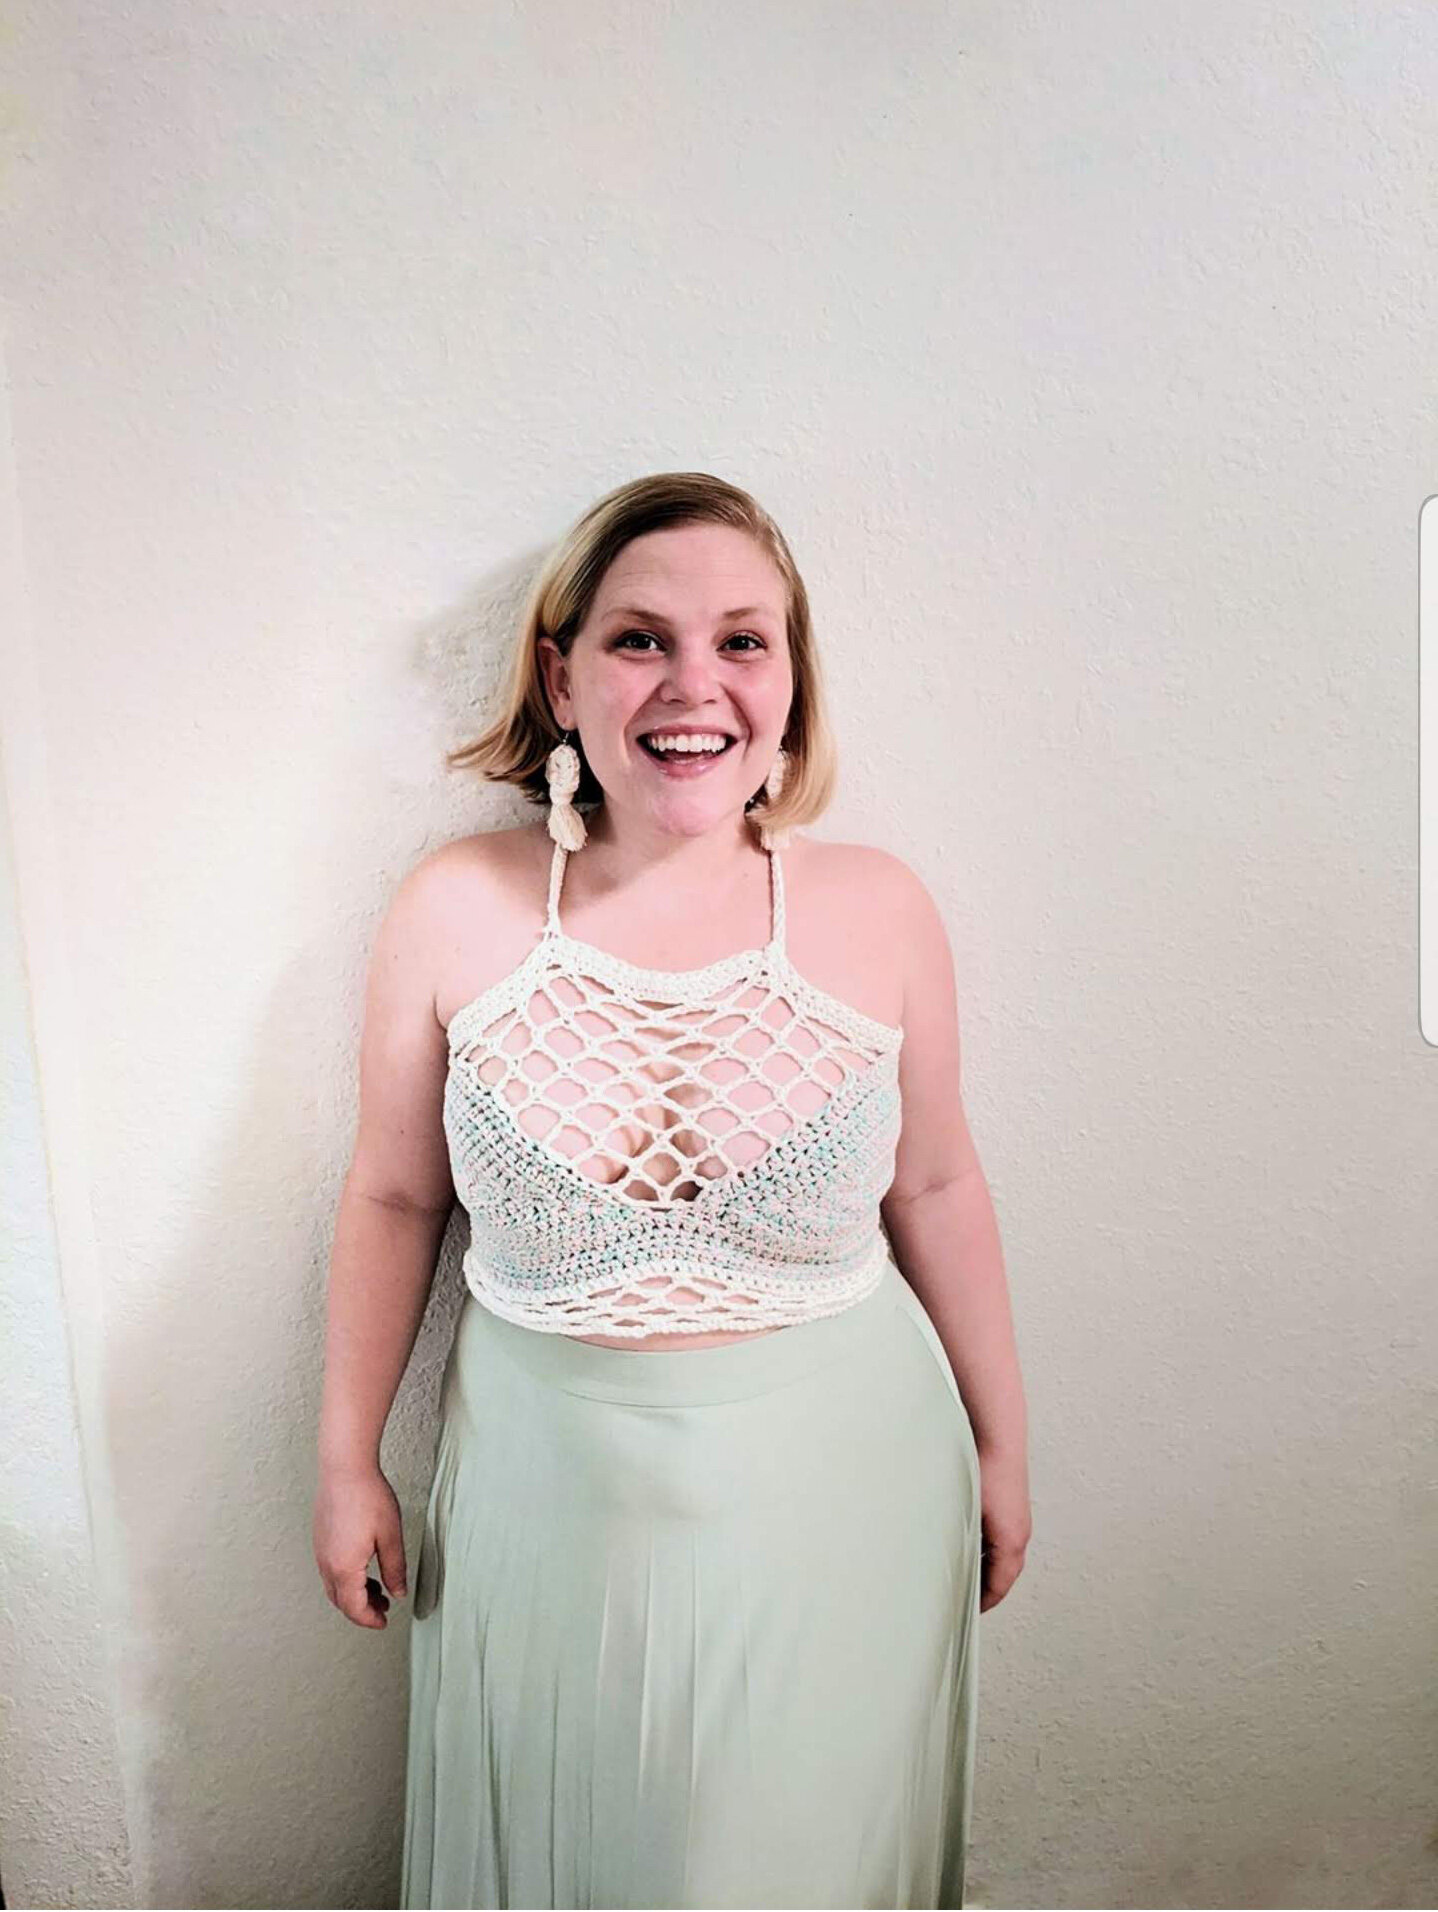
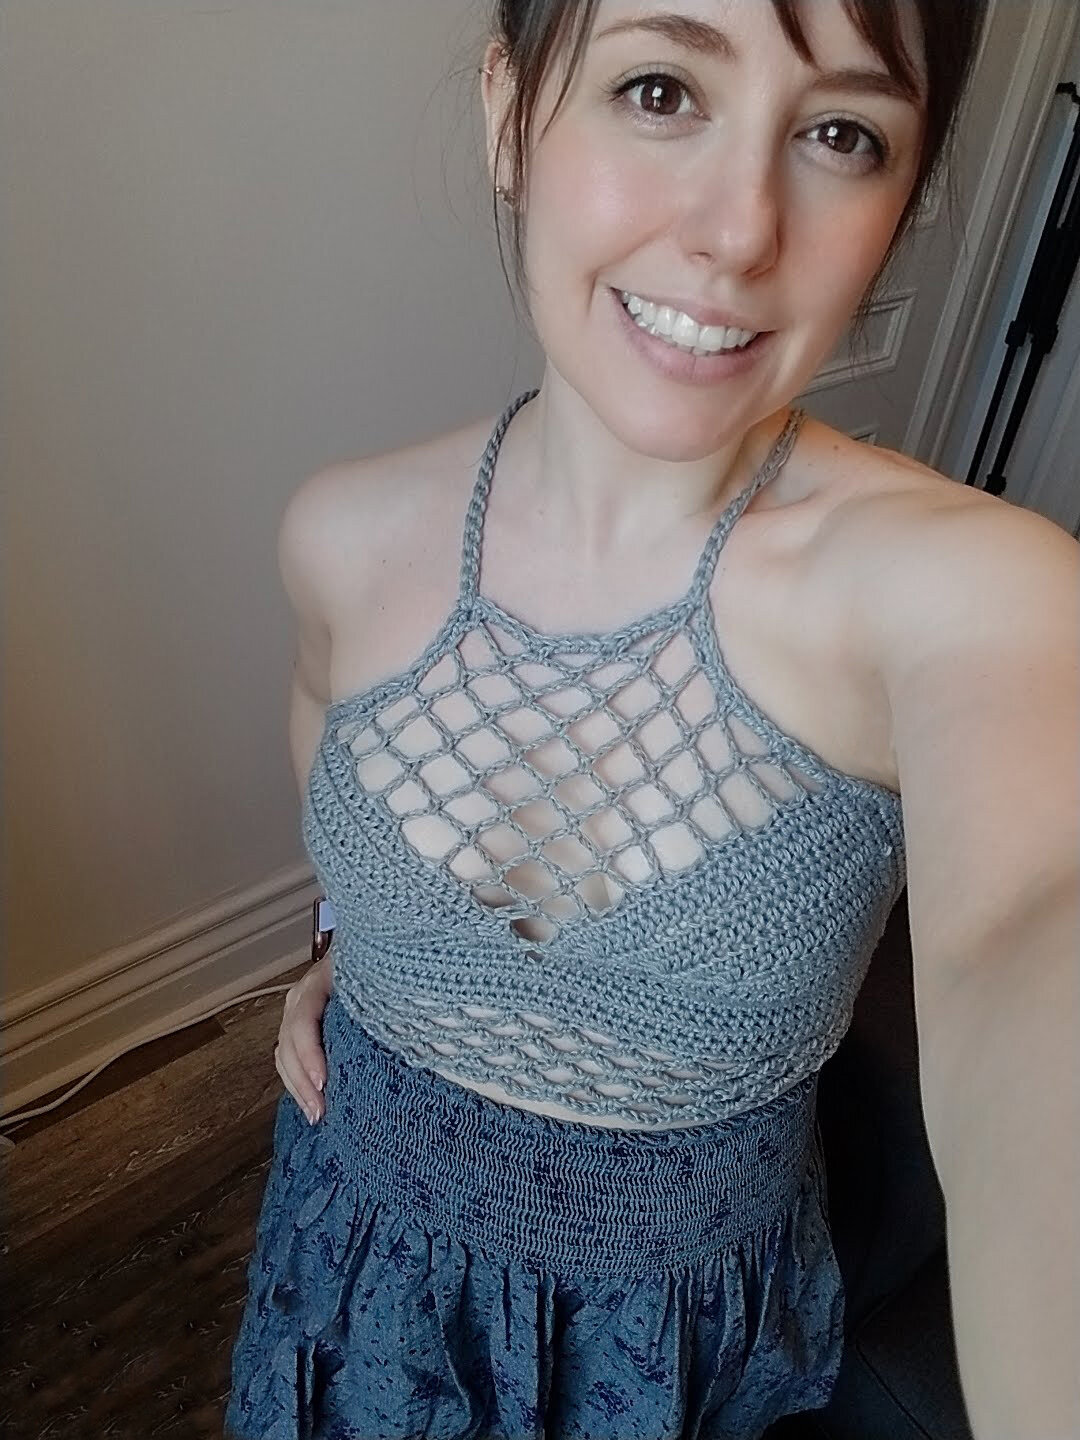
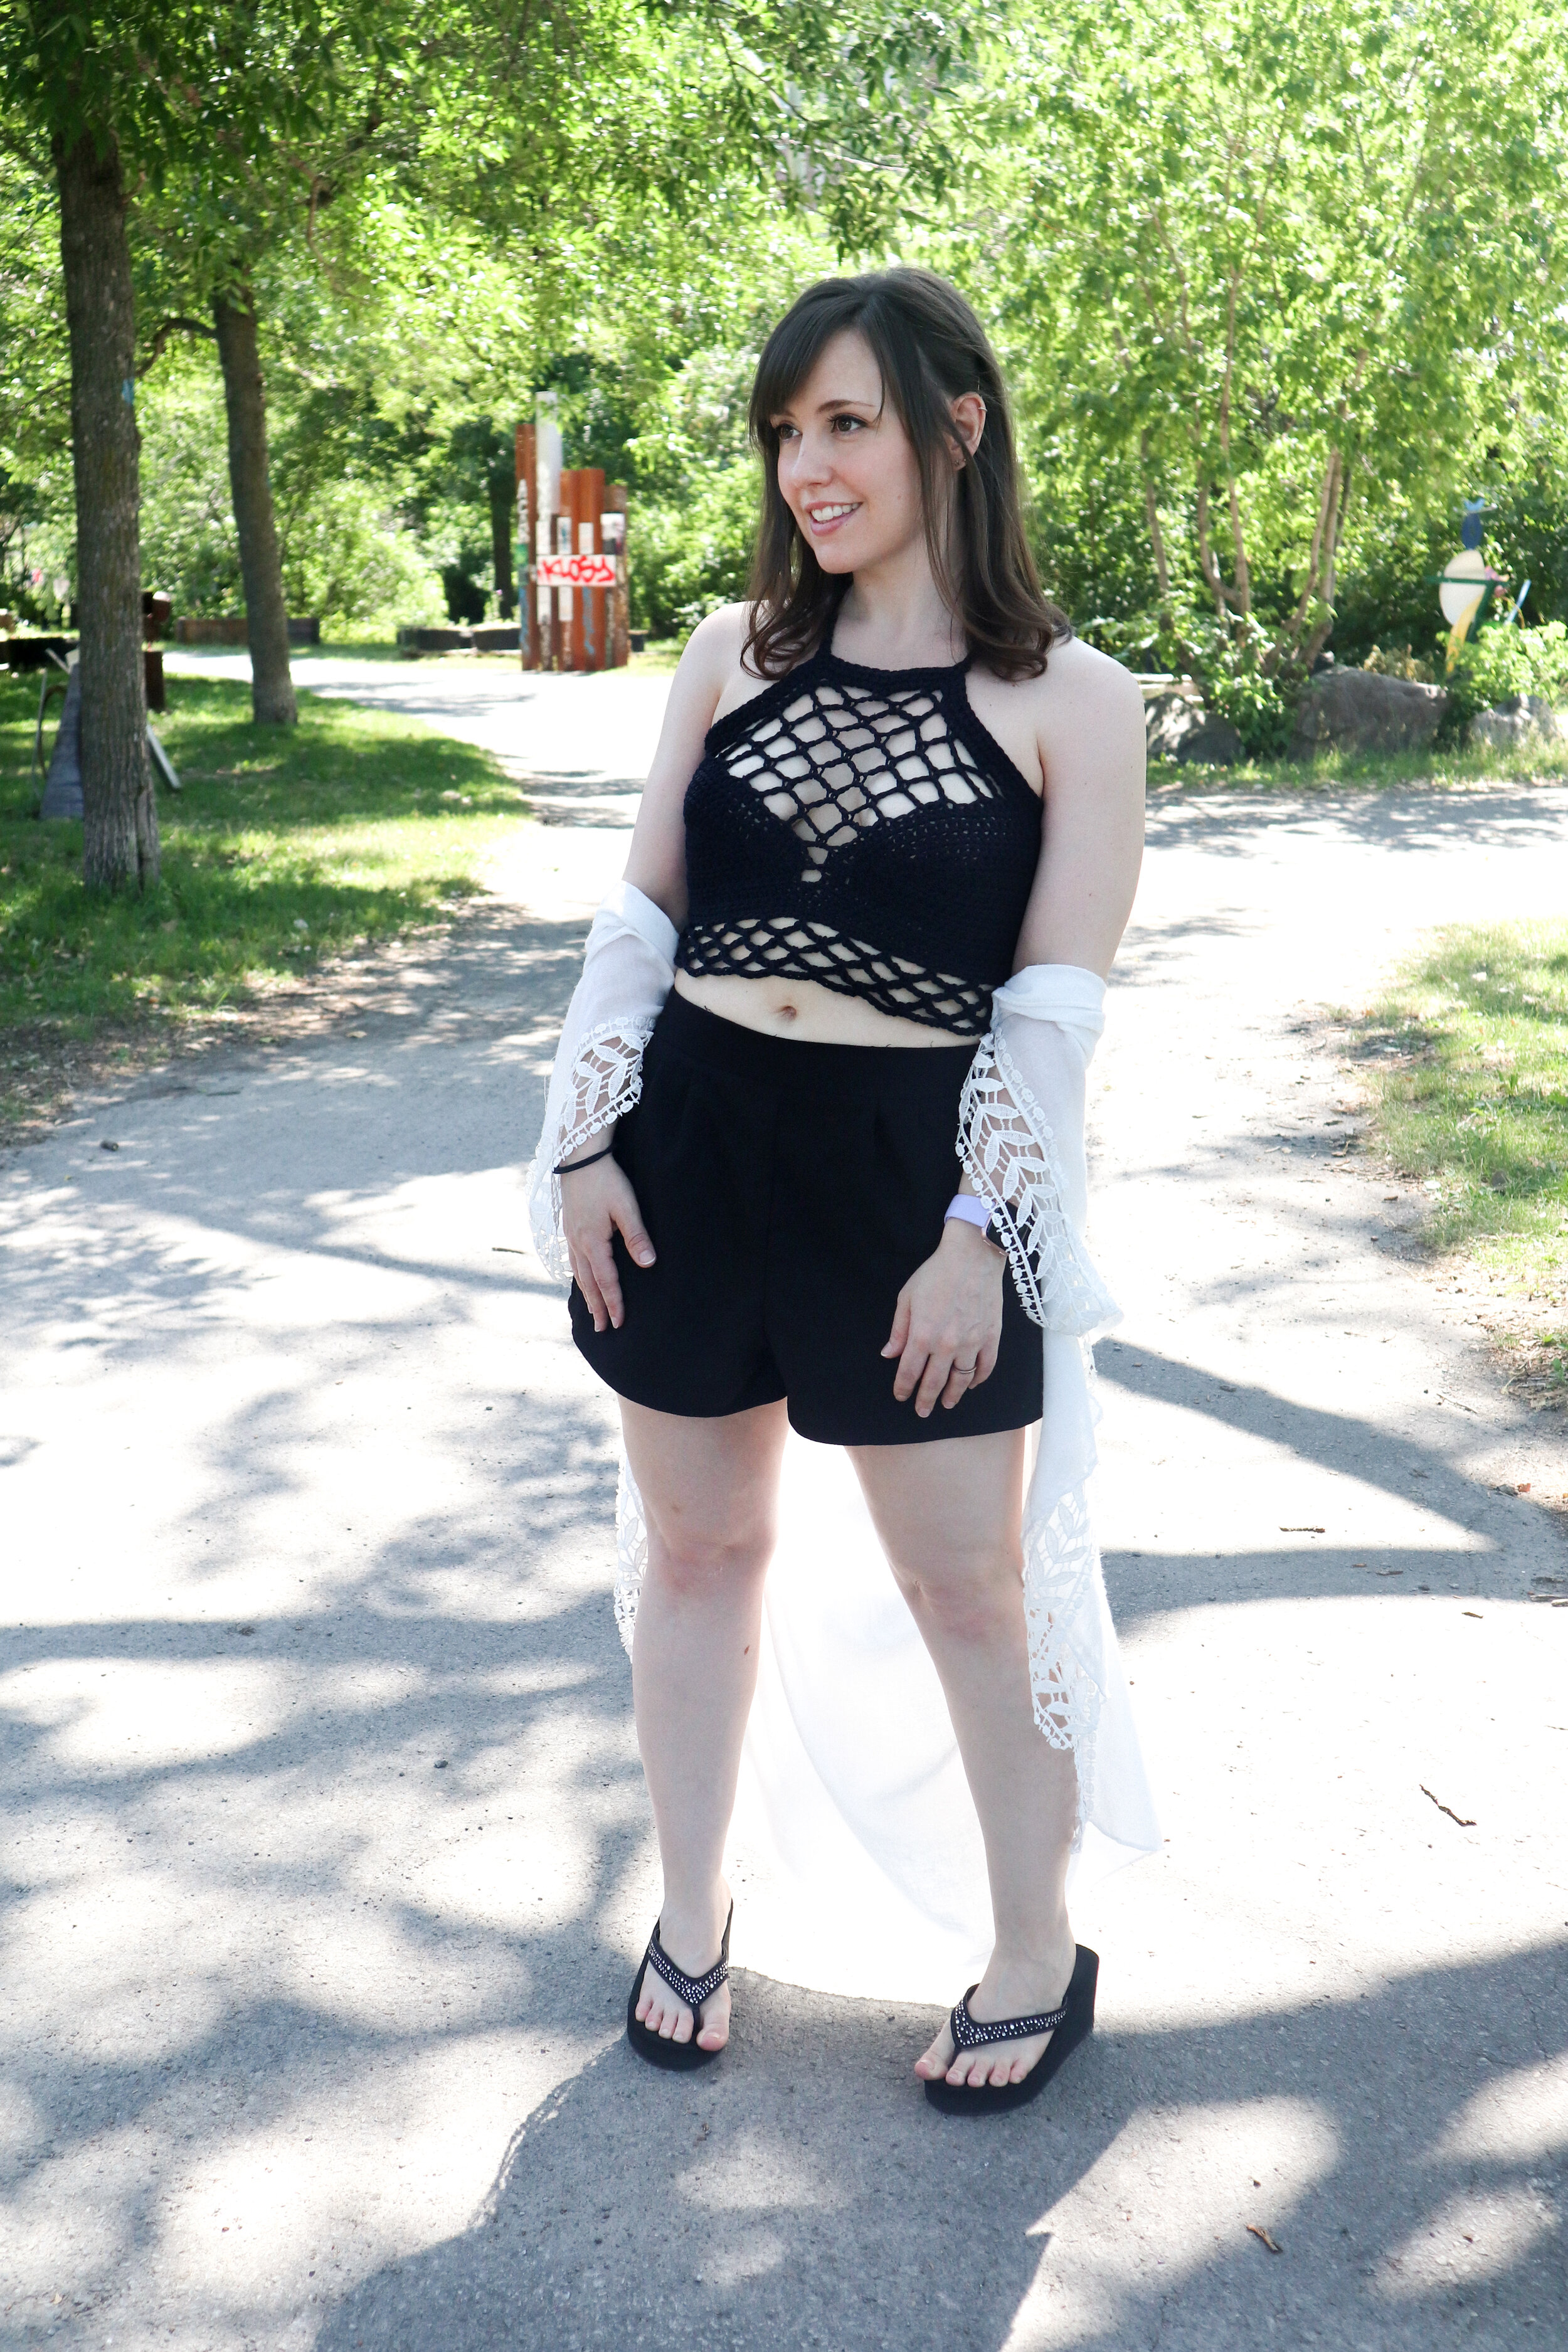
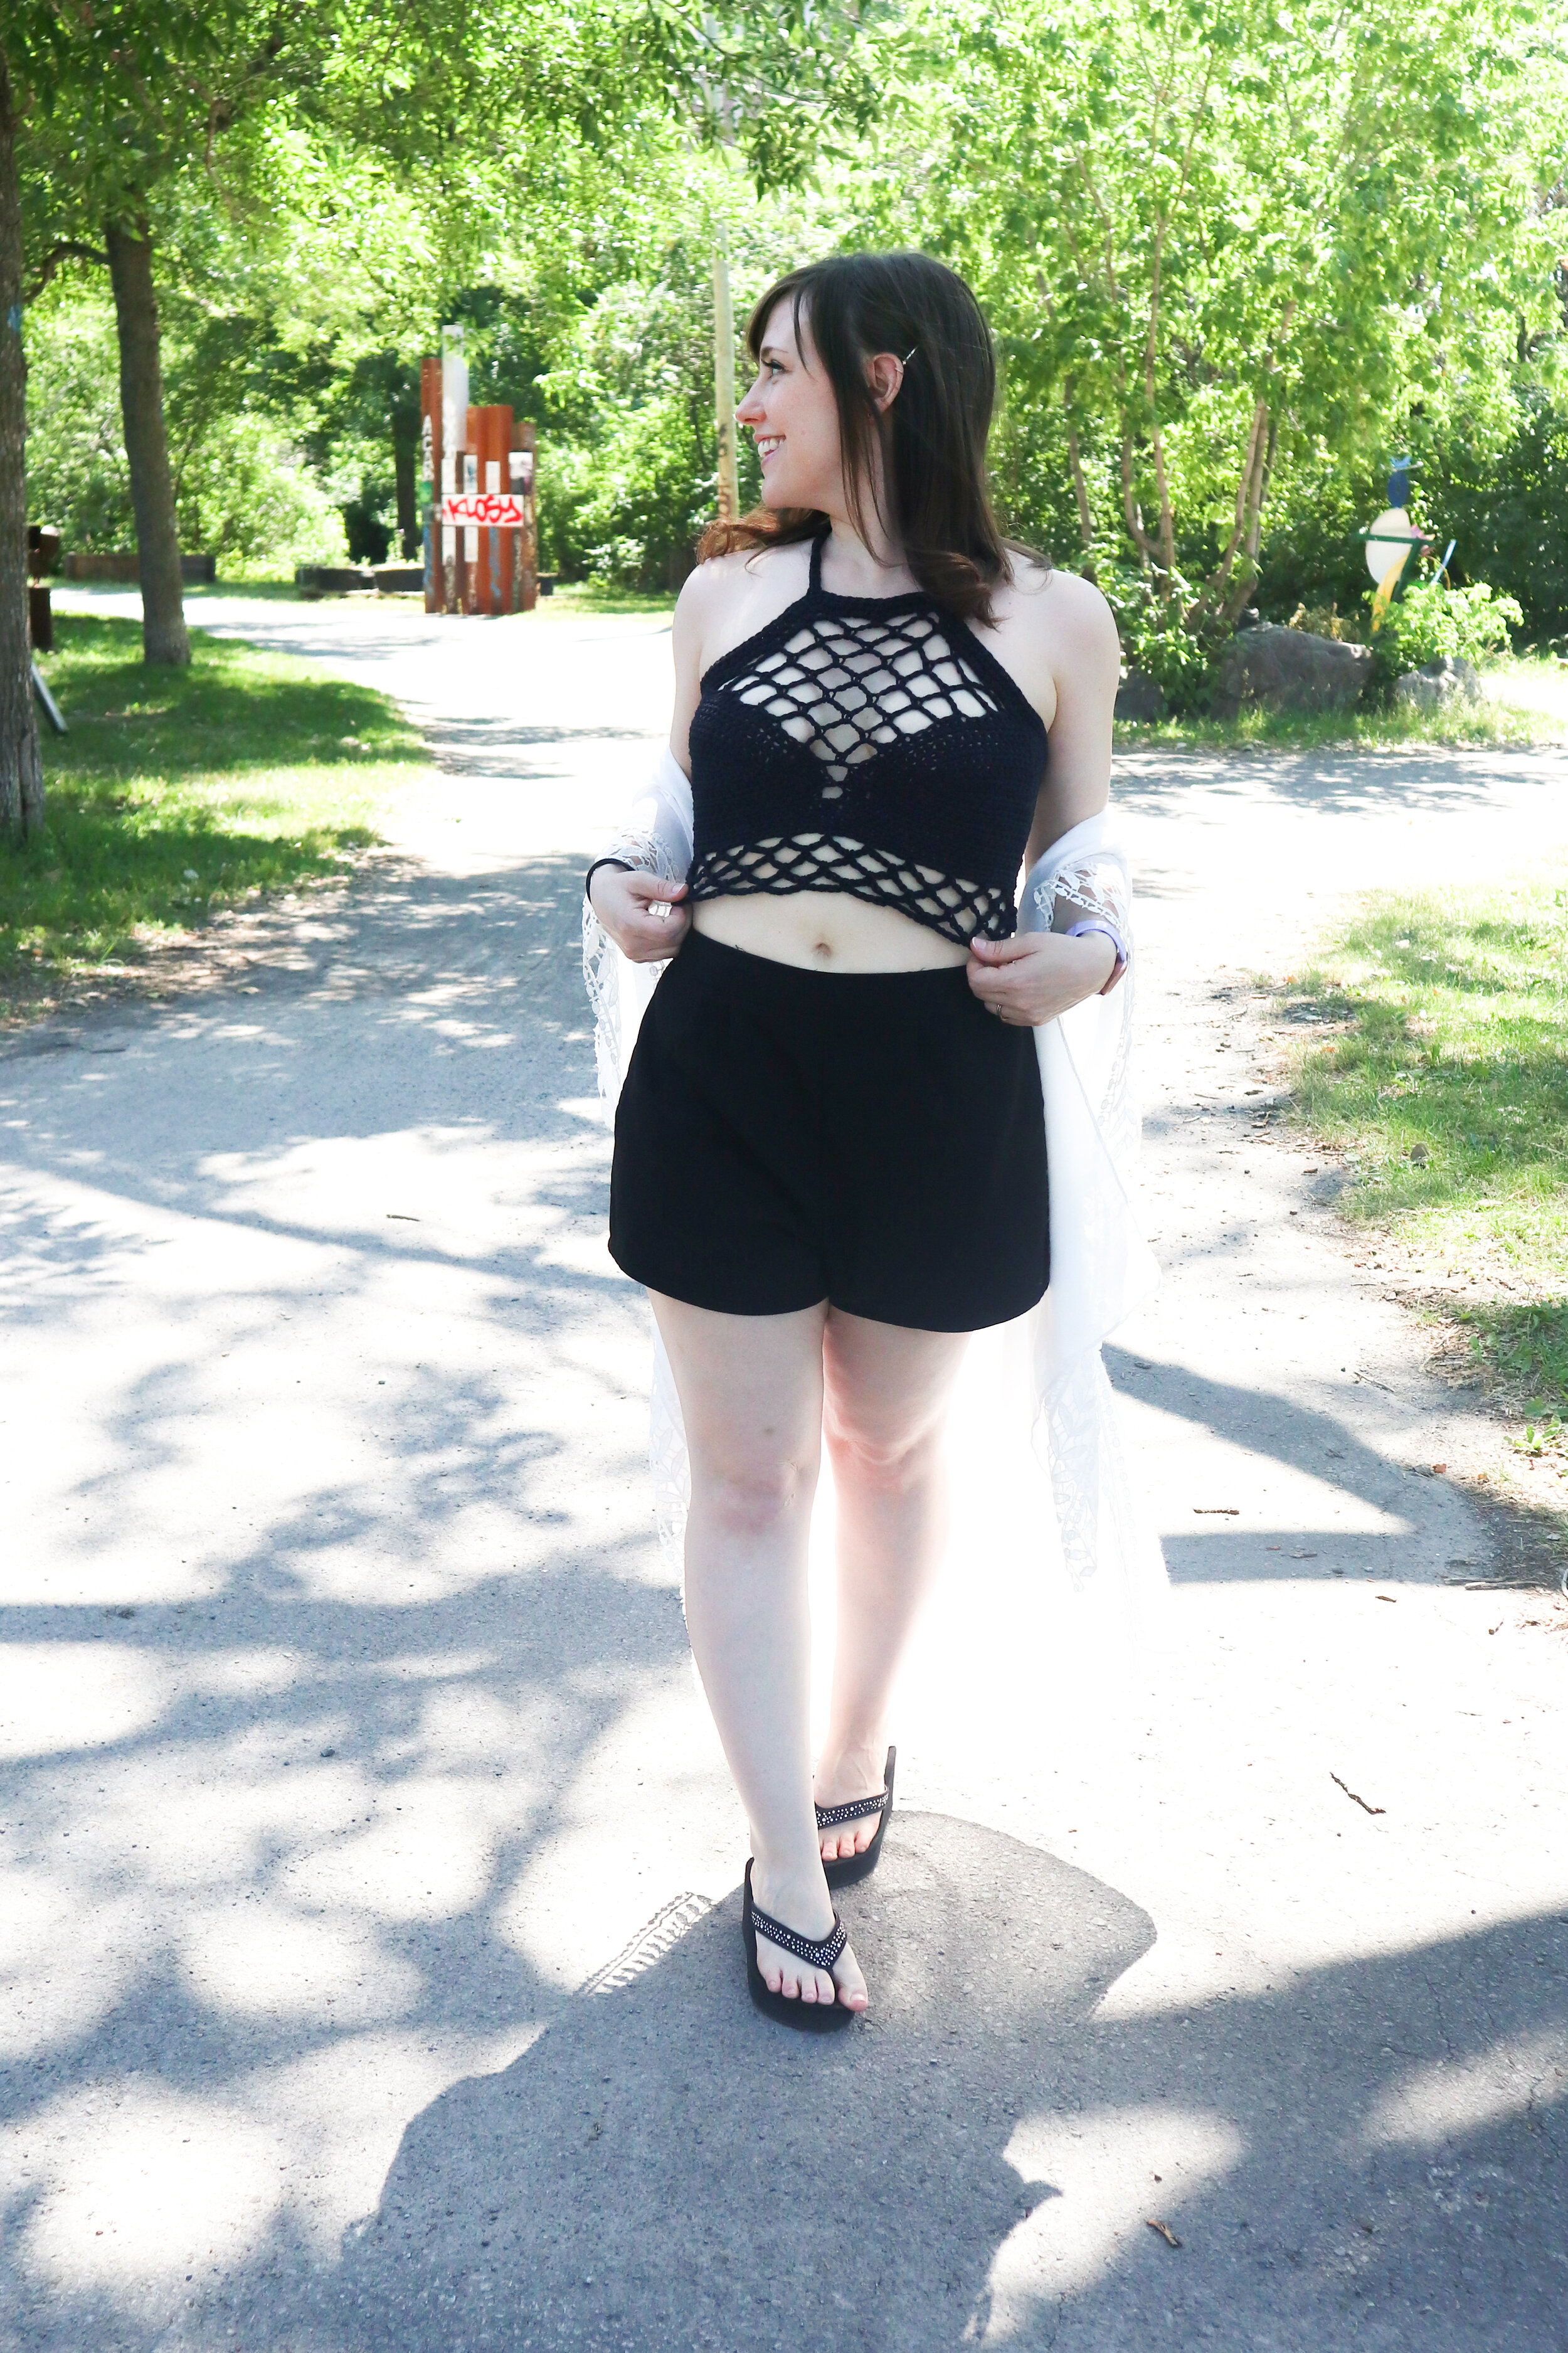
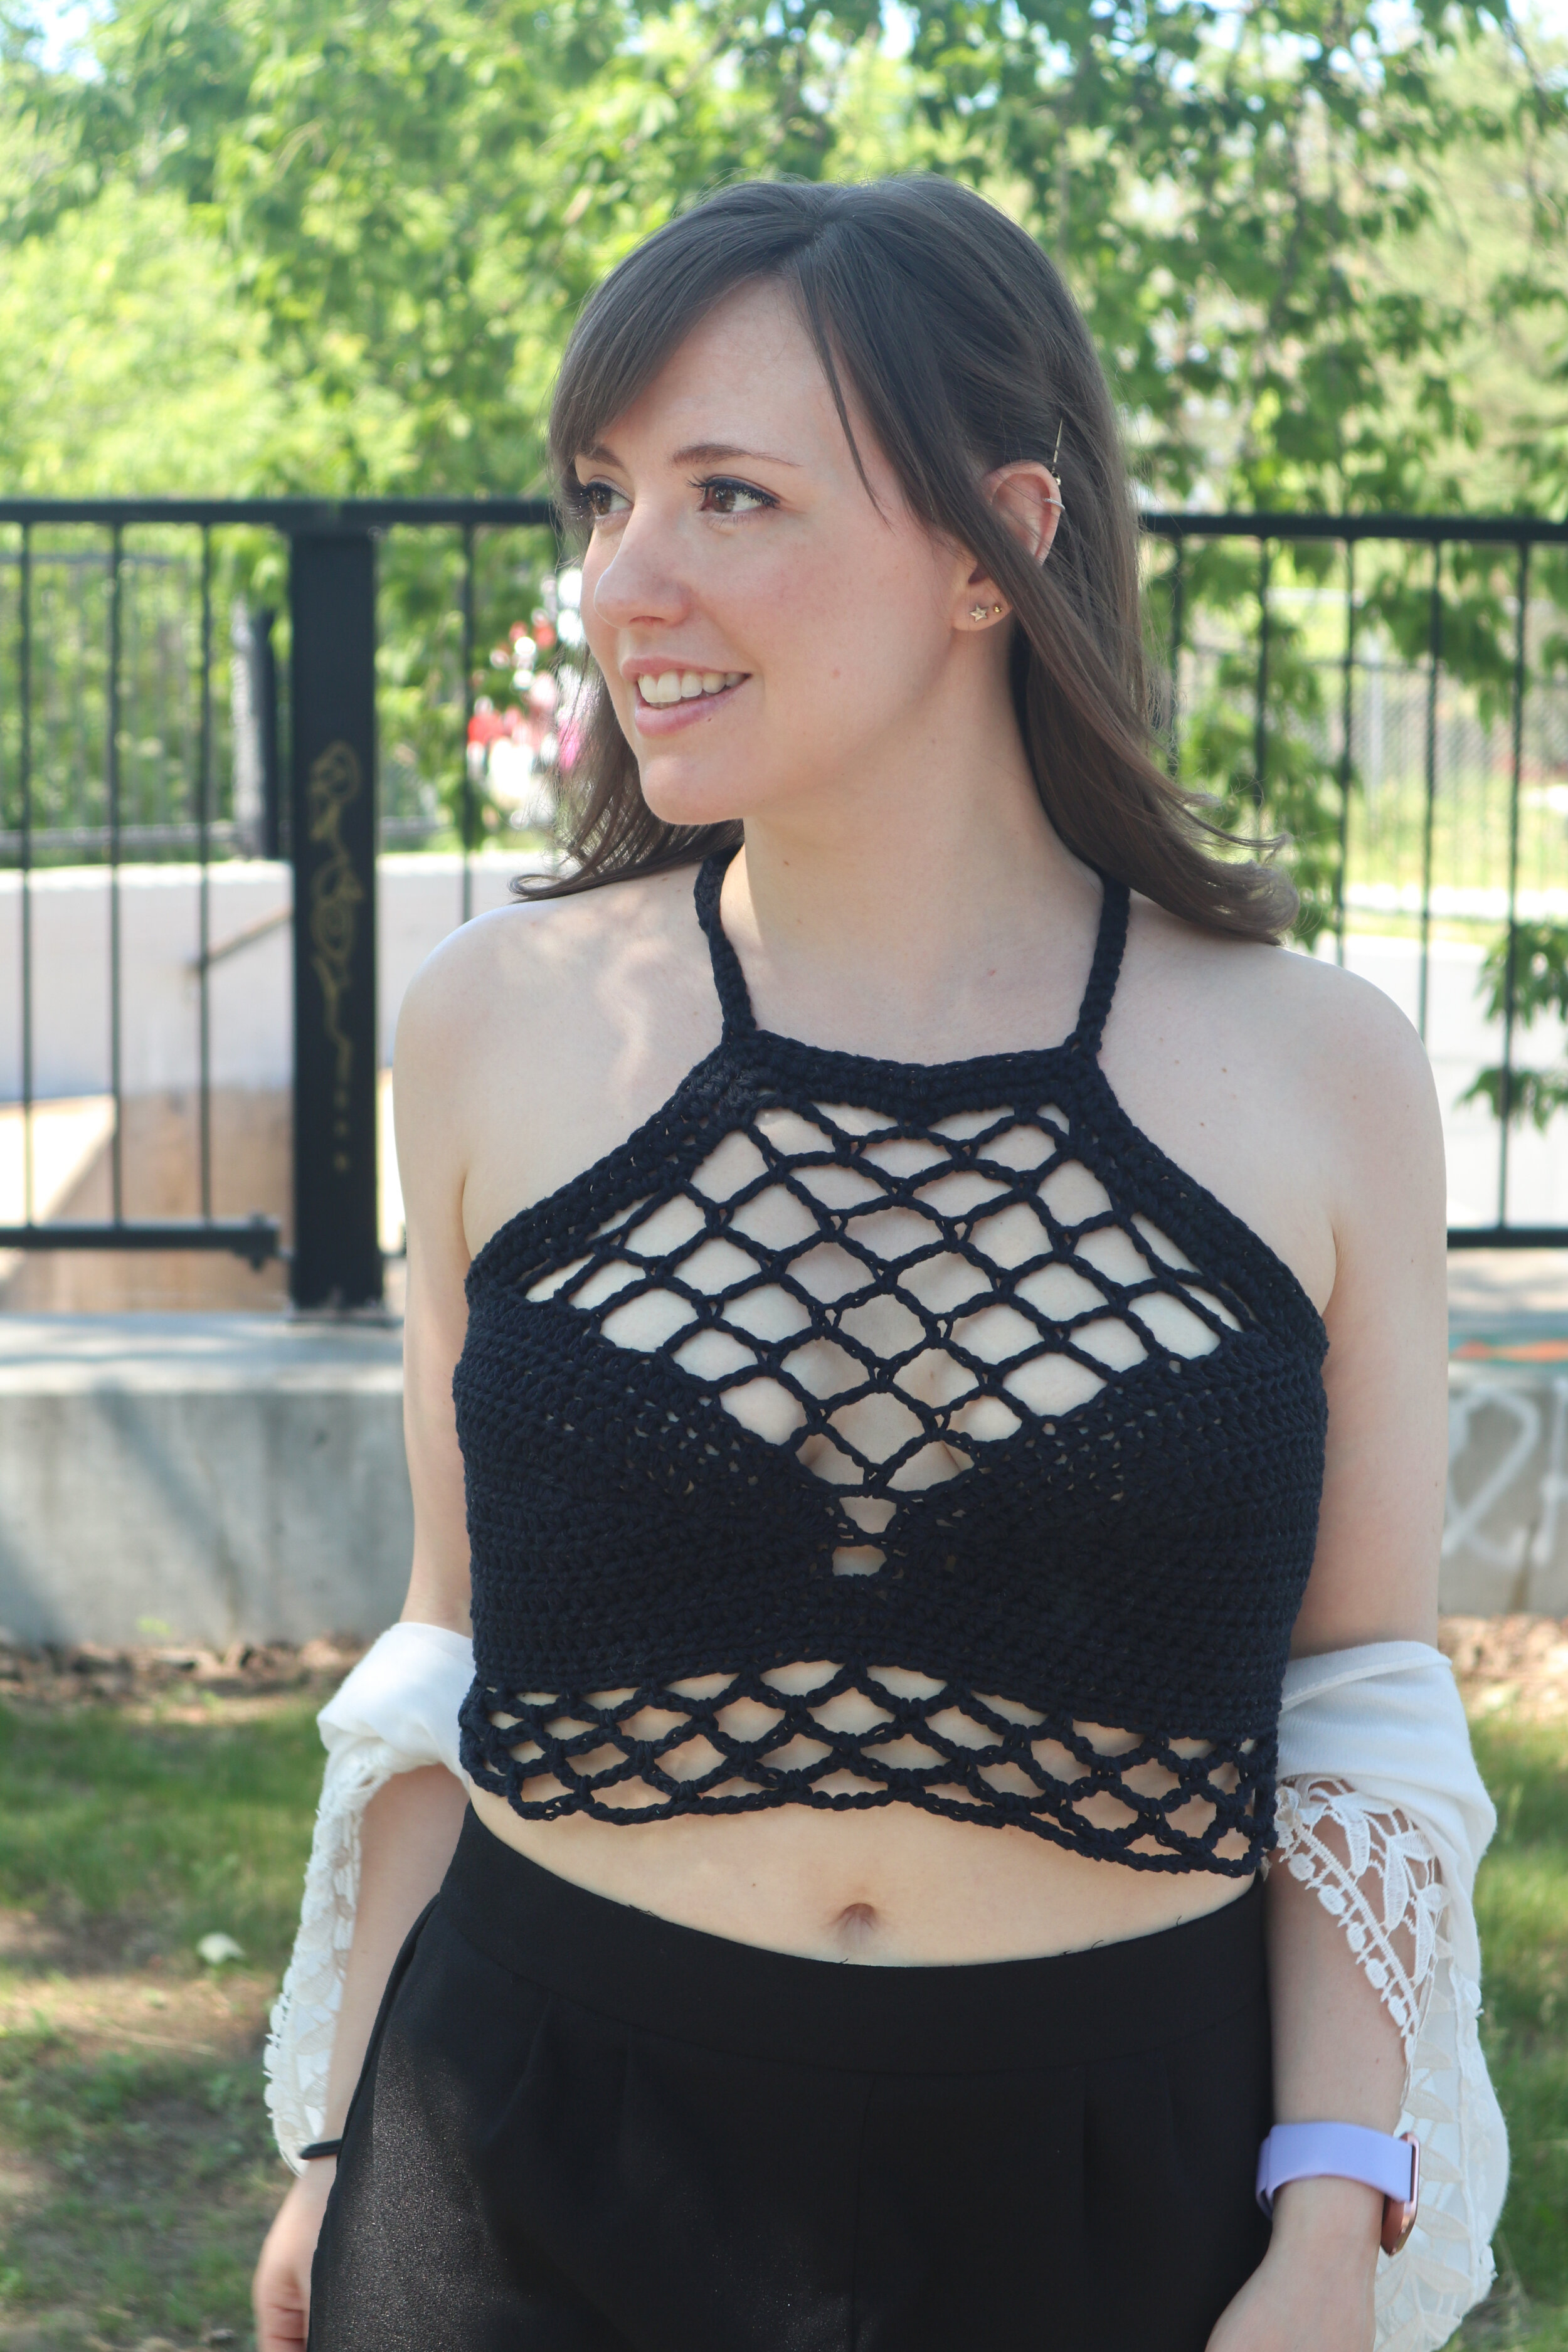
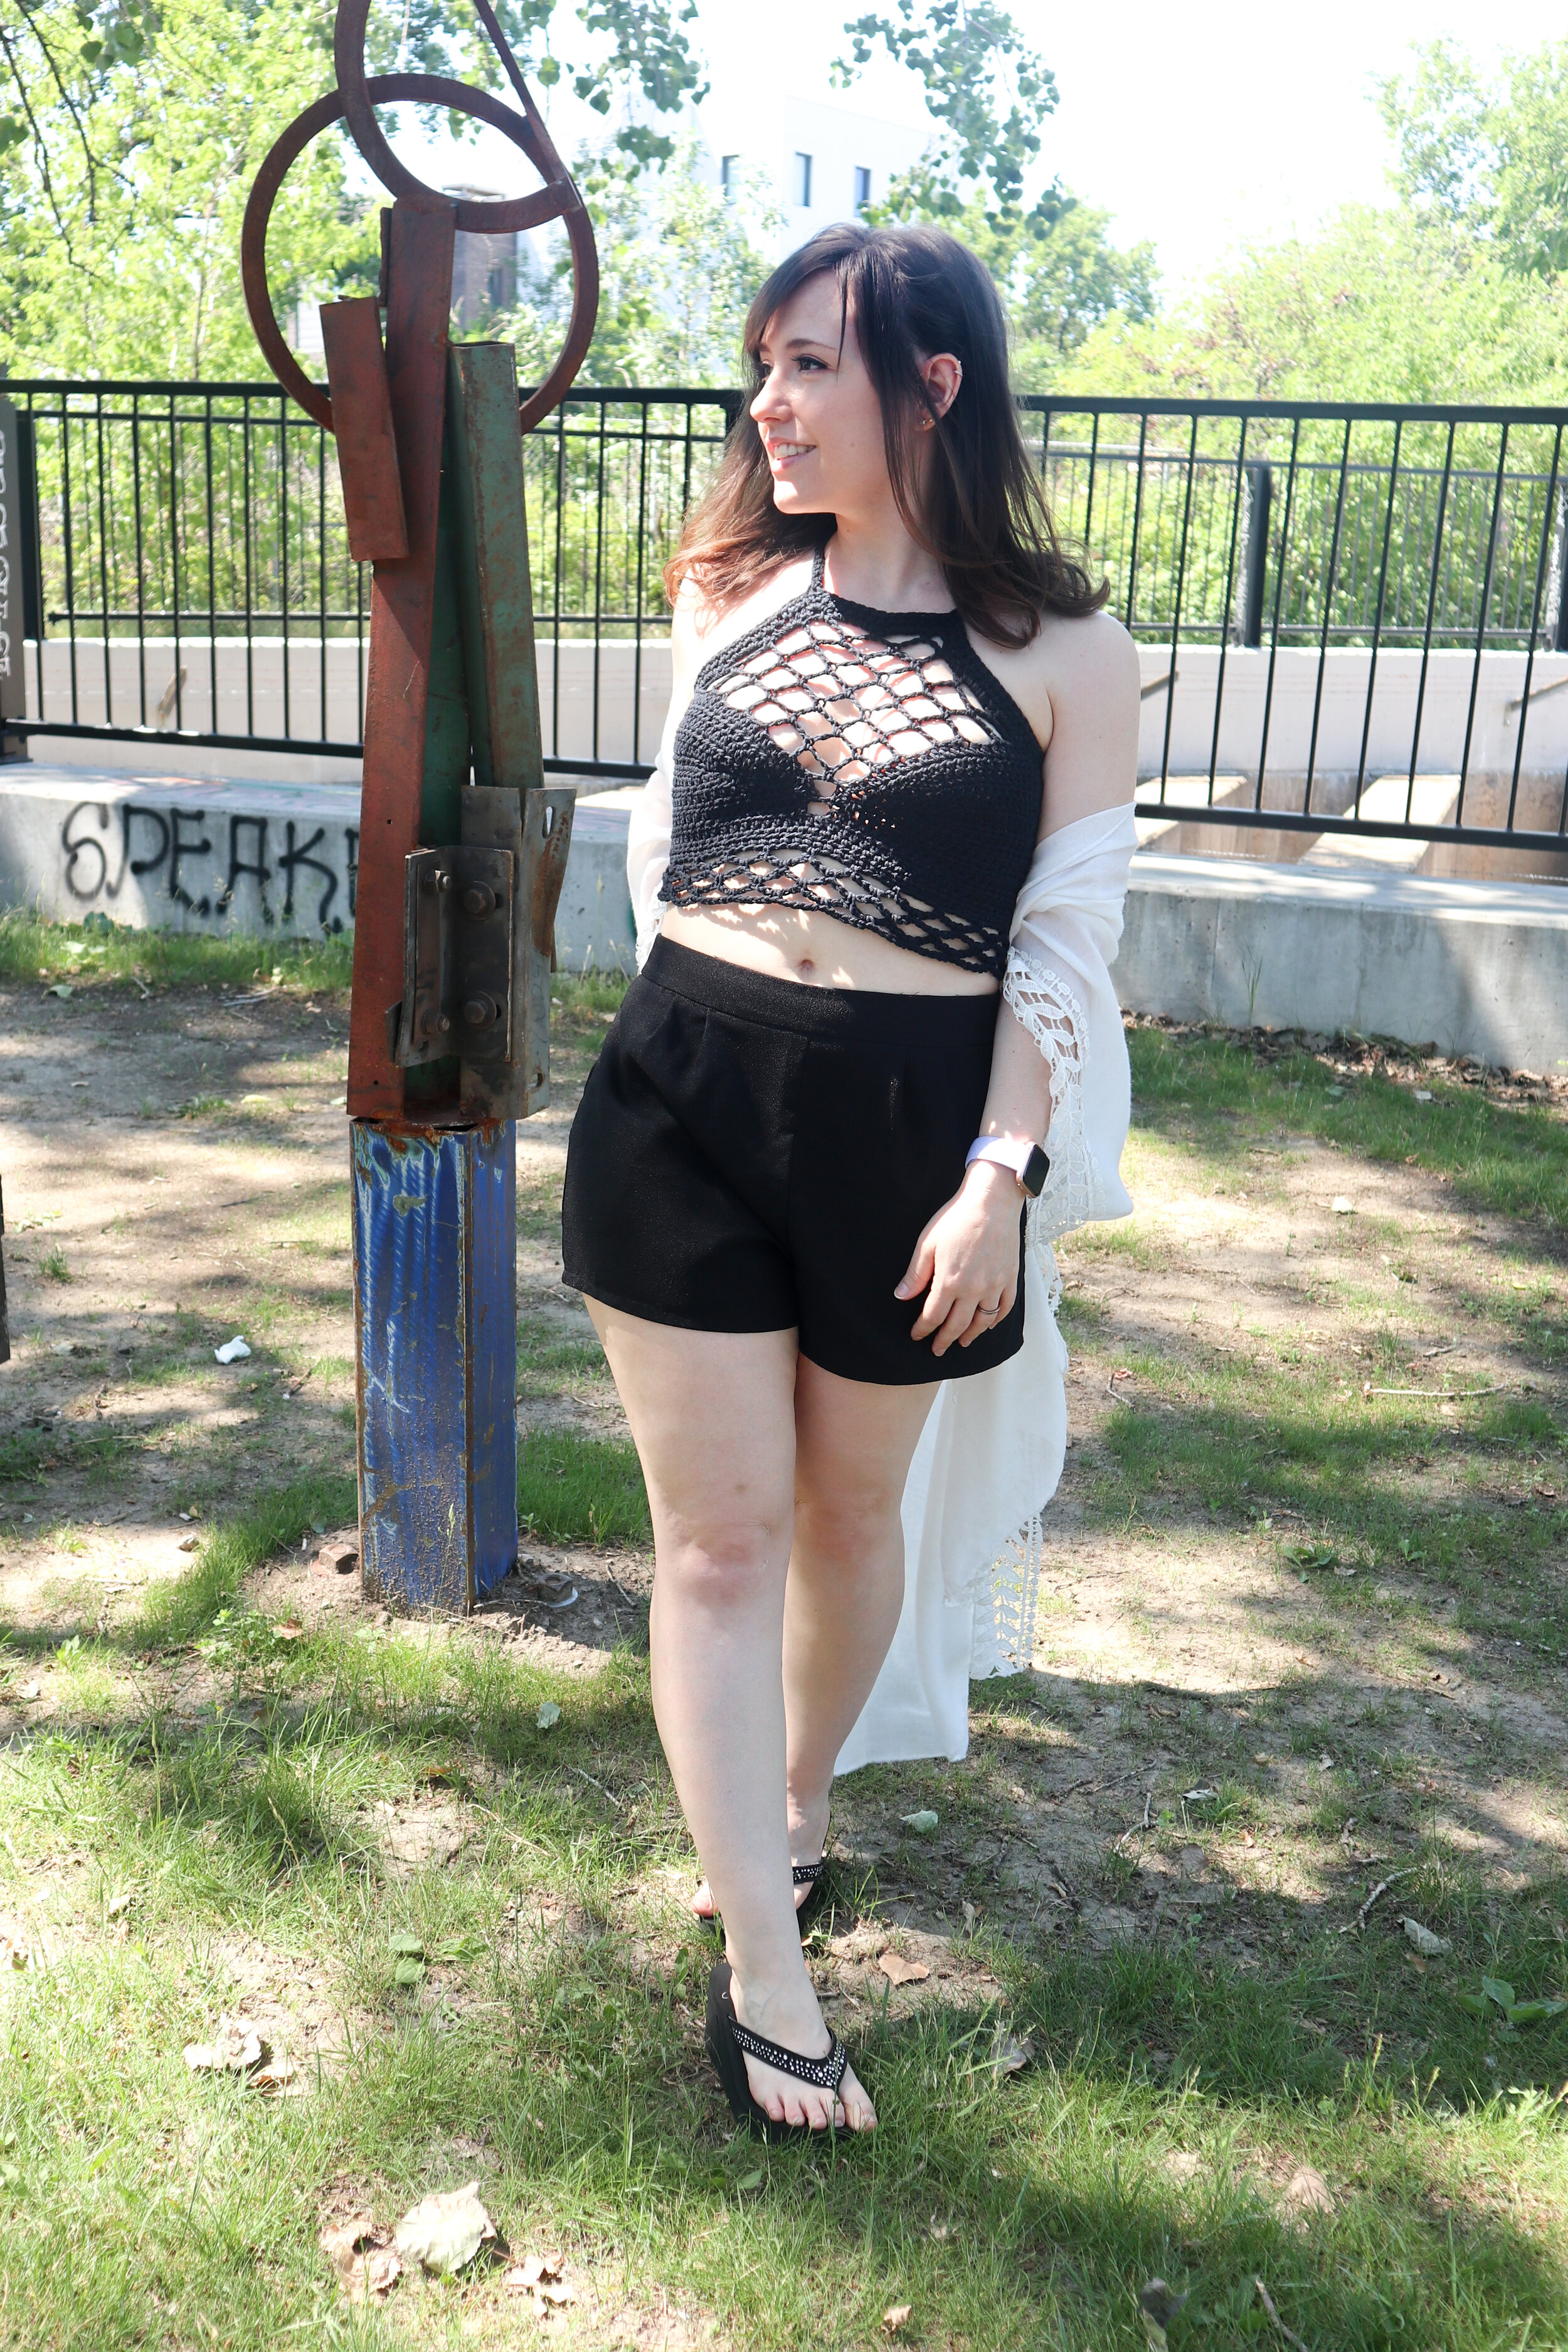
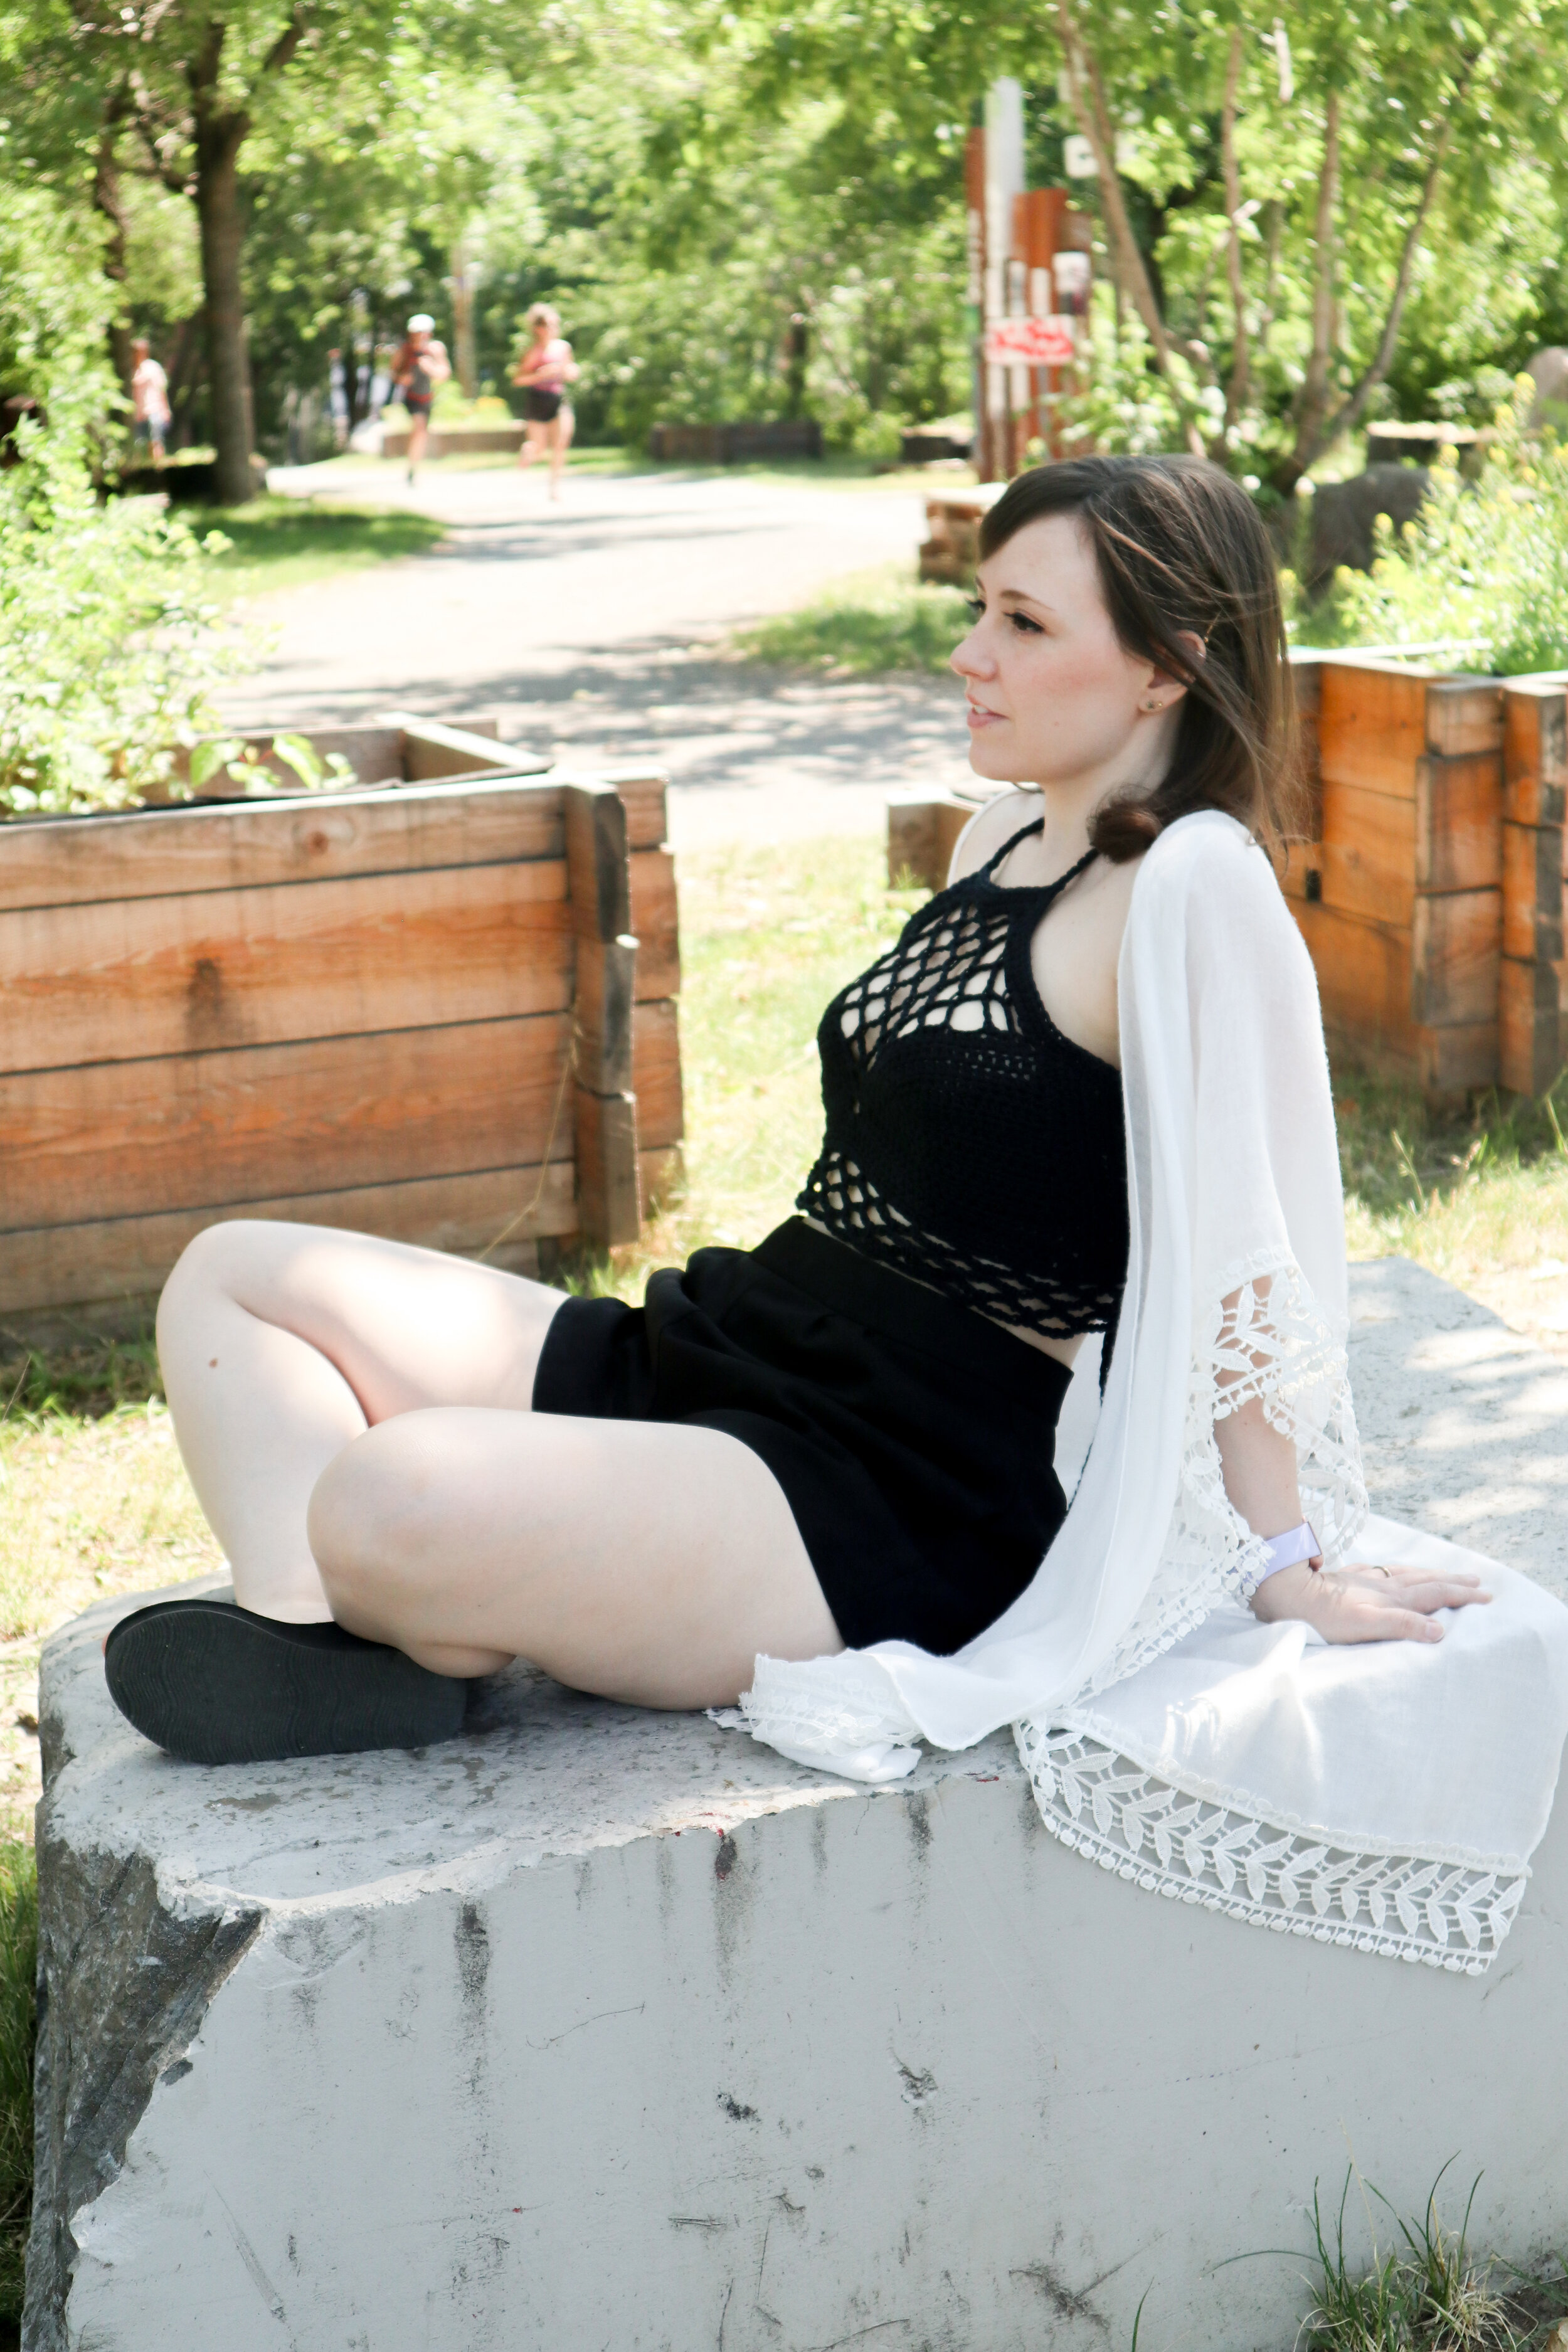
Mermaid Vibes are here! This top gives me all the mermaid feeling. First off, I got the name for this top from my awesome friend Lizzy. This is the Marina Festival Top. If you know your mermaid lore, you’ll know that before the wildly popular “The Little Mermaid” from Disney came, there was another version of this tale that was much more Brothers Grimm like. The original movie follows this plotline. This top is an ode to that original story. It’s pretty perfect for hot summer days. Great for the beach or a fair!
This top has directions for 5 sizes, S - 2XL which covers sizes 34A - 40DDD. So, there should be directions for just about everyone. And, with a few extra rows in the under-bust, you should have enough support for the girls!
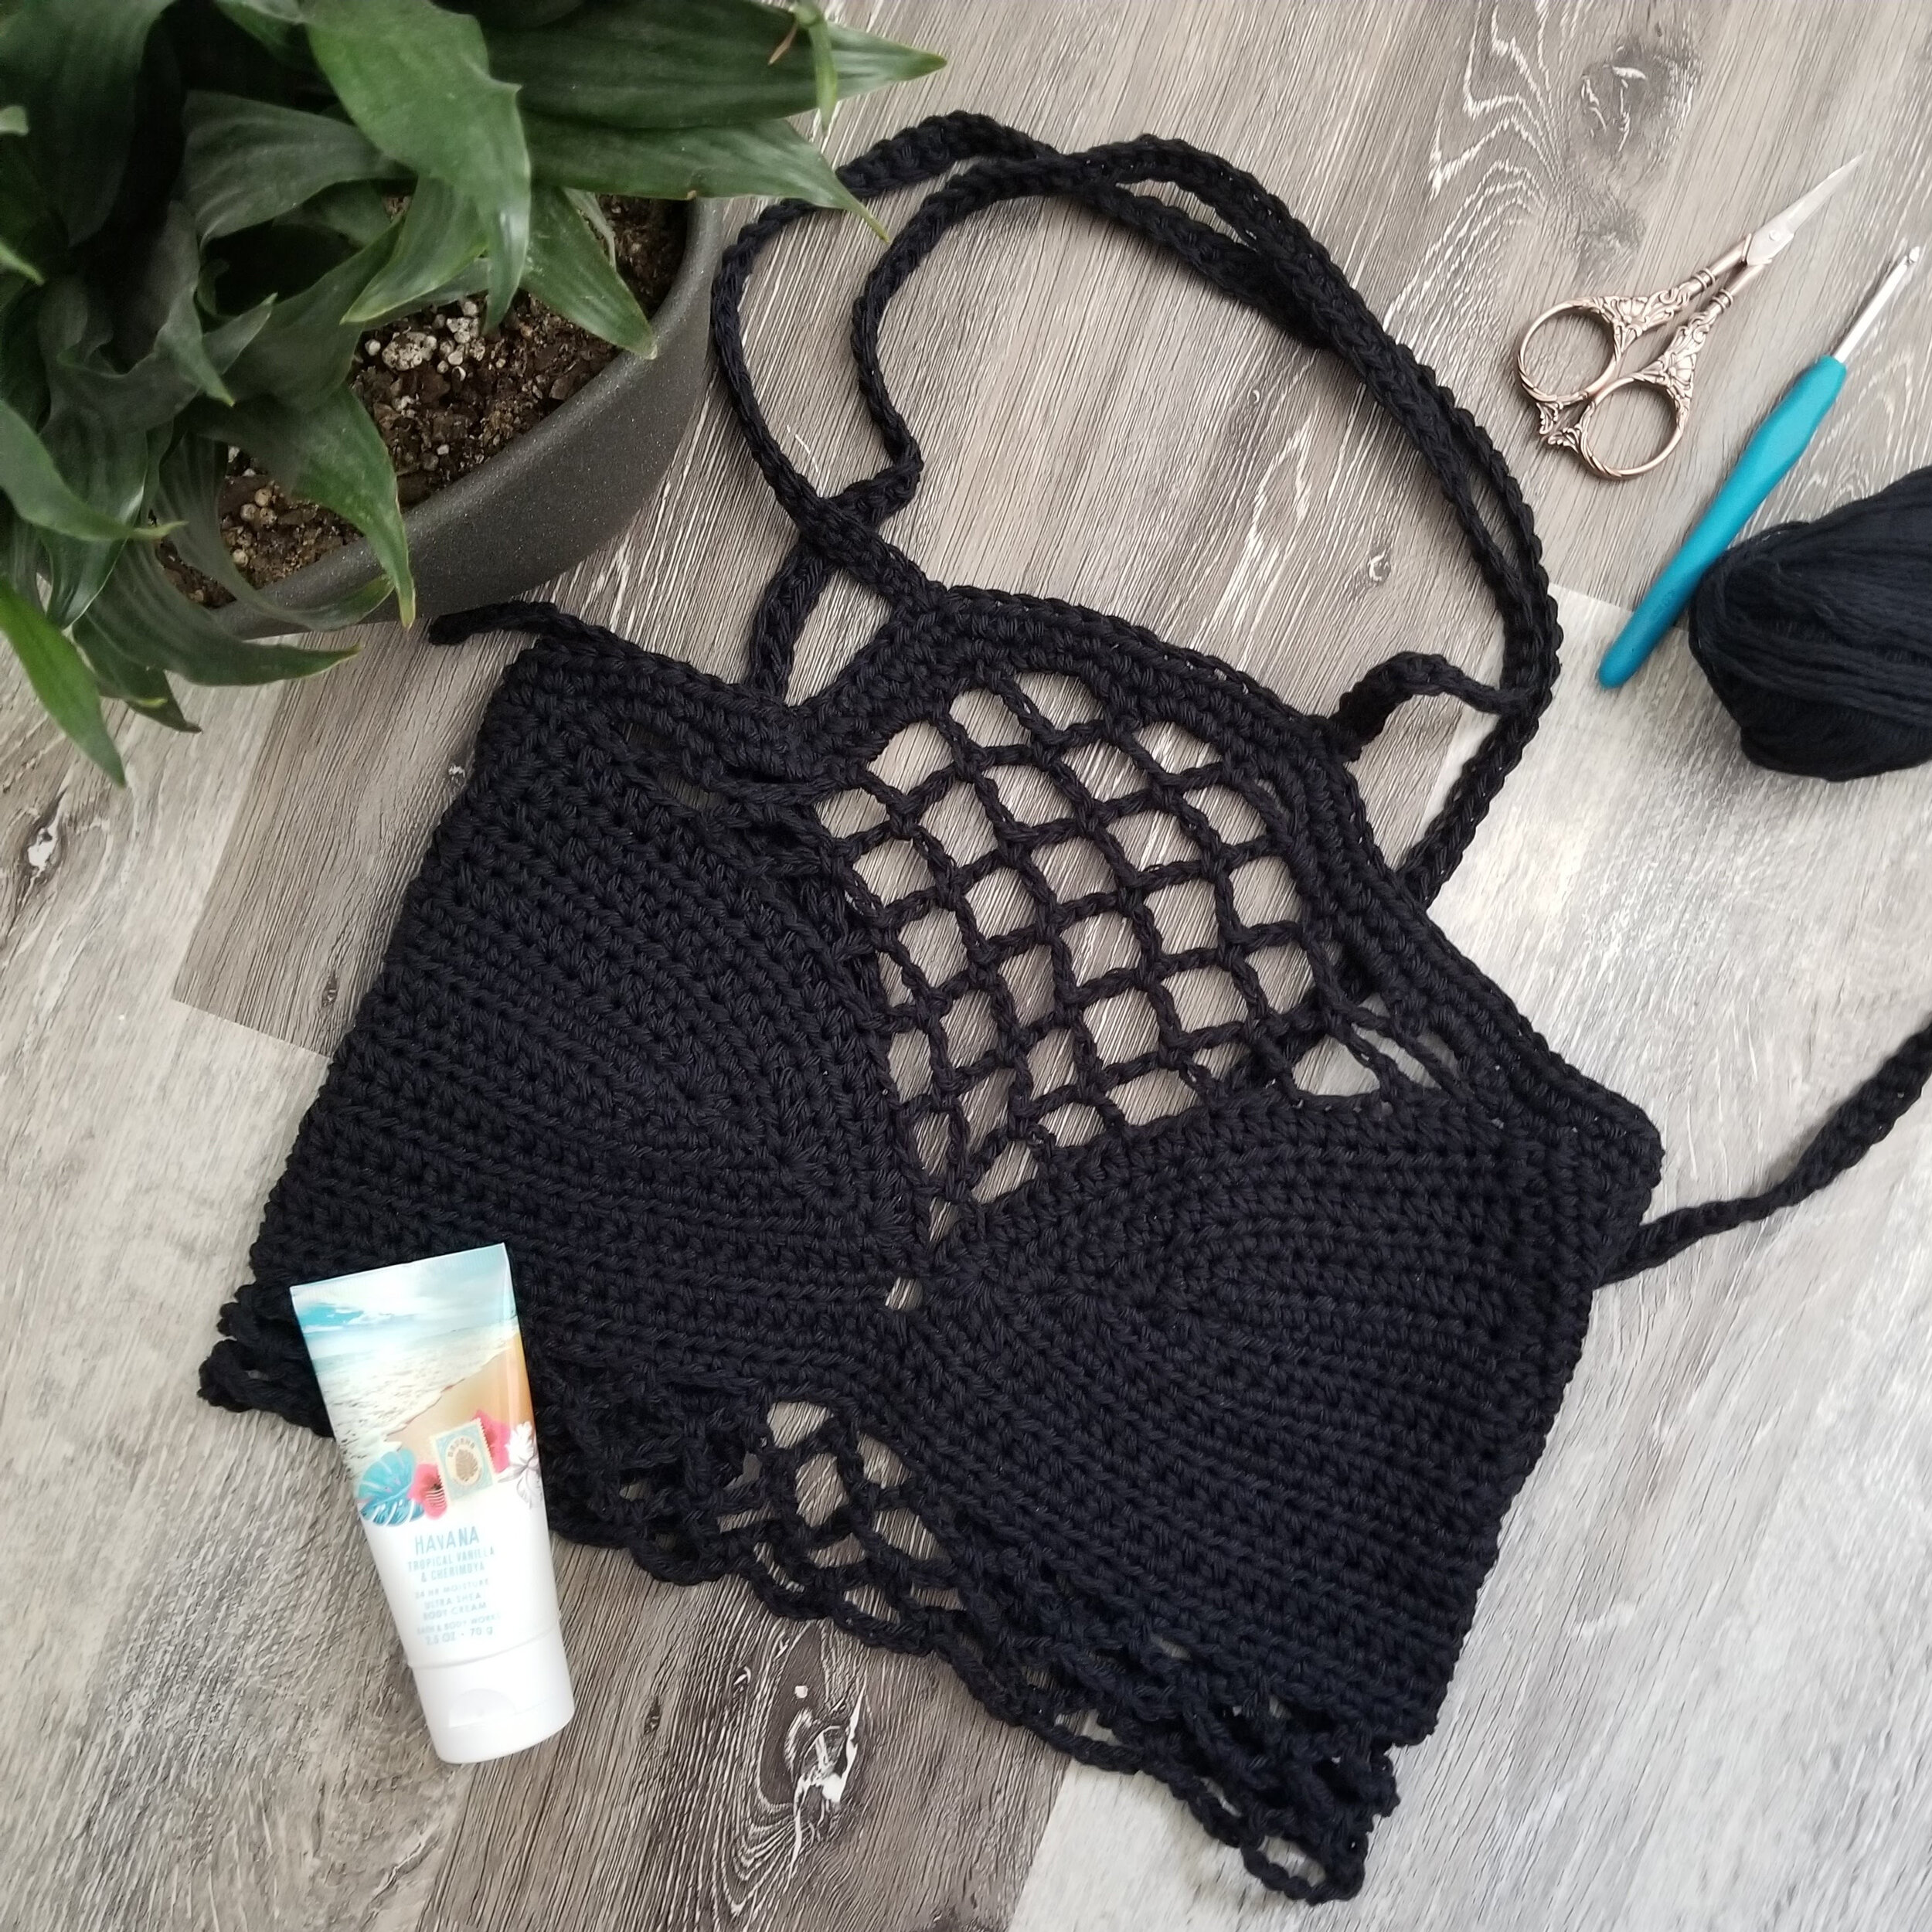
I created my top in Lily Sugar’n Cream yarn. This yarn is a weight 4, 100% cotton yarn. I used this type of yarn for my summer top because cotton tends to breathe better. But, this top would be lovely in a variety of different weight 4 yarn.
Cotton tends to stretch when wet, so make sure you are conscious of that when making and wearing the top. A way to keep it from stretching is to line the bra cups with fabric. This also will make it so that you won’t have to worry about any accidental peek-a-boob!

I LOVE TO SEE WHAT YOU CREATE!
Please share your creations with the community on social media tagging @ravinsekaidesigns and hashtag #marinafestivaltop
I can’t wait to see the beautiful things you come up with!
FOLLOW ME ON SOCIAL MEDIA
Facebook: Ravin Sekai Designs
Ravelry: RavinSekai
Etsy: Ravin Sekai Designs
Instagram: @ravinsekaidesigns
Pinterest: Ravin Sekai Designs
Patreon: Ravin Sekai Designs

Pin to Pinterest
WHAT YOU NEED:
Needle Size: 4mm hook, or size needed to obtain gauge
Yarn: Medium weight 4 yarn. Sample crocheted in Lily Sugar’n Cream. Approx 171-200 (215-230, 230-250, 250-270, 300-320) yrds.
Gauge: 14.7 st/ 9 rows in hdc = 4”
Approximate Cup Sizes:
S: 34A, 32B, 34B, 30C
M: 36A, 38A, 36B, 32C, 34C, 30D, 32D, 30DD
L: 40A, 38B, 40B, 36C, 34D, 32DD, 34DD, 30DDD, 32DDD
XL: 38C, 40C, 36D, 38D, 40D, 36DD, 34DDD
2XL: 38DD, 40DD, 36DDD, 38DDD, 40DDD
Model Sizing: model has 35” bust, wears a 34B cup, and is wearing the S size.
ABBREVIATIONS:
Abbreviations in US terms
Ch: chain
st/sts: stitch/stitches
Sl st: slip stitch
Sc: single crochet
Dc: double crochet
5hdcshell: place 5 hdc all into same st
Hdc2tog: hdc 2 sts together
Sk: skip
Rep: repeat
FO: fasten off
Cont.: continue
SM: stitch marker
RS: right side. The side you will have facing outward when you wear the garment.
THE PATTERN:
For the free pattern of this top please continue on this page. Please consider supporting me by purchasing the 100% ad-free PDF with full charts for this pattern on my Ravelry or ETSY pages. Or consider joining my Patreon for member perks.
Bra Cups
Cup 1:
Ch13 (15, 17, 19, 21) loosely
Row 1: hdc in 3rd ch from hook, 9 (11, 13, 15, 17) hdc down ch, 5hdcshell in last ch, turn piece and 10 (12, 14, 16, 18) hdc working down the back side of ch. Turn. (25, 29, 33, 37, 41 st)
Row 2: ch2 (does not count as st throughout), hdc in each hdc below until center st of 5hdcshell, 5hdcshell into center st, hdc in each hdc to end. (Make sure you don’t add a st here). Turn.
Row 3 - 6(7, 7, 8, 8): cont. in same manner as Row 2 until you have the correct sized cup. (45, 53, 57, 65, 69 st)
FO
Cup 2:
Rep Row 1 - 6(7, 7, 8, 8): BUT, do not FO. Put a sm into the center st of the 5hdcshell of both cups.
Row 7(8, 8, 9, 9): ch2, hdc until 1 st before center sm, ch1, attach w/ hdc at 1 st before sm on opposite cup, hdc in each hdc to end. Turn.
Row 8(9, 9, 10, 10): ch2, hdc across placing 1 hdc in central ch1. Turn. (45, 53, 57, 65, 69 st)
Row 9(10, 10, 11, 11): ch2, hdc across. (45, 53, 57, 65, 69 st)
For M and L size, rep Row 9(10, 10, 11, 11) twice more (4 rows of hdc total), for XL and 2XL rep 4 more times (6 times total).
Do not turn over. Do not FO. Do not remove SM. You will be working up the side of the cups in the next section to create the side panels that go around your back.
**If you feel you might want a little more under bust support, go ahead and repeat Row 9(10, 10, 11, 11) until you have enough support.**
Side Panels
Row 1: ch 2, hdc evenly up side of cup. Turn. (I did 3 st for every 2 hdc rows).
Row 2: ch2, hdc2tog 1st 2 sts, hdc until end. Turn.
Row 3: ch2, hdc until last 2 sts, hdc2tog. Turn.
Row 4 - Row 9: rep Row 2 - Row 3
Row 10: rep Row 2
Row 11: ch2, 1hdc, ch1, sk1, hdc until last 2 sts, ch1, sk1, hdc in last st. Turn.
Row 12: ch1, sc across.
FO
Reattach yarn at bottom of opposite side and rep Row 1 - 12
FO
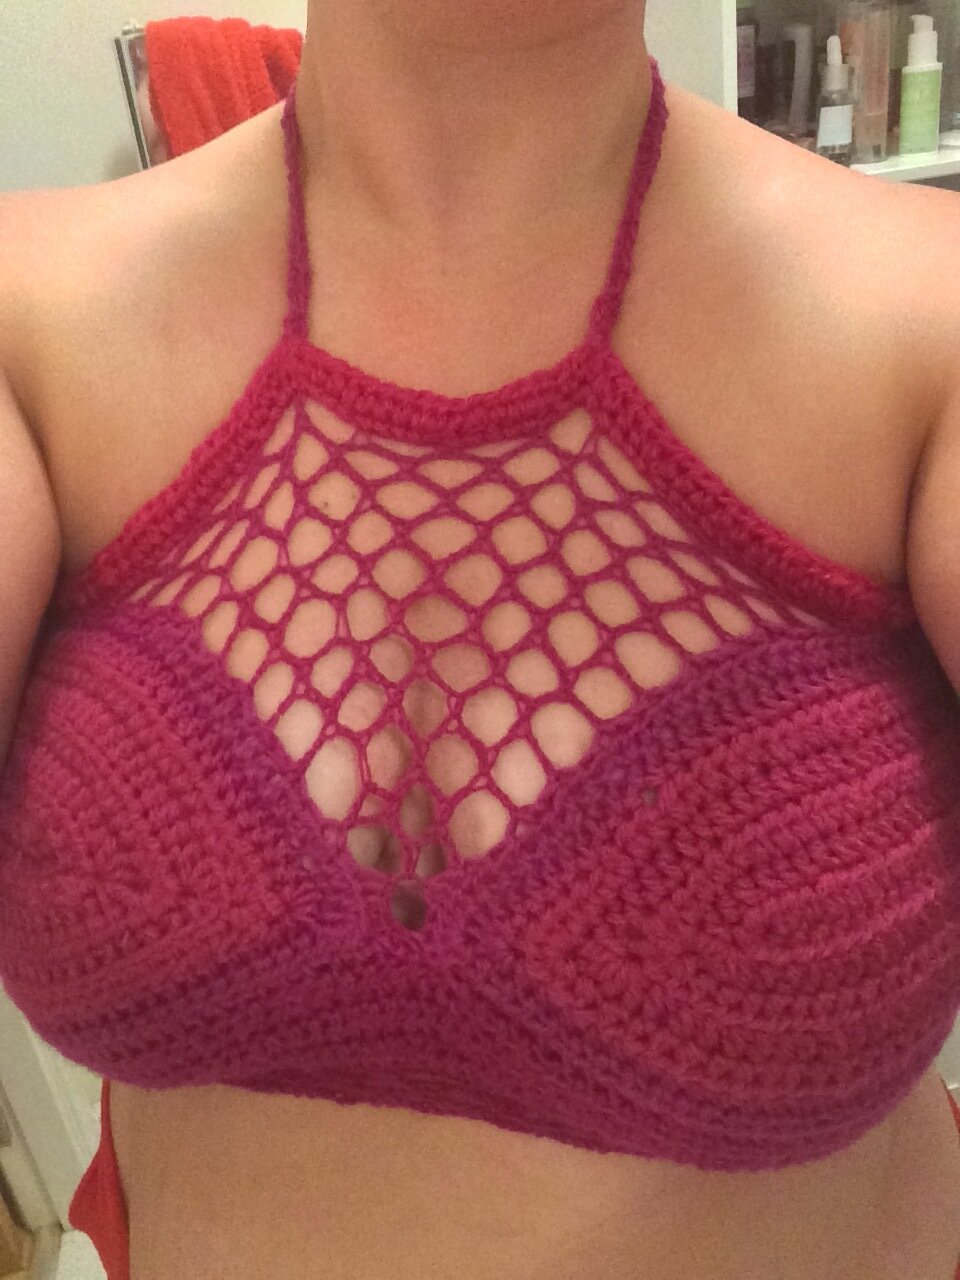
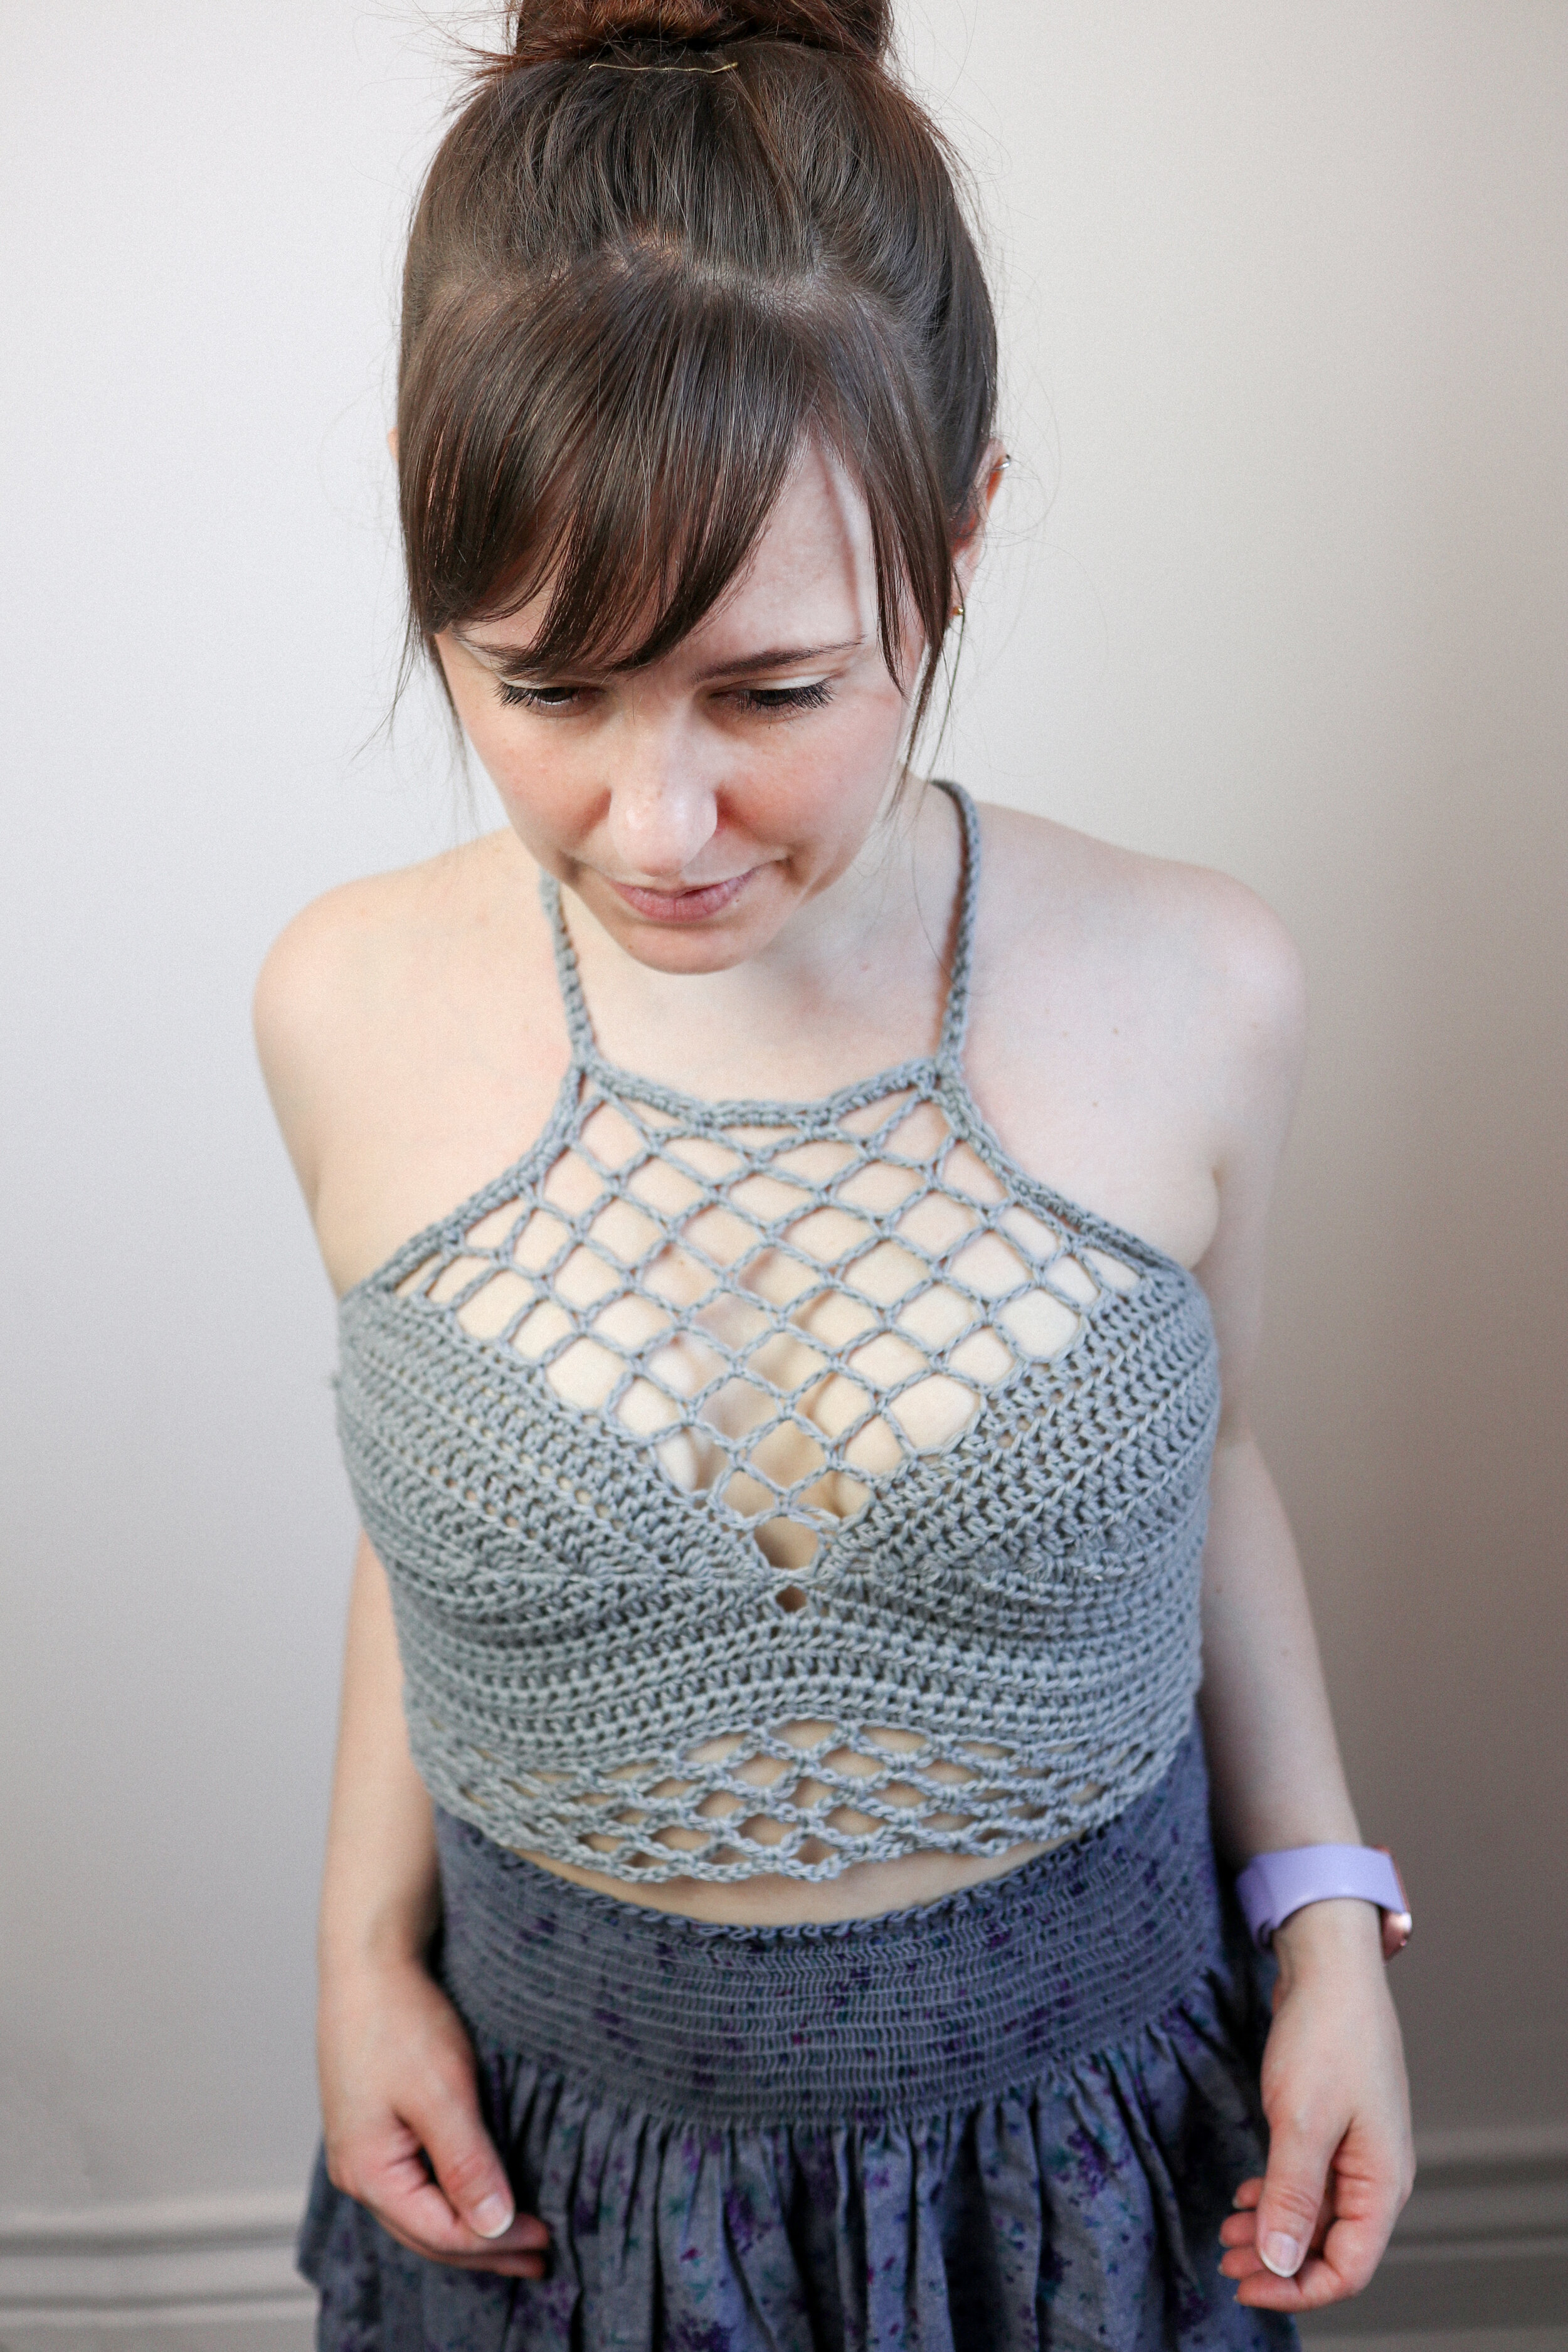
Top Netting
Row 1: sl st tog the sts that have the SM in them to close gap between cups. FO
Row 2: on right side cup, re-attach yarn to the 3rd st away from Row 1 w/ sl st, ch2, sl st in 3rd st from center in opposite cup, sl st in next 3 st. Turn.
Row 3: ch5, sc in ch2, ch5, sl st in 3rd st from 1st attachment, sl st in next 3 st. Turn.
Row 4: [ch5, sc in center of ch5 below], rep [ ] across, ch5, sl st in 3rd st from last attachment, sl st in next 3 st. Turn.
Row 5 - Row 9(10, 10, 11, 11): rep Row 4 to last sts on cups. (For S size you will start/end the 9th Row 2 st into the back straps, the other sizes you will have a few sts left on the cup left un-worked). Turn.
Row 10(11, 11, 12, 12): ch 1, sl st in each st of ch 5 space and sc until you reach the center of the third ch 5 space, sc in center of the same ch5, [ch5, sc in next ch5] until 3rd to last ch5 leaving 2 ch5 un-worked. Turn.
Row 11(12, 12, 13, 13): ch3, sc in 1st ch5, [ch5, sc in next ch5] x2(2, 3, 4, 4), ch3, sc in 1st sc from Row 10(10, 11, 12, 12).
FO
Row 12(13, 13, 14, 14): w/ RS facing, reattach yarn at top right hand side of side panel where your top eyelet is, sc evenly along top of panel (I did 2 sc for each Row), place 4 sc in the ch5, 1 sc in each sc, 2sc in each half ch5, and 3 sc in each ch 3 (I like to mark the center st of this 3 sc with a sm as that will be where the straps go), repeat down the opposite side. Turn.
Row 13(14, 14, 15, 15): ch2, hdc in each sc below.
FO
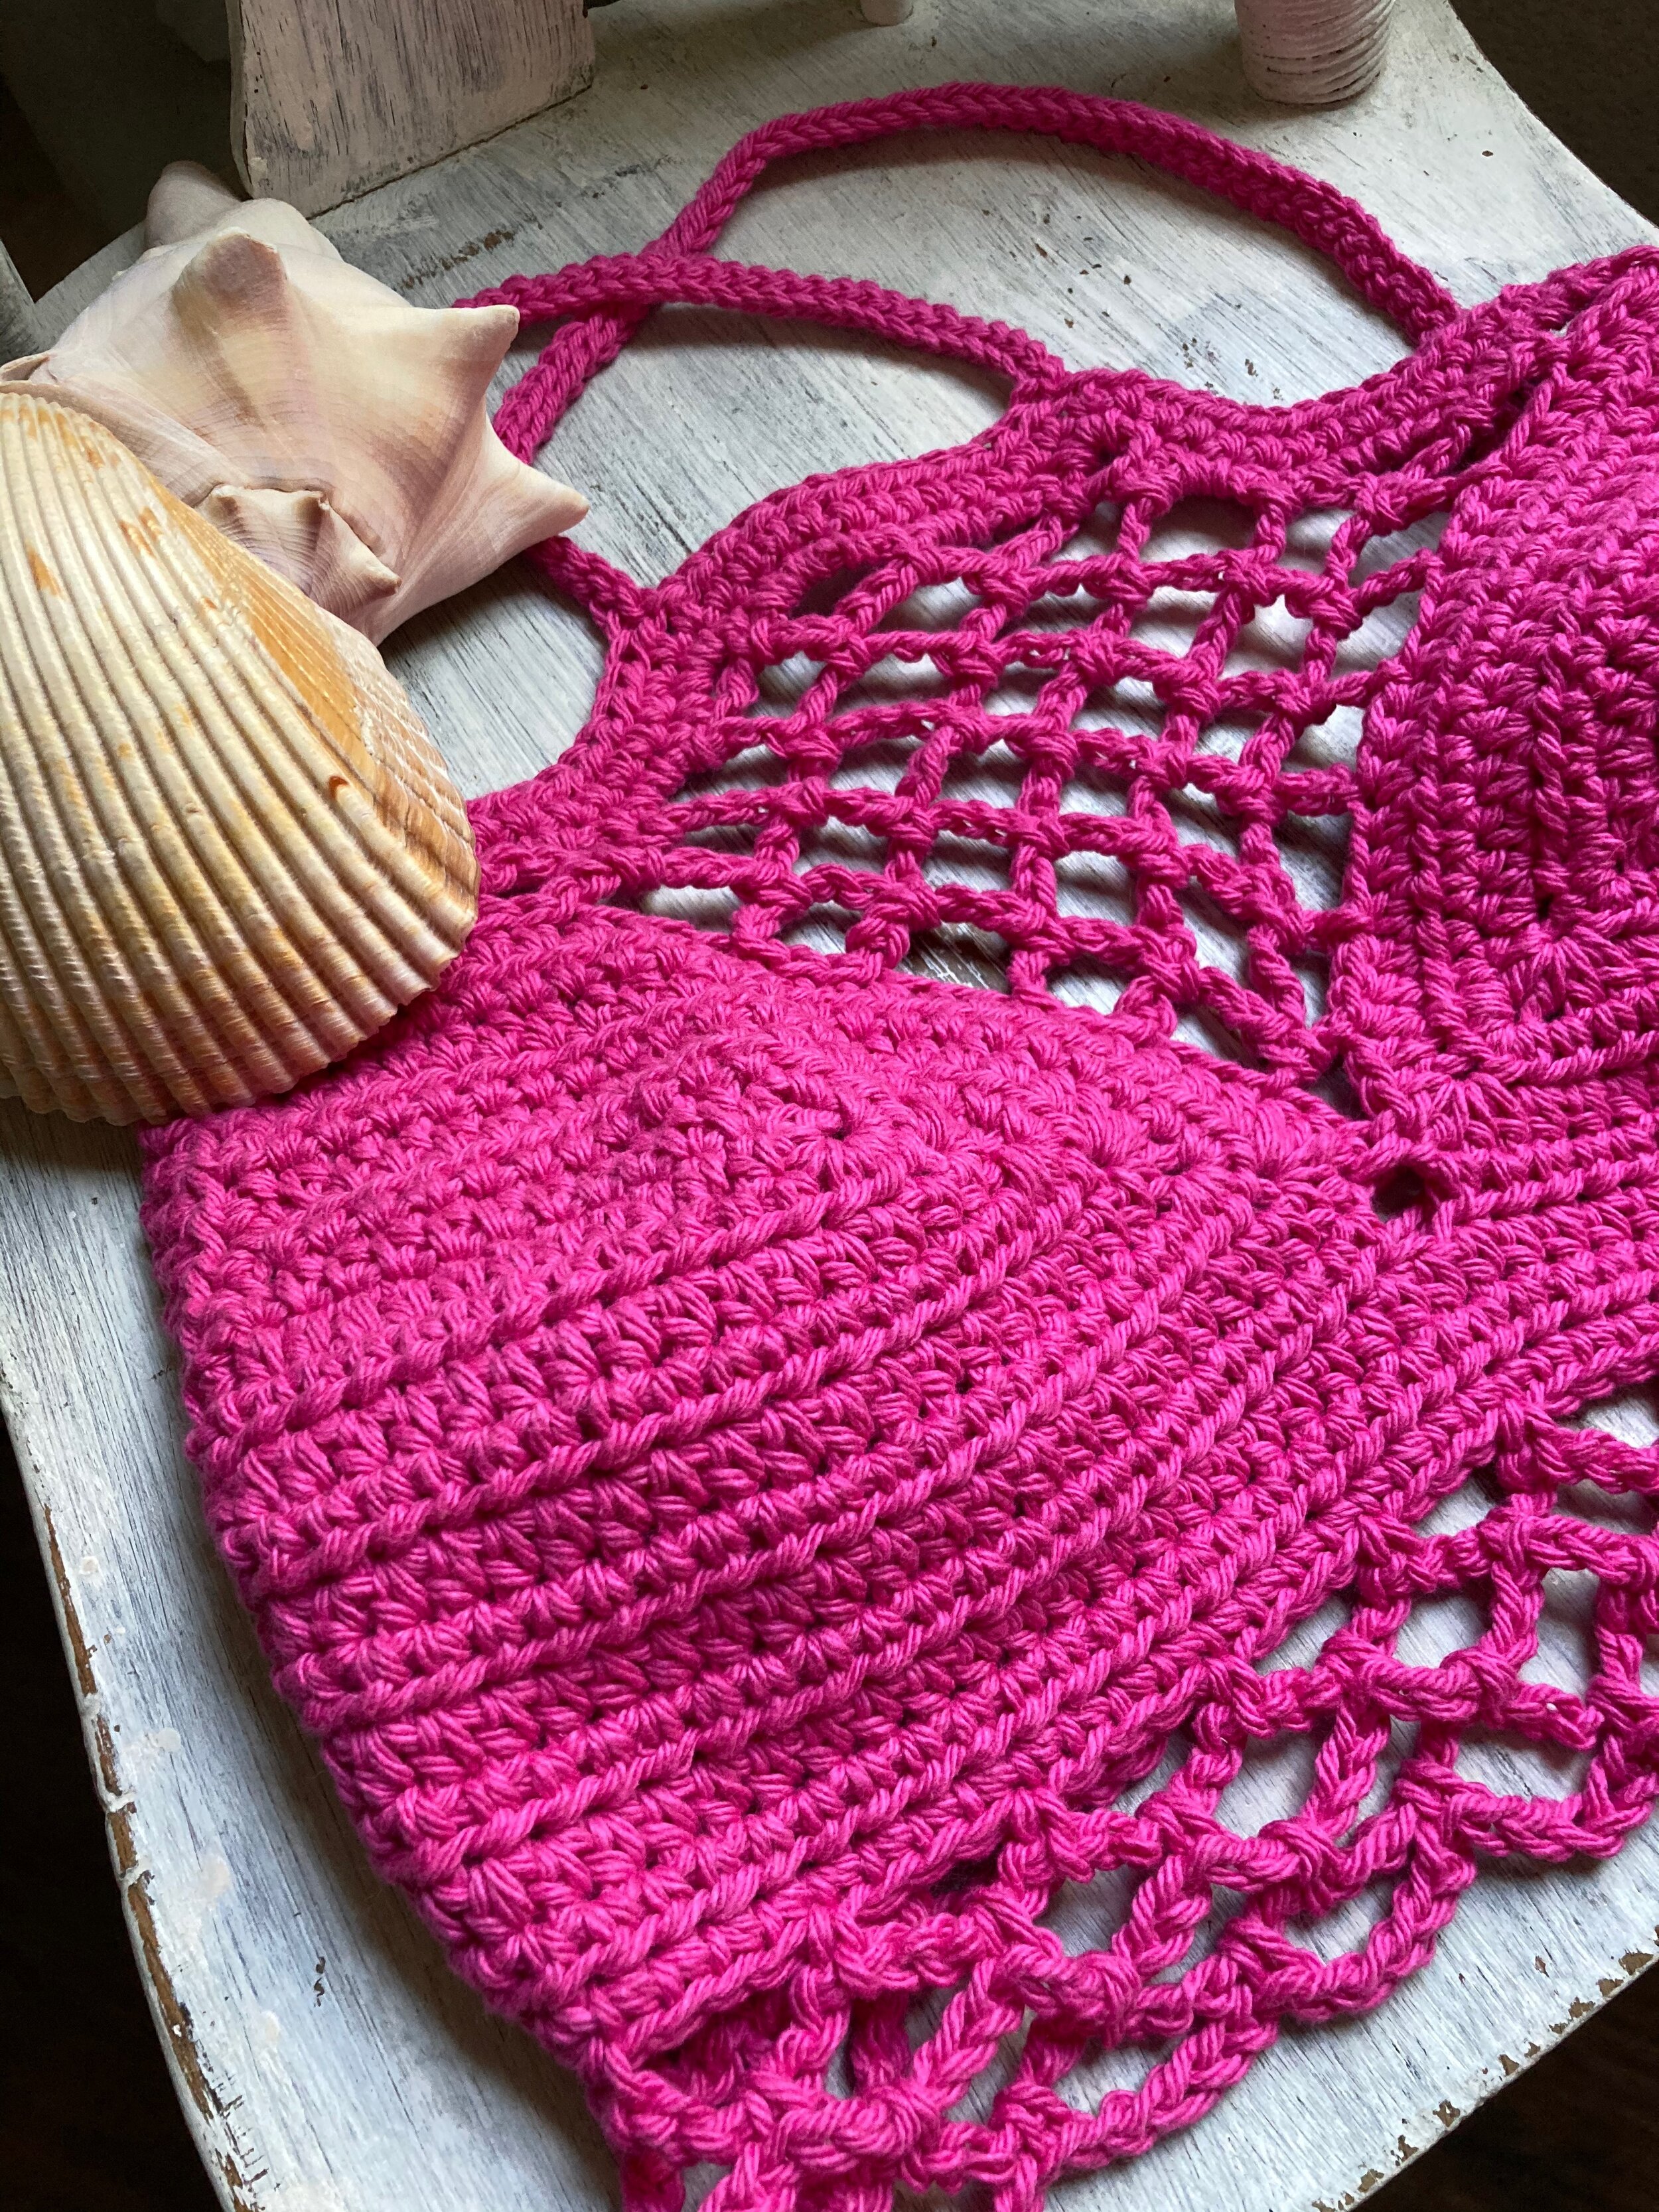
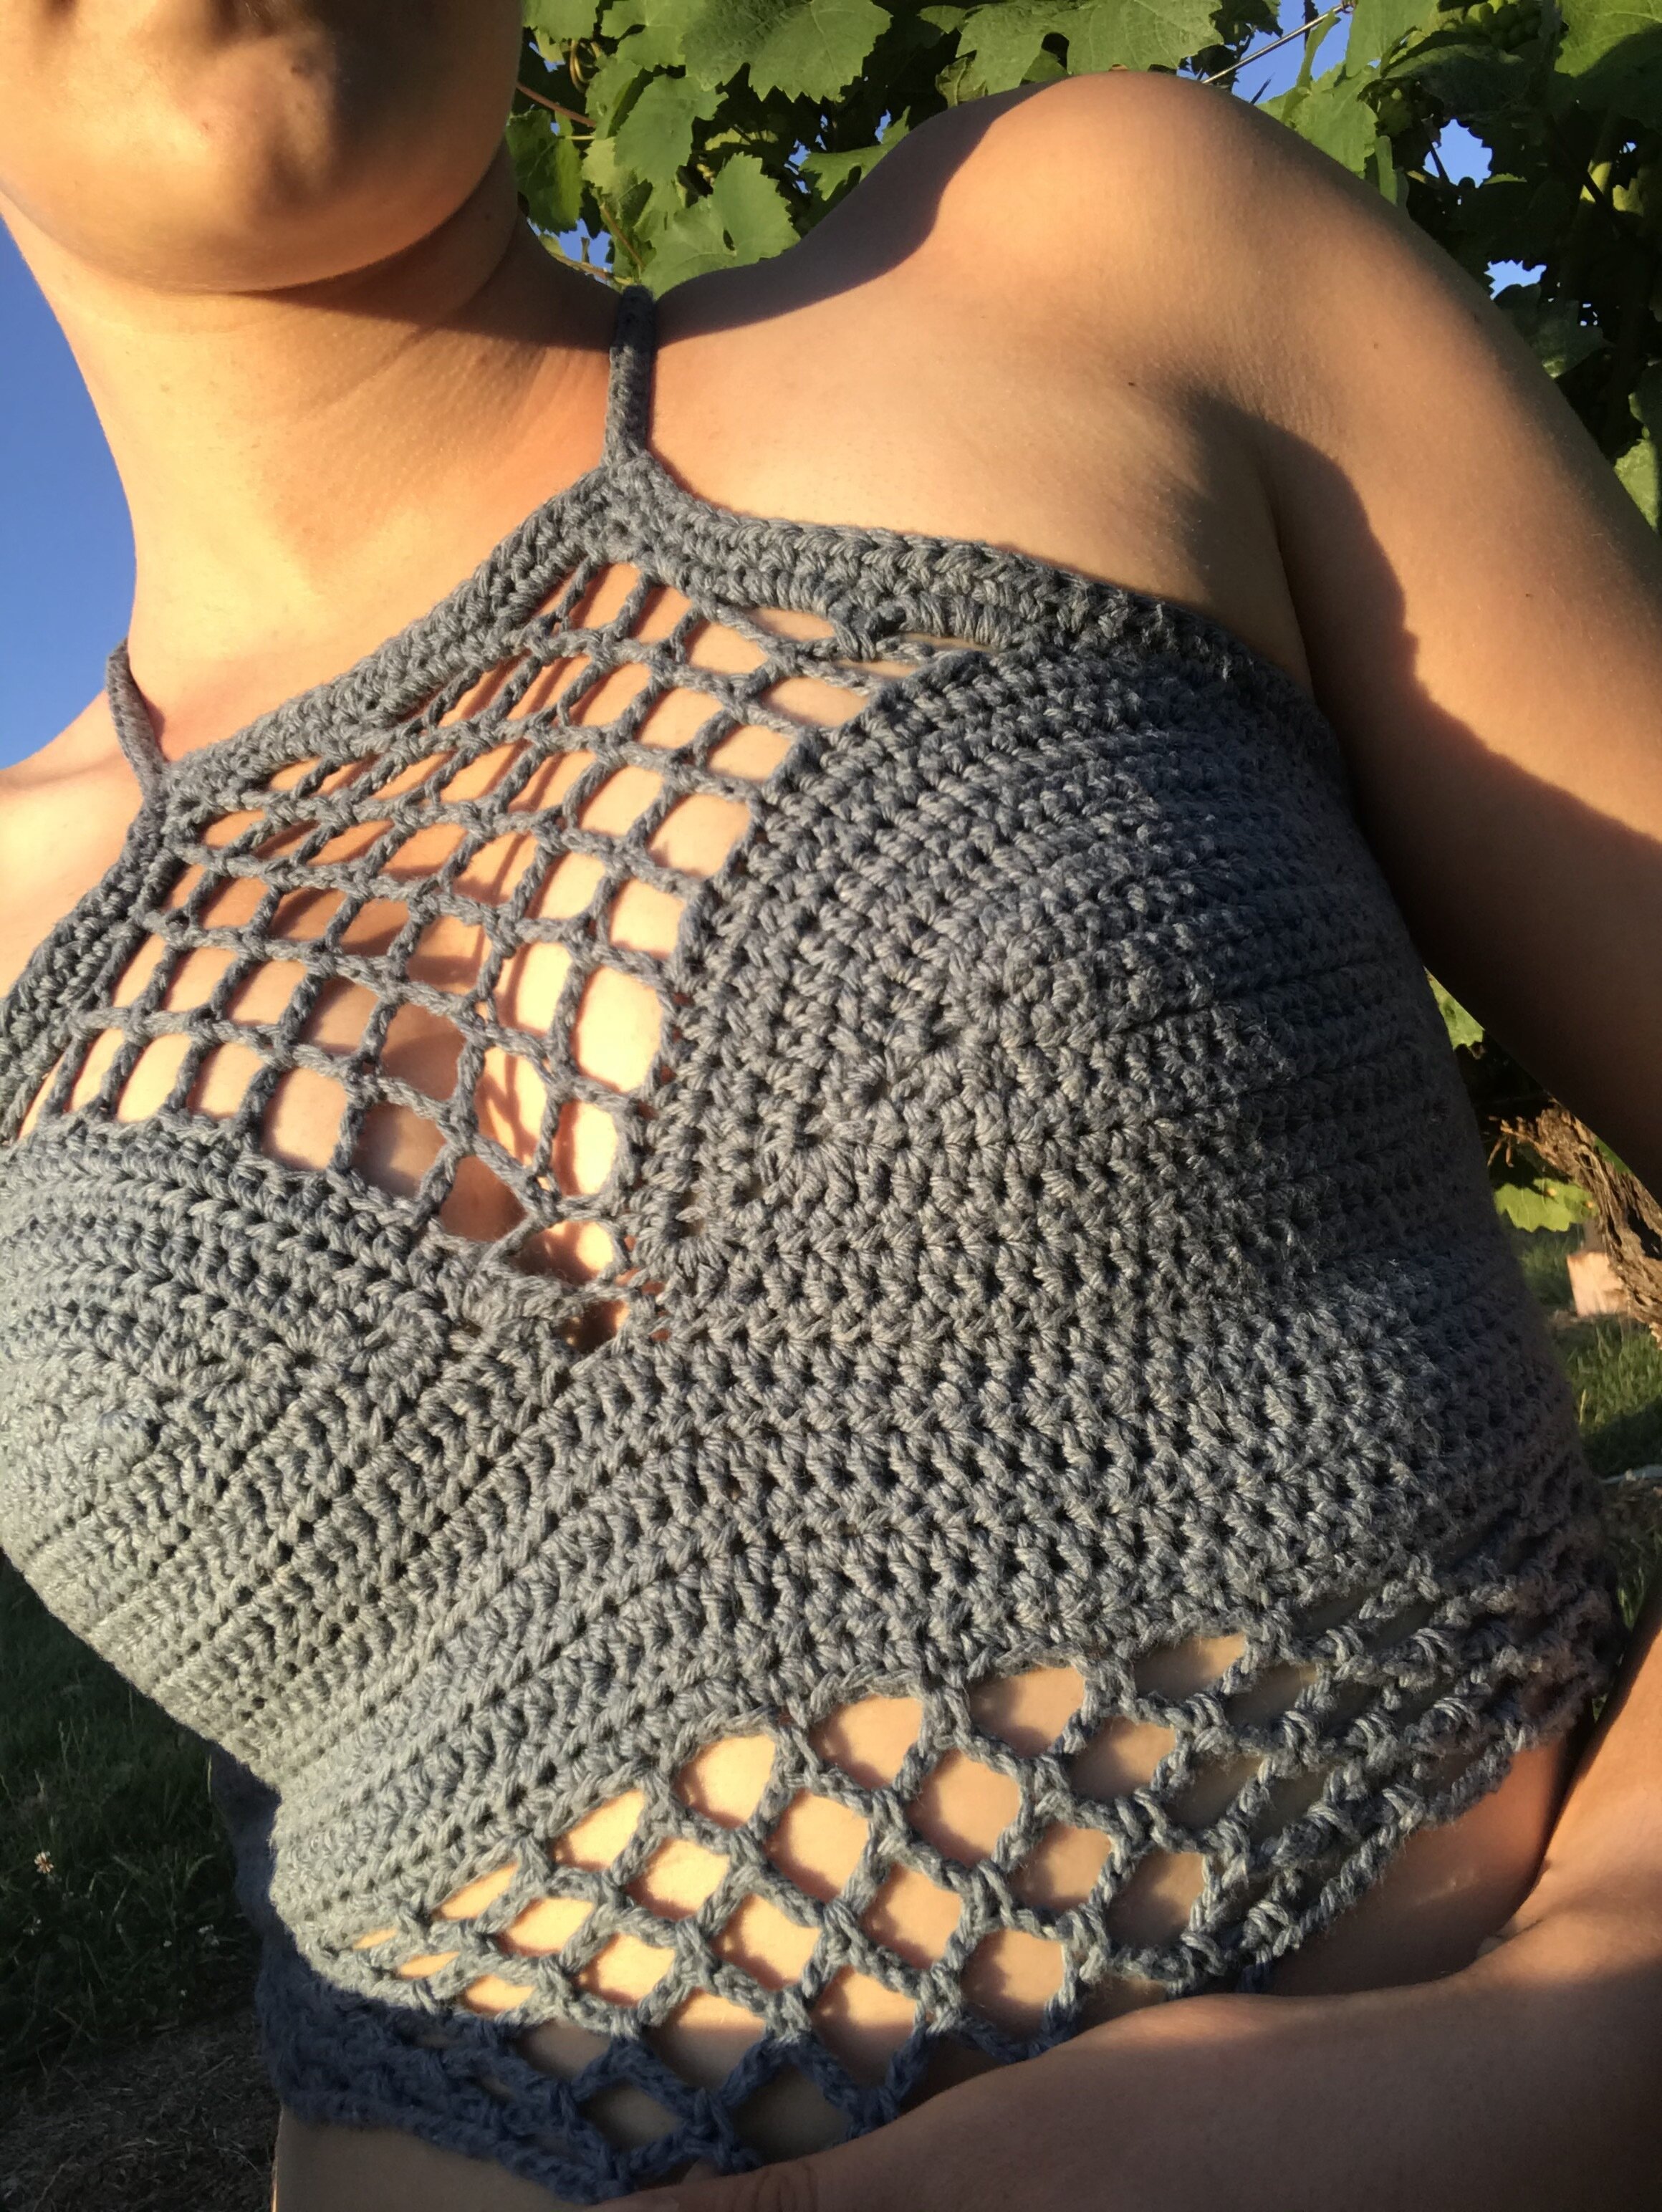
Underbust
Row 1: Turn top upside down, w/ RS facing, attach yarn w/ a sc at top right hand side panel, then sc evenly across in a multiple of 4 sts. (4 +1). Turn.
Row 2: ch1 (does not count as a st), sc in 1st st, *ch 5, sk 3, sc in next stitch* rep * * across row, Turn.
Row 3: *Ch 5, sc in ch 5 space* rep * * across row to last stitch, sc in sc from previous row, Turn.
Row 4: *Ch 5, sc in ch 5 space* across. Turn.
Row 5: rep Row 4
FO
**If you’d like your mermaid scales longer, rep Row 4 a few more times.**
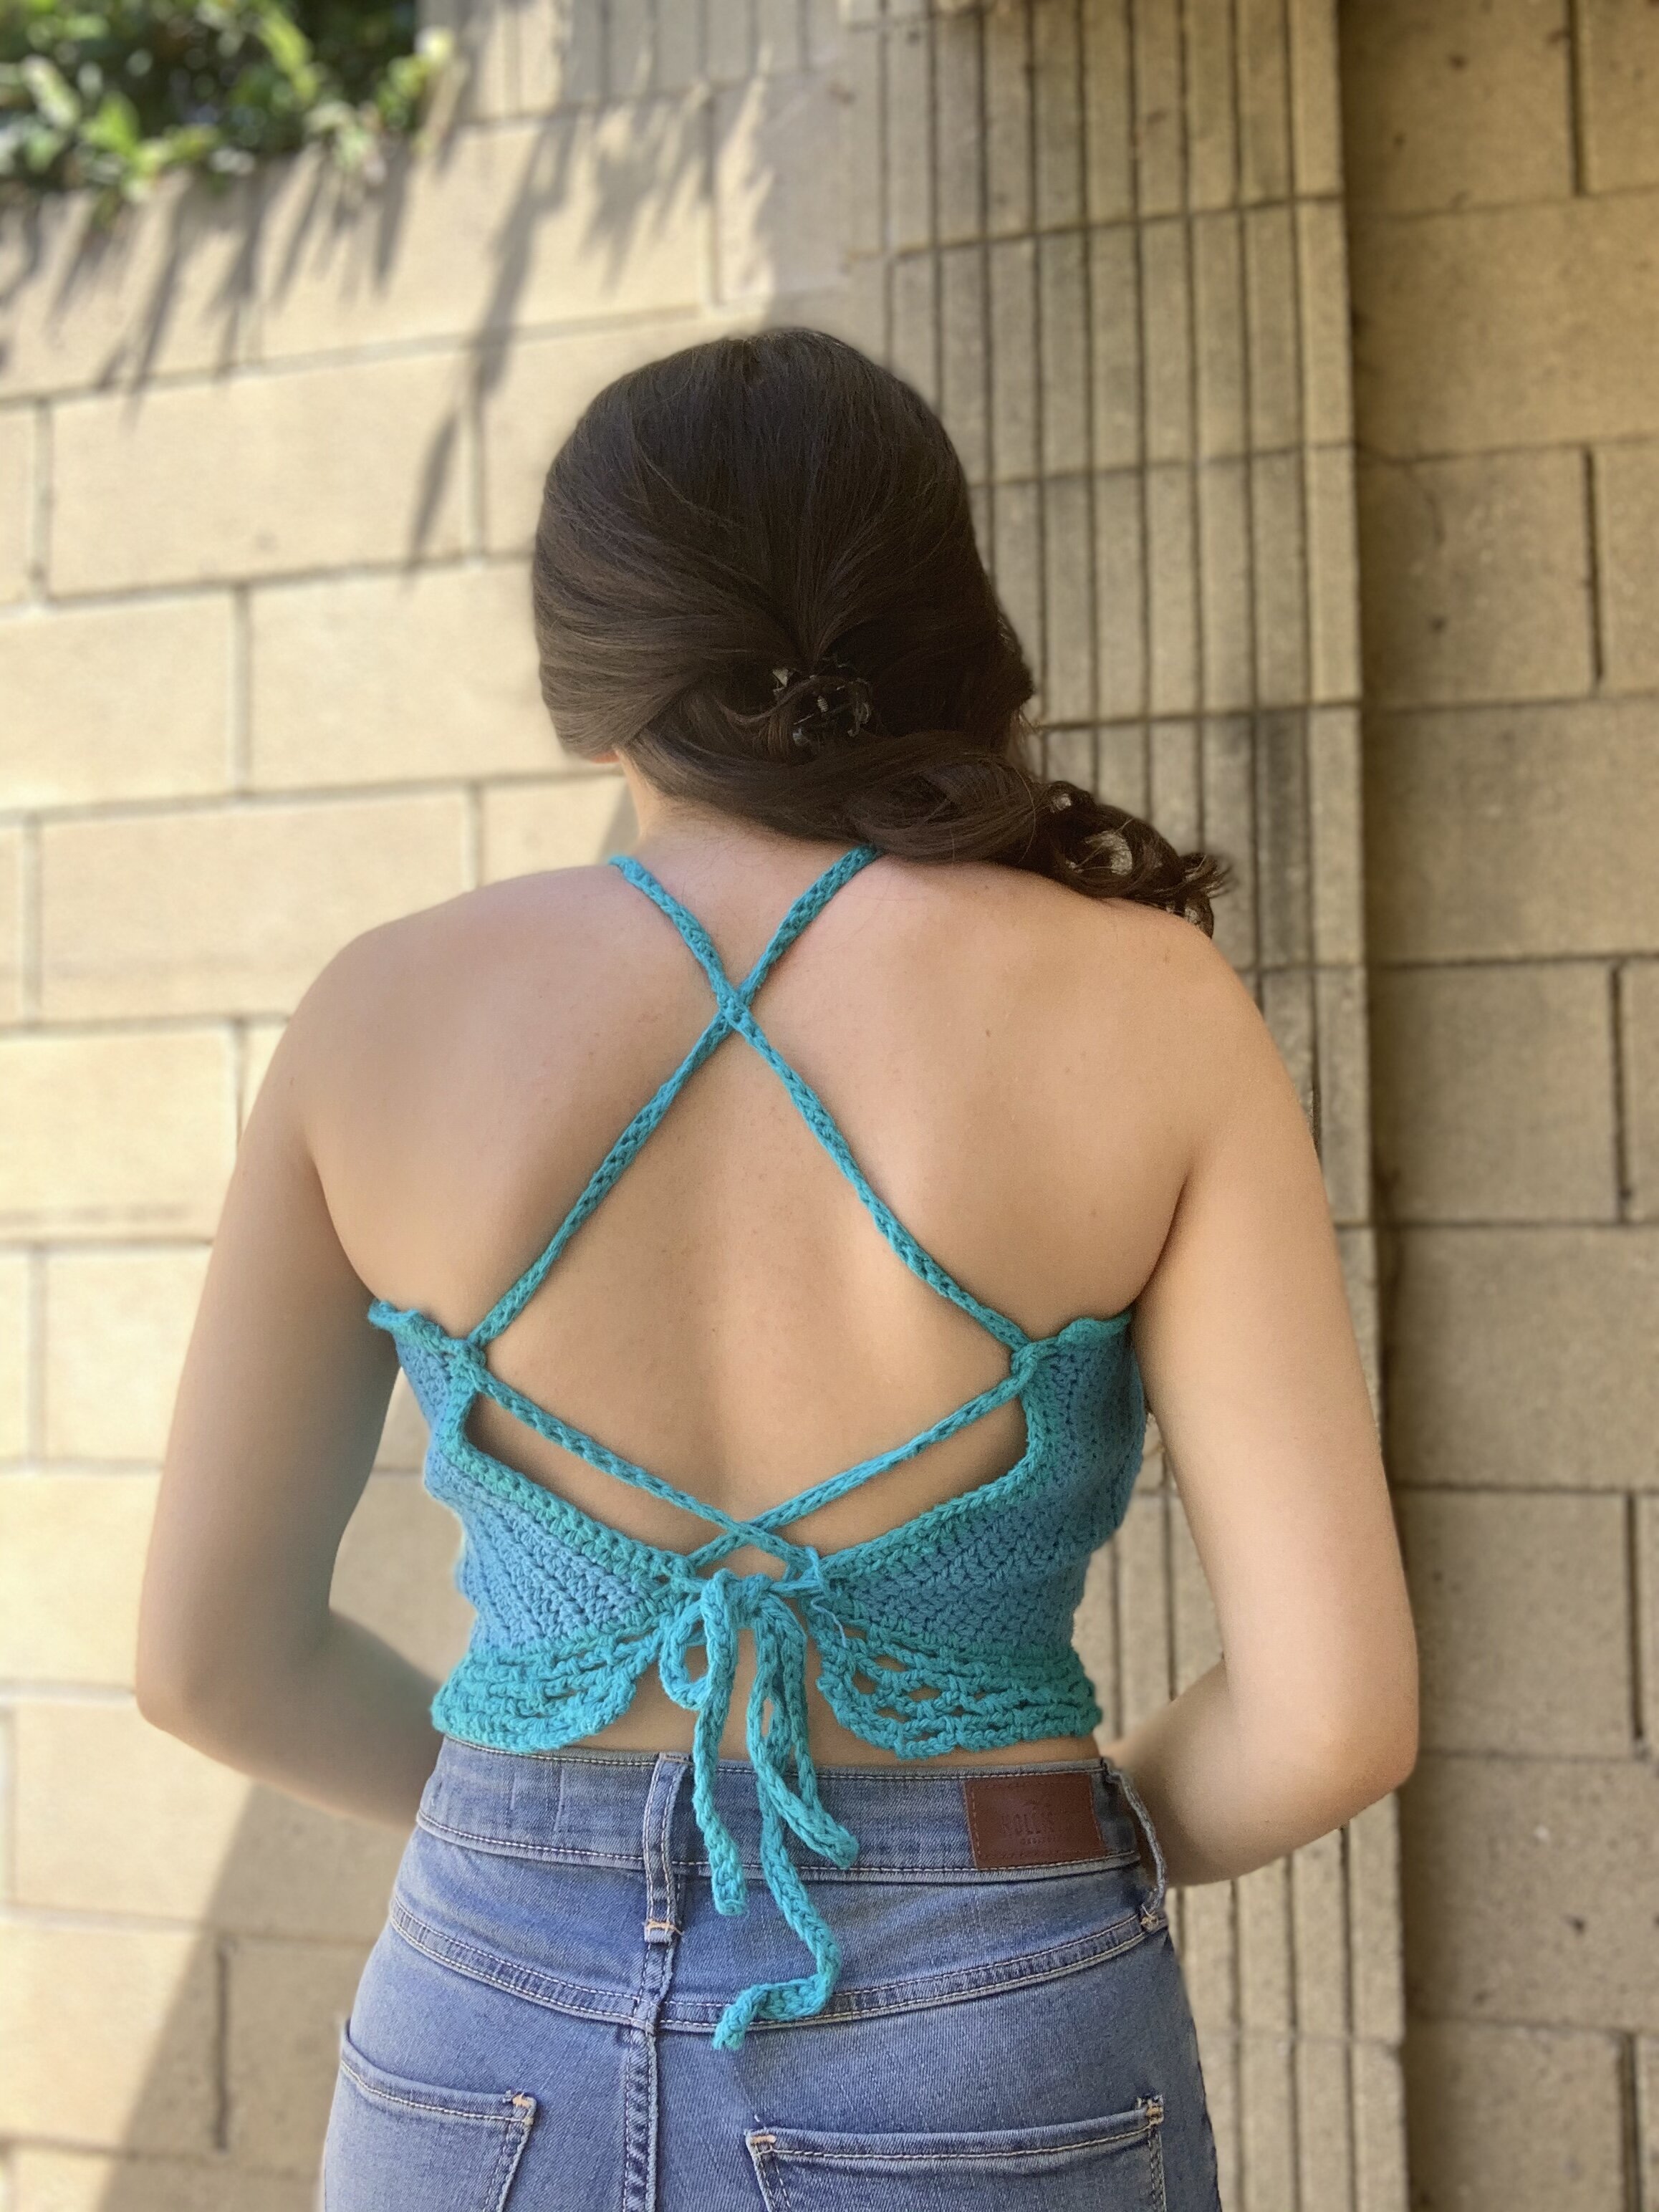
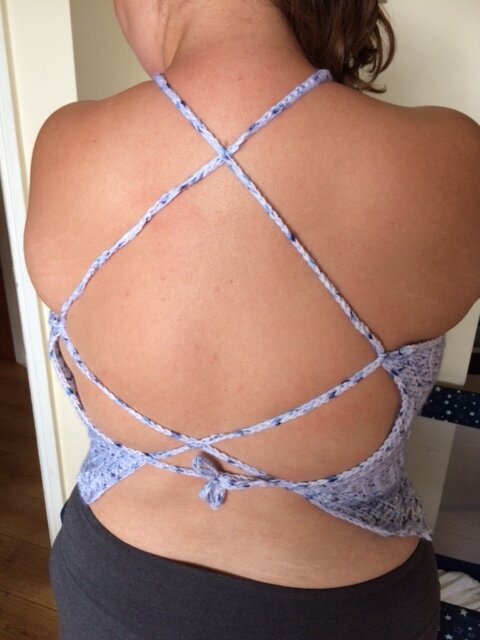
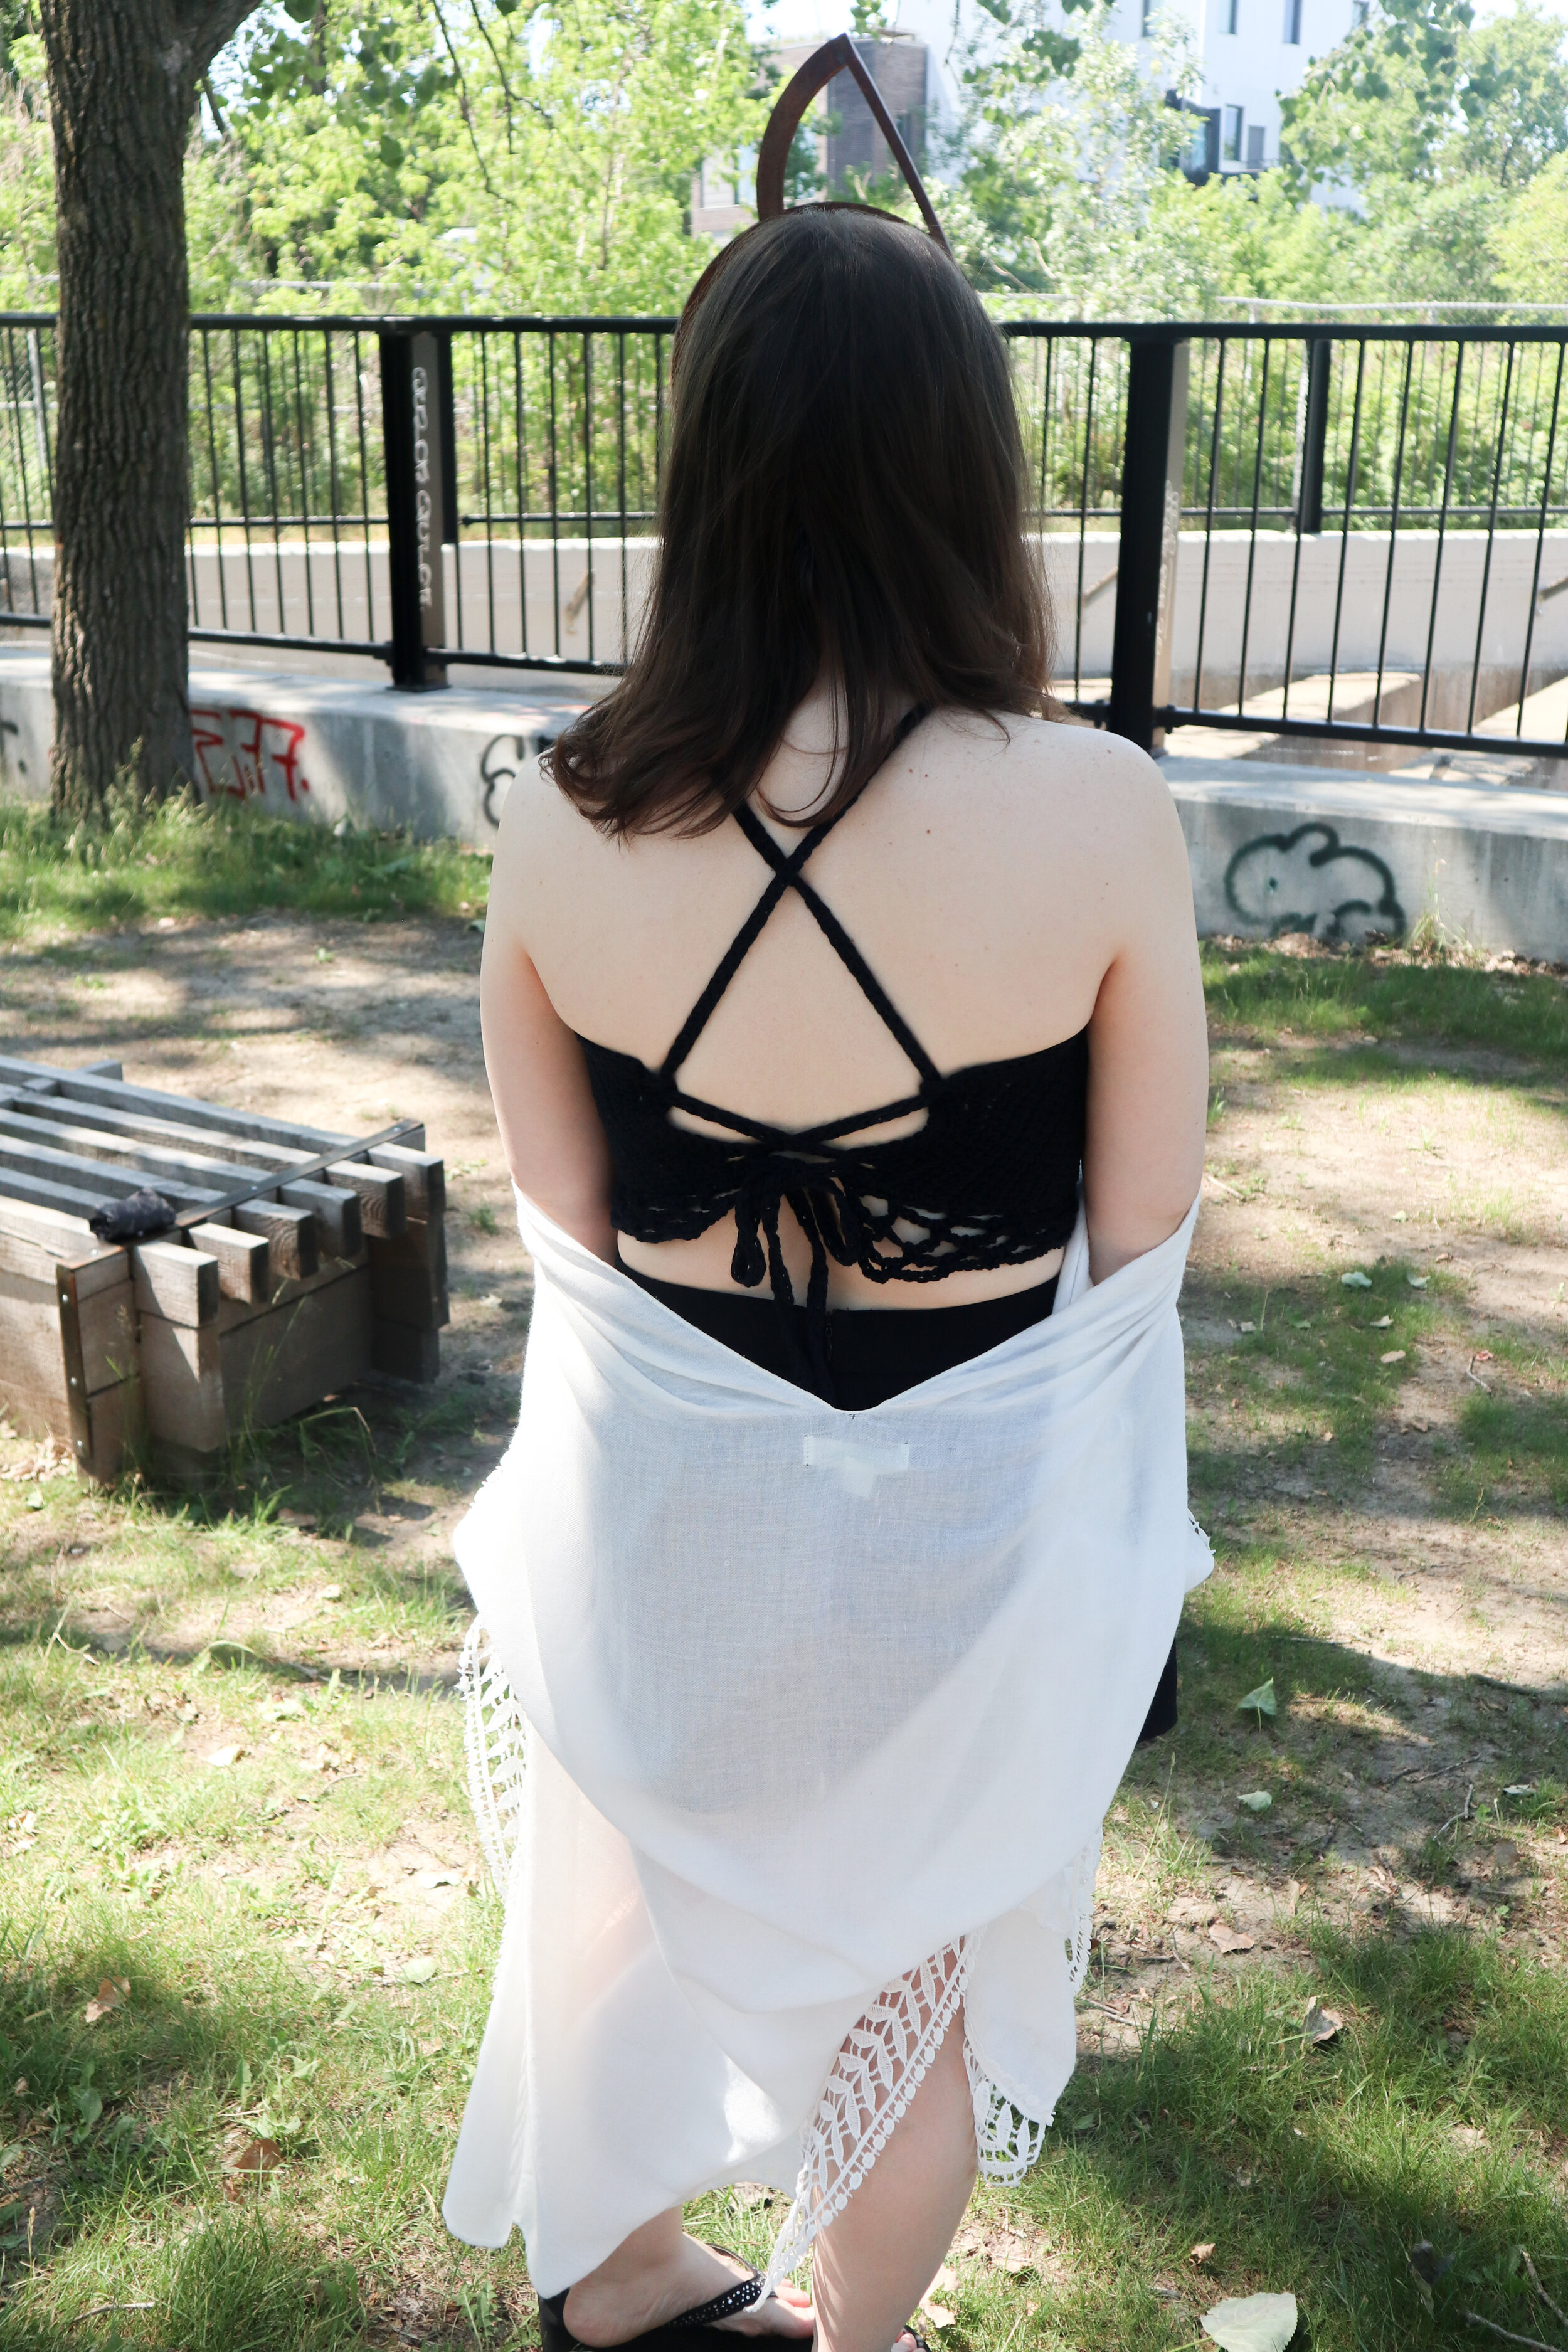
Straps
Attach yarn at the top right hand side where you placed your sm, Ch110 - 200 or more depending on how long you want your straps. Thread the straps through the eyelets in back to check length to make sure you have chained enough for the straps to be tied. sc in 2nd ch from hook, sc back down ch. Sl st into st next to 1st sl st towards the inside of neck.
FO
Rep for opposite side.
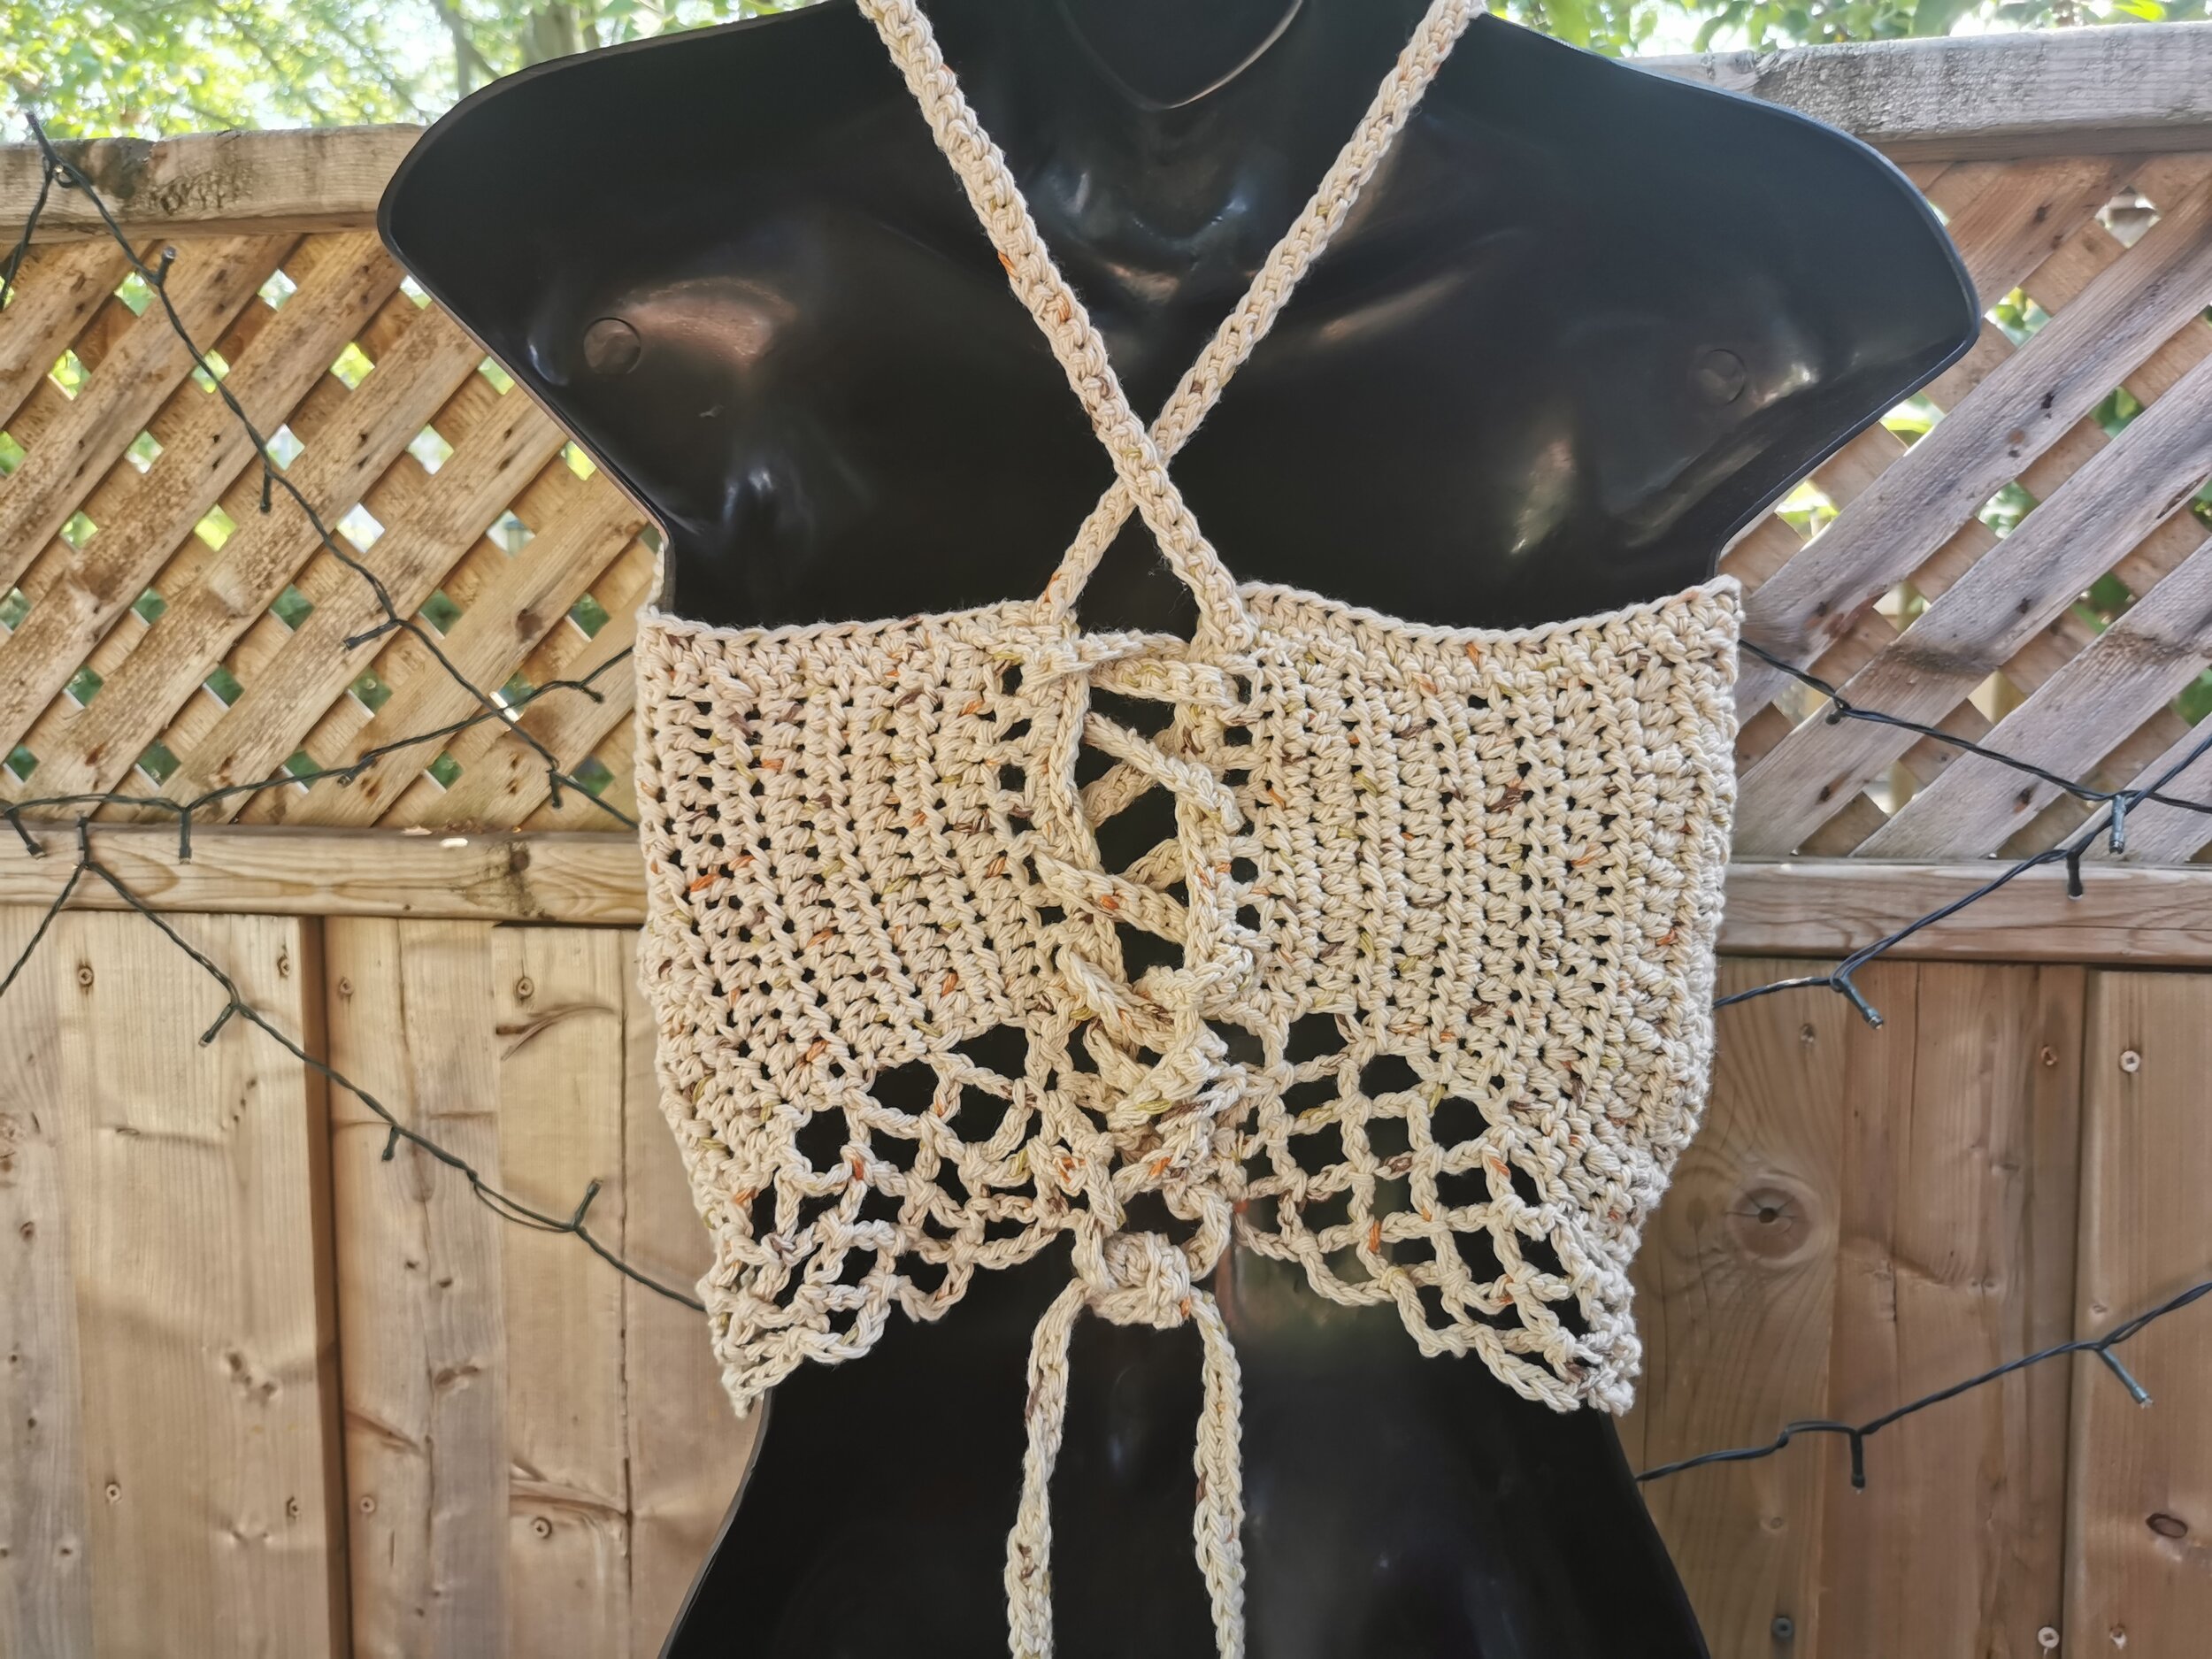
Lace Straps through eyelets on back.
Weave in ends
IF YOU LIKED THIS PATTERN, PLEASE SUPPORT ME ON PATREON OR BUY ME A COFFEE!

BUY ME A COFFEE
Support me on Patreon
Happy Crocheting!
I LOVE TO SEE WHAT YOU CREATE!
Please share your creations with the community on social media tagging @ravinsekaidesigns and hashtag #marinafestivaltop
I can’t wait to see the beautiful things you come up with!
FOLLOW ME ON SOCIAL MEDIA
Facebook: Ravin Sekai Designs
Ravelry: RavinSekai
Instagram: @ravinsekaidesigns
Pinterest: Ravin Sekai Designs
Patreon: Ravin Sekai Designs