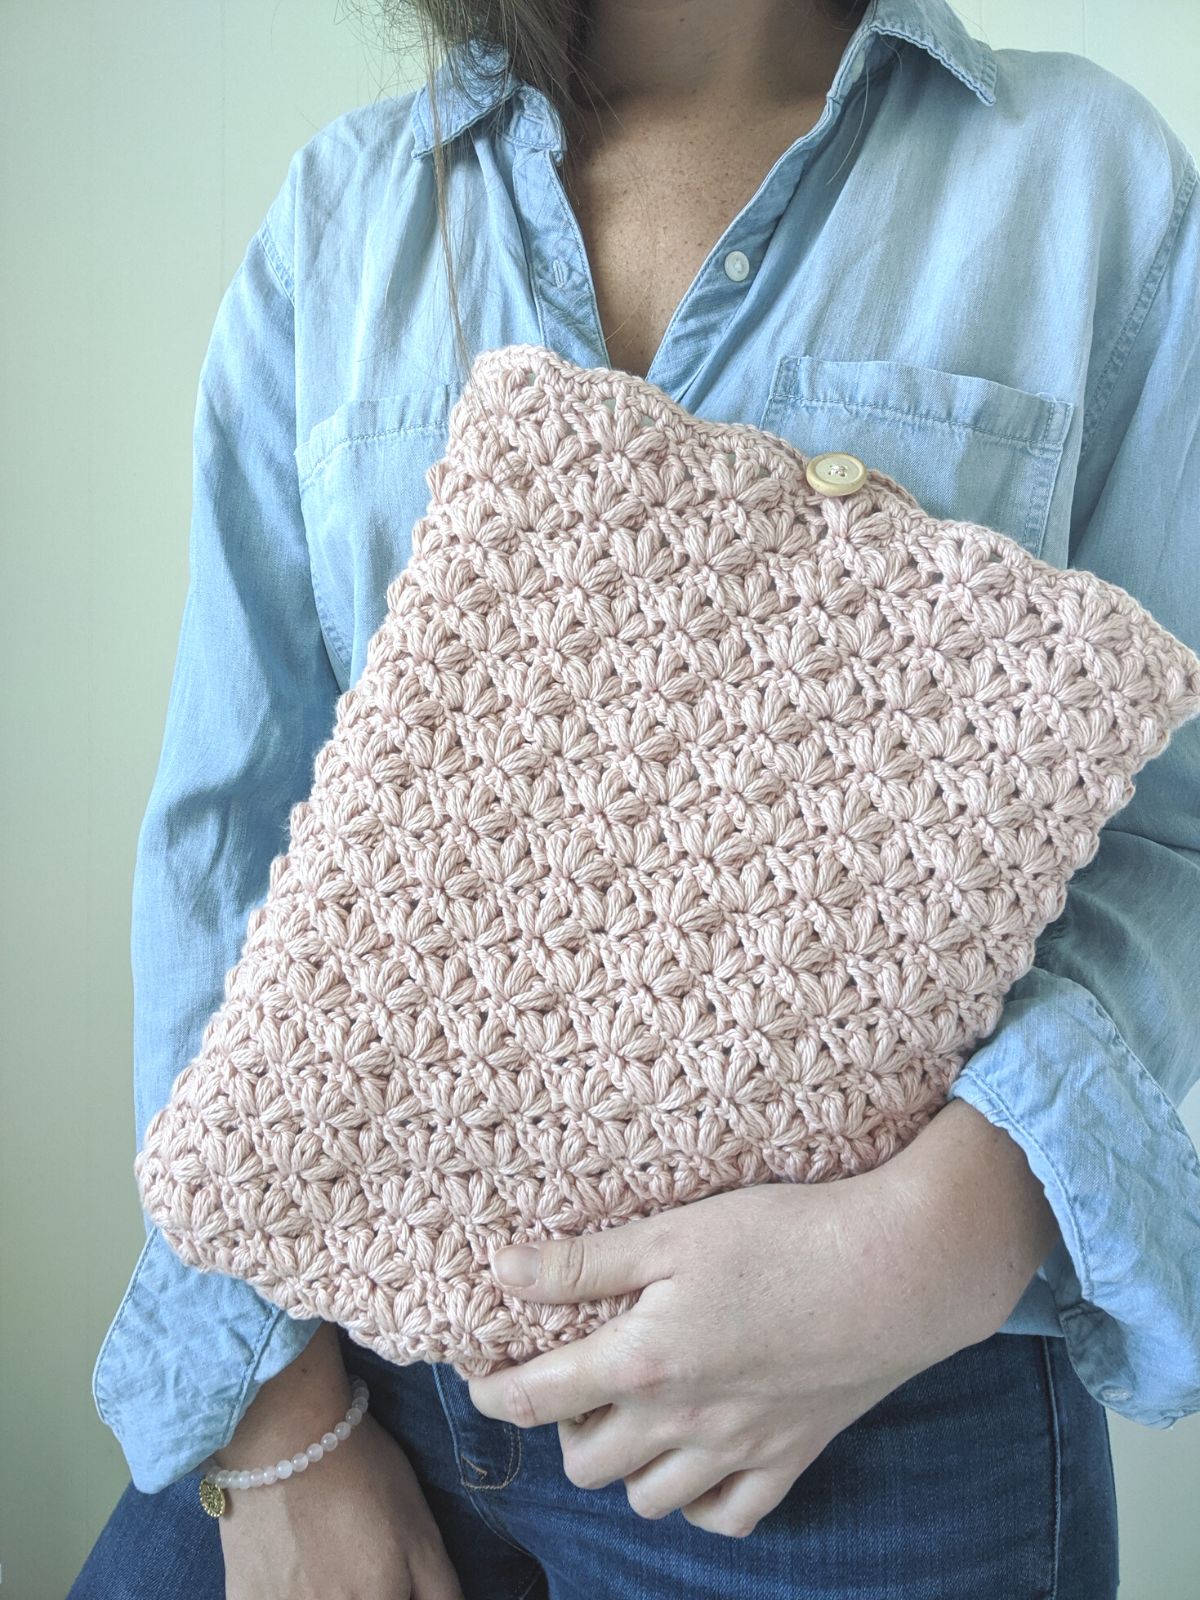
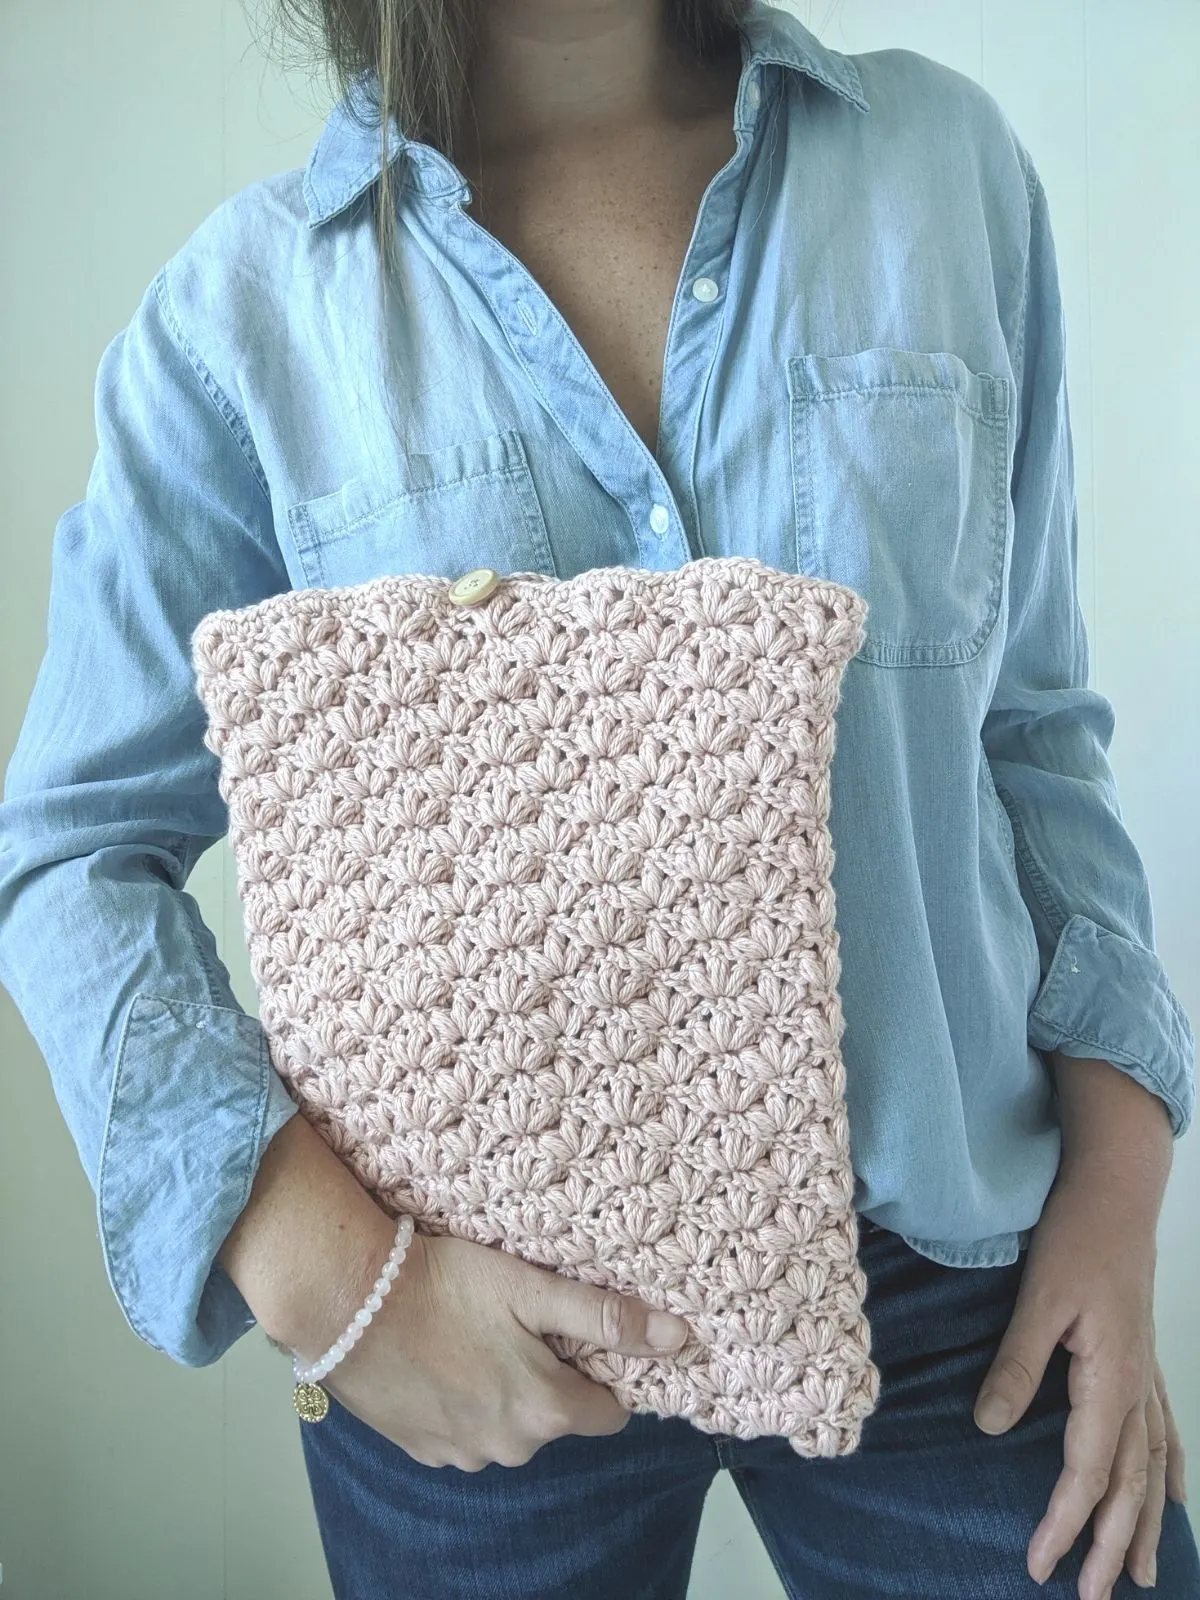
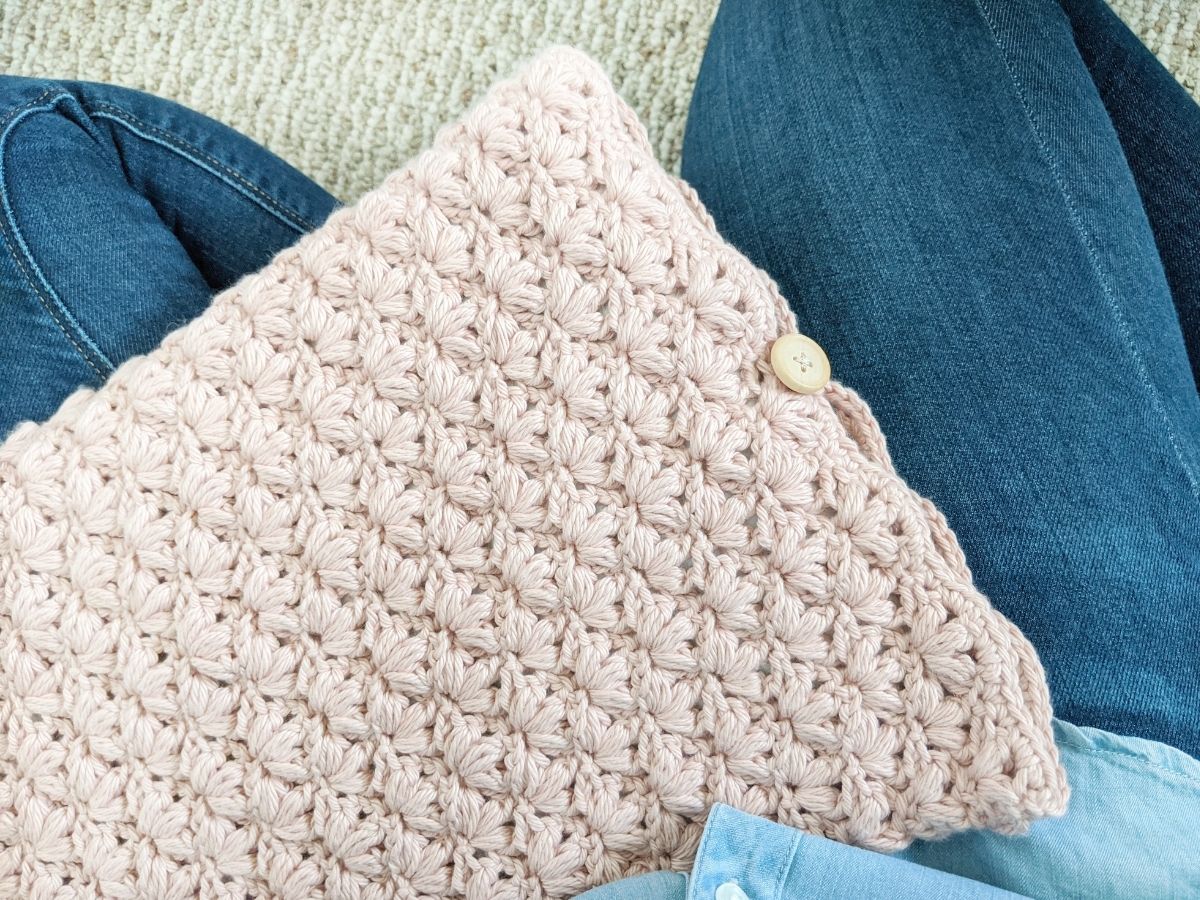
Provide some stylish protection for your laptop with this double-thick crochet laptop case pattern. This pattern is simple to make, requires only a few things, and makes the perfect weekend project!
It also includes a step-by-step video tutorial to help with any tricky parts. If you like this pattern, you may also like this easy chunky crochet laptop cover version.
Continue to read about the inspiration behind my latest design or scroll down for the free crochet pattern.

This post contains affiliate links, which means I make a small commission at no extra cost to you. See my full disclosure here
Free Crochet Laptop Case Pattern
My latest free pattern is a crochet laptop case using the lotus stitch. This crochet pattern is simple to make and requires only a few materials to get started. It also works up very fast too!
So perfect if you’re looking for a quick crochet project or want to make something crafty over the weekend. One of my favorite things about this crochet laptop case is the lotus stitch. This pretty stitch can be achieved by making a series of chains, single crochets, and puff stitches.
Plus, it’s a one-row repeat! So once you know where the stitches go, you’ll fly through this pattern. There’s also a guided video tutorial for this pattern, so if you need any extra help, make sure to take a look at the video provided.
And if you’re more of a step-by-step photo person, take a look at this guided crochet lotus stitch photo tutorial.
I just love how this stylish crochet laptop cover came out! So I hope you enjoy making it as well.

How to Crochet a Laptop Cover
One of my favorite parts about designing crochet patterns is constructing it all together. So figuring out how many stitches or how many pieces you need for a project.
For this crochet pattern, you need worsted weight yarn, a 4.0 mm crochet hook, a wooden button, and a darning needle. You will also need a needle and some thread to sew the button on, but you could also just use your yarn.
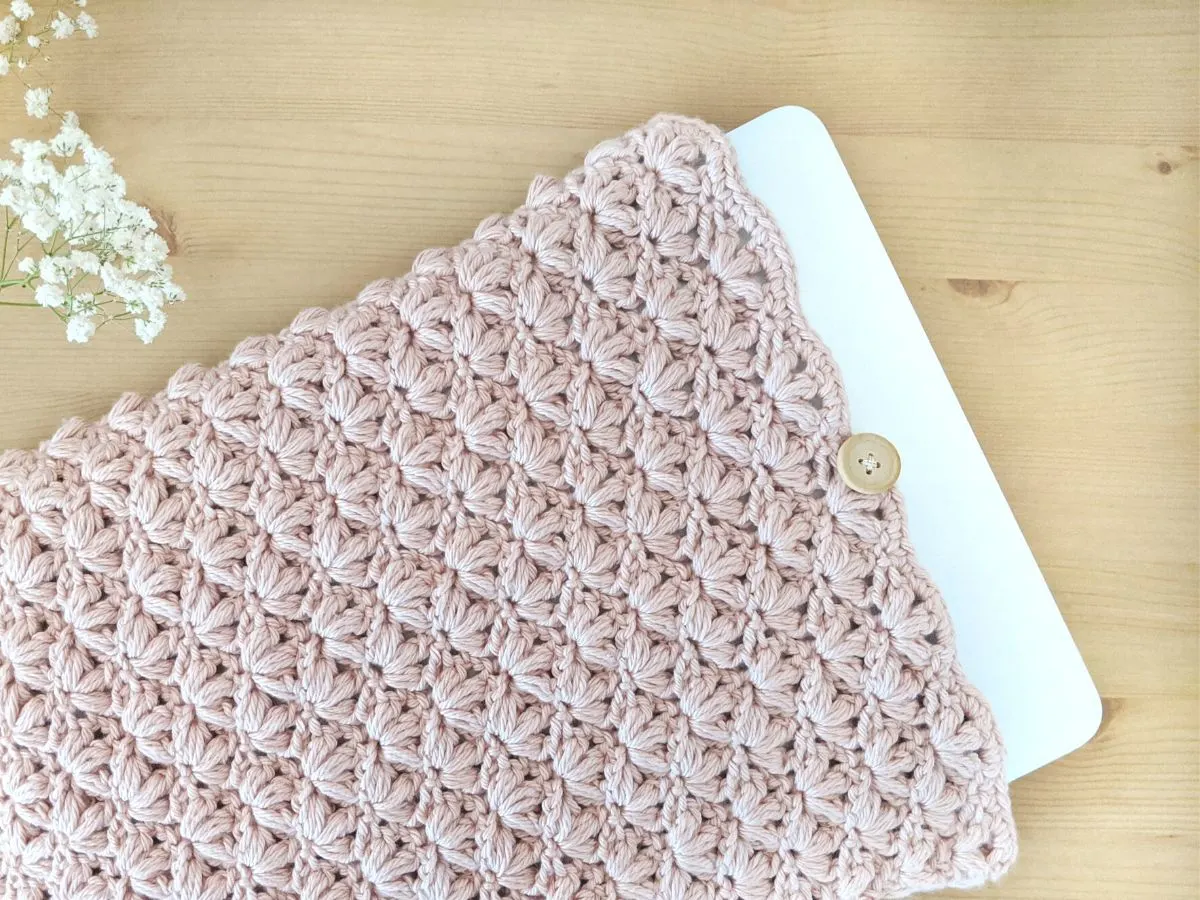
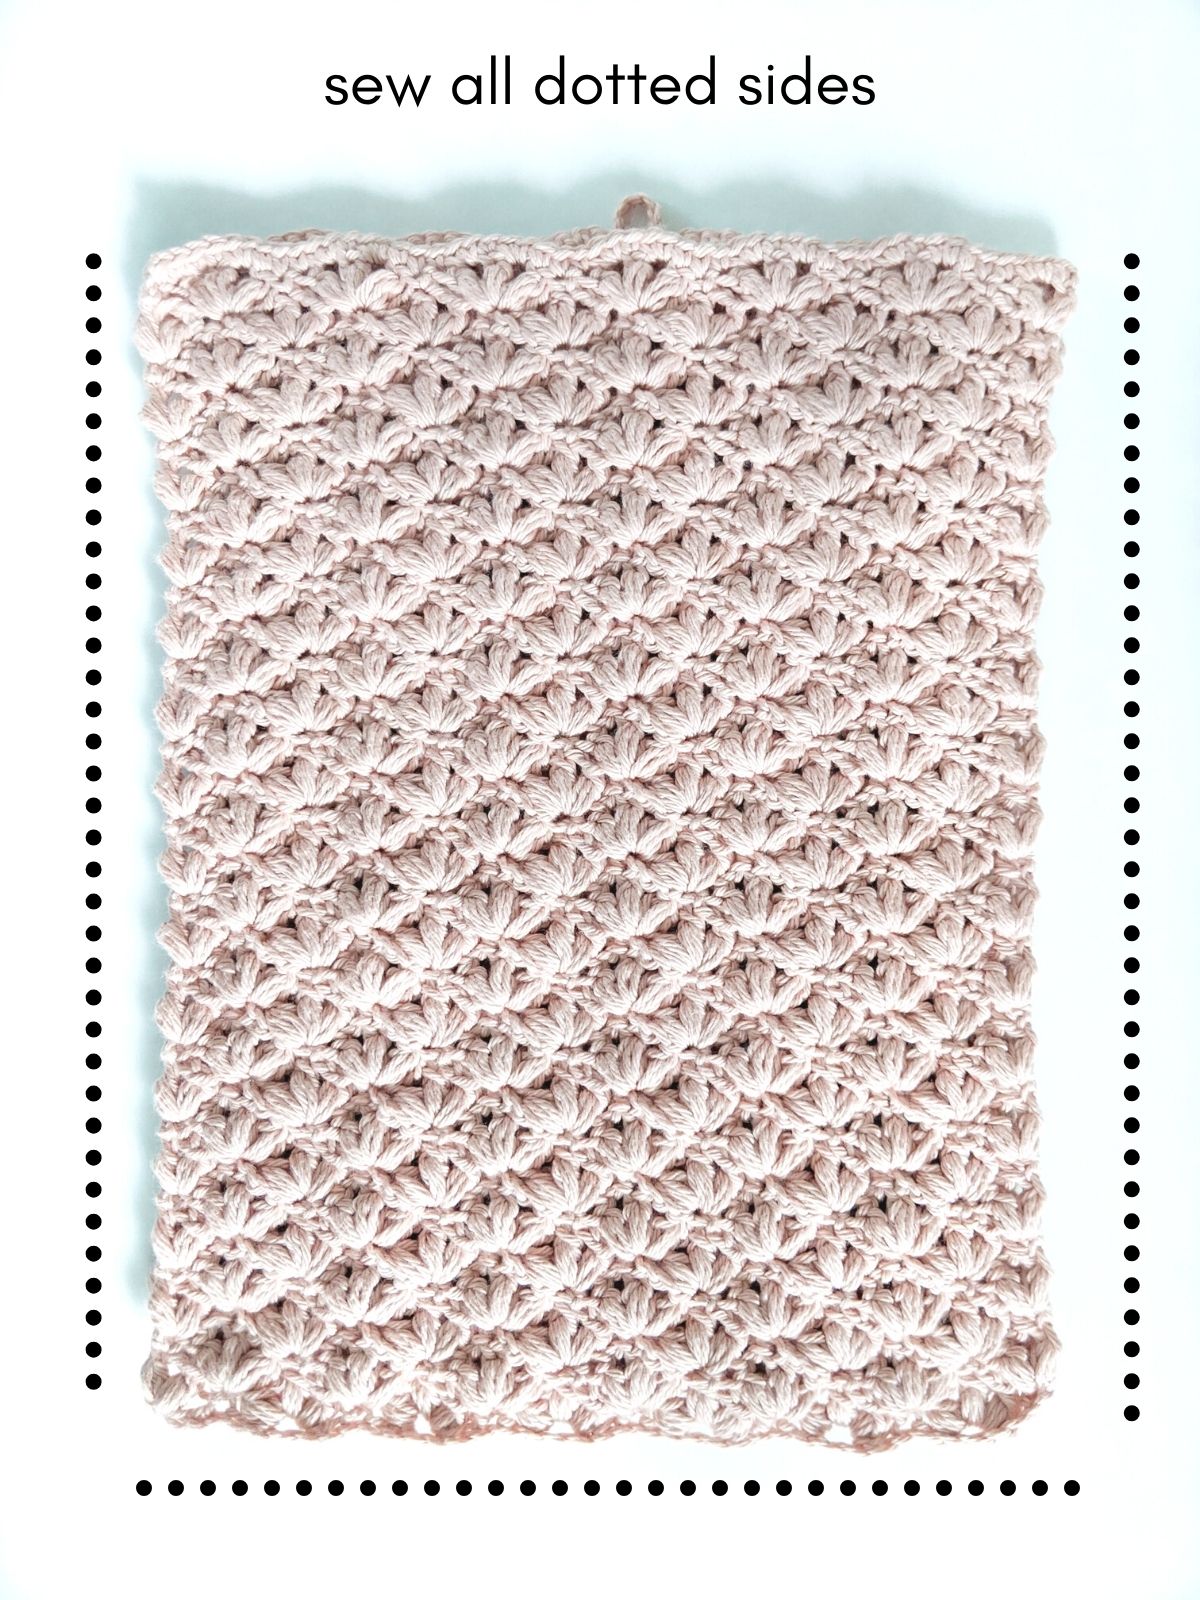
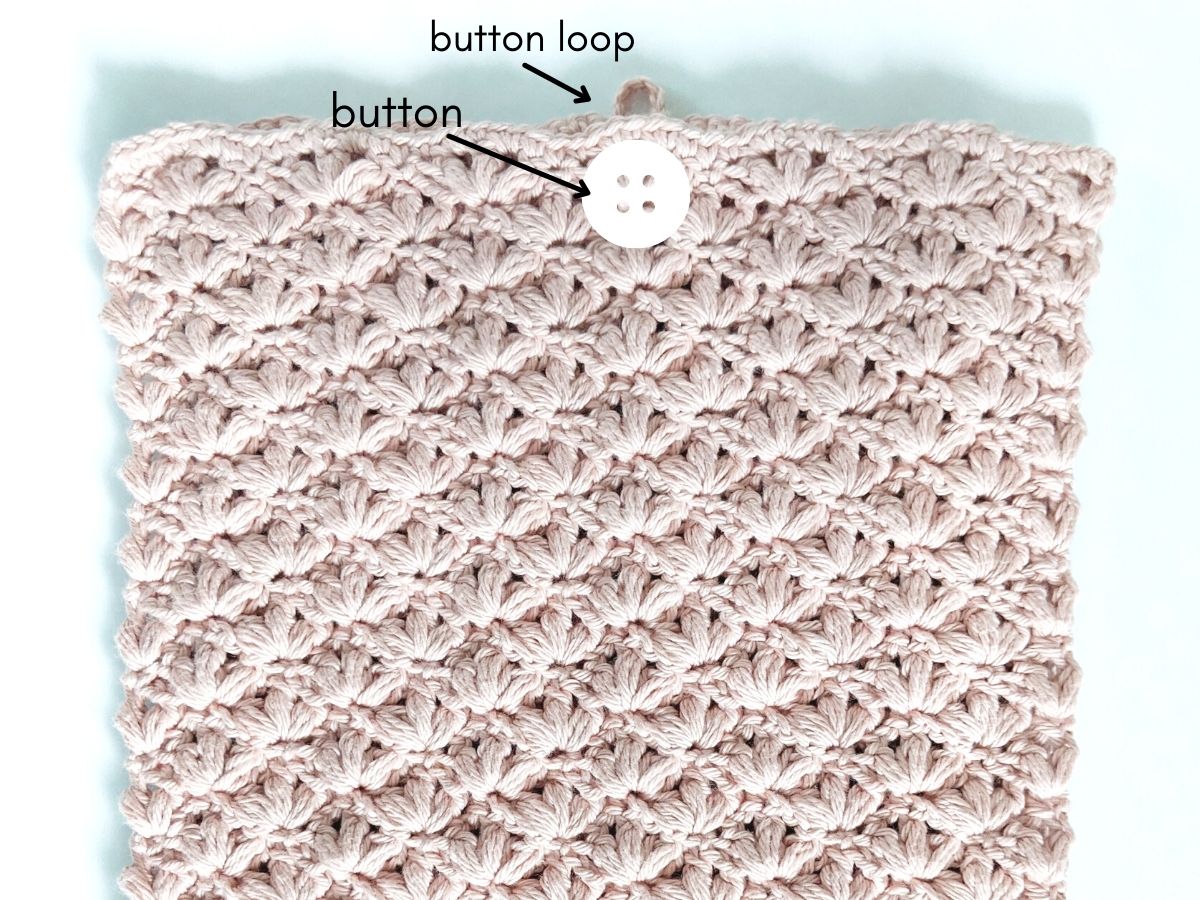
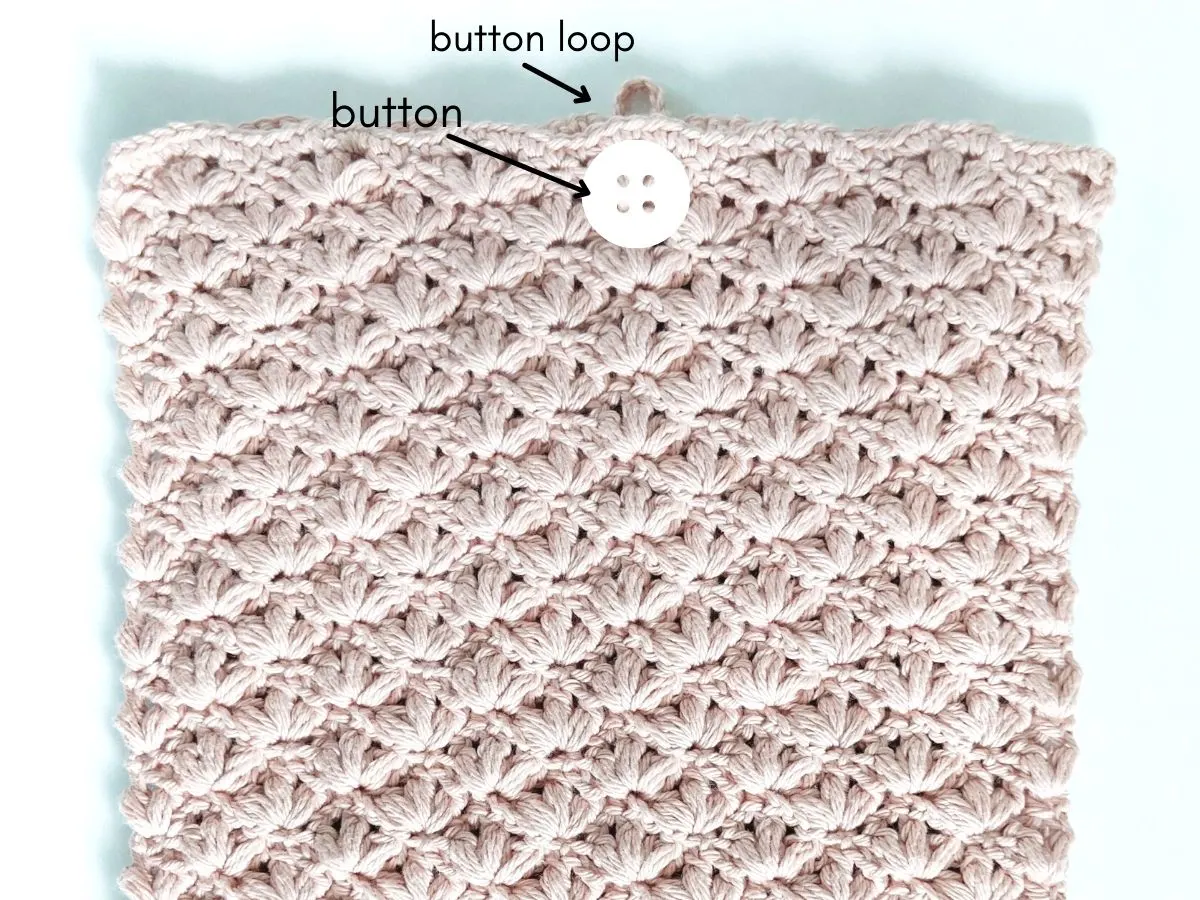
The first step in making this crochet laptop cover is to crochet 2 rectangles. One rectangle will have a loop for the button and the other rectangle will be where you sew your button onto.
Once you have made your two rectangles, you will whipstitch the sides together, which includes the left, right, and bottom. Then you will weave in your ends and sew your button on.
That’s it! It’s super simple and makes such a fun project.

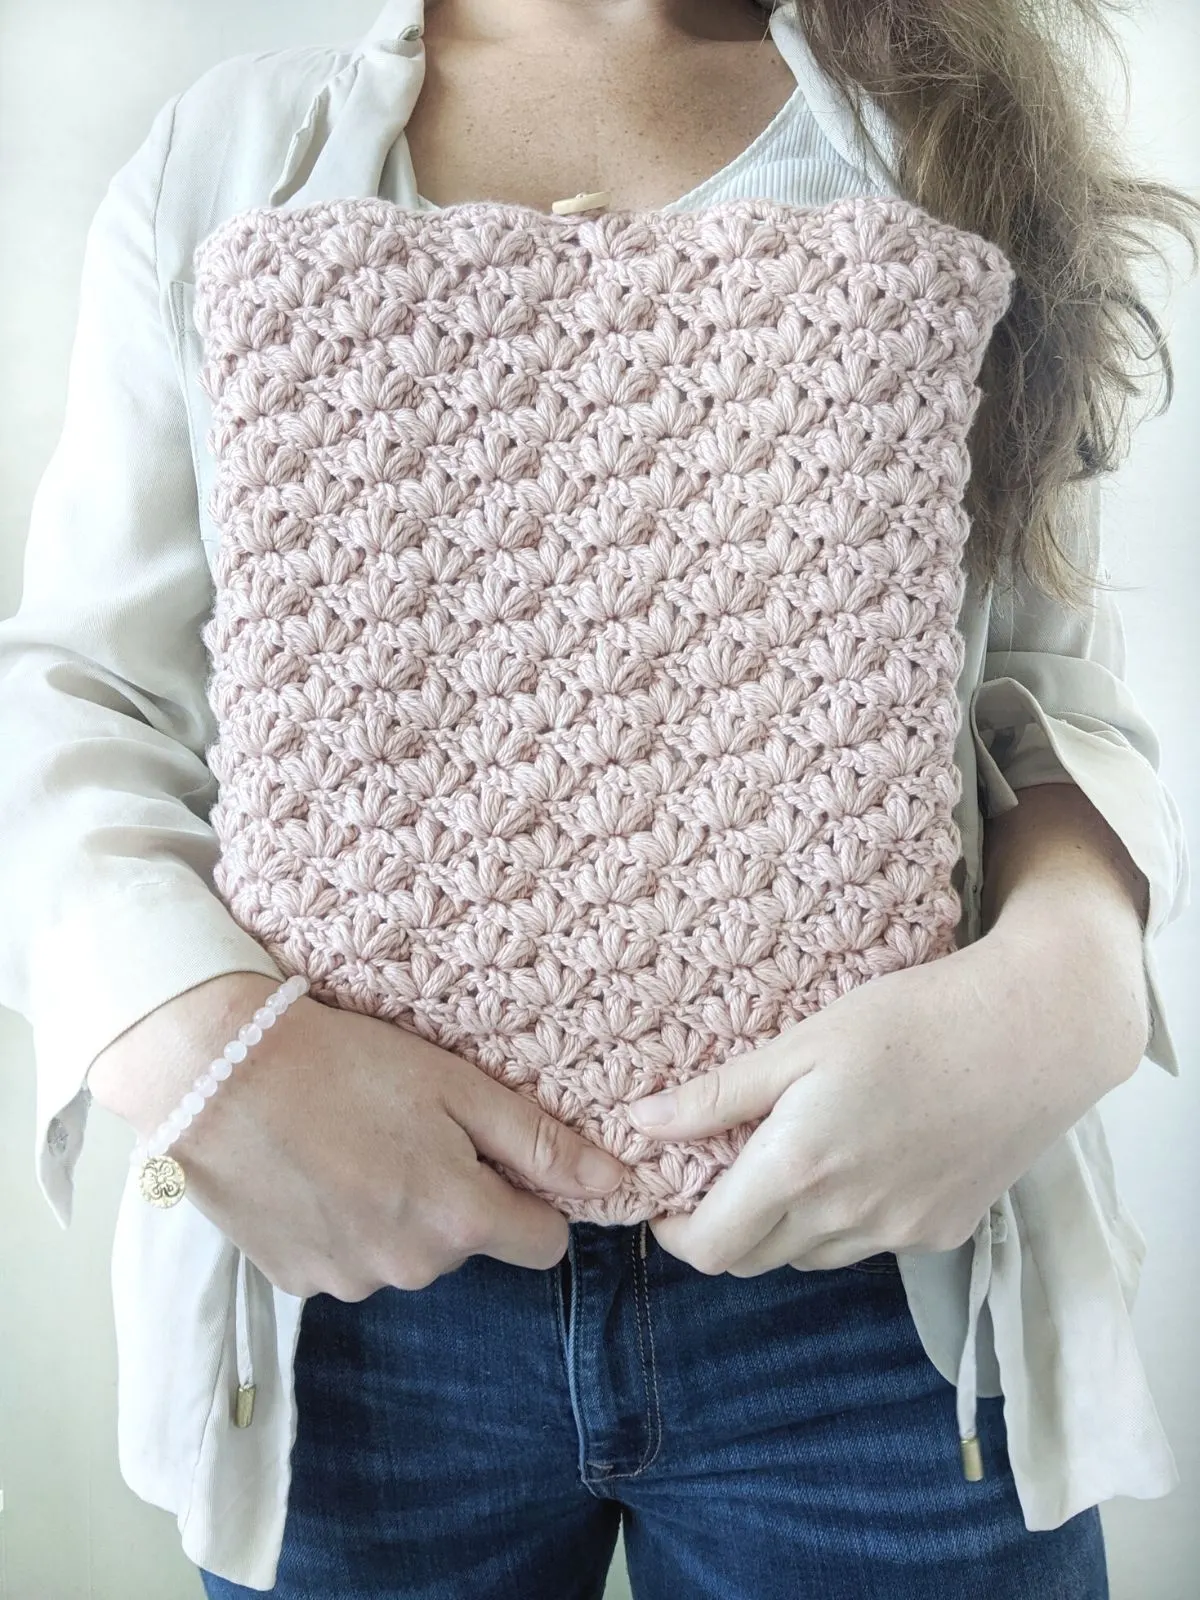
One other great thing about this pattern is that the stitch used not only makes it stylish but also acts as an extra level of protection! The lotus stitch consists of puff stitches and these puff stitches are very thick and sturdy.
So your crochet cover will definitely protect your laptop from any scratches. I haven’t noticed any on mine yet, and I may have dropped it here and there.
The Yarn You’ll Use for Your Crochet Laptop Case
For this laptop cover, you will need 3 balls of a worsted weight cotton yarn. I used Hobby Lobby’s I Love This Cotton yarn in the color warm blush.
It’s a really pretty soft cotton yarn that’s great for this project. I decided to use cotton yarn because I wanted this laptop cover to be washable. I’m also a huge fan of this yarn and have used it in a couple of different projects.
It just really holds up well and they have so many color options available for this yarn line. However, if you can’t get a hold of this yarn, I would recommend Lily Sugar N’ Cream cotton yarn or WeCrochet Dishie yarn.
Both of these yarns work great and are similar to Hobby Lobby’s I Love This Cotton Yarn.

Crochet the Perfect Size for Your Laptop
What’s great about making your own laptop cover is that you can always adjust the size if necessary. For this laptop cover, I made a standard 13″ inch case. However, you can easily adjust the beginning chain to make it smaller or bigger.
For example, if you want to make a bigger laptop case, increase the number of chains at the beginning of this pattern and adjust the length of the rectangle. If you want to make a smaller version, decrease the number of chains and adjust the length of the rectangle.
You also want to take note of the multiple for this stitch. Since the pattern uses only one stitch, there’s only one multiple. The multiple is 6 + 5, so you can make it any size, as long as you follow the multiple.
If you need some more help, I highly recommend checking out this article on how to crochet a laptop cover in any size.
Other Free Crochet Patterns
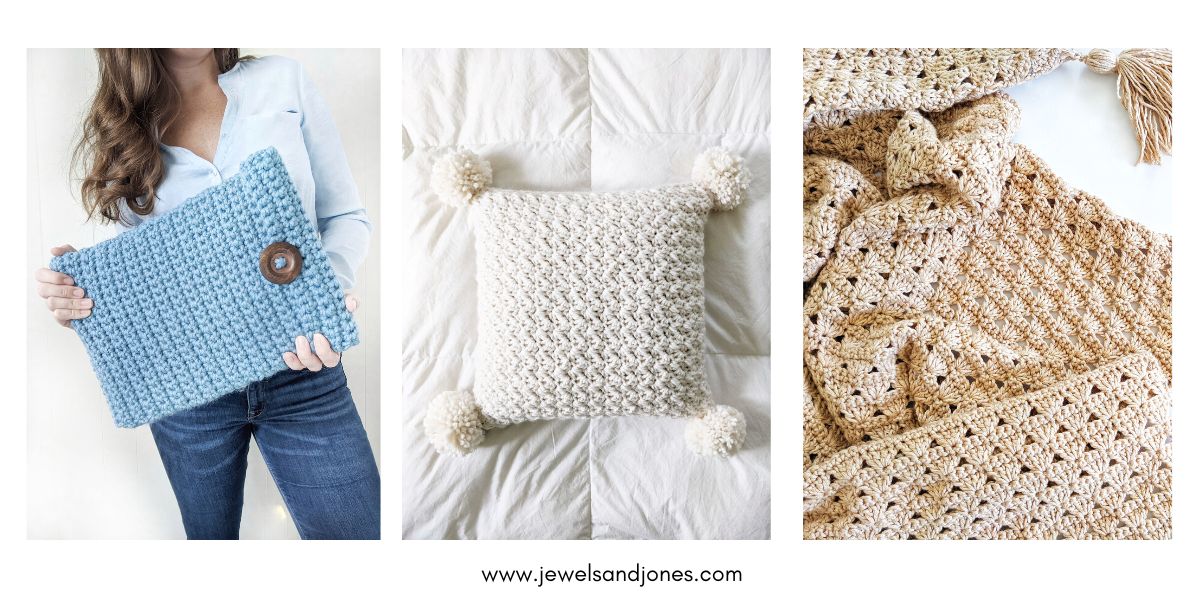
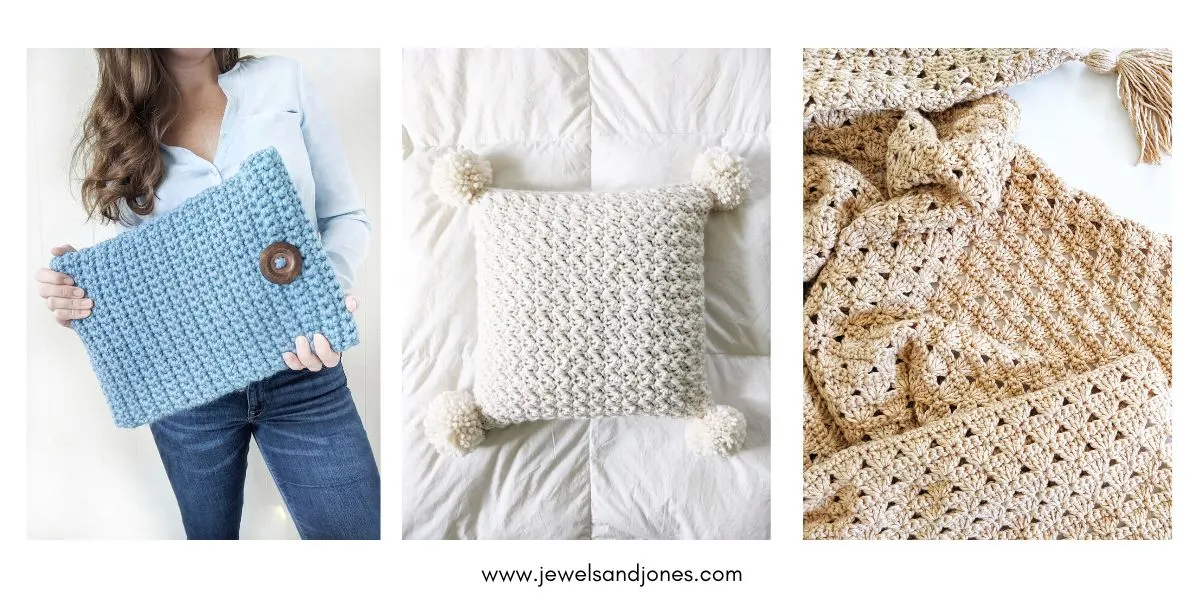
- Easy Crochet Laptop Cover – Add some charm to your laptop by slipping on this stylish crochet laptop cover. Made from a basic rectangle that’s folded in half and whip-stitched together. This simple pattern is made using only one stitch and bulky weight yarn.
- Chunky Crochet Pillow – Crochet a cute cottage-inspired crochet pillow for your home with this simple pattern.
- Shell Stitch Baby Blanket – In need of a cute baby blanket, if so, check out this this adorable shell stitch blanket. Pattern comes with a guided video tutorial.


Free Crochet Laptop Cover Pattern
Description:
Learn how to crochet a beautiful stylish case for your laptop using the lotus stitch. This crochet laptop cover is made by making two rectangles and whip stitching the sides together. It’s simple and fun to make!
You can purchase a printable PDF pattern here
Materials:
- 3 skeins of Hobby Lobby I Love This Cotton Yarn in the color Warm Blush (Weight 4/3.5 oz, 180 yds), a total of 540 yards or another worsted weight cotton yarn.
- 4.0 mm crochet hook
- Small wooden button
- Darning needle
- Needle + Thread
- Scissors
Gauge
4 stitches x 6 rows = 4″ inch square in lotus stitch
Abbreviations
ch – chain: Yarn over, pull through loop on hook.
sc – single crochet: Insert hook into stitch, yarn over and pull through, yarn over and pull through last two loops on hook.
3-puff sts – puff stitch
(yo, insert hook into stitch, yo, draw yarn through stitch) 3 times in same stitch. Yo, draw yarn through 6 loops on hook. yo, draw yarn through last 2 loops.
sts – stitch
Size of Crochet Laptop Cover
A standard 13 inch laptop case.
If you need help making a crochet laptop cover in another size, be sure to check out this post explaining how to crochet a laptop cover in any size.
Pattern Notes:
- Pattern written in U.S Terms.
- You will be making 2 rectangles, a front panel and a back panel.
- A loop will be created on the top back panel to connect button. Button will be sewn on the front top panel.
- Front panel and back panel will be connected by the whipstitch method.
- The video calls for a 5.0 mm crochet hook, but this is wrong, you will need a 4.0 mm crochet hook.
Pattern
Front Panel (make 1)
Ch 41
R1: sc in 2nd ch from hook, * skip next 2 ch (3-puff sts, ch 2, 3-puff sts, ch 2, 3-puff sts) in next ch. Skip next 2 ch, sc in next ch. Repeat from * across to within last 3 ch, skip 2 chain, (3-puff sts, ch 2, 3-puff sts) in last ch.
R2: ch 1, turn, sc in first sts, skip next 3 sts, (3-puff sts, ch 2, 3-puff sts, ch 2, 3-puff sts) in next ch, skip 3 sts, sc in next ch. * skip next 3 sts, (3-puff sts, ch 2, 3-puff sts, ch 2, 3-puff sts) in next stitch, skip 3 ch, sc in next sts. Repeat from * across within last 4 sts, skip next 3 sts, (3-puff sts, ch 2, 3-puff sts) in last stitch.
R3 – R30: repeat row 2
R31: sc in first stitch and across (52)
Finish off and weave in ends.
Back Panel (Make 1)
Ch 41
R1: sc in 2nd ch from hook, * skip next 2 ch (3-puff sts, ch 2, 3-puff sts, ch 2, 3-puff sts) in next ch. Skip next 2 ch, sc in next ch. Repeat from * across to within last 3 ch, skip 2 chain, (3-puff sts, ch 2, 3-puff sts) in last ch.
R2: ch 1, turn, sc in first sts, skip next 3 sts, (3-puff sts, ch 2, 3-puff sts, ch 2, 3-puff sts) in next ch, skip 3 sts, sc in next ch. * skip next 3 sts, (3-puff sts, ch 2, 3-puff sts, ch 2, 3-puff sts) in next stitch, skip 3 ch, sc in next sts. Repeat from * across within last 4 sts, skip next 3 sts, (3-puff sts, ch 2, 3-puff sts) in last stitch.
R3 – R30: repeat row 2
R31: sc in first stitch and across 27 times (total of 28), ch 6, sc in next stitch and across row.
Construction
Step 1: Grab your back panel with the button loop and lay it down on a flat surface. Then grab your front panel and lay that on top of the back panel.
Step 2: Once both panels are evenly on top of each other, grab your darning needle and whip stitch the three sides together. Leaving the top open.

Step 3: Once all sides have been whip stitched together, grab your button, needle, and thread. Insert your thread through your needle and place your button on the front panel in the middle. You want your button to be aligned with your loop on the back panel.
Once this is done, sew on your button to your front panel.
Finally, cut the thread and weave in any remaining pieces.
You’re finished!
I hope you enjoyed crocheting this stylish case for your laptop! Don’t forget to share it with me on Facebook, Instagram, or Pinterest. I would love to see it.

Jann
Friday 18th of February 2022
Your written instructions call for 4mm hook and your video says 5. I used a 5 and it looks much different. Can you confirm size?
Nicky
Friday 18th of February 2022
Hi there,
Thank you for catching my mistake. It's going to be a 4.0 mm crochet hook.
Caro
Friday 26th of November 2021
Thank you so much for the pattern and free tutorial! I almost finished mine, and I love it!! It’s so easy and still looks special. :)
Nicky
Tuesday 30th of November 2021
Awww, your welcome! I'm so glad you enjoyed making the pattern :) This one is one of my favorites, I've made a few in different colors :)