

How To Crochet a Half Double Crochet Hat and Scarf Set
For some reason, one of my favorite things to make is a hat. I think it is because it is so useful and works up so fast. I love to make them for everyone. Is anyone else the same? Anyways, here is a hat and scarf pattern that uses the half double crochet stitch. These work up very fast and are so colorful with the Red Heart Super Saver Stripes yarn but could be made with any yarn.
Materials
I used this Super Saver Stripe Yarn. I love all these colors and they are one of my favorite yarns!
Crochet Hook H– I recently purchased this set and love to use all the hooks and notions that it comes with!
Abbreviations
Hdc- Half Double Crochet
Sc- Single Crochet
Ch- Chain
Pattern
(This size is for an older child through an adult.)
Row 1: Start with a magic circle. Place 10 hdc in the magic circle. At the end of the row, join. Ch 2.
Row 2: In the second row, hdc 2 hdc in each stitch around. At the end of the row you will have 20 hdc. Join, ch 2.
Row 3: In the third row, hdc 2 in the first stitch. Hdc in the next stitch. Repeat the pattern of 2 hdc and 1 hdc around. At the end, you will have 30 hdc. Join, ch 2.
Row 4: In the fourth row, do 2 hdc in the first stitch. Hdc in the next stitch, hdc in the next stitch. Repeat the pattern of 2 hdc, 1 hdc, 1 hdc around. At the end, you will have 40 hdc. Join, ch. 2.
Row 5: In the fifth row, do 2 hdc in the first stitch. Hdc in the next stitch, hdc in the next stitch, hdc in the next stitch. Repeat this pattern around. At the end, you will have 50 hdc. Join, ch. 2.
Row 6: In the sixth row, do 2 hdc in the first stitch. Hdc in the next stitch, hdc in the next stitch, hdc in the next stitch, hdc in the next stitch. Repeat this pattern around. At the end, you will have 60 hdc.
Rows 7- 18: Hdc around the pattern. At the end of each row join and chain 2.
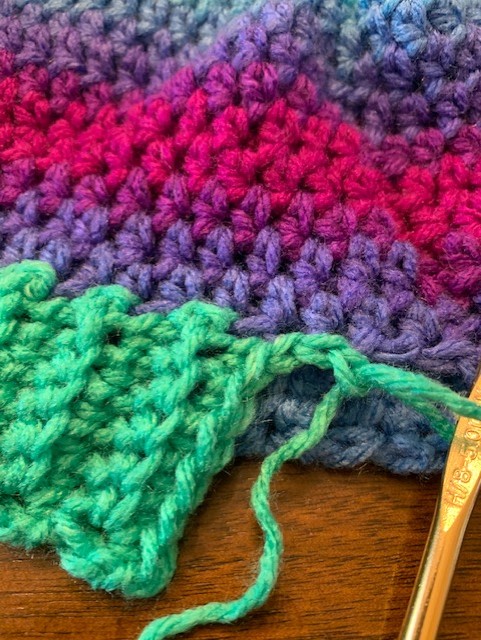
Last Row: At the end of the last row, join. Turn your work and chain 6. This will be the beginning of the gathered bottom of the hat. Sc in the first stitch in both loops, sc in each of the next 5 stitches in back loops only. Slip stitch the base of the hat, slip stitch in the next stitch next to it. Chain 1. Go back to the ribbing area and work 5 sc in the back loops of next 5 stitches. Sc in both loops of the last stitch. See below for help. You will continue this pattern around the hat. This will create the ribbing on the bottom. When you get back to the first stitches, you will end and slip stitch the hat shut.

So what do you think? Would you create this hat? I would love to see or hear about it! Tag me on Instagram or Facebook if you make it!!
For the scarf, you will do the following:
Chain 21.
Row 1: Hdc in each stitch across. Chain 2, turn.
Rows 2- 154: Hdc across each stictch. At the end, finish off.

Happy Crochet!
What do you think? Will you make a few of these? I would love for you to share and tag me on Instagram if you do! My Instagram is linked below!

You can also find me now on You Tube! Just click below!

Like my Facebook Page as well to see more Crafty Ideas!

Other Projects You May Enjoy:
12 Free Crochet Books On Amazon Today!
How to Crochet Reusable “Water Balloons” with Video Tutorial
How to Crochet an Octopus Amigurumi

Check out My New You Tube Video!


