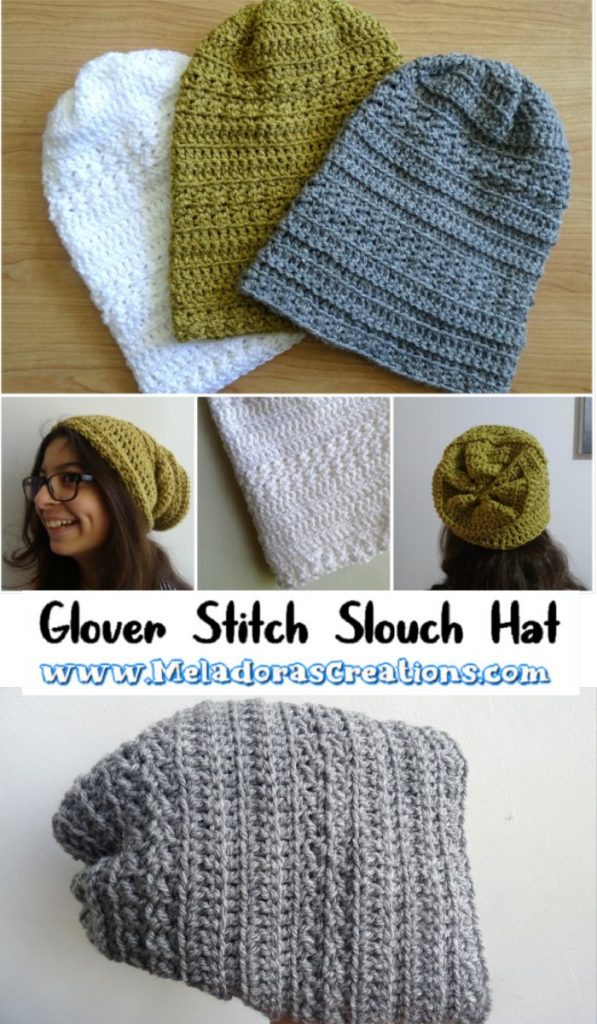
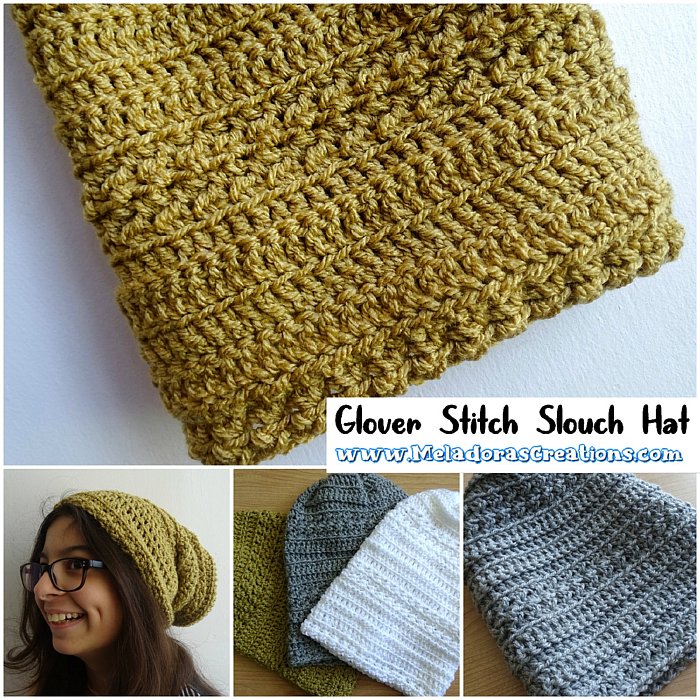
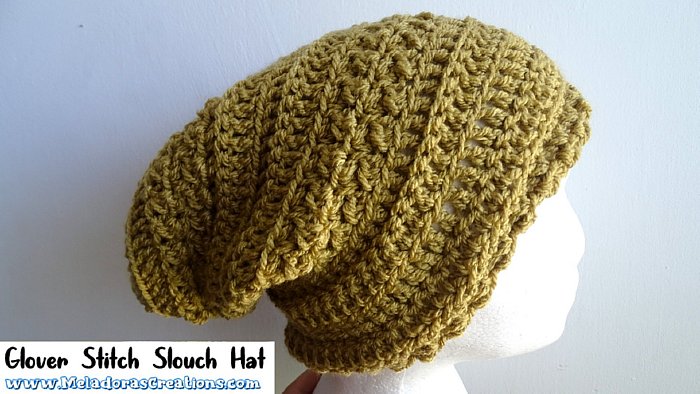
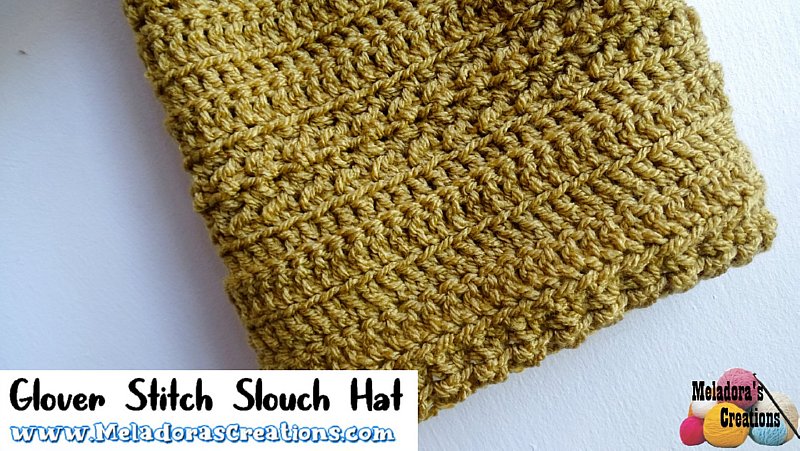
I just love that I get to us the Glover stitch to make a slouch hat! This Glover Stitch Slouch Hat is made using several stitches though, each easy to do and fun to combine for this amazing effect.
I had a lady comment on a post of mine asking me “to do a hat design again because it’s been awhile and she always liked my designs.” So to honor all my long time followers who are fans of my slouch hats I designed this one for you. This design makes a great Unisex hat! Great for men and women!
This textured crochet slouch hat is based off the same stitches I used to make the “Bulky Afghan Crochet Pattern”
Find more crochet patterns here on the category Slouch Hats
Remember to sign up for my email so you can always be update date with the free patterns I release as they come out! https://www.meladorascreations.com/sign-up-for-newsletter/
Glover Stitch Slouch Hat – Free Crochet pattern
Please don’t forget to Pin this onto your favorite crochet boards!
This page contains affiliate links

SIZING
This size hat can fit a 12 year or older person. If you do need a smaller rim or larger rim you can easily change the size by removing or adding stitches in multiples of 2. The length of this hat is about 11 inches or 28 cms.
For this project you will need:
HOOK: 5 mm hook or size H hook for the US
YARN: a skein of worsted weight yarn, 4 ply US, 10 ply AU
100 grams / 3.5. oz
240 meters / 262 yards
- a tapestry needle
ABBREVIATIONS
(click on link to find tutorials)
ch = Chain
sl st = Slip Stitch
st = Stitch
sk = Skip
beg = beginning
YO = Yarn Over
SC = Single Crochet
DC = Double Crochet
SCFS = Single Crochet foundation stitch
FLO \ BLO = Front loop only \ back loop only
Repeat what’s in between | for # amount of times.
Repeat what’s in between * for rest of round.
Special Stitch
GS – Special Stitch: Glover stitch
Row 1 Creating a GS
insert your hook in stitch, YO and pull up a loop. YO and insert your hook into the NEXT st. YO and pull through all 4 loops. CH 1 to end st.
Row 2 of working in a Glover Stitch
Insert your hook into the FLO of the next stitch, pull up a loop (2 loops on hook ) YO and insert your hook under both loops of the next stitch and pull up a loop ( 4 loops on hook ) YO and pull through all 4 loops and ch 1.
At the very end of the row always remember to chain 2 because one of these chains will count as your first stitch of the row. Video Tutorial here
If you haven’t yet, take a moment to subscribe to my videos on YouTube to have easy access to all my videos and playlist @Meladora1
PDF Pattern with Pictures
You can find the PDF version of my pattern with pictures on Ravlery Or my shop on Etsy. Thank you very much for all you do to support my channel.
Remember to sign up for my email so you can always be update date with the free patterns I release as they come out! https://www.meladorascreations.com/sign-up-for-newsletter/
Come visit me over on my Facebook Group where I share free pattern links Daily!
Starting from row 2 this pattern is done in ROWs and not Rounds so you will be turning your work every row. It’s important to the look of the stitches so I recommend that you do not try to do this hat in rounds or else it will look different.
Row 1
SCFS 60. Then create a ring by slip stitching to the beginning st. Ch 2
It won’t be perfectly even here, but that is okay, we’ll be fixing this later.
Row 2
The ch 2 in this project won’t count as a stitch but will mark the beginning of a row.
DC in the BLO in the next st and in all 60 sts.
To End: Skipping the beginning ch 2 and Sl st in the beginning DC. Ch 2 and TURN
Row 3
Starting in the first st after you ch 2 because remember that nothing is worked into the ch 2 space besides the beginning ch 2.
DC in the FLO in the next st and in all 60 sts.
To End: Skipping the beginning ch 2 and Sl st in the beginning DC. Ch 2 and TURN
Rows 4 & 5
repeat rows 2 and 3
Row 6
This will be our 1st of 4 Glover Stitch rows.
Creating a GS
GS in all stitches around using the BLO. The Glover Stitch is done using 2 stitches so you should have 30 Glover stitches at the end of your row.
To End: sl st in the 1st st of your beginning GS and NOT in the beginning ch 2. CH 2 and TURN
Row 7
Working in a Glover Stitch
GS in all stitches around. You should have 30 Glover stitches at the end of your row.
To End: sl st in the 1st st of your beginning GS and NOT in the beginning ch 2. CH 2 and TURN
Rows 8 & 9
Repeat rows 6 & 7 only there is no FLO or BLO just crochet the GS as normal.
Row 10
DC in the FLO in the next st and in all 60 sts.
To End: Skipping the beginning ch 2 and Sl st in the beginning DC. Ch 2 and TURN
Row 11
DC in the BLO in the next st and in all 60 sts.
To End: Skipping the beginning ch 2 and Sl st in the beginning DC. Ch 2 and TURN
Rows 12 & 13
repeat rows 10 and 11
Row 14
GS in all stitches around using the FLO. The Glover Stitch is done using 2 stitches so you should have 30 Glover stitches at the end of your row.
To End: sl st in the 1st st of your beginning GS and NOT in the beginning ch 2. CH 2 and TURN
Row 15
GS in all stitches around. You should have 30 Glover stitches at the end of your row.
To End: sl st in the 1st st of your beginning GS and NOT in the beginning ch 2. CH 2 and TURN
Rows 16 & 17
Repeat rows 14 & 15 only there is no FLO or BLO just crochet the GS as normal.
Row 18
DC in the BLO in the next st and in all 60 sts.
To End: Skipping the beginning ch 2 and Sl st in the beginning DC. Ch 2 and TURN
Row 19
DC in the FLO in the next st and in all 60 sts.
To End: Skipping the beginning ch 2 and Sl st in the beginning DC. Ch 2 and TURN
Rows 20 & 21
Repeat rows 18 & 19 after row 19 only ch 1
Your hat should measure around 10 inches or 25 cms
Now we’re ready to close up the hat.
Closing the hat
Round 1
Using the 1st where you sl stitched and chained 1, sc in this same space. Then sc dec. repeat, * sc, sc dec*
Sl st in beginning sc.
You should end having 43 sts. Or there about.
Round 2
We’re not turning our work every round now so just ch 1 and continue.
Using the 1st where you sl stitched and chained 1, sc in this same space and sc the following stitch as well. Then sc dec. repeat, * sc in the next 2 sts, then sc dec*
You should end having 29 sts. Or there about.
Sl st in beginning sc. Leaving a LONG tail to use for sewing, ch 1 and cut your yarn.
Turn your hat inside out so that you have the wrong side facing you. Weave your tapestry needle in and out through a few of the stitches to gather a few, then pull your tail through. Continue to gather us all your stitches this way. Then pull your tail tight and it will pull the hole closed. Sew going through each side of the hole to ensure it won’t come loose.
If you have any problems doing this, you can watch the end of any of my slouch hat tutorials to be taken through the closing of the hat process.
Now Hide your tails and turn your hat back to the correct side facing you.
Grab your crochet hook again and create a slip knot again on your hook. Now on the rim of the hat. We’ll be working in the bottom stitches of our previous SCFS’s from the start.
Attach your yarn to the beginning st and ch 1. Grab your beginning tail and pull it through the bottom of your first attached st to even out that space. Do this with your hook or a needle.
This will even up your row for you. Then you want to do 2 rows of Glover sts for these 2 rows. Then sl st in beg GS and ch 1, cut yarn. Hide your tails.
This pattern is brought to you by www.meladorascreations.com
You can sell any item made from this pattern and link back to my page or videos, but you do not have permission to copy and paste my pattern anywhere online. ©Copyright 2023, All Rights Reserved
PLEASE READ BELOW!
If you’d like to see my channel stay and grow, please consider becoming a patron.
Or you could make a one time donation through PayPal. Thank you so much for your support! God Bless!


