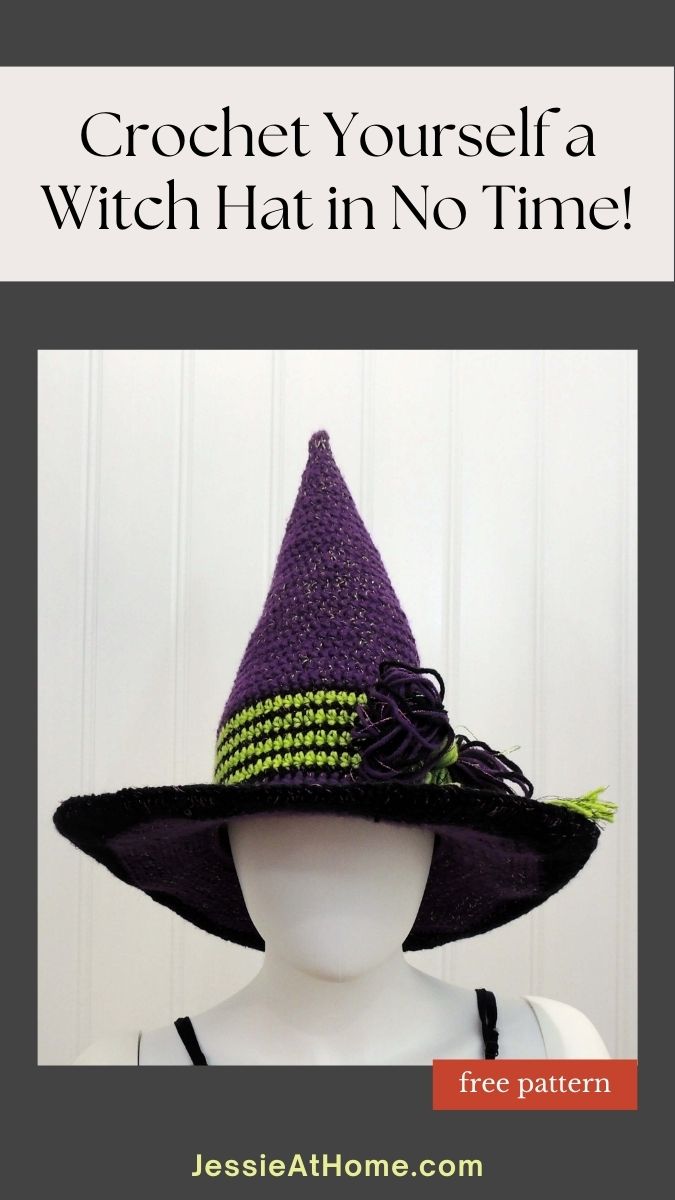
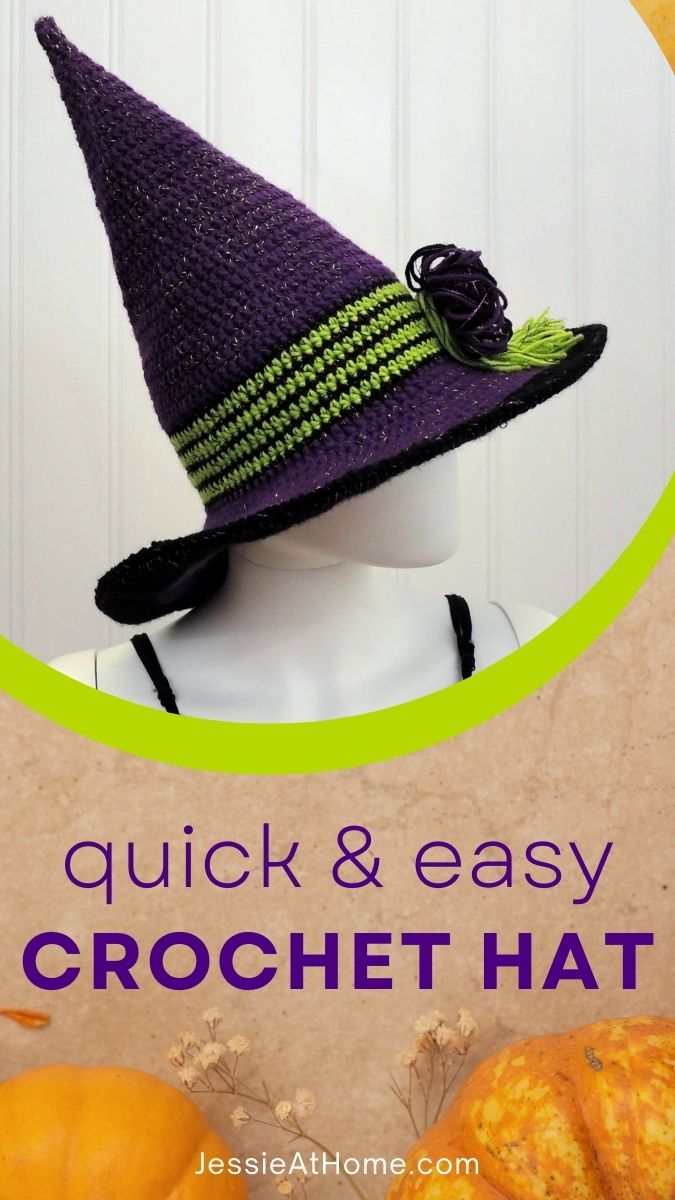
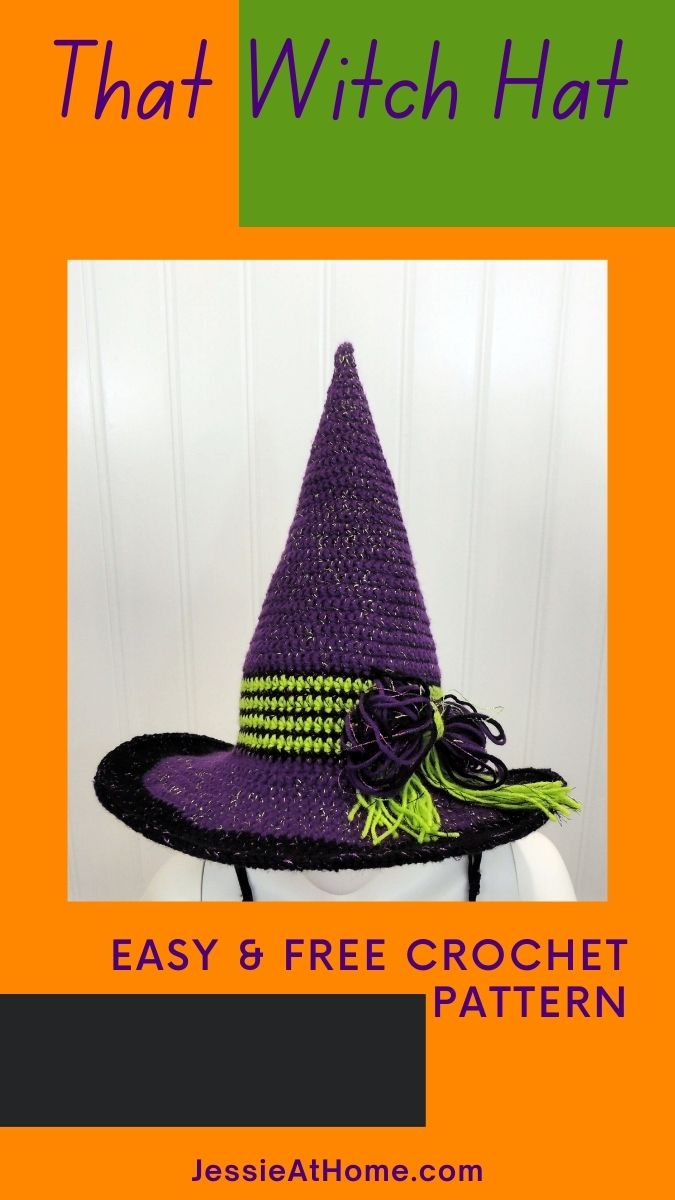
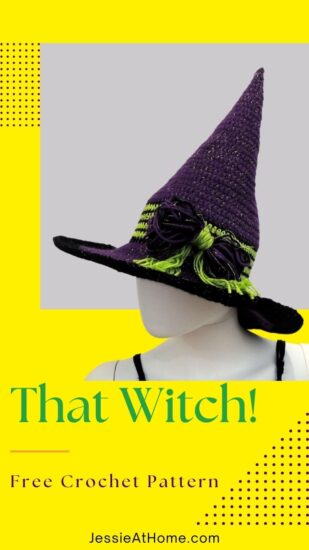
Inside: That Witch is a crochet witch hat that’s perfect for Halloween parties and costumes. This free crochet pattern comes four sizes.
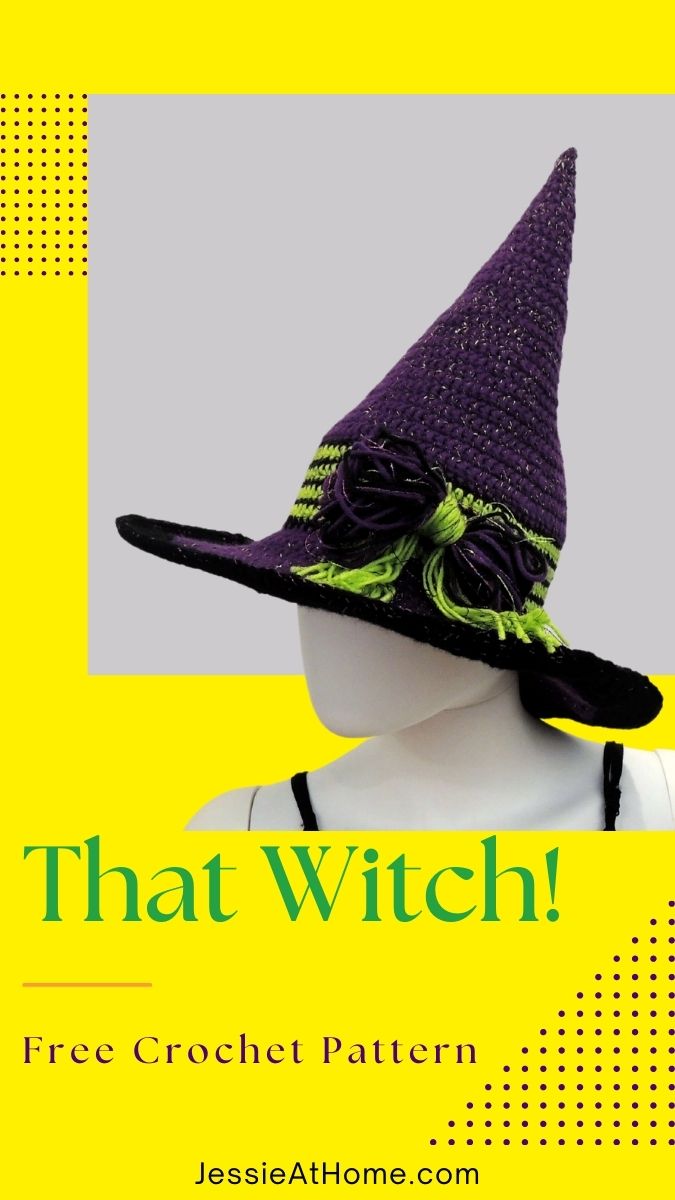
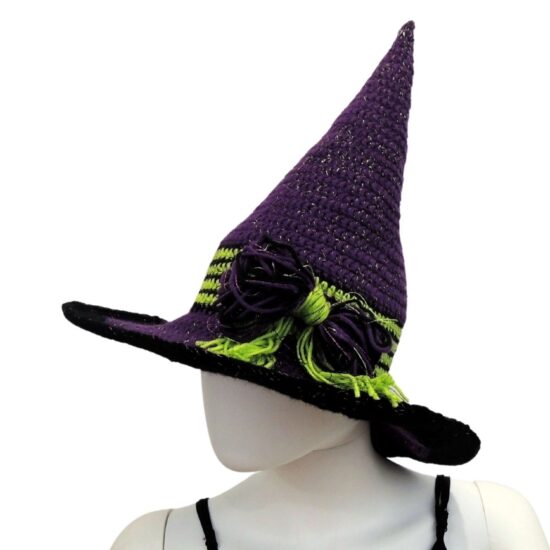
Bring witchy vibes to your family’s Halloween festivities with this adorable Crochet Witch Hat! This free pattern is designed for the whole family, from children to adults. It features whimsical details such as a striped band and messy bow. It’s easy to crochet and can be made with any worsted weight yarn for a variety of costumes. Create one for everyone and make your own coven of witches!
The yarn for this design was provided by Herrschners and Kreinik Thread. All opinions are my own.
That Witch is a crochet witch hat pattern written in four sizes so the whole family can join in the fun! Want a wizard hat? Just finish your hat off after the band. Changes colors or don’t as you wish. The color changes used in the sample are written into the pattern. For the sample a size 4 (worsted weight) yarn was used along with a decorative carry along thread to add some texture and sparkle to the hat. Now you and your squad can be the witches that everyone envies with the That Witch crochet witch hat.
Table of contents
This fun crochet witch hat pattern is part of the 2020 CAL Central Halloween CAL.
How the 2020 Halloween CAL Works
Every Monday and Thursday from August 17 through September 17, 2020, we’ll share a free crochet pattern for a Halloween-themed project. These patterns include decorations, toys, costume elements, and more.
Nelsonwood, King Cole, and Search Press North America have provided us with some amazing prizes for our end-of-CAL giveaway. Don’t forget to enter the giveaway in this post on Underground Crafter by 11:59 p.m. on Sunday, September 20, 2020!

How To Join the 2020 Halloween CAL
- You can join in by crocheting the patterns as you have time.
- Share your progress and post pictures of your finished projects. Tag your projects and posts #CALCentralCrochet and #HalloweenCAL2020 on all social media.
- If you’d like to chat with other crocheters, join the CAL Central Crochet Facebook group, or visit this thread in the CAL Central Ravelry group.
- By the end of the CAL, you’ll have up to 10 spooky Halloween projects.
Visit Underground Crafter to learn more about the prizes, enter the end-of-CAL giveaway, and to get links to each Halloween CAL pattern as it is released.
That Witch
Crochet Witch Hat Pattern
Easy Skill Level
Designed by Jessie Rayot
Crochet Witch Hat Supplies
Size
XS (S, M, L)
Fits: 18 (20, 22, 24)
Measures: 16 (18, 20, 22)
Yarn
Herrschners Worsted 3 or Worsted 8: (100% Acrylic), Size 4 (10 wpi, 4 weight), yds/g = 2.15
Eggplant 1050 Color A: (195-215 yds / 90-100 g)
Lime 1054 Color B: (30-45 yds / 15-20 g)
Black 1010 Color C: (85-100 yds / 40-45 g)
Worsted 3 and Worsted 8 are the same yarn, just in a 3 or 8 oz ball. There are more colors in the 8 oz balls.
Kreinik Blending Filament – Use equal amount of filament as yarn, hold filament with yarn and work as one. This adds some sparkle color variation to your creation.
Crochet Hook
Gauge
Learn about gauge HERE
16 sts x 9 rows = 4” [10 cm] in double crochet
Other Supplies
yarn needle
2 yards hat/millinery wire or 1/16″ Aircraft wire rope
electrical or duct tape
Stitches and Abbreviations
click on highlighted sts for tutorials
ch – chain
dc – double crochet
fphdc – front post half double crochet
hdc – half double crochet
rnd – round
sc – single crochet
sl st – slip stitch
st(s) – stitch(es)
[ ] – work step in brackets number of times indicated

Get the Ad-Free Printable PDF at These Sites
- Showstopper Creations (that’s me!)
- Ravelry
- Etsy
- LoveCrafts
Pattern Notes
- Read through all instructions before beginning.
- Rnd counts are at the end of each Rnd after the period, if the count has changed from the previous Rnd. {count here}
- Chs and sl sts are not included in stitch counts unless specified.
- This pattern uses a hook that is much smaller than would normally be used for this yarn. This is done to create a stiffer fabric so that the hat stands up on its own and the brim is not too floppy if you don’t use wire in it.
Getting Started
- Read through all instructions before beginning
- Rnd counts are at the end of each Rnd after the period, if the count has changed from the previous Rnd. {count here}
- Chs and sl sts are not included in Rnd counts unless specified.
- This pattern uses a hook that is much smaller than would normally be used for this yarn. This is done to create a stiffer fabric so that the hat stands up on its own and the brim is not too floppy if you don’t use wire in it.
Crochet Witch Hat Pattern
Hat Point
Rnd 1: With Color A, ch 3, join with a sl st to form a ring, ch 3 (counts as first dc here and throughout), 3 dc in ring, sl st to top of beg ch 3. {4 sts}
Rnd 2: Ch 3, dc in same st, dc in next st, 2 dc in next st, dc in next st, sl st to top of beg ch 3. {6 sts}
Rnd 3: Ch 3, dc in same st, dc in next st, [2 dc in next st, dc in next st] 2 times, sl st to top of beg ch 3. {9 sts}
Rnd 4: Ch 3, [2 dc in next st, dc in each of next 2 sts] 2 times, 2 dc in next st, dc in next st, sl st to top of beg ch 3. {12 sts}
Rnd 5: Ch 3, dc in same st, dc in each of next 3 sts, [2 dc in next st, dc in each of next 3 sts] 2 times, sl st to top of beg ch 3. {15 sts}
Rnd 6: Ch 3, dc in next st, [2 dc in next st, dc in each of next 4 sts] 2 times, 2 dc in next st, dc in each of next 2 sts, sl st to top of beg ch 3. {18 sts}
Rnd 7: Ch 3, dc in same st, dc in each of next 5 sts, [2 dc in next st, dc in each of next 5 sts] 2 times, sl st to top of beg ch 3. {21 sts}
Rnd 8: Ch 3, dc in each of next 2 sts, [2 dc in next st, dc in each of next 6 sts] 2 times, 2 dc in next st, dc in each of next 3 sts, sl st to top of beg ch 3. {24 sts}
Rnd 9: Ch 3, dc in same st, dc in each of next 7 sts, [2 dc in next st, dc in each of next 7 sts] 2 times, sl st to top of beg ch 3. {27 sts}
Rnd 10: Ch 3, dc in each of next 3 sts, [2 dc in next st, dc in each of next 8 sts] 2 times, 2 dc in next st, dc in each of next 4 sts, sl st to top of beg ch 3. {30 sts}
Rnd 11: Ch 3, dc in same st, dc in each of next 9 sts, [2 dc in next st, dc in each of next 9 sts] 2 times, sl st to top of beg ch 3. {33 sts}
Rnd 12: Ch 3, dc in each of next 4 sts, [2 dc in next st, dc in each of next 10 sts] 2 times, 2 dc in next st, dc in each of next 5 sts, sl st to top of beg ch 3. {36 sts}
Rnd 13: Ch 3, dc in same st, dc in each of next 11 sts, [2 dc in next st, dc in each of next 11 sts] 2 times, sl st to top of beg ch 3. {39 sts}
Rnd 14: Ch 3, dc in each of next 5 sts, [2 dc in next st, dc in each of next 12 sts] 2 times, 2 dc in next st, dc in each of next 6 sts, sl st to top of beg ch 3. {42 sts}
Rnd 15: Ch 3, dc in same st, dc in each of next 13 sts, [2 dc in next st, dc in each of next 13 sts] 2 times, sl st to top of beg ch 3. {45 sts}
Rnd 16: Ch 3, dc in each of next 6 sts, [2 dc in next st, dc in each of next 14 sts] 2 times, 2 dc in next st, dc in each of next 7 sts, sl st to top of beg ch 3. {48 sts}
Rnd 17: Ch 3, dc in same st, dc in each of next 15 sts, [2 dc in next st, dc in each of next 15 sts] 2 times, sl st to top of beg ch 3. {51 sts}
Rnd 18: Ch 3, dc in each of next 7 sts, [2 dc in next st, dc in each of next 16 sts] 2 times, 2 dc in next st, dc in each of next 8 sts, sl st to top of beg ch 3. {54 sts}
Rnd 19: Ch 3, dc in same st, dc in each of next 17 sts, [2 dc in next st, dc in each of next 17 sts] 2 times, sl st to top of beg ch 3. {57 sts}
Rnd 20: Ch 3, dc in each of next 8 sts, [2 dc in next st, dc in each of next 18 sts] 2 times, 2 dc in next st, dc in each of next 9 sts, sl st to top of beg ch 3. {60 sts}
Rnd 21: Ch 3, dc in same st, dc in each of next 19 sts, [2 dc in next st, dc in each of next 19 sts] 2 times, sl st to top of beg ch 3. {63 sts}
XS only: move onto hat band.
Rnd 22: Ch 3, dc in each of next 9 sts, [2 dc in next st, dc in each of next 20 sts] 2 times, 2 dc in next st, dc in each of next 10 sts, sl st to top of beg ch 3. {66 sts}
Rnd 23: Ch 3, dc in same st, dc in each of next 21 sts, [2 dc in next st, dc in each of next 21 sts] 2 times, sl st to top of beg ch 3. {69 sts}
Rnd 24: Ch 3, dc in each of next 10 sts, [2 dc in next st, dc in each of next 22 sts] 2 times, 2 dc in next st, dc in each of next 11 sts, sl st to top of beg ch 3. {72 sts}
S only: move onto hat band.
Rnd 25: Ch 3, dc in same st, dc in each of next 23 sts, [2 dc in next st, dc in each of next 23 sts] 2 times, sl st to top of beg ch 3. {75 sts}
Rnd 26: Ch 3, dc in each of next 11 sts, [2 dc in next st, dc in each of next 24 sts] 2 times, 2 dc in next st, dc in each of next 12 sts, sl st to top of beg ch 3. {78 sts}
Rnd 27: Ch 3, dc in same st, dc in each of next 25 sts, [2 dc in next st, dc in each of next 25 sts] 2 times, sl st to top of beg ch 3. {81 sts}
M only: move onto hat band.
Rnd 28: Ch 3, dc in each of next 12 sts, [2 dc in next st, dc in each of next 26 sts] 2 times, 2 dc in next st, dc in each of next 13 sts, sl st to top of beg ch 3. {84 sts}
Rnd 29: Ch 3, dc in same st, dc in each of next 27 sts, [2 dc in next st, dc in each of next 27 sts] 2 times, sl st to top of beg ch 3. {87 sts}
Rnd 30: Ch 3, dc in each of next 13 sts, [2 dc in next st, dc in each of next 28 sts] 2 times, 2 dc in next st, dc in each of next 14 sts, sl st to top of beg ch 3. {90 sts}
L only: move onto hat band.
Hat Band
Rnd 1: With Color B, ch 1 (does not count as a st here or throughout), sc in first st, sc in each remaining st around, sl st to top of first sc. {63 (72, 81, 90) sts}
Rnd 2: With Color C, ch 2 (counts as first hdc here and throughout), hdc in next st and each remaining st around, sl st to top of beg ch 2.
Rnd 3: With Color B, ch 1, sc in first st, sc in each remaining st around, sl st to top of first sc.
Rnds 4&5: Repeat Rnds 2&3 once.
XS only: move onto hat brim.
Rnds 6&7: Repeat Rnds 2&3 once.
S only: move onto hat brim.
Rnds 8&9: Repeat Rnds 2&3 once.
M only: move onto hat brim.
Rnds 10&11: Repeat Rnds 2&3 once.
L only: move onto hat brim.
Hat Brim
Rnd 1: With Color A, ch 2, hdc in next st and each remaining st around, sl st to top of beg ch 2. {63 (72, 81, 90) sts}
Rnd 2: Ch 1 (does not count as a st), fphdc in first st and each remaining st around, sl st to top of first fphdc.
Rnd 3: Ch 2, hdc in same st, hdc in each of next 6 (7, 8, 9) sts, [2 hdc in next st, hdc in each of next 6 (7, 8, 9) sts] 8 times, sl st to top of beg ch 2. {72 (81, 90, 99) sts}
Rnd 4: Ch 2, hdc in same st, hdc in each of next 7 (8, 9, 10) sts, [2 hdc in next st, hdc in each of next 7 (8, 9, 10) sts] 8 times, sl st to top of beg ch 2. {81 (90, 99, 108) sts}
Rnd 5: Ch 2, hdc in same st, hdc in each of next 8 (9, 10, 11) sts, [2 hdc in next st, hdc in each of next 8 (9, 10, 11) sts] 8 times, sl st to top of beg ch 2. {90 (99, 108, 117) sts}
Rnd 6: Ch 2, hdc in same st, hdc in each of next 9 (10, 11, 12) sts, [2 hdc in next st, hdc in each of next 9 (10, 11, 12) sts] 8 times, sl st to top of beg ch 2. {99 (108, 117, 126) sts}
Rnd 7: Ch 2, hdc in same st, hdc in each of next 10 (11, 12, 13) sts, [2 hdc in next st, hdc in each of next 10 (11, 12, 13) sts] 8 times, sl st to top of beg ch 2. {108 (117, 126, 135) sts}
XS only: move onto hat edge.
Rnd 8: Ch 2, hdc in same st, hdc in each of next 0 (12, 13, 14) sts, [2 hdc in next st, hdc in each of next 0 (12, 13, 14) sts] 8 times, sl st to top of beg ch 2. {108 (126, 135, 144) sts}
S only: move onto hat edge.
Rnd 9: Ch 2, hdc in same st, hdc in each of next 0 (0, 14, 15) sts, [2 hdc in next st, hdc in each of next 0 (0, 14, 15) sts] 8 times, sl st to top of beg ch 2. {108 (126, 144, 153) sts}
M only: move onto hat edge.
Rnd 10: Ch 2, hdc in same st, hdc in each of next 0 (0, 0, 16) sts, [2 hdc in next st, hdc in each of next 0 (0, 0, 16) sts] 8 times, sl st to top of beg ch 2. {108 (126, 144, 162) sts}
L only: move onto hat edge.
Hat Edge
Rnd 1: With Color B, ch 2, hdc in same st, hdc in each of next 11 (13, 15, 17) sts, [2 hdc in next st, hdc in each of next 11 (13, 15, 17) sts] 8 times, sl st to top of beg ch 2. {117 (135, 153, 171) sts}
Rnd 2: Ch 2, hdc in same st, hdc in each of next 12 (14, 16, 18) sts, [2 hdc in next st, hdc in each of next 12 (14, 16, 18) sts] 8 times, sl st to top of beg ch 2. {126 (144, 162, 180) sts}
Rnd 3: Ch 2, hdc in same st, hdc in each of next 13 (15, 17, 19) sts, [2 hdc in next st, hdc in each of next 13 (15, 17, 19) sts] 8 times, sl st to top of beg ch 2. {135 (153, 171, 189) sts}
Do NOT fasten off.
Finishing
- Cut hat wire to exactly 36 (41, 45.5, 50) inches.
- Wrap wire into a circle and overlap exactly 2 inches.
- Tape overlap with electrical or duct tape, taking care to cover cut ends.
- Crochet next Rnd over hat wire.
Rnd 1: Ch 1, sc in first st, [2 sc in next st, sc in next st] around, sl st to top of first sc. {202 (229, 256, 283) sts}
Fasten off then weave in all ends.
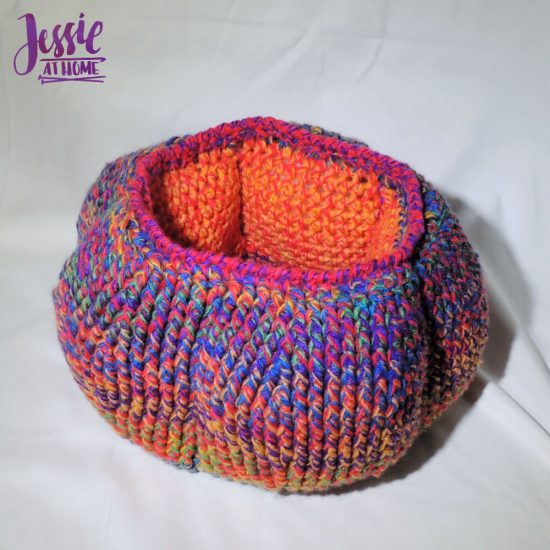
Bow
- Wrap Colors A & B 13 times around an object that is about 12-14” around (such as a 6” wide book), slide yarn off.
- Cut 13 strands of Color C.
- Place Color A & B bundle centered over center of Color C bundle then tightly tie Color C bundle around Color A & B bundle.
- Attach bow to hat.
Happy Stitching!
FAQs
You sure can! Use Brimlock, Nylon Hat Wire, or another wire that you prefer for hat brims. Leave two inches and then begin crocheting over the wire as you begin the final round of the hat. Once you have 2″ left, cut the wire so the last 2″ overlap with the first. Seal the two ends where they overlap with joiners or tape. Finish the last round.
Alternately, you can add the wire after finishing the last round. Add it in the same way, only crochet over it after making the last patterned round by adding on a round of single crochet in each stitch. If you like, you can then make another round of single crochet OVER the previous round so that the wire is better hidden and the brim edge is thicker.
Not at all, simply leave it out. The blending filament adds some super fun flair, but it does not add enough bulk to the yarn to effect the gauge, making it super easy to leave out.
That also means it’s super easy to add in to other patterns you make that might benefit from a little something extra!
If you are going to make this creation then get some supplies from these affiliate links.
Did you enjoy what you found here at Jessie At Home? Then sign up for my newsletter and like my Facebook page, so you’ll get all the updates on new tutorials, other posts, sales, and coming events.
If you have any questions, want to share pictures of your work, or just want to chat with Jessie and other crafty individuals, than join my Facebook group.

© Copyright 2020 Jessie Rayot / Jessie At Home All my videos, patterns, charts, photos and posts are my own work, so you may not copy them in any way. If you want to share this information with someone, then share the link to this post. If you want to share on your own blog / website, then you may use the first photo in this post and link back to this post. Also, you may not give away printed copies of this post.