Newborn Teddy Bear Hat and Diaper Cover
After a long, joyful and somewhat tumultuous journey, I’m very excited to share that my son made an unexpected early entrance into this world a few weeks ago! After a brief hospital stay, I’m happy to say that we are both home now, thriving, and adjusting to our new life together. As for me, I’m stumbling through the sleepless nights of new parenthood, and absolutely loving all my newborn snuggles!
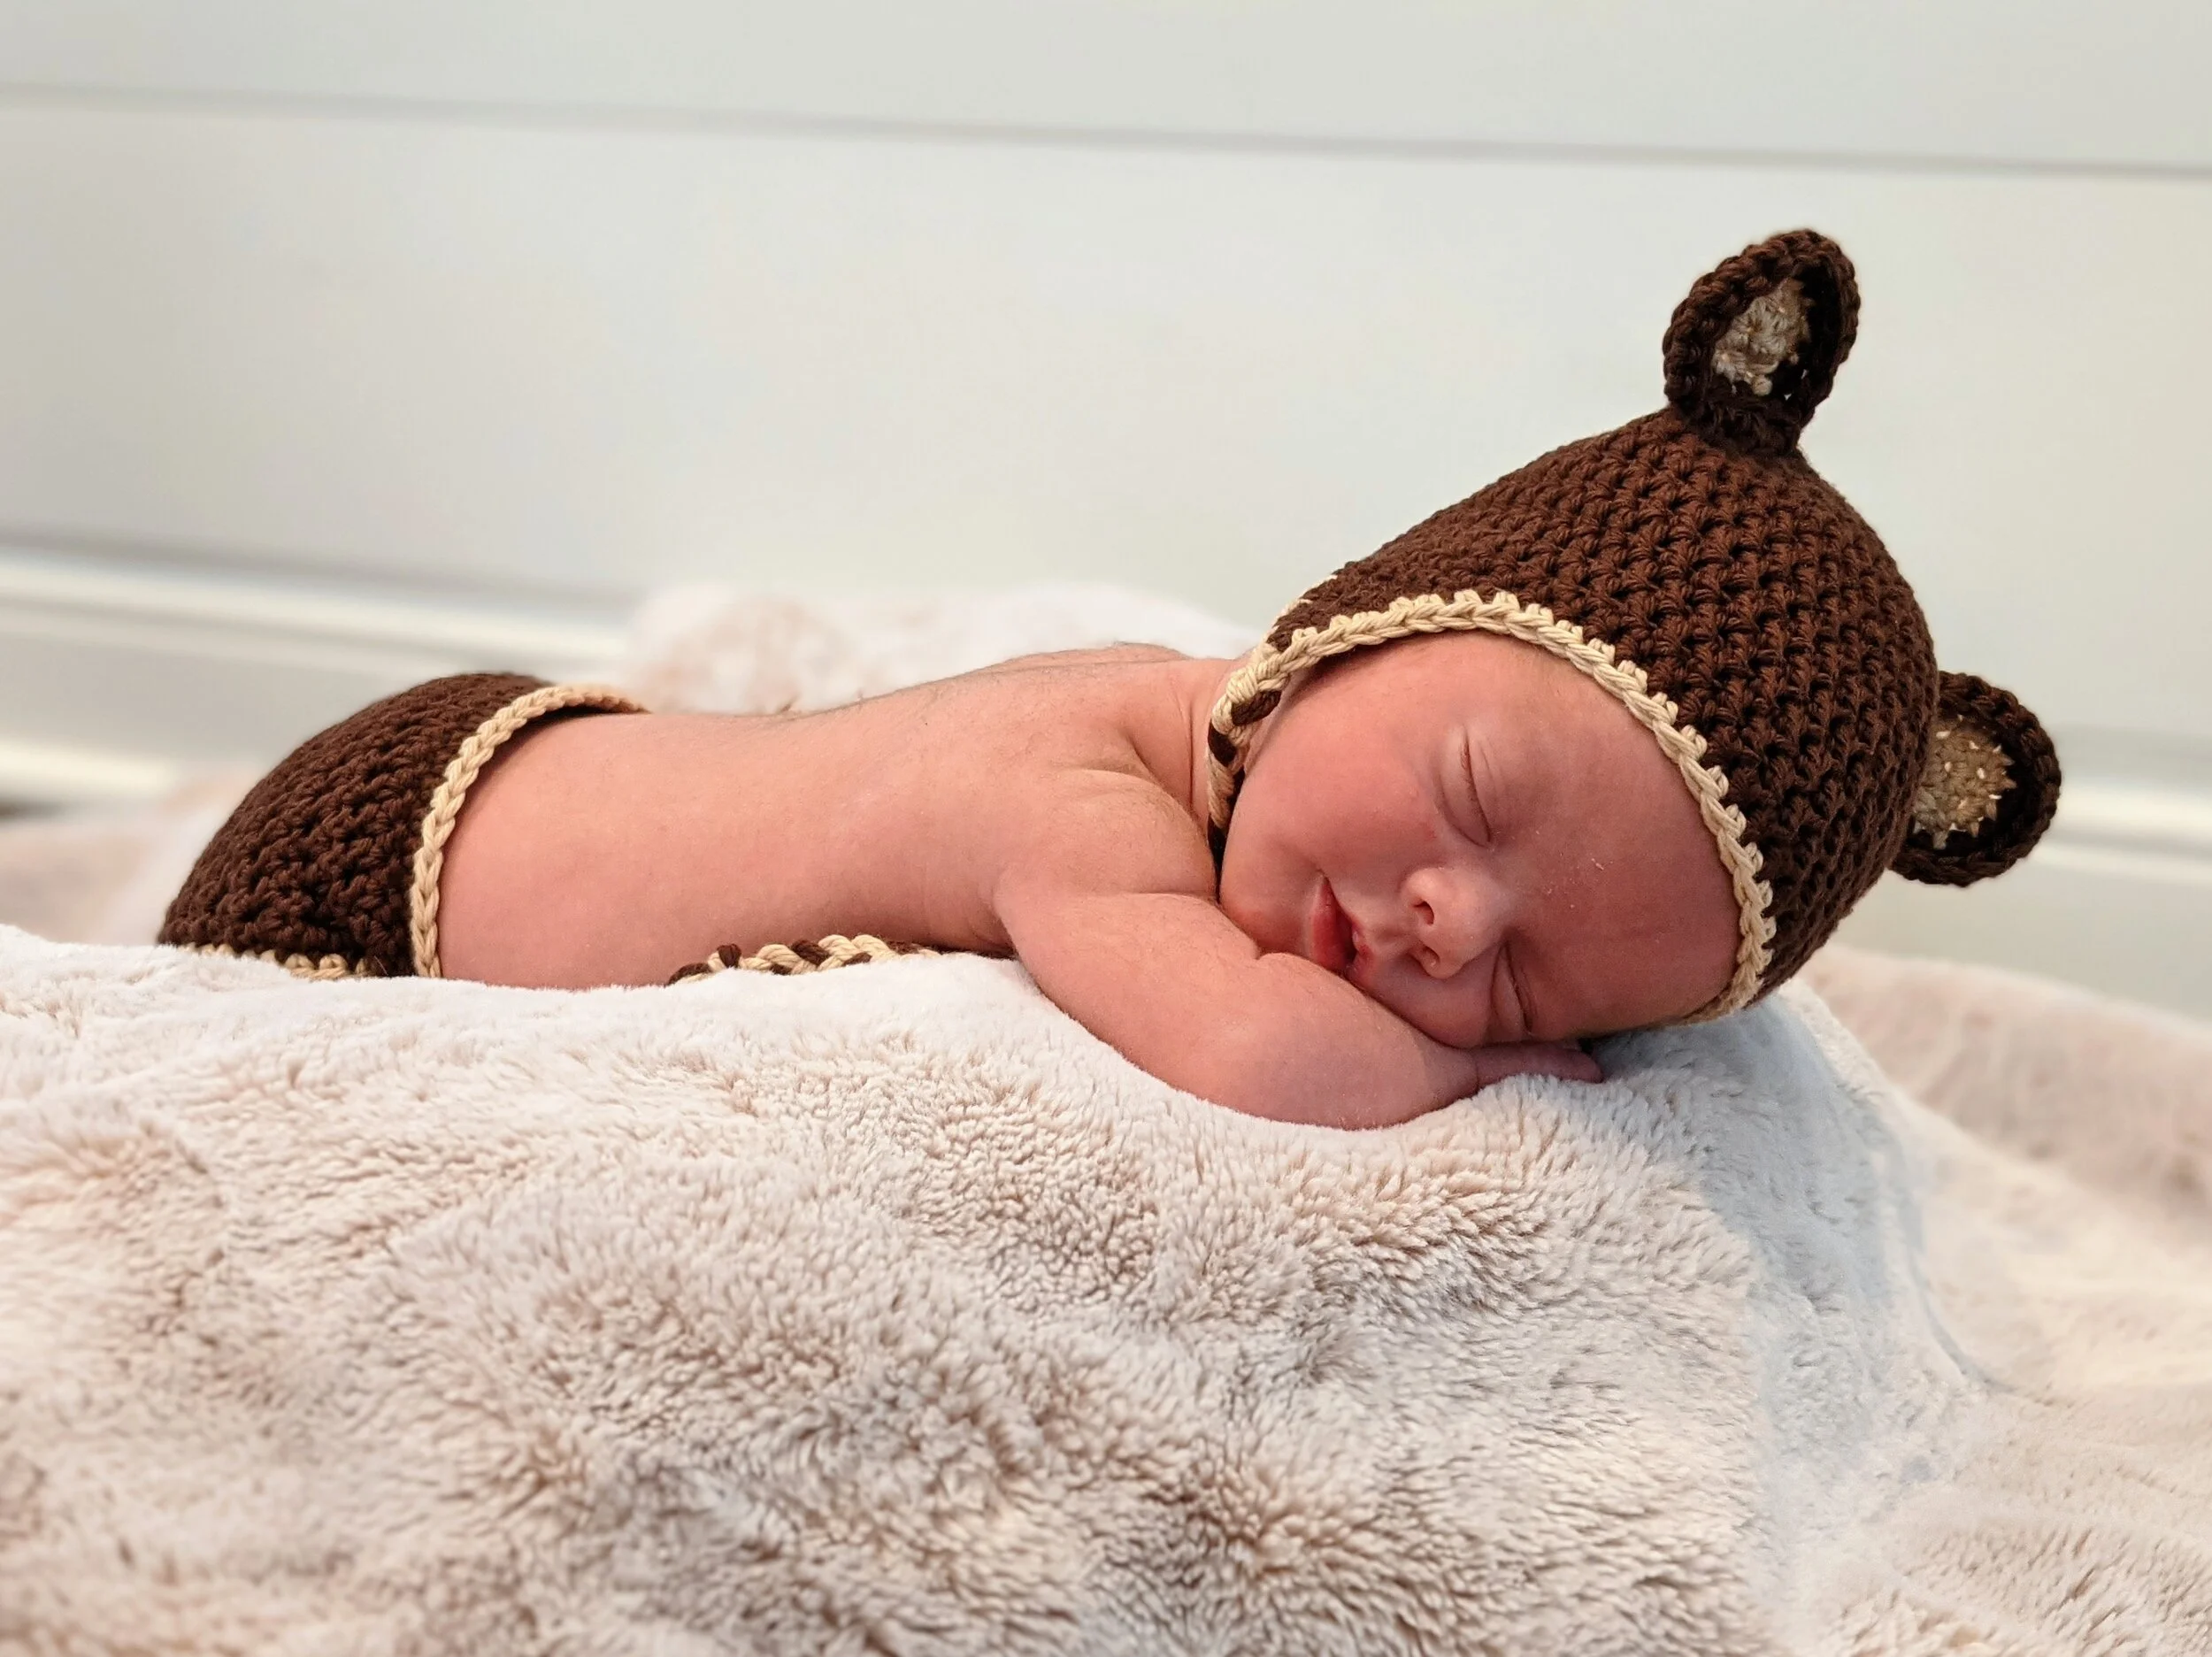
Originally I wasn’t going to create birth announcements or subject my little one to overly staged photos, but in the end, I caved! You all know I love teddy bears, and I just couldn’t resist making him this adorable newborn teddy bear hat and diaper cover.
I love this set because it is super easy to make and works for both boys and girls. The hat and diaper cover are crocheted using medium weight yarn and size H crochet hook, and they work up super fast — I created the entire set in one evening. The set looks adorable in newborn photo shoots and birth announcements. You can make one for your own little one or give this set as an adorable gift.
If you end up making this for a special little one in your life, please share photos and tag us on Instagram — @knitpaintsew — so that we can swoon over the cuteness!
A PDF of this pattern can also be found on my Etsy shop here.
SPECIFICATIONS
SIZES
Instructions included below for hat sizes preemie and 0-3 months. Diaper cover pattern is only in one size, but you can adjust the width by changing the placement of the buttons.
GAUGE
3 rows and 4 sts in DC = 1” x 1”; be sure to check your gauge as exact size of the hat will vary based on your own crochet style, yarn and hook that you are using.
MATERIALS
Hook: Size H crochet hook. This is my favorite crochet hook and yarn needle set I got from WooCrafts. The set is really affordable and comes with 9 different-sized crochet hooks, 8 yarn needles, stitch markers and a cute carrying case.
Yarn: ~150 yds medium weight yarn in main color (A), and scrap amounts of contrasting color (B) for edging. I used I Love This Cotton yarn from Hobby Lobby.
1-2 of 0.5-0.75” button(s)
Yarn or tapestry needle
Scissors
ABBREVIATIONS
Ch = chain
Sl st = slip stitch
SC = single crochet
SCD = single crochet decrease
HDC = half double crochet
DC = double crochet
DCD = double crochet decrease
MR = magic ring - find a great tutorial here
INSTRUCTIONS
(A PDF of this pattern can also be found on Etsy)
HAT
Size: Preemie
With main color (A) Magic ring, 10 DC in magic ring, join to first DC, chain 2
Round 2: 2 DC in each around, join, chain 2 (20 DC)
Round 3: *2 DC in first, DC in next*, repeat around, join, chain 2 (30 DC)
Round 4: *2 DC in first, DC in next 2*, repeat around, join, chain 2 (40 DC)
Round 5: *2 DC in first, DC in next 7*, repeat around, join, chain 2 (45 DC)
Round 6-12: DC in each around, join - do not fasten off, see earflap pattern below
Size: 0-3
With main color (A) Magic ring, 10 DC in magic ring, join to first DC, chain 2
Round 2: 2 DC in each around, join, chain 2 (20 DC)
Round 3: *2 DC in first, DC in next*, repeat around, join, chain 2 (30 DC)
Round 4: *2 DC in first, DC in next 2*, repeat around, join, chain 2 (40 DC)
Round 5: *2 DC in first, DC in next 3*, repeat around, join, chain 2 (50 DC)
Round 6-13: DC in each around, join - do not fasten off, see earflap pattern below
Earflap
Row 1: ch1, SC in next 8, ch1, turn (8 SC)
Row 2: SCD, SC in next 4, SCD, ch1, turn (6 SC)
Row 3: SC in next 6, ch1, turn (6 SC)
Row 4: SCD, SC in next 2, SCD, ch1, turn (4 SC)
Row 5: SC in next 4, ch1, turn (4 SC)
Row 6: SCD, SCD, ch1, turn (2 SC)
Row 7: SCD, fasten off, weave in ends
The second earflap will follow the same pattern as the first. To see placement of second earflap, see image below.
Optional: Accent Trim
If desired, attach accent color yarn (B): ch1, then SC around the entire bottom border of the hat including over the edges of the earflaps; at the tips of the earflaps, 2 SC in order to more smoothly round the corners; join; bind off; weave in ends.
Ears (make two)
With accent color (B) Magic ring, 6 HDC in magic ring, join to first HDC, chain 1
Round 2: 2 SC in each around, join, bind off, switch to main color (A) (12 SC)
Round 3: *2 HDC in first, HDC in next*, repeat around, join, chain 1 (18 HDC)
Round 4: SC in each around, join, bind off leaving a long tail of yarn to sew the ear onto the hat.
Repeat for the second ear.
Using a yarn needle and the long tail of yarn, sew the ears onto the hat in the desired location. See Image below.
Braided Tails
Cut six 1 yard strands of yarn; I used 4 in main color (A) and 2 in accent color (B). Pass through last space in earflap. You should now have 12 strands to braid with. Repeat for the second side.

Image 1: Earflap placement

Image 2: Attach ear to the hat
DIAPER COVER
To start, using main color (A), ch 47
Row 1: SC in 2nd ch from hook and across, ch2 and turn
Row 2: DC in each st across, ch1 and turn (46 DC)
Row 3: SC in each st across, bind off, weave in ends. Turn your work.
Row 4: In the 12th stitch from the left, attach main color yarn (A) and ch2. DC in the same stitch and in the next 23 stitches leaving the remaining 11 stitches unworked (should have 24 DC, not including the ch2), ch1 and turn
Row 5: SC in each st across, ch2 and turn
Row 6: DC in each st across, ch1 and turn
Row 7: SC in each st across, ch2 and turn
Row 8: DCD, DC in the next 20 stitches, DCD, ch1 and turn
Row 9: SC in each st across, ch2 and turn
Row 10: DCD, DC in next 18 st, DCD, ch1 and turn
Row 11: SC in each st across, ch2 and turn
Row 12: DCD, DC in next 16 st, DCD, ch1 and turn
Row 13: SCD, SC in next 14 st, SCD, ch2 and turn
Row 14: DCD, DC in next 12 st, DCD, ch1 and turn
Row 15: SCD, SC in next 10 st, SCD, ch2 and turn
Row 16: DC in each st across, ch1 and turn
Row 17: SC in each st across, ch2 and turn
Row 18-25: repeat rows 16 and 17 four more times
Row 26: DC in each st across, ch1
SC evenly around the entire perimeter of the diaper cover; be sure to do 2 SC in corner stitches so that you can round the corners while allowing your work to more easily lie flat. Join to top of first SC; Bind off and weave in ends.
(Optional accent border): Attach accent color yarn (B), ch1, SC evenly around the entire perimeter of the diaper one more time. Again, be sure to do 2 SC in corner stitches. Join to top of first SC; Bind off and weave in ends.
Add button
Sew on one button to the middle of the front flap (as pictured). If your infant is a little chubbier, you can sew on two buttons instead: one in each corner of the top of the front flap. Using two buttons will allow you to have a much wider waist on the diaper cover.
No need to make additional buttonholes. Simply push the button through the gap between two stitches.


All done! I’d love to see how this pattern turns out for the little ones in your life. Please tag us on IG at @knitpaintsew in any pictures of your little one wearing this adorable outfit so we can swoon over the cuteness!

***You may make and sell products from my patterns but if you do I ask that you link back to my post. Please do not copy and post this pattern and claim it as your own, or attempt to sell this pattern. Please do not re-publish photos as your own.