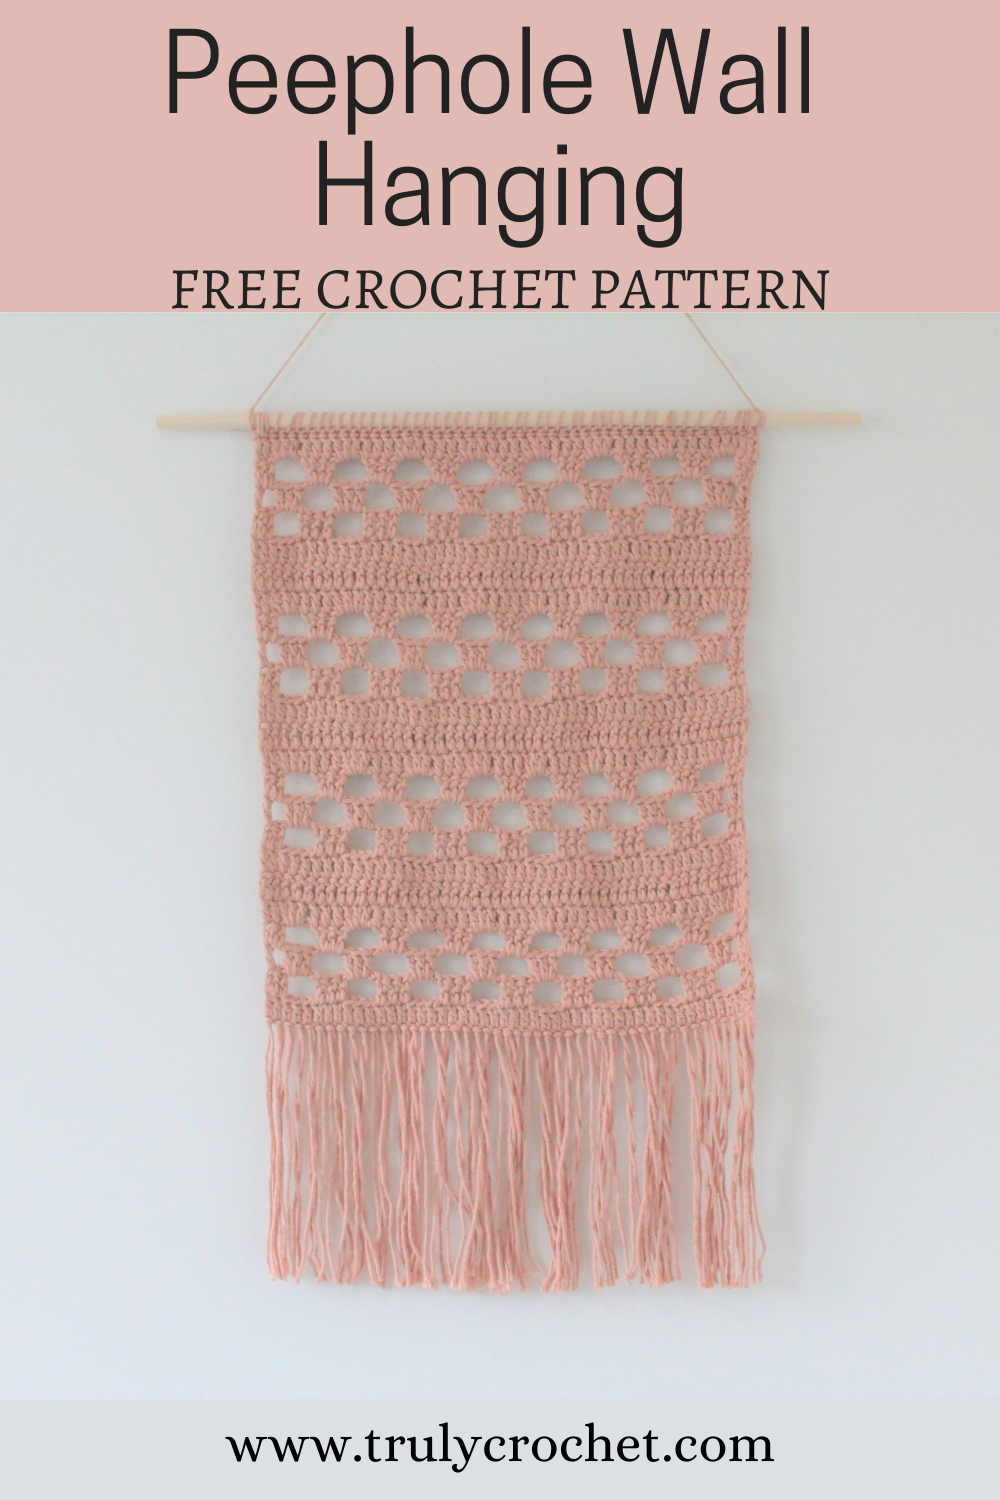
Crochet this boho style Peephole Wall Hanging – This is the Peephole Wall Hanging which is a really quick crochet project to get stuck into, this is also a free crochet pattern! Get the free pattern BELOW!
Or purchase the neat, ad free, printable PDF version here with MULTIPLES to make any size you would like.
Design
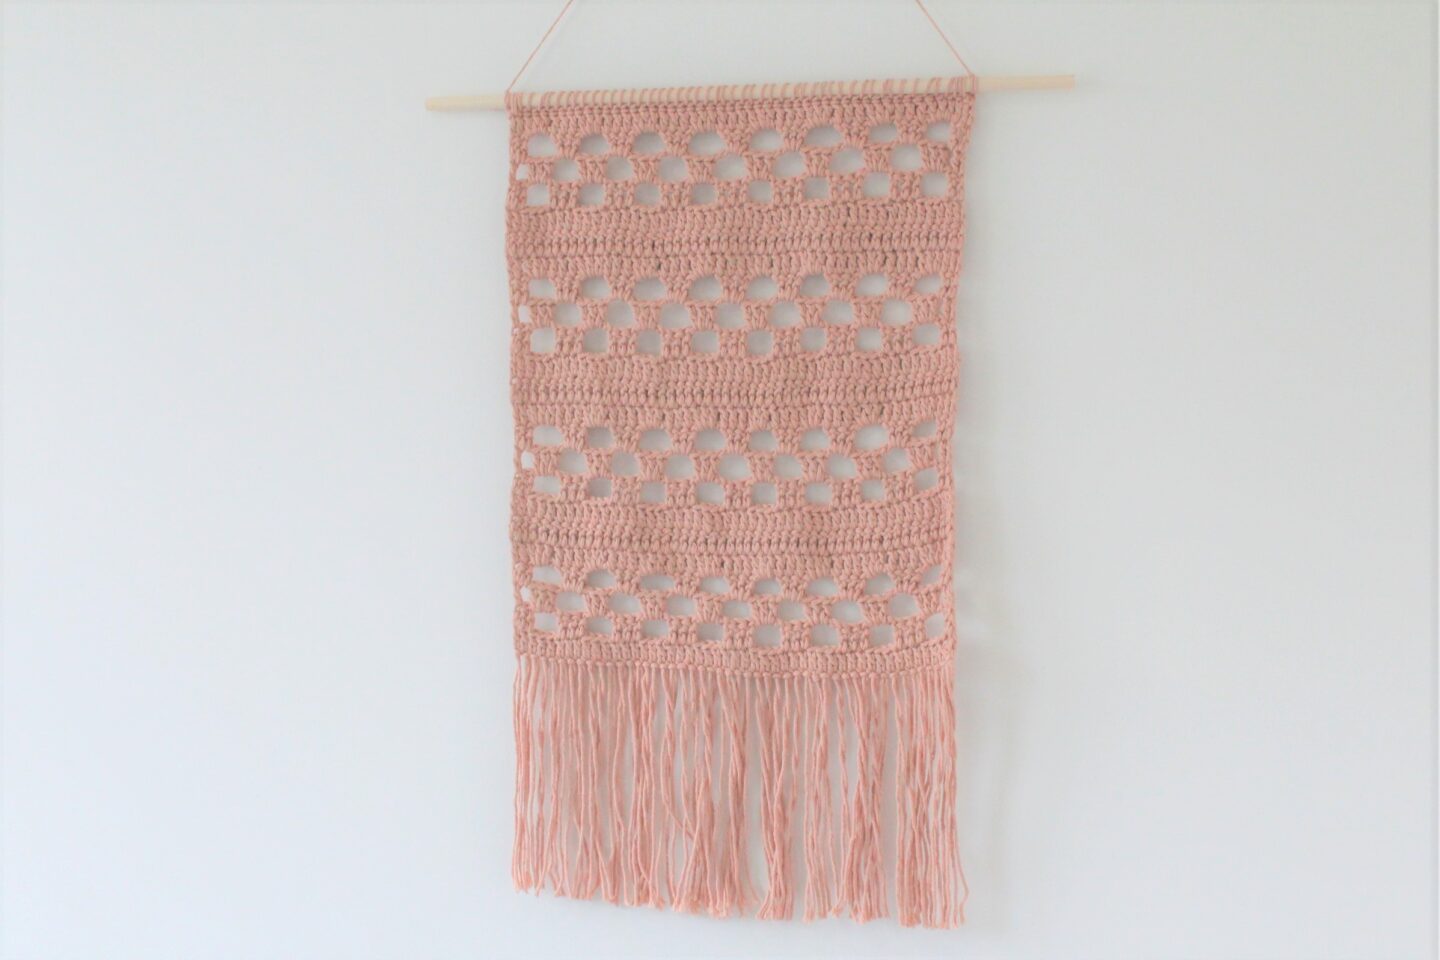
The Peephole Wall Hanging has quite a boho style to it with it’s open stitches in some rows and then you have blocks of double crochet to close it off abit, the stitches are quite similar to a granny stitch but they have been made with chains in between so there is more open-ness to it.
This wall hanging would really compliment any room around your home and would look good in any colour, in the paid version of this pattern I have included the multiples so you can crochet this wall hanging to any size you would prefer which makes it versatile for your home as you can crochet it to any size.
Here are some common questions about this pattern to help you along with making this wall hanging:
What Size Is The Wall Hanging?
The size of this wall hanging in the free pattern is 10.5 x 13 inches approx (without tassels) – Multiples are included in the paid pattern.
Is A Chart Available For This Pattern?
No. Only written instructions, line by line.
Do I Need To Block My Wall Hanging?
Absolutely yes! This will make it completely lay flat to the wall and fix any uneven stitches.
What Yarn Did You Use?
For this wall hanging I used Rico Creative Cotton in aran which is quite a lovely cotton yarn to work with and the colours that it comes in are really modern which makes it perfect for around the home. This yarn is really affordable too.
- 50 grams
- 92 yards /85 meters
- 100% Cotton Yarn
- Machine Washable
Buy the yarn for this project HERE
What Hook Did You Use?
For this crochet project I used a H/5mm crochet hook.

Do You Have A Premium AD Free PDF Pattern?
Yes, below you will find the full free crochet pattern with ads, but I also like to offer a nicely formatted ad free PDF version of the pattern as I know many of you like to crochet whilst out and about and like to pop a neat printed version in your bag.
The premium PDF version of this pattern can be purchased HERE with multiples included!
PATTERN:
- Add this pattern to your Ravelry queue HERE
- PIN this pattern to your Pinterest boards HERE
- Join our newsletter for FREE crochet patterns HERE
OTHER FREE PATTERNS YOU MAY ENJOY:

Peephole Wall Hanging
Supplies:
- H/5mm Crochet Hook
- Rico Creative Cotton – Clay – 184 yards
- Scissors
- Darning Needle – Weaving in ends
- Tape Measure
- Wooden Dowel/Branch/Driftwood – 14.5 inches approx – You may need to cut to size
- Blocking Mats/Boards
- Blocking Pins
Size:
Width – 10.5 inches (Approx)
Length – 13 inches (Approx) without tassels
Gauge:
16.5dc = 4 inches (approx)
8 rows = 4 inches (approx)
Abbreviations:
- Ch – Chain
- Dc – Double Crochet
- St(s) – Stitch(es)
- Beg – Beginning
Written In:
This pattern is written using American standard crochet terminology.
Notes:
- Ch1 at the start of each row does not count as a stitch
- Repeat what is in between the stars from * to * until the end of the row
- You will need to stop at ** near the end of the row and then follow the instructions before the word turn
- Read each row carefully before starting the row
Let’s get to the pattern!
Remember that you can choose the neat ad free, printable PDF version which is available HERE with multiples!
R1. Ch51, 1dc in 4th ch from hook and in each dc across, turn
R2. Ch1, 1dc in beg dc, 1dc in next dc * Ch3, skip next 3dc, 1dc in next 3dc * Repeat from * to * until last 5sts, ch3, skip next 3dc, 1dc in next dc, 1dc in top of turning ch, turn
R3. Ch1, 1dc in beg dc, ch1, skip next dc, 3dc in next ch3 loop * Ch3, skip next 3dc, 3dc in next ch3 loop * Repeat from * to * until last 2dc, ch1, skip next dc, 1dc in last dc, turn
R4. Ch1, 1dc in beg dc, 1dc in next ch1 space * Ch3, skip next 3dc ** 3dc in next ch3 loop * Repeat from * to * until 2sts remain finishing last repeat at ** 1dc in ch1 space, 1dc in last dc, turn
R5. Ch1, 1dc in beg dc, 1dc in next dc * 3dc in ch3 loop ** 1dc in next 3dc * Repeat from * to * until 2dc remain, 1dc in last 2dc, turn
R6-R7. Ch1, 1dc in each dc across, turn
R8. Ch1, 1dc in beg dc, 1dc in next dc * Ch3, skip next 3dc, 1dc in next 3dc * Repeat from * to * until last 5sts, ch3, skip next 3dc, 1dc in last 2dc, turn
Repeat rows 3-8 until wall hanging measures 13 inches approx finishing on row 5, turn – do not fasten off
Last Row. Slip stitch in each dc across
Fasten off, leaving a very long tail for attaching to wooden dowel/branch/driftwood
Tassels:
- Cut x48 strands of yarn each measuring 13.5 inches approx
- Grab one strand, fold it in half to make a loop at the halfway mark
- Locate the bottom left corner and in the first chain stitch put your hook through the chain stitch from the back of the wall hanging to the front of the wall hanging
- Put your crochet hook through the loop of the one strand, pull the loop through the chain stitch on the wall hanging
- Remove your crochet hook (the loop should now be at the back of wall hanging and two ends should be at the front of the wall hanging going through the chain stitch)
- Put your thumb and first finger though the loop and grab the two ends of the yarn and pull through the loop
- Give a pull on both of the yarn strands to tighten the loop and secure
- Repeat the above steps all the way across into each chain stitch
- Give the ends of the yarn a trim or to your desired length
Blocking:
Soak the finished wall hanging for 20 minutes in cool water and squeeze excess water out gently. Do not twist. Lay damp wall hanging on blocking boards and block using blocking pins to hold in place and to neaten out any uneven edges. Let your wall hanging dry completely before unpinning.
Attaching To Dowel:
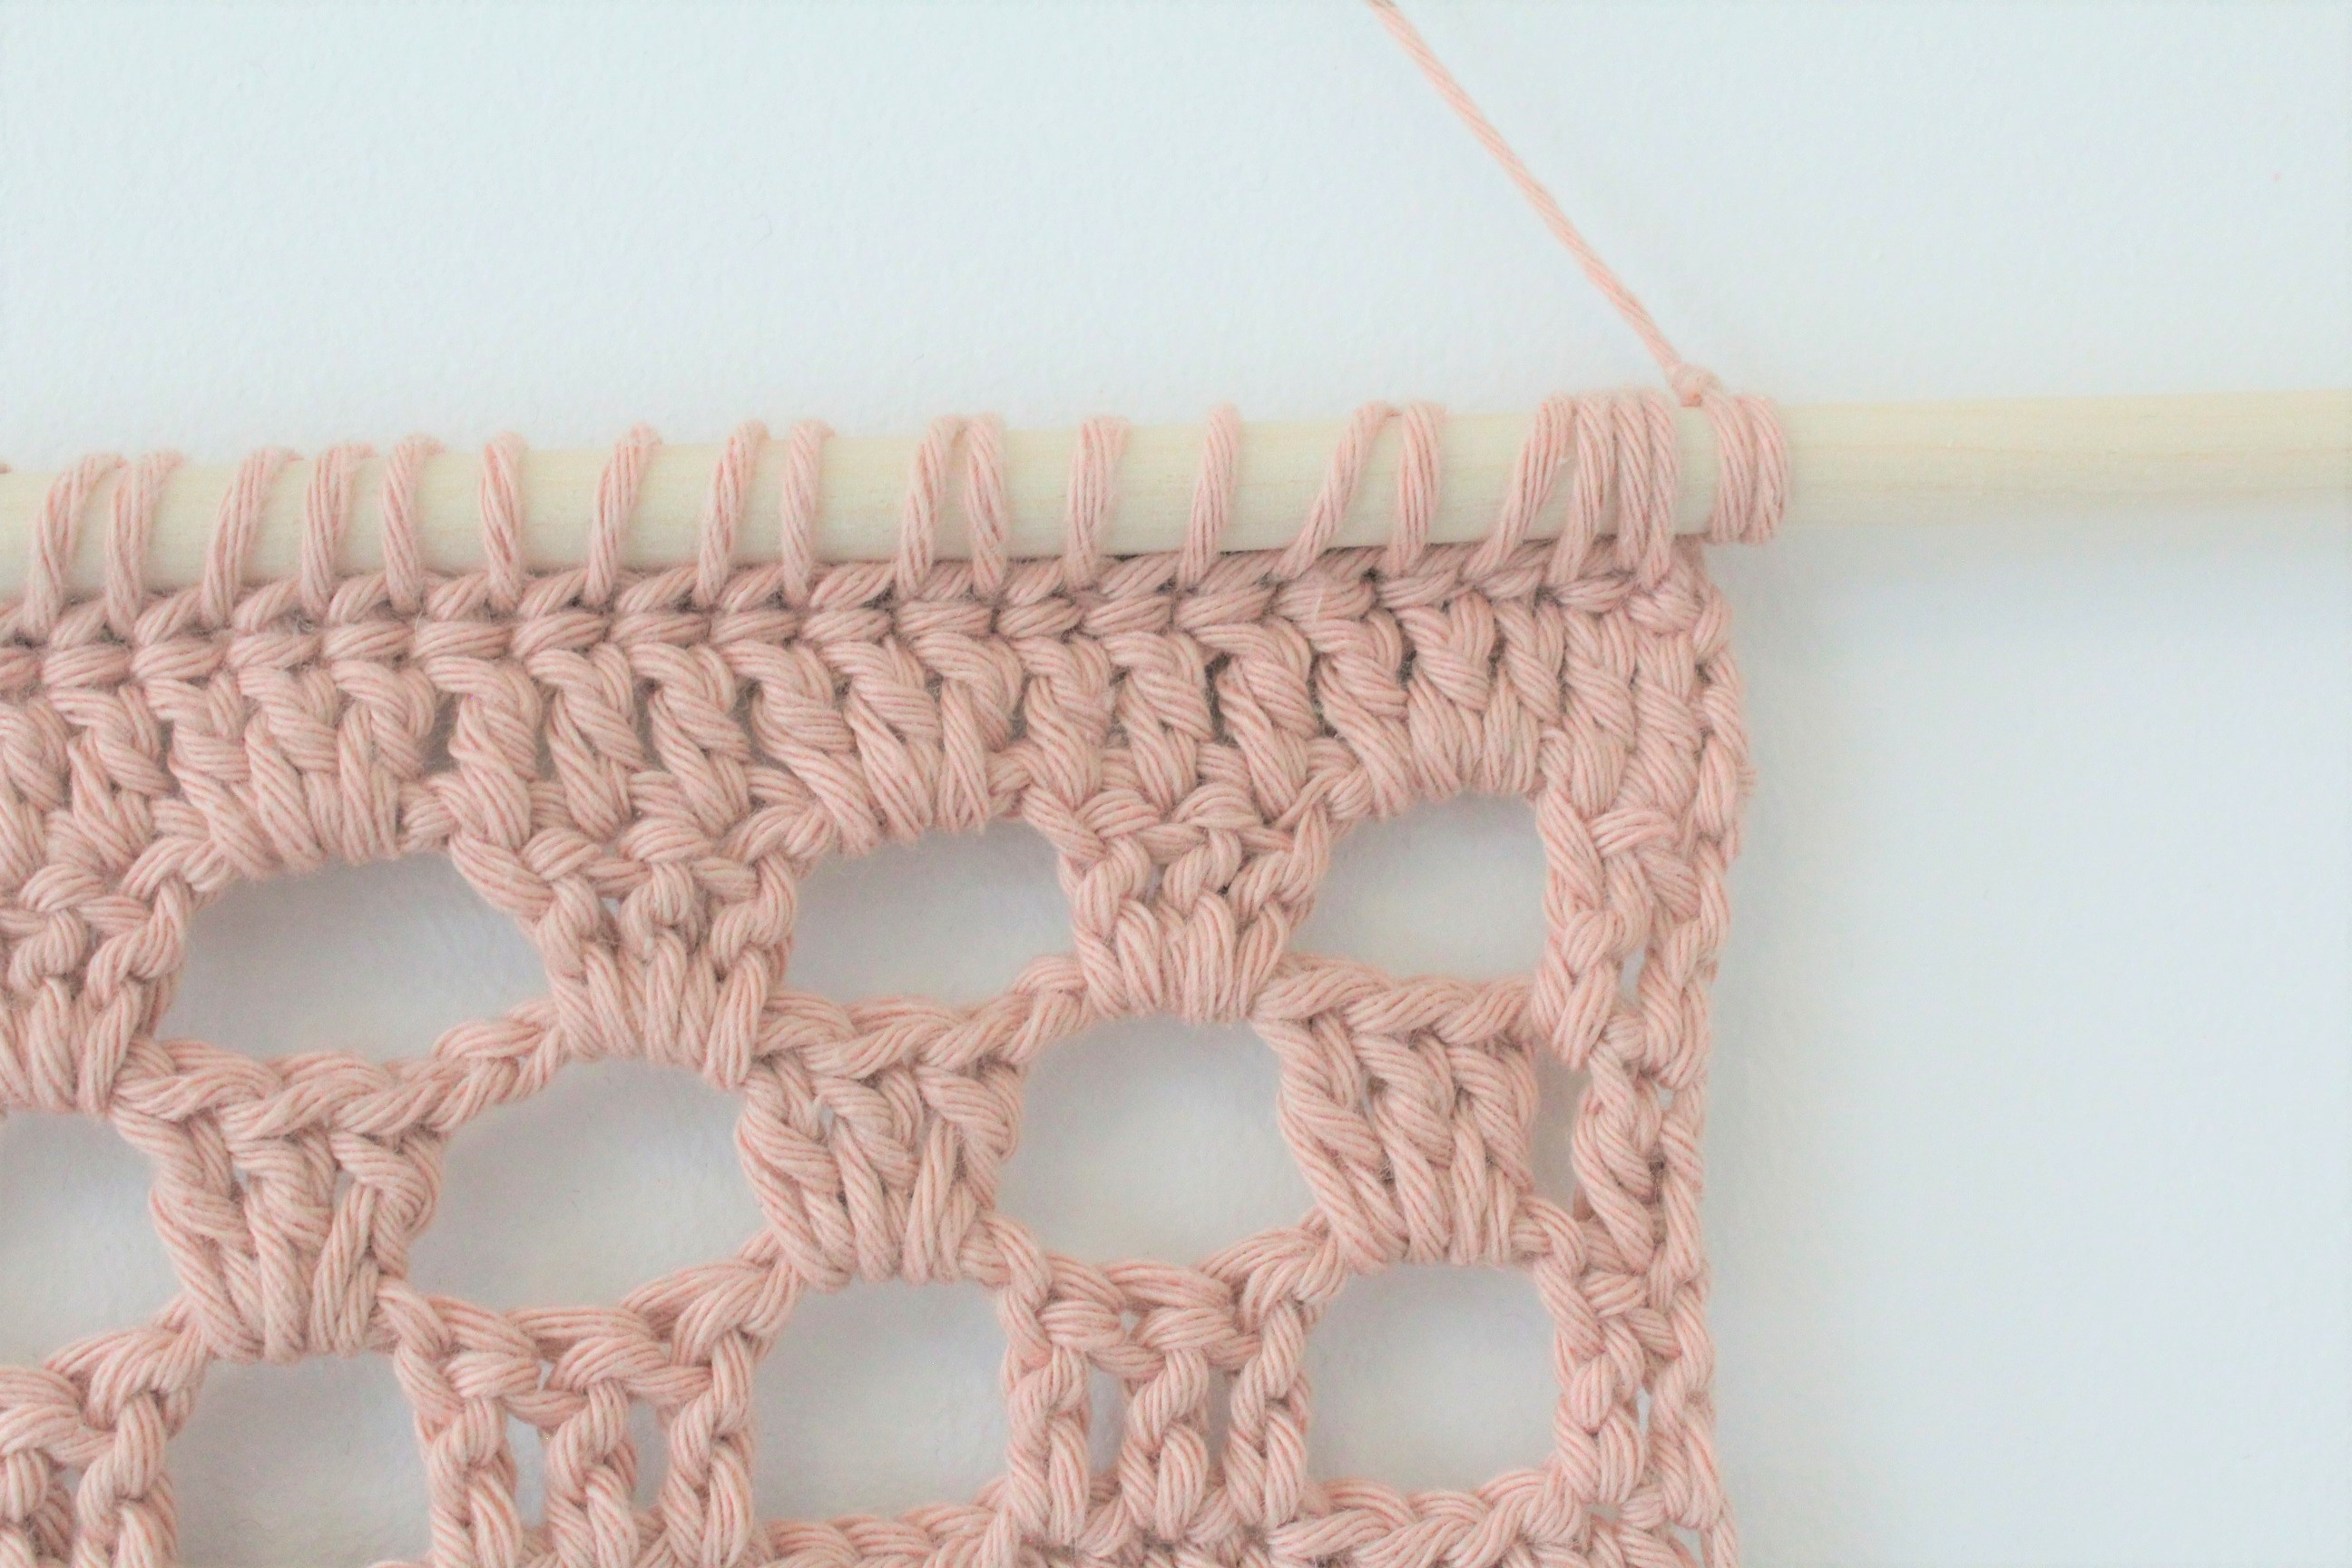
- Using the long tail you left earlier and a darning needle, wrap around wooden dowel and then back through the next stitch and repeat this all the way across so the wooden dowel will be completely attached to the wall hanging – picture below for reference – weave in ends.
- Once the dowel is completely attached to your wall hanging you will need to cut another long piece of yarn, this will be to attach to your wooden dowel so you can hang your wall hanging up – this can be whatever size you would prefer.
- Wrap the one end of your yarn over twice on one side of the dowel where the wall hanging starts and tie a knot
- Then wrap the other end of the yarn over twice on the other side of the dowel where the wall hanging ends and tie a knot leaving slack in the middle to hang up your wall hanging
- Trim any ends -you will be able to see on the picture above one of the knots
Terms of use:
For personal use only. Do not copy, share or sell the pattern in part or whole.
You may sell the finished item made using this pattern.