This post may contain affiliate links. Please see my full disclosure and privacy policy for details.
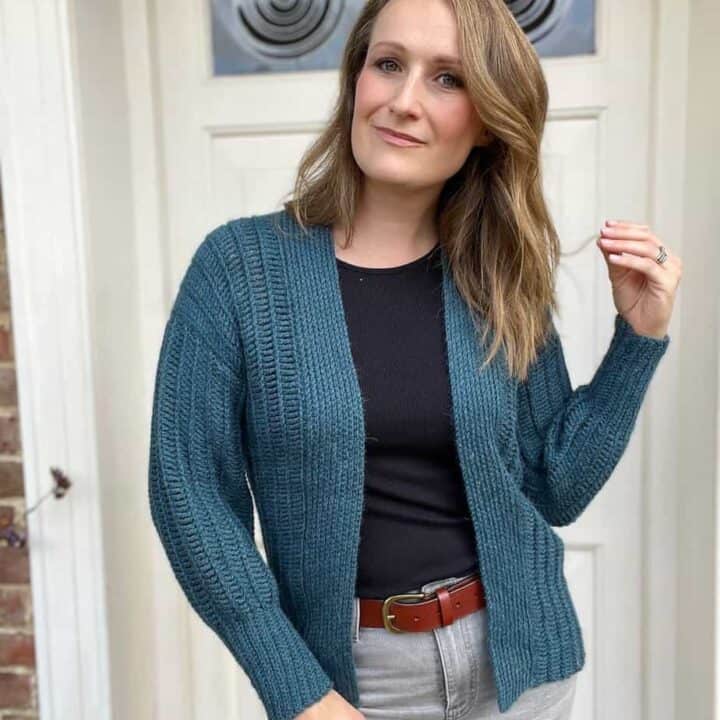
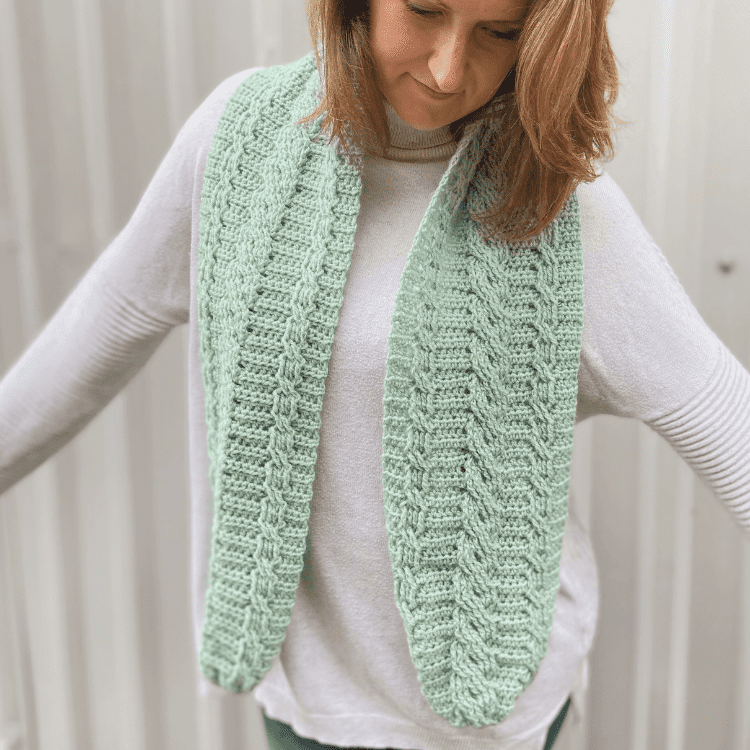
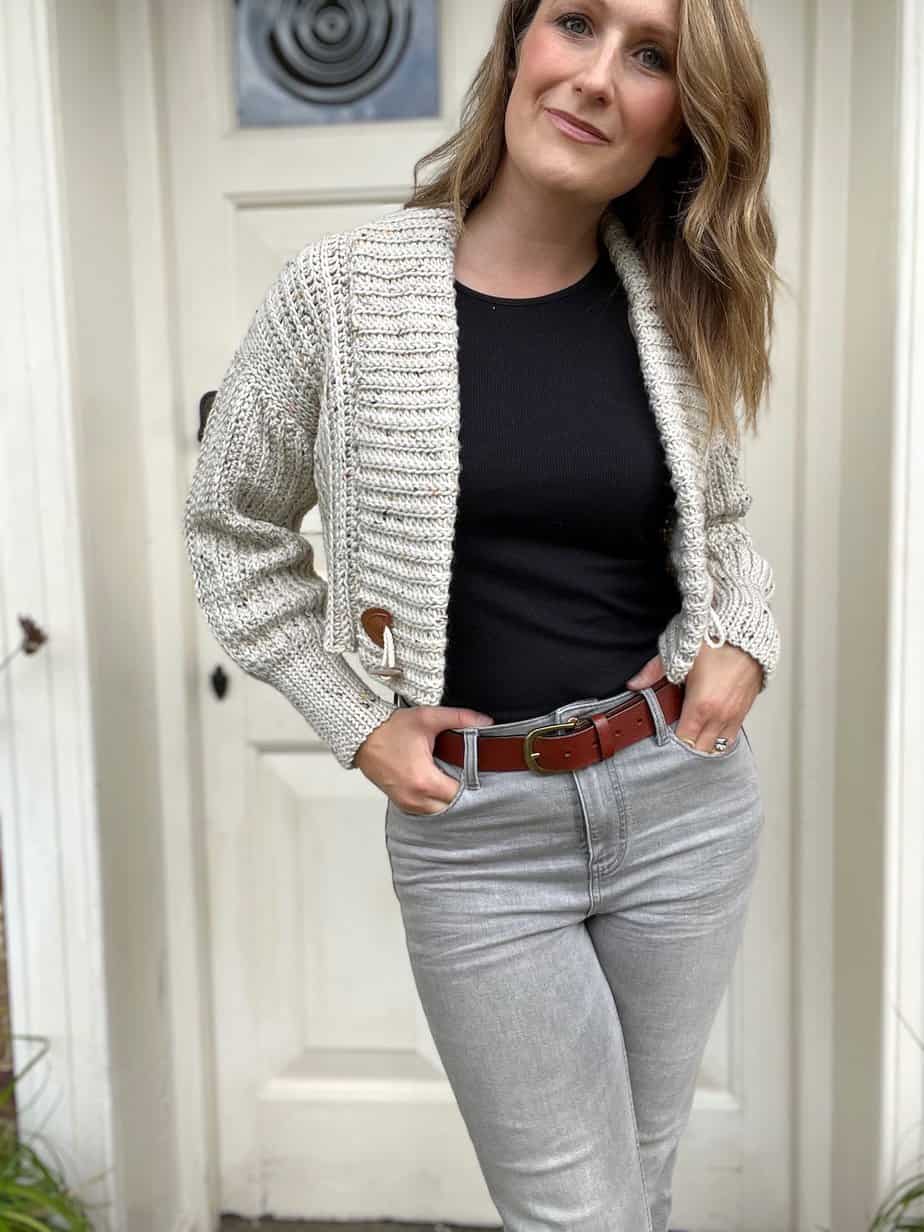
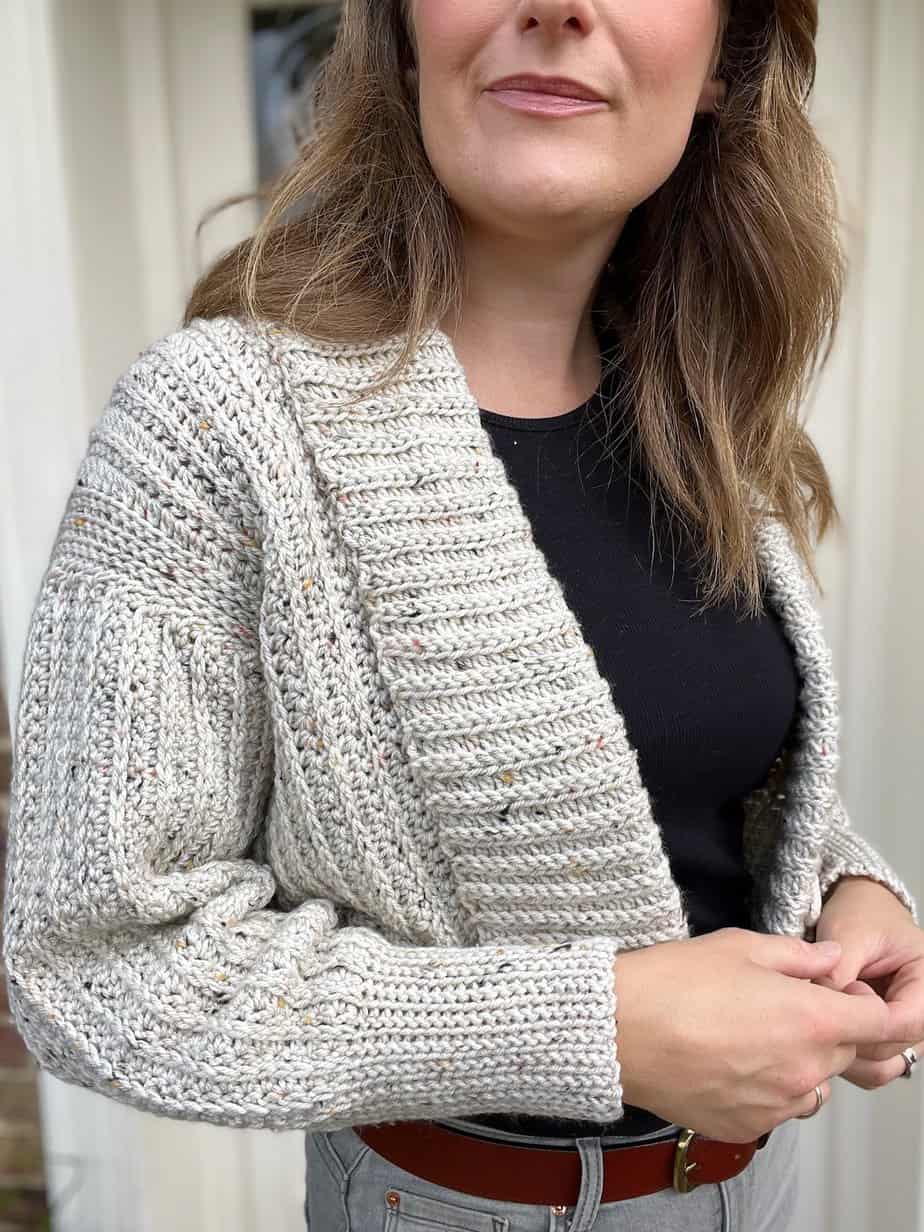
The Wetherby is an easy crop crochet cardigan pattern with options for a hip and duster length version in adult sizes XS to 5XL. If you’ve ever wanted to learn how to crochet a cardigan then this is for you – it’s perfect for beginners!
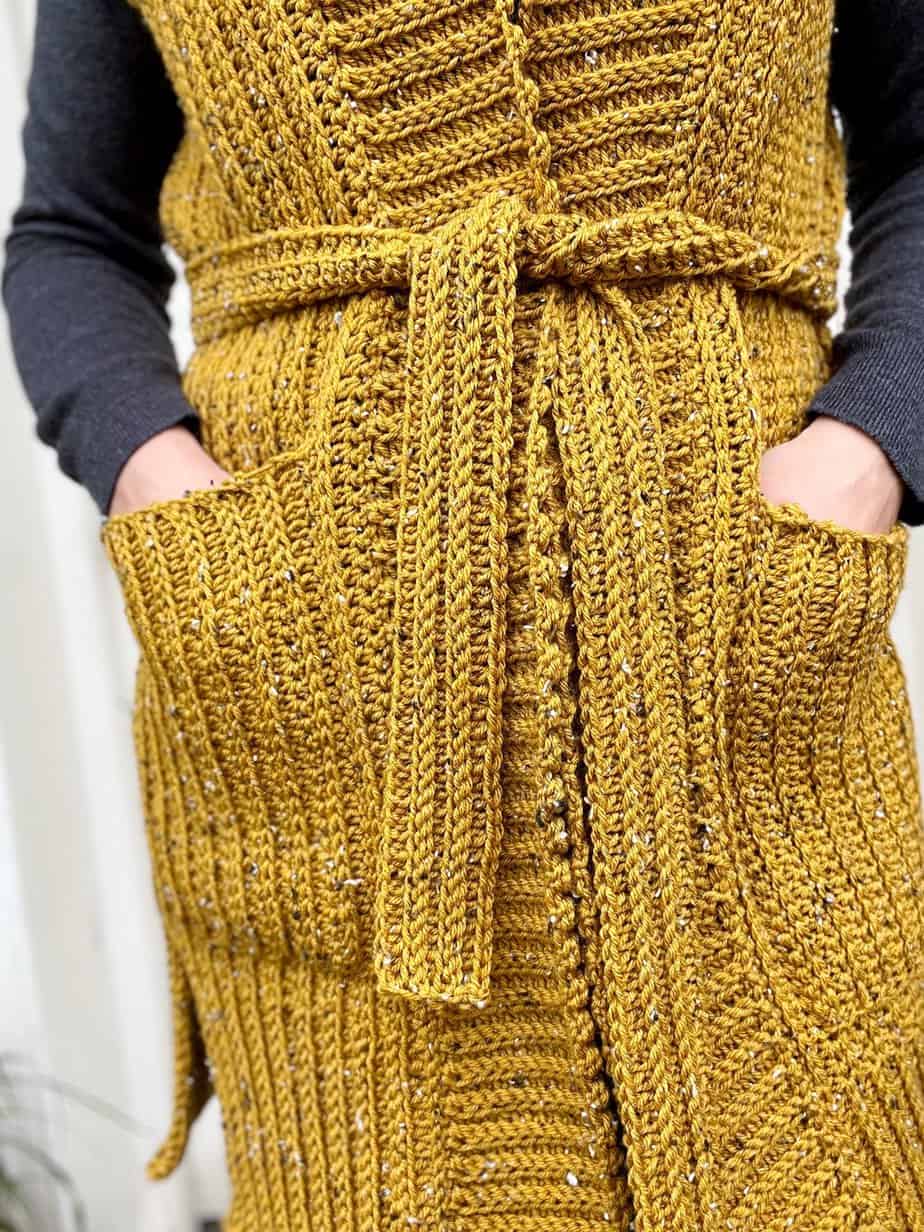
With a sophisticated and simple textured stitch pattern, you can add pockets and a belt and choose from a flat or rolled collar to complete your style.
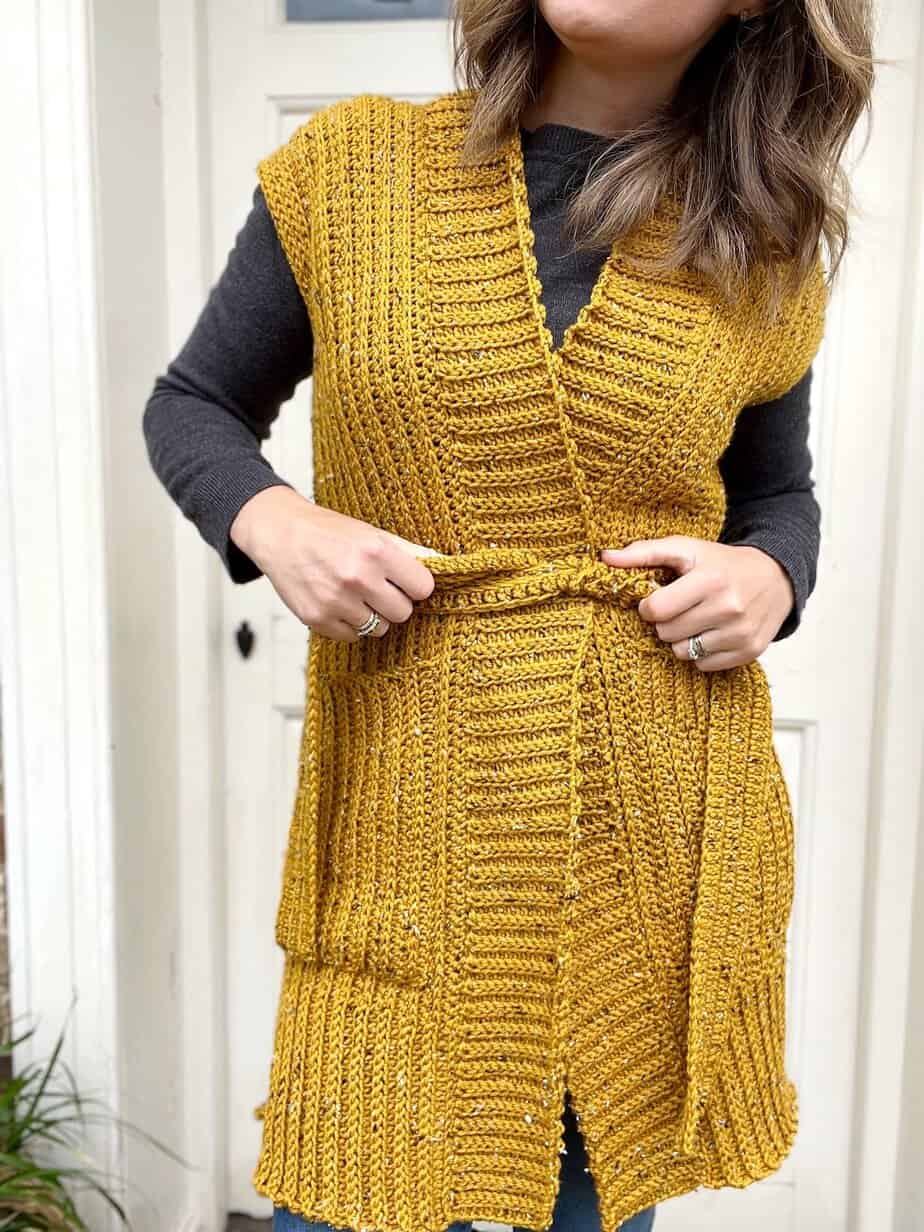
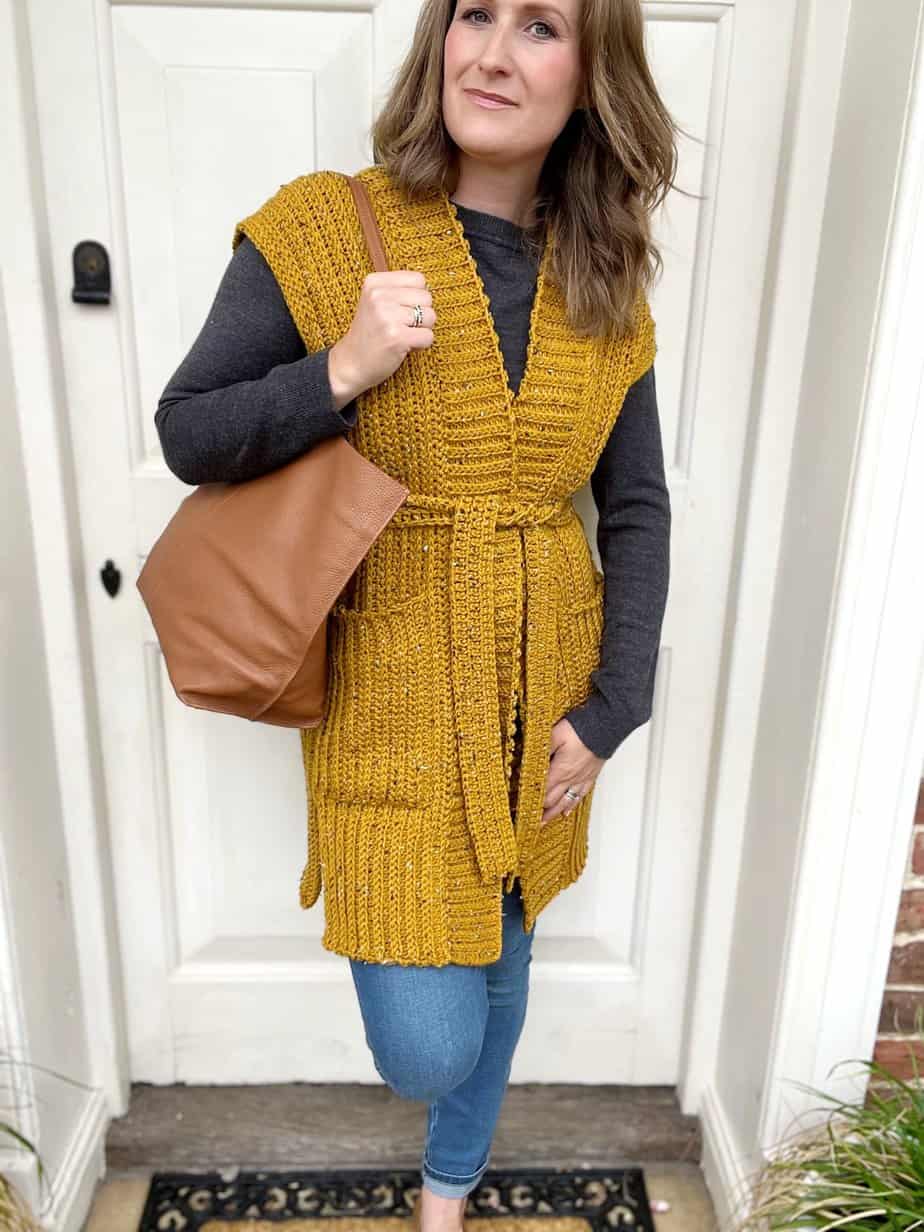
With an easy construction you can simply leave the sleeves off to make a vest version too. Truly a cardigan that you can make to suit you!
With a full video tutorial this is the perfect free crochet cardigan pattern for anyone that wants to crochet their own clothes but doesn’t know where to start.
Scroll down and sign in for the free cropped crochet cardigan pattern, or purchase an ad-free, printable PDF version with 270 versions including hip, duster length, optional belt, pockets and flat or rolled collar:
This post may contain affiliate links. Please see my full disclosure and privacy policy for details.
About this free crop crochet cardigan pattern
I adore designing simple, beginner crochet cardigan patterns. For me they are the garments that are the easiest to make, the most fun to customise and the best to wear!
I always get huge compliments on my crochet wearables but mostly for my cardi designs.
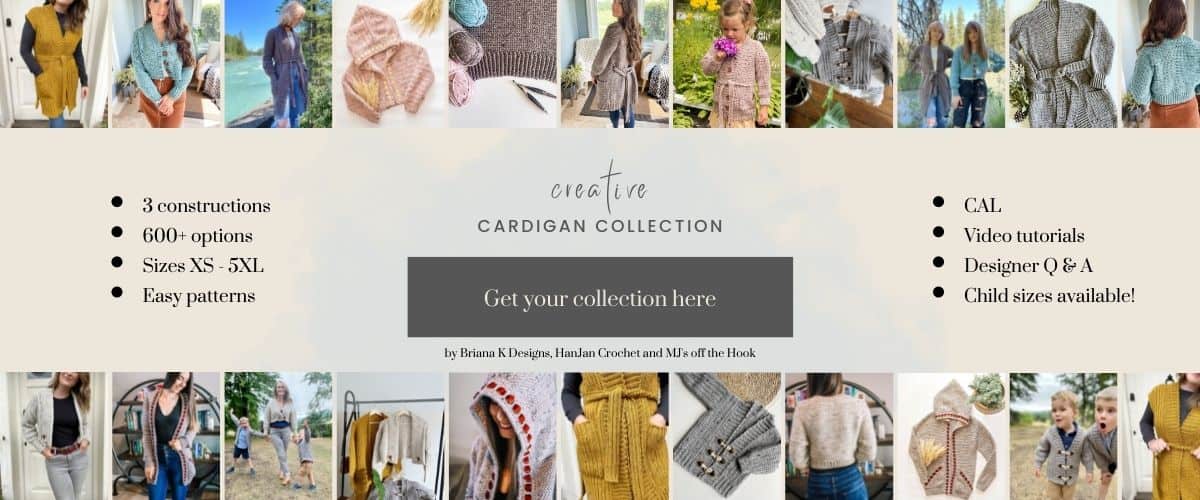
I’ve teamed up with 2 amazing designer friends of mine to offer you a collection of 3 easy crochet cardigan patterns to show you that you can make them too!
We’ve all designed them with beginners in mind, using different constructions and added as many options as possible to really give you the chance to adapt them to your style.
My Wetherby Cardigan is a really simple construction with the sleeves added afterwards making it super simple to make a sleeveless version too!
How do you crochet a short cardigan?
Short or cropped crochet cardigans are so trendy at the moment and I love it!
Whether you want it as short as a crochet shrug that just covers your shoulders or a little longer like mine that sits just above your waist as a bolero cardigan they are much easier to make than you might think.
The construction of the cardigan means that we simply work a shorter starting chain (this one is crocheted side to side so that the rows sit vertically on you).
The way that a cardigan is constructed will change how you make it into a short crochet cardigan but it’s completely doable with most designs!
I’ve crocheted the crop version in the video tutorial so perfect to work along with me 🙂
Crochet Cardigan Pattern Video Tutorial
If you’d like to follow a full video tutorial for the cardigan then you can find it here: Crochet crop cardigan video tutorial.
Yarn
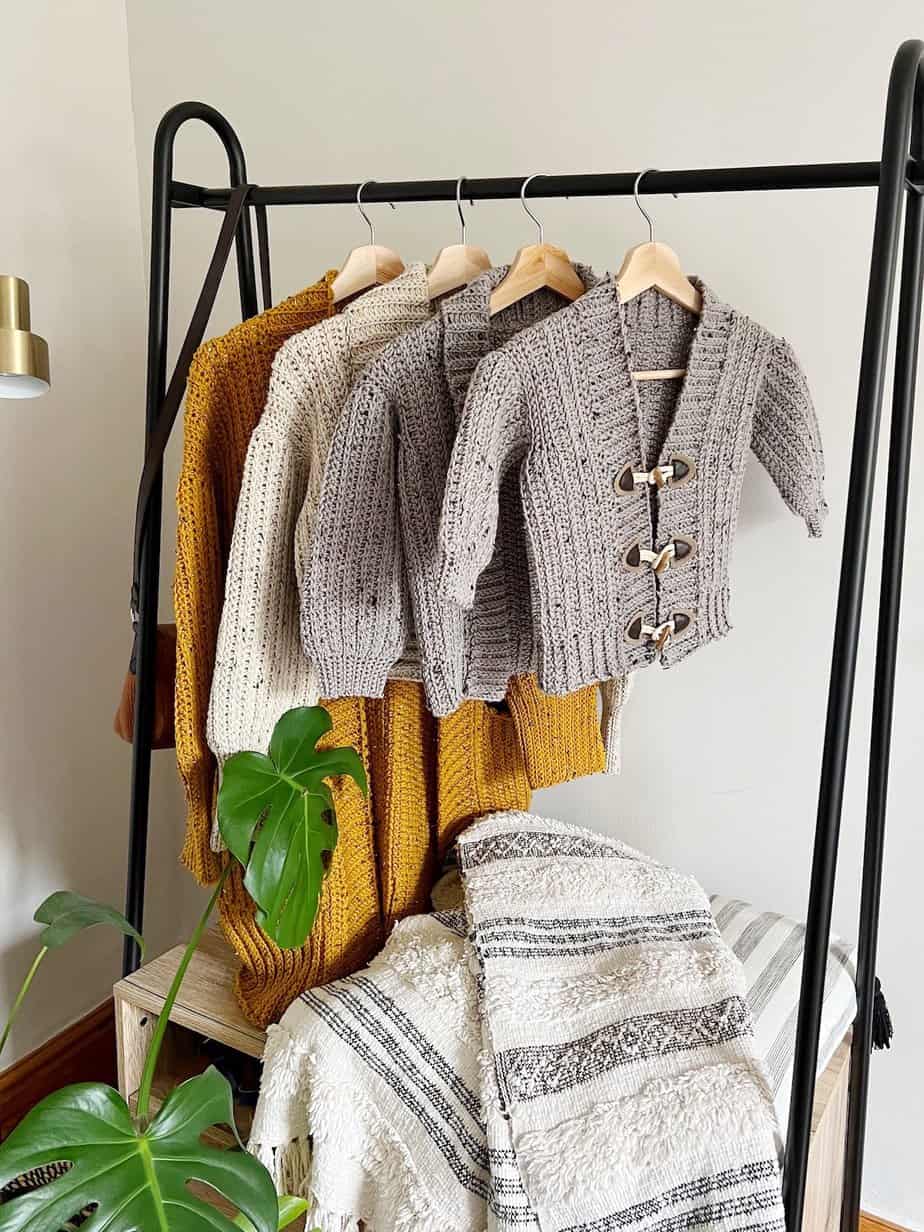
I made four versions of the Wetherby cardi pattern myself –
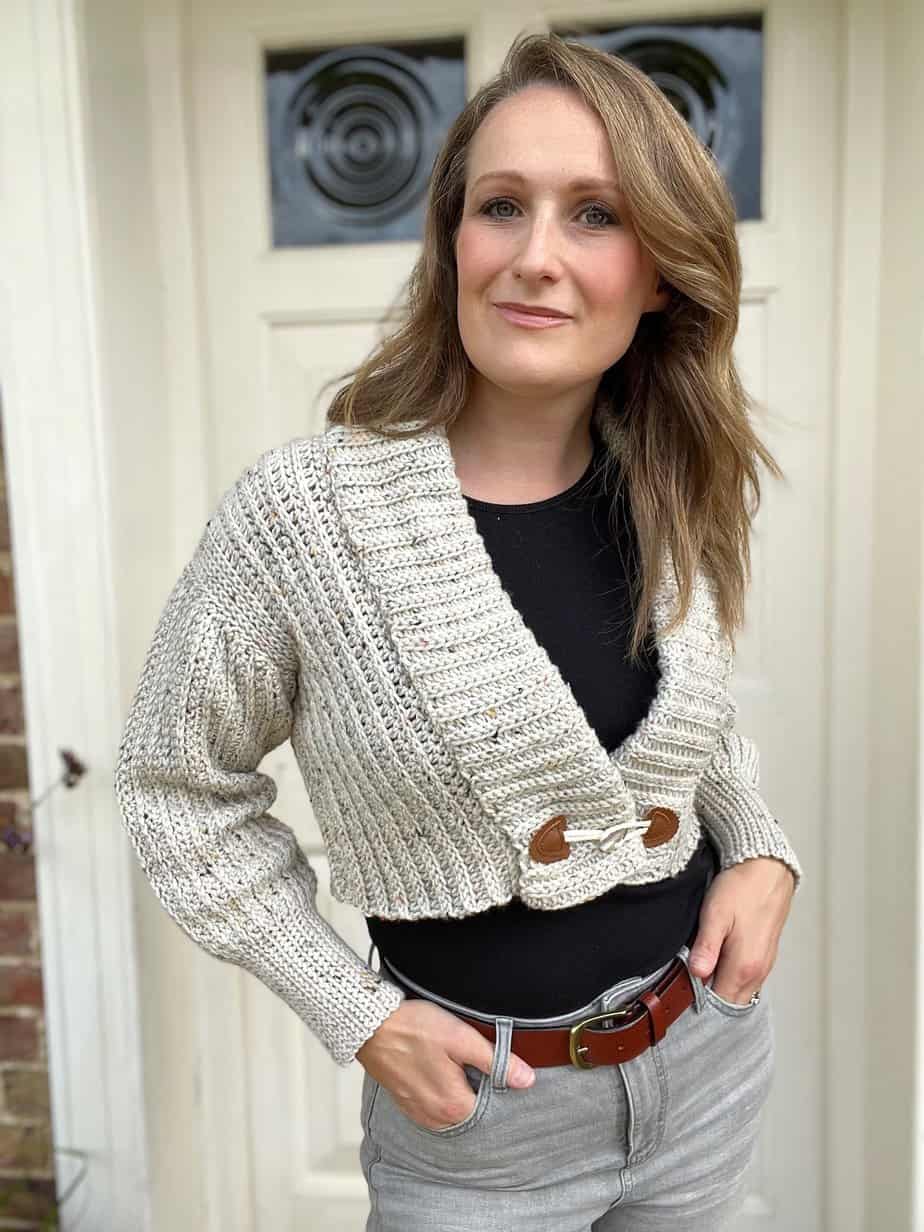
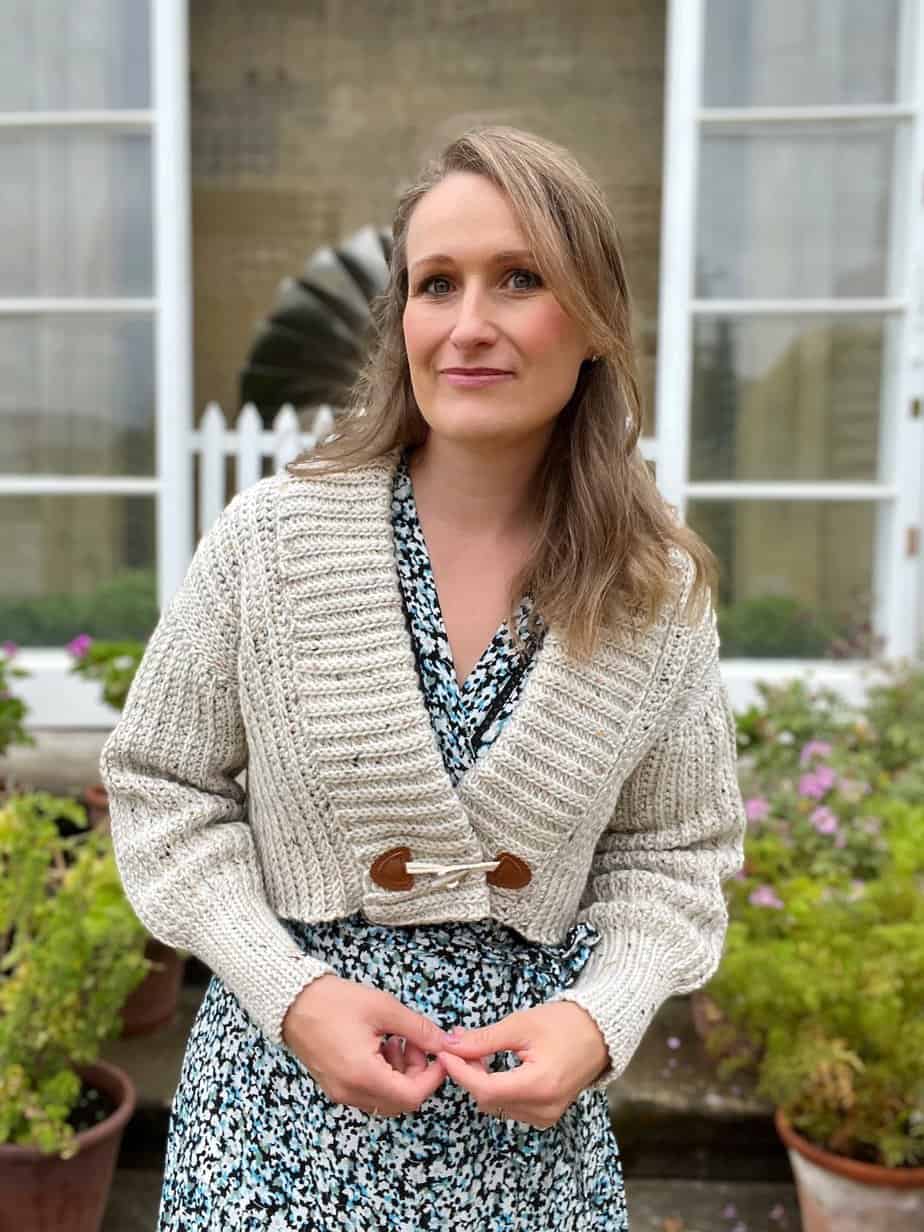
- a cropped one with a rolled collar and toggle fastening
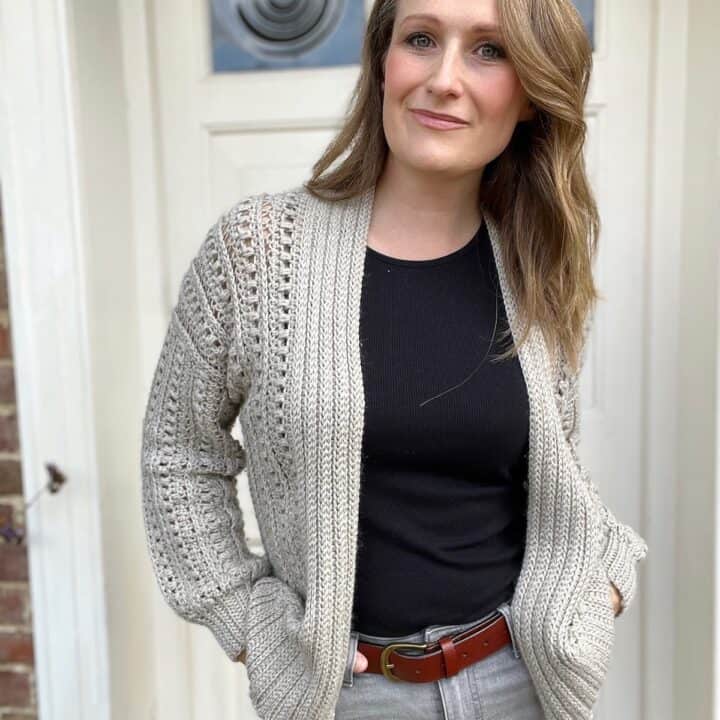
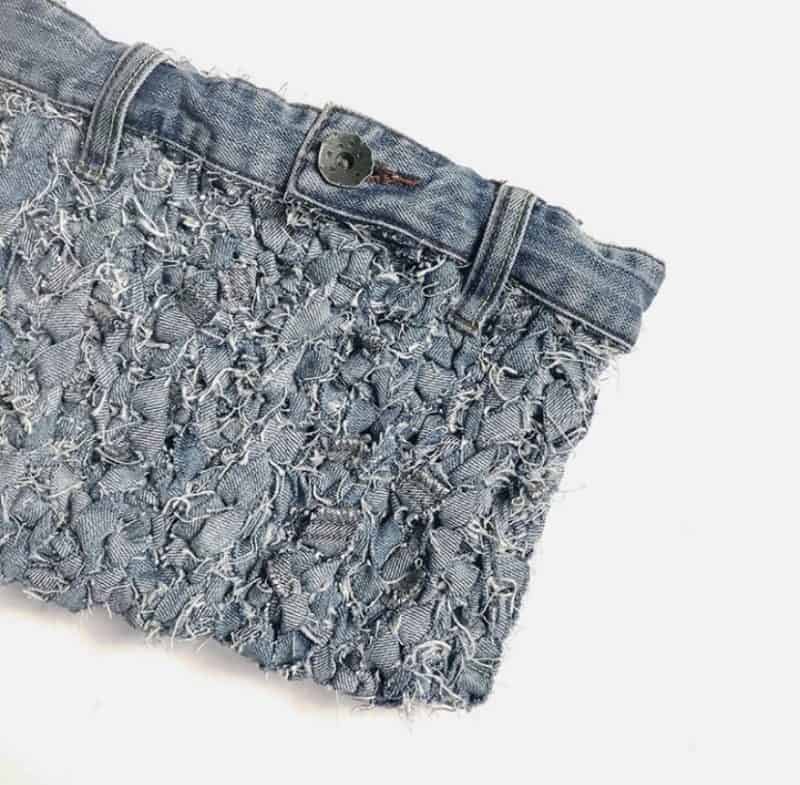
- a duster length one with a flat collar, pockets and tie
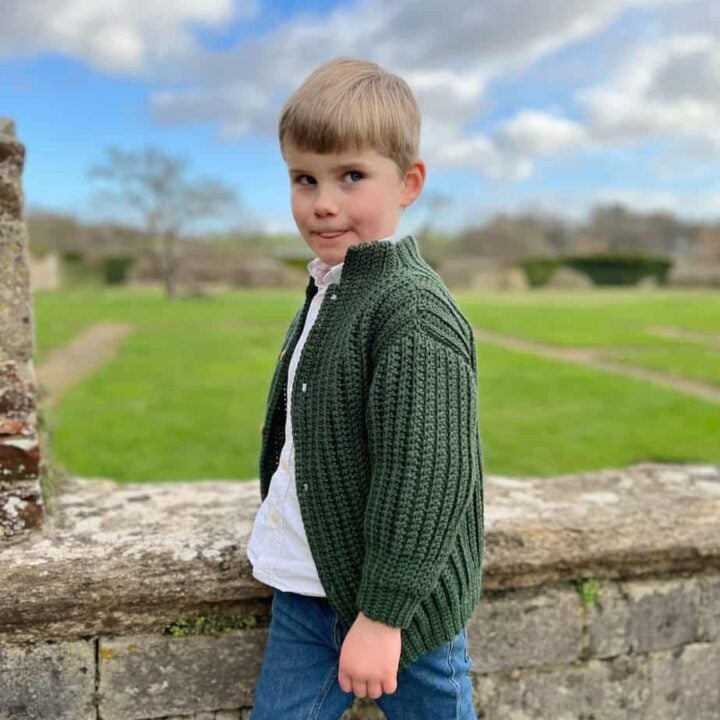
- a child one with a flat collar and toggle fastening
- a child one with a rolled collar and no fastening (you can find the child crochet cardigan pattern here)
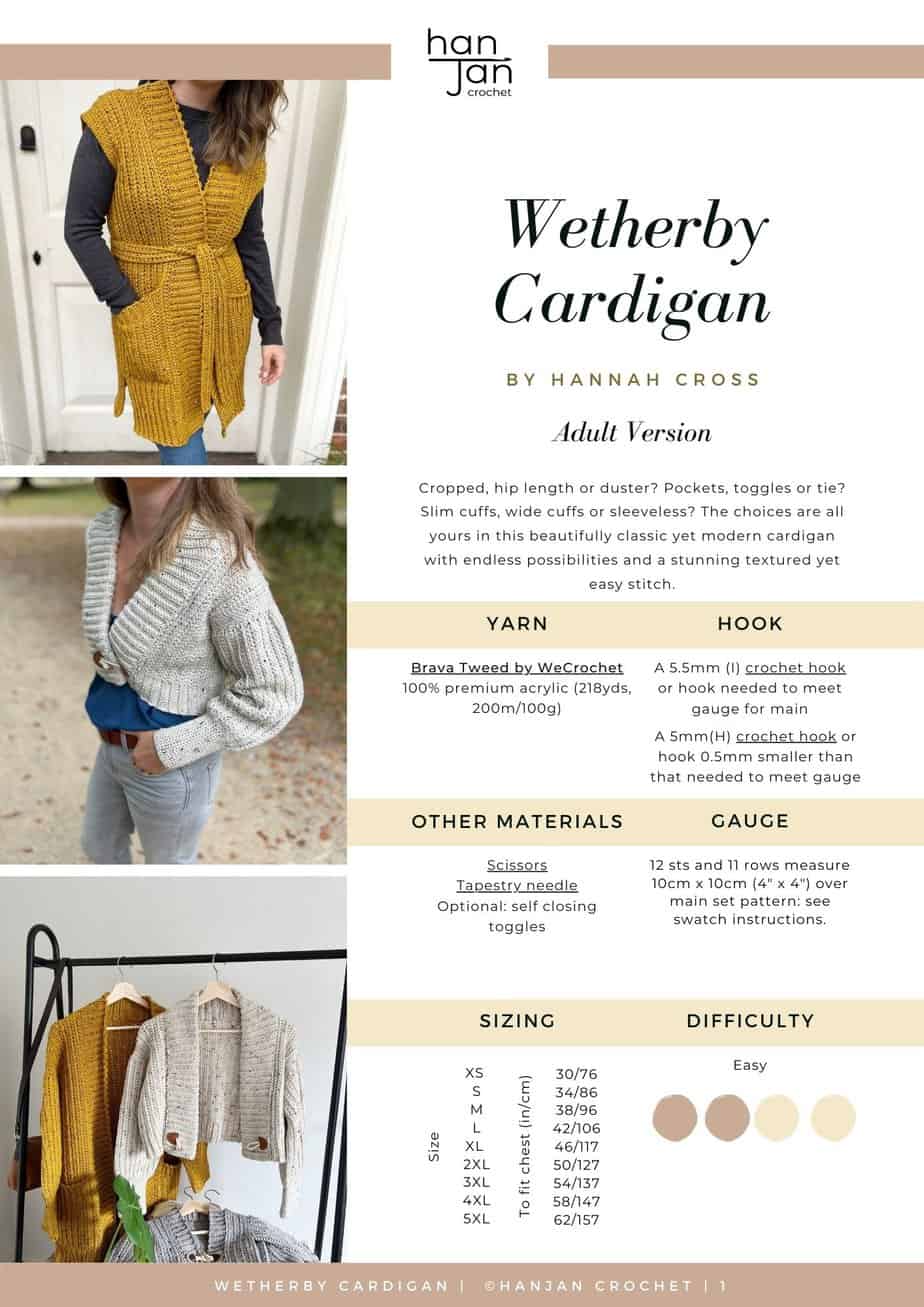
To make cardigans I used Brava Tweed by WeCrochet 100% premium acrylic (218yds, 200m/100g).
You will need for the following sizes: XS (S, M, L, XL) (2XL, 3XL, 4XL, 5XL) approximately:
875 (985, 1035, 1090, 1200) (1255, 1265, 1420, 1525) yards.
Details of the longer versions are included in the premium pattern PDF.
I often get asked about ideas for alternative yarns and I love swatching from my stash to see what works!
Here are some that I think would work really well for this crochet cardigan pattern in various price ranges:
- Lion Brand Heartland – 100% acrylic, 252yds, 230m/140g
- Sirdar Country Classic Worsted – 50% wool, 50% acrylic, 218yds, 200m/100g
- Swish Worsted by WeCrochet – 100% superwash merino wool, 110yds, 100m/50g
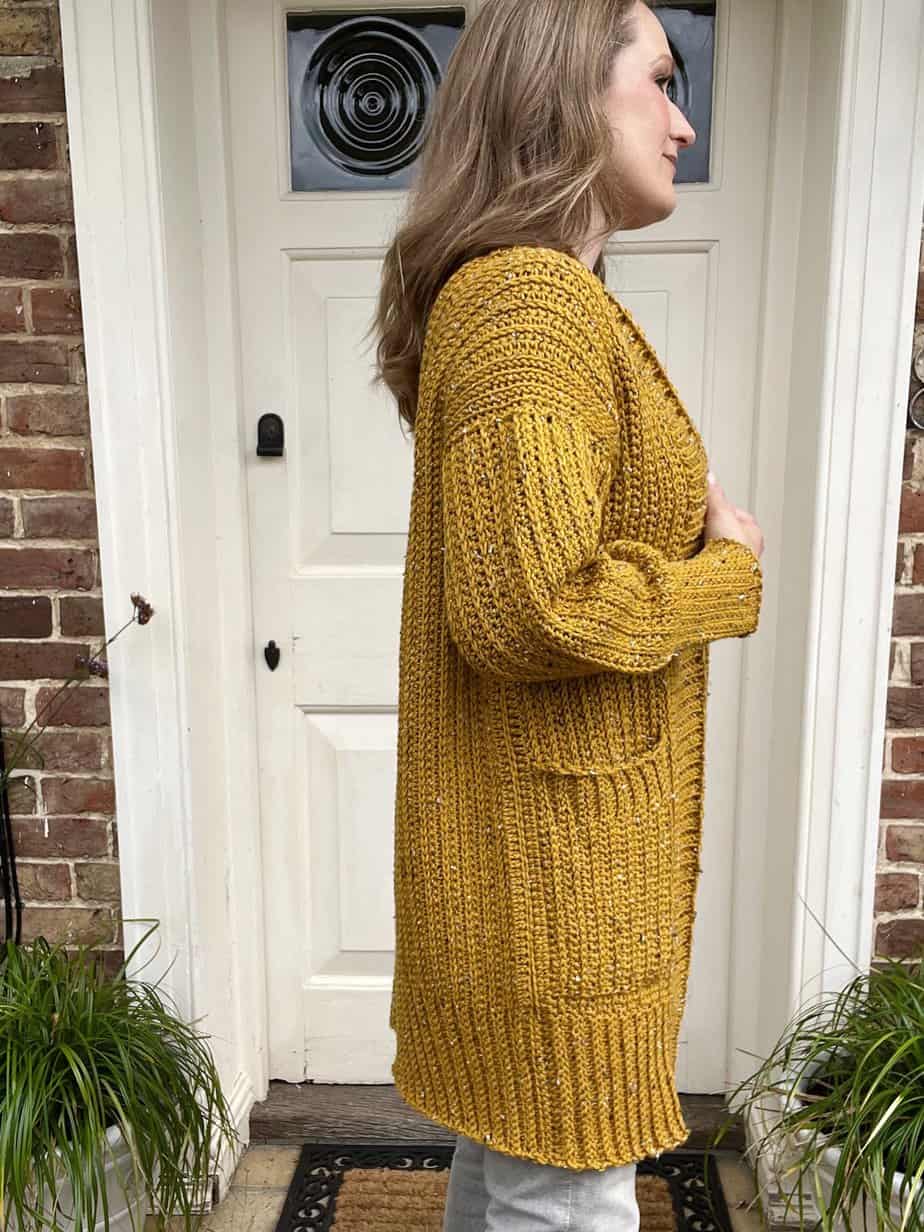
Here’s a picture of me wearing the sleeveless duster length cardigan with pockets and a belt – it looks so different don’t you think?! Exactly the same pattern though!
Tension and Sizing
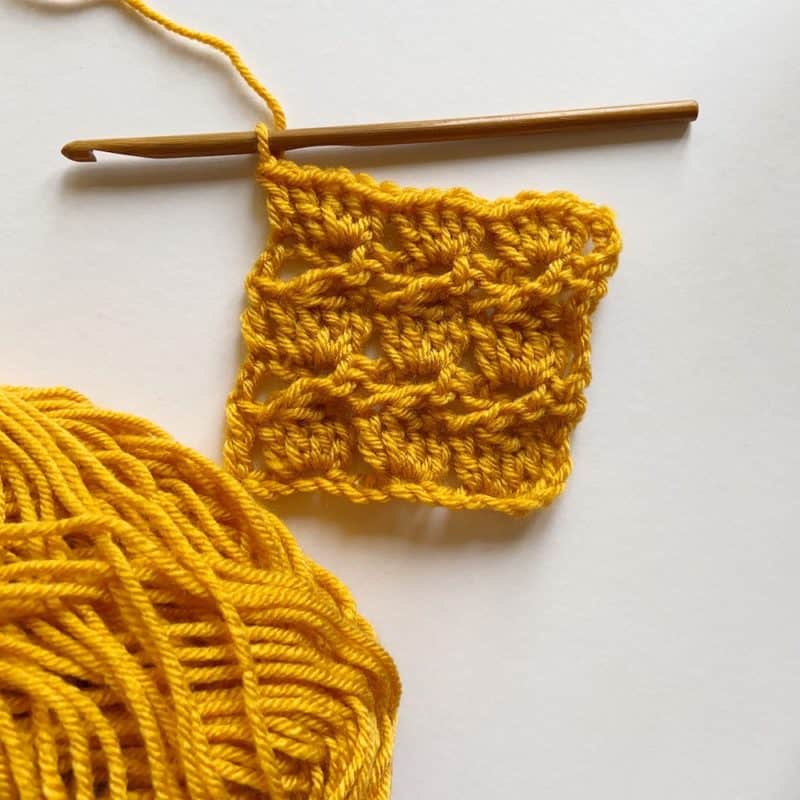
12 sts and 11 rows of Main Set Pattern = 4in by 4in / 10 cm x 10 cm using a 5.5mm hook, or size needed to obtain correct tension. (See Swatch info below for Main Set Pattern).
Ch25
Row 1: Exhdc in 2nd ch from hook and each across, turn. [24]
Row 2: ch1, sc in 3rd loop of each st across, turn.
Row 3: ch1, Exhdc in each st across, turn.
Repeat Rows 2 and 3 until your swatch measures approximately 6 inches before measuring a 4 inch by 4 inch section of the swatch.
The free crop crochet cardigan pattern is for sizes XS (S, M, L, XL) (2XL, 3XL, 4XL, 5XL)
To fit chest circumferences: 30 (34, 38, 42, 46) (50, 54, 58, 62) inches.
Cardigan Width: 17.5 (19.5, 21.75, 23.25, 25.5) (27.5, 29.75, 31.75, 34) inches.
Garment Circumference: 35 (39, 43.5 46.5, 51) (55, 59.5, 63.5, 68) inches.
Armhole Depth: 7 (7.5, 8, 8.5, 9) (9.5, 10, 10.5, 11) inches.
Crop Cardigan Length: 16 inches all sizes.
Sleeve Length: 18.75 inches all sizes.
Materials
Along with your yarn, you will need the following:
- A 5.5mm(I) crochet hook and 5mm(H)- my favourites are Furls Streamline Swirl crochet hooks or Clover Amour crochet hooks.
- Scissors
- Tapestry Needle
Pattern Options
Get this easy crochet cardigan pattern free in this blog post in US terms – just scroll down and login to the members area to find it! You can also purchase an ad-free, printable PDF with added extras in my pattern stores:
Purchase and Print
Get the ad-free, printable PDF with 270 versions of the cardigan available including longer lengths, pockets, belt and more!

Don’t forget to join HanJan Crochet to receive regular discount codes (and more free patterns!) and Pin this free short crochet cardigan pattern to your crochet Pinterest board!
Glossary and Abbreviations
ch(s) – chain(s)
sp – space
ss – slip stitch
RS – right side
WS – wrong side
sk – skip
rep – repeat
yoh – yarn over hook
blo – back loop only
flo – front loop only
Crochet Stitches
US crochet terminology
- sc – single crochet (UK dc – double crochet)
- hdc – half double crochet (UK htr – half treble crochet)
Special Stitches
3rd loop
Extra loop created on hdc or Exhdc from the yarn over. When working in rows this will be the first loop you come to when looking at the stitch.
Exhdc – Extended half double crochet (UK Exhtr)
Yoh, insert your hook, yoh and pull up a loop, yoh and pull through one loop, yoh and pull through remaining three loops.
Pattern Notes
If you’re new to crochet garment making please don’t worry! I have a fabulous guide on how to start your perfect crochet wardrobe and also learn garment making with 12 free crochet top patterns for different skill levels.
A ch1 at the beginning of a row does not count as st.
Turn at the end of every row.
Read through the entire pattern before beginning.
Before you start, go through the pattern and find the stitch and row counts that correspond to the size you are making (this will make your life much easier!).
Make sure that you are familiar with all of the stitches in the abbreviations list before you begin.
Instructions are given for the smallest size, with larger sizes in brackets ( ).
Stitch counts are given in [ ] at the end of each row. If no stitch count is given, then the count is the same as the previous row.
The pattern is written in standard US crochet terms.
Cardigan Construction
The Front and Back is made in one piece creating a ‘U’shape.
The sleeves are made separately and then sewn in place before seaming the sides.
The garment is made side to side with the rows sitting vertically when worn. Other examples of this construction are my Spofforth V Neck Sweater and my Chloe Tabard Top. It’s such a great way to make crochet garments!
The collar is added as follows in the second diagram:
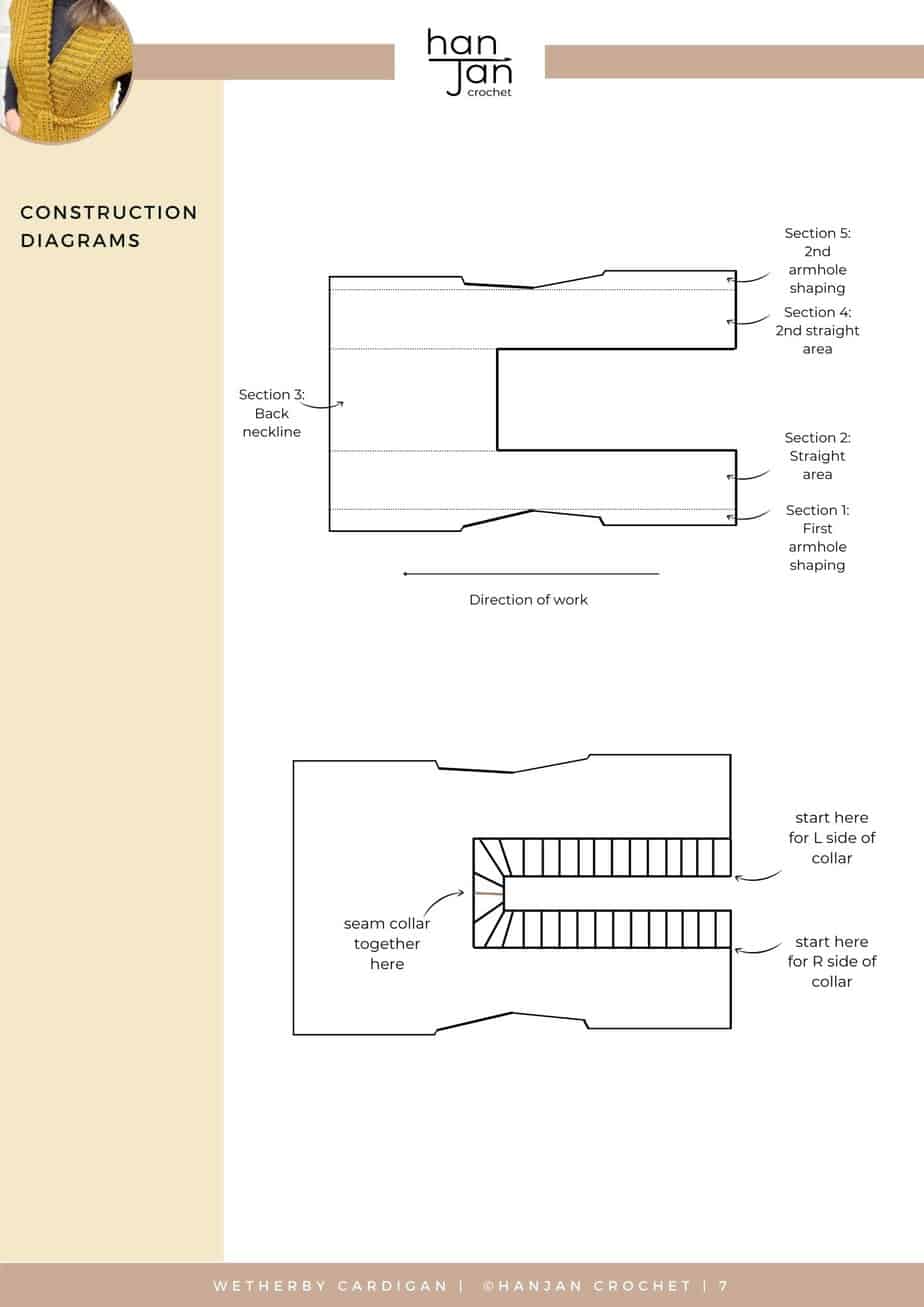
There are two options for the collar in the cardigan pattern – rolled or flat.
They are both worked in rows joining to the fronts and neckline as you go.
The rolled collar is worked with the WS facing the front of the cardigan so that when you roll it back you see the RS.
The flat collar is worked with the RS facing the front.
Learning to Crochet Garments
If you’re new to crochet garments and worried about all the sizing, seaming, gauge and other things that might seem really daunting, please don’t worry. I used to feel exactly the same! If you can make a blanket, then you can make this garment. I promise!
I’ve written all about my experience with learning to both make and design garments and you can learn about crochet garment making with 12 free summer top patterns.
I also had my lovely friend Fran (who is a really talented crochet garment pattern designer) write all about how to make perfect crochet garments which is a great read packed full of experience and tips!
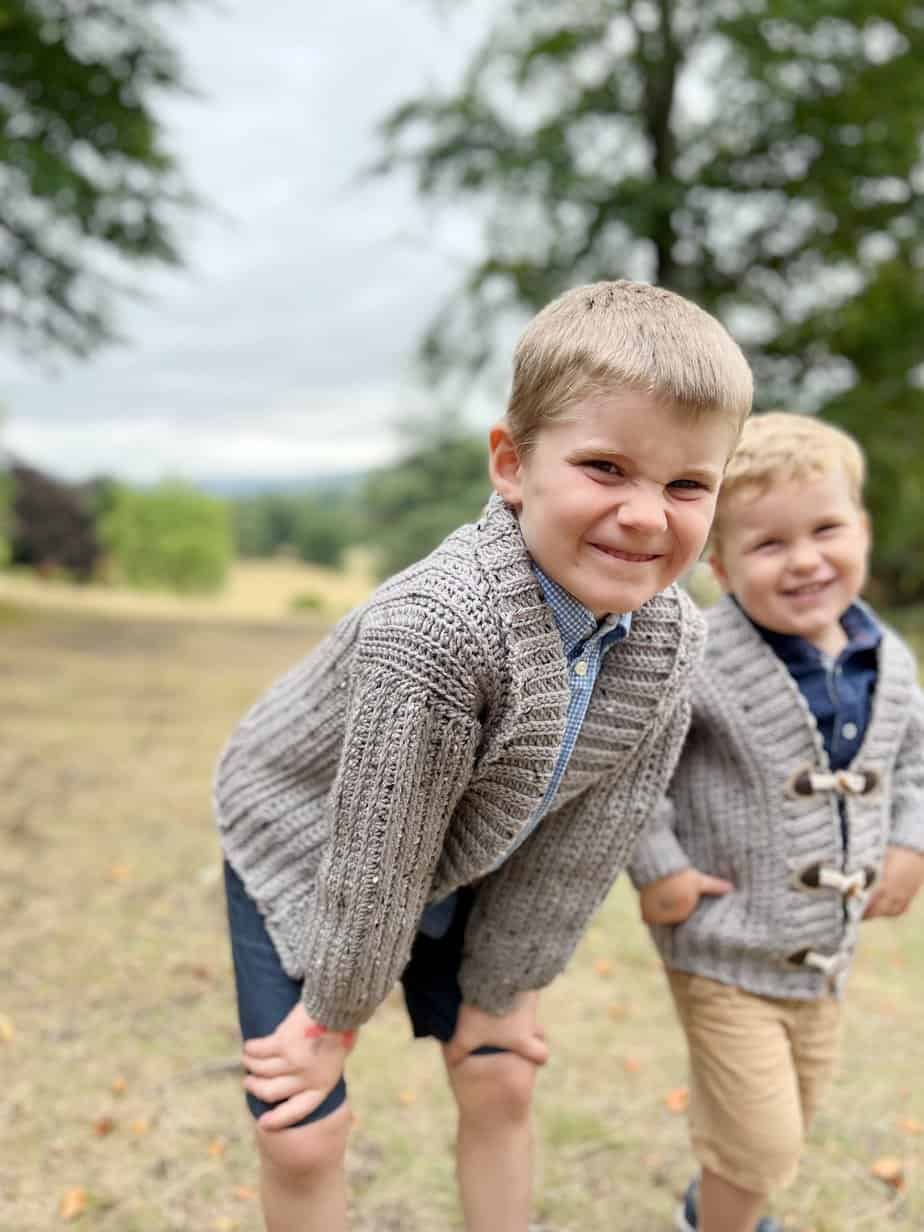
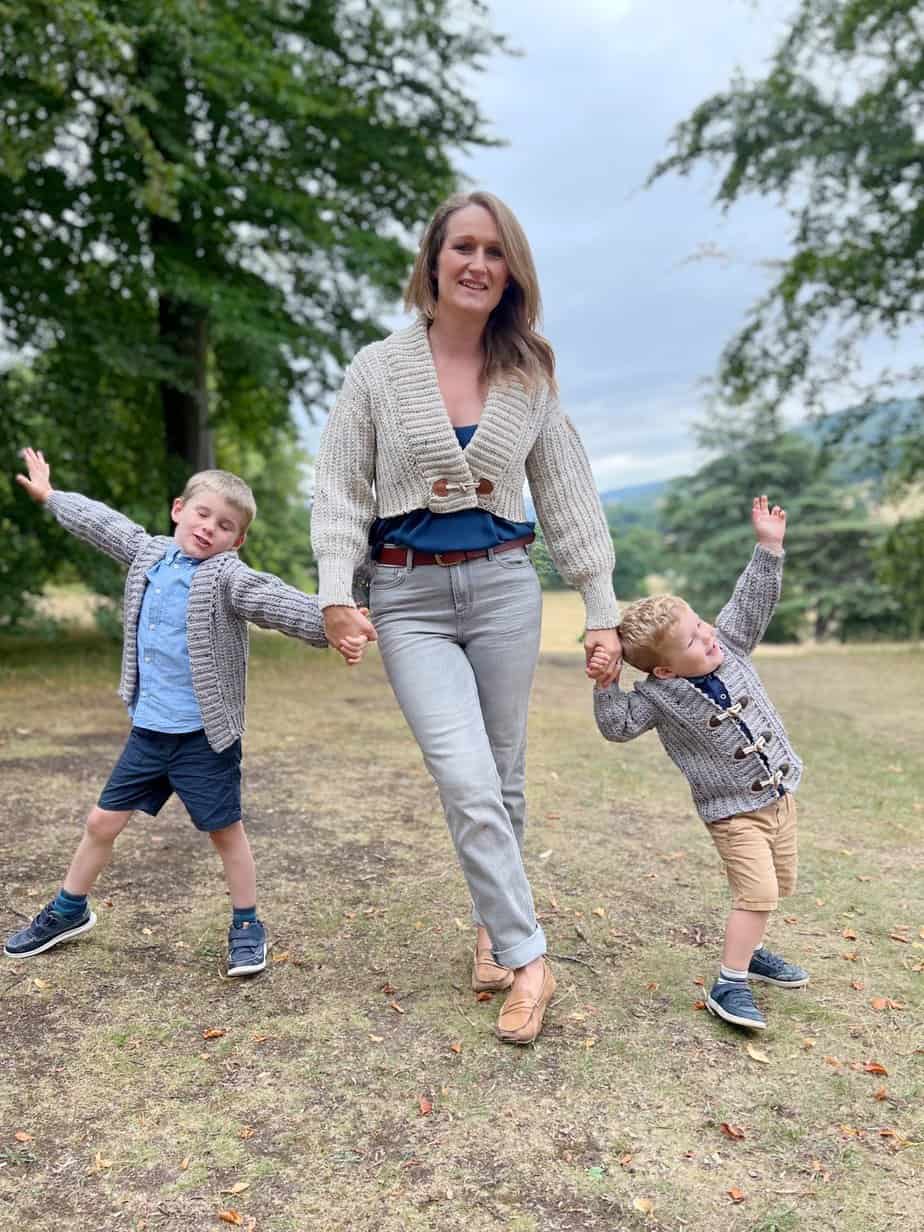
Here are my boys wearing the versions I made for them. You can get the Wetherby child crochet cardigan pattern on the blog or in my stores too. It has almost as many options as the adult one!
Crop Crochet Cardigan Pattern with Rolled Collar
To unlock Exclusive Content on the HanJan Crochet Blog, all you need to do is click the box below and the Grow.me app will pop up, allowing you to enter your email and create a password.
Once you’ve created an account, every time you see Exclusive Content on my blog (or any others that use Grow), simply login to your Grow account. Be sure to switch to the login screen to enter your login credentials.
If you forget your password, click the “forgot password” link and follow the prompts. Please note that I’m unable to assist with resetting Grow passwords or accessing your Grow account, so be sure to save your login information in a safe place.
Thank you for subscribing and for joining me at HanJan Crochet! I hope you enjoy the exclusive content available on the site and I can’t wait to see what you create 🙂
If you’d prefer to get a PDF copy to print and keep then you can get it on Etsy or on Ravelry as an individual pattern.
I hope you enjoyed this crop crochet cardigan pattern – I’ve loved sharing it with you!
Join HanJan and Share Your Crochet!
It’s an honour to be able to create and share my free crochet patterns with you. I’d love to stay connected and send you regular discount codes and free patterns! Please sign up for my subscriber list to get a free gift right now!
I look forward to seeing your finished crochet projects, especially this easy crochet pattern, so please share them with me in the HanJan Crochet Facebook group or on Instagram and tag #hanjancrochet.
Purchase, download and print
Get the ad-free, printable PDF with 270 versions of the cardigan available including longer lengths, pockets, belt and more!
More Crochet Cardigan Patterns You Might Enjoy
If you enjoy making crochet cardigan patterns as much as I do then here are a few more of my designs you might enjoy exploring!
Or if you’d like to explore some other designers too then you’ll love this collection of easy crochet cardigan patterns for beginners!