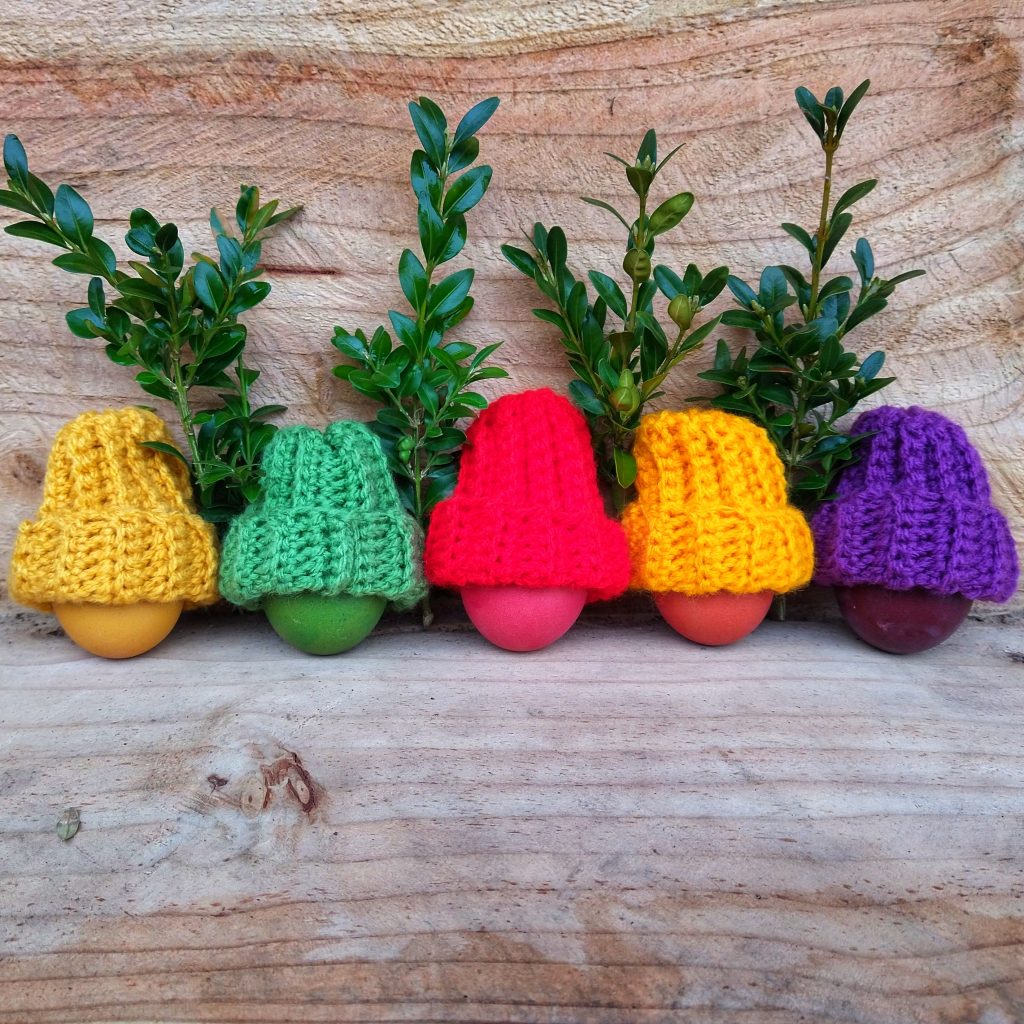
Make these super quick and simple mini hats to decorate your Easter table or… Christmas tree! (Read until the end!)


Last year Easter was really cold here. This year might be ever colder, as it will be end of March! Quite early.
Anyway, I though with pity of my Easter eggs, I didn’t want them to get cold! As I had some colorful yarn scraps handy, and recently released my Fisherman Beanie pattern, I was inspired and decided I’ll make something similar for my poor eggs.
I’m kidding, of course. Boiled eggs feel no cold, just the idea of them wearing tiny hat was too temping.
Purchase ad-free, printable PDF on Etsy HERE or on LoveCrafts HERE.
Add to your Ravelry queue HERE.
Pin it for later HERE.
So, the construction is very similar to Fisherman Beanie, just replace half double crochet with single crochet stitch and change numbers to make it much smaller. Instructions are for DK weight yarn, but any yarn from fingering to aran should be fine. Just check the numbers – I’ll tell you how!


Supplies
- US G-6 (4 mm) hook
- scissors
- tapestry needle
- optional: pom pom maker
- yarn: Yarnsmiths Create DK (100% acrylic, 290m/317yds in 100g/3.5oz)
For one hat you will need approx 7 g/0.25oz (20m/21yds), which means that:
- you can use up your scraps
- with just one skein, you can make up to 14 mini hats!


Finished Size (measured flat)
One size
length: 10 cm/4”
width (along bottom edge): 8 cm/3”
Thanks to elastic stitching, this size will be suitable for most chicken eggs. When needed, you can easily change both length and width, by following instructions given at the end of the pattern.
Purchase ad-free, printable PDF on Etsy HERE or on LoveCrafts HERE.
Add to your Ravelry queue HERE.
Pin it for later HERE.
Abbreviations (in US terms)
blo – back loop only
ch – chain
rep – repeat
sc – single crochet
sl st – slip stitch
st/s – stitch/es

Notes
- Hat is crocheted in rows, using sc and sl st, worked in back loop only.
- In each row work 16sc and 4sl sts in given order, 20 sts total. Turning chain DO NOT count as stitch.
- After completing given number of rows, form a narrowing tube, joining the last row to foundation chain.
- To finish, close the tube on the narrow end and fold the bottom edge up.
PATTERN
Before you start, leave unworked piece of yarn (5cm/2″), we will need it later. Next: ch21.
Row 1: Sc in 2nd ch from hook, sc in 15 next sts, sl st in final 4 sts. Turn. (20 sts here and throughout)
Row 2: Ch1, 4 sl sts blo, 16 sc blo. Turn.
Row 3: Ch1, 16 sc blo, 4 sl st blo. Turn.
Rows 4-23: Rep Row 2 and 3.
Row 24: Rep Row 2.


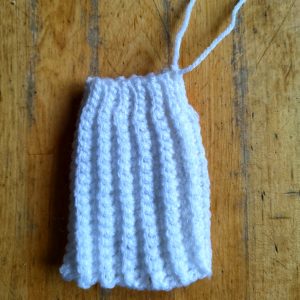
We get a trapezoid shape:
Fold in half, along foundation chain.

Row 25, close the tube: Ch1, 16 sc, worked in TWO layers: back loop of Row 24 and in foundation chain. Next: 4 sl st in the same manner.
Next, fasten off, leaving a tail.
Using tapestry needle, weave the yarn tail around the top hole.


Next, pull yarn tight, to close the hole. Tie it tight, using the piece of yarn that was left before we started foundation chain (see beginning of pattern).
Purchase ad-free, printable PDF on Etsy HERE or on LoveCrafts HERE.
Add to your Ravelry queue HERE.
Pin it for later HERE.
Using tapestry needle, weave in all ends.
Turn the beanie inside out and fold the bottom edge up (or not – to your liking).


- DIFFERENT YARN
You can use different yarn, than proposed in the pattern. Thinner yarn will result in more delicate hat, thicker yarn will make the beanie more chunky. In any case, I suggest to make the foundation chain to measure about 11 cm/4.5” long, it should fit most eggs. Next, adjust width by wrapping around egg, while working, as described above, add or remove rows.


Now: how about adding a pom pom and hanging mini hats on Christmas tree in just a few months? They are doll-size, I’m sure you’ll find more uses for them. Share you ideas and tag me @pukapukapl on Instagram so that I can see your makes and for a chance to be featured!


If you like the idea of decorating your Christmas tree with crochet ornaments, have a look at my Scrappy Stars free pattern HERE.


I’ve worked hard to make the pattern accurate and the instructions clear. However, in case you have any trouble with this pattern or you find a mistake, do not hesitate to contact me: pukapukapl@yahoo.com.
I will do my best to reply asap.

