Waiting for Spring Plant Hanger
Do your plants need some style? Do they want to strut their sexy, luscious leaves and flex their stems at the outdoor plants on the other side of the window? I would if I was a plant!
I use a size K (6.50MM) hook, Red Heart Super Saver Yarn, and a yarn needle to sew the project together and help me weave in the ends.
* To change colors, fasten off with previous color and join with a sl st in the same space that you previously fastened off.
* I usually weave in the ends as I go along so that I’m not overwhelmed at the end of the project.
*Make sure the yarn you use is strong enough to hold the plant securely when you add dirt to the plant. I wouldn’t try to hang anything really heavy with a yarn hanger. Just little house plants.
Squares:
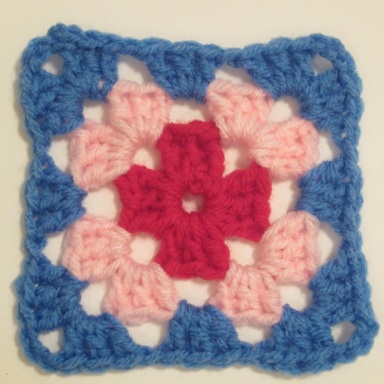
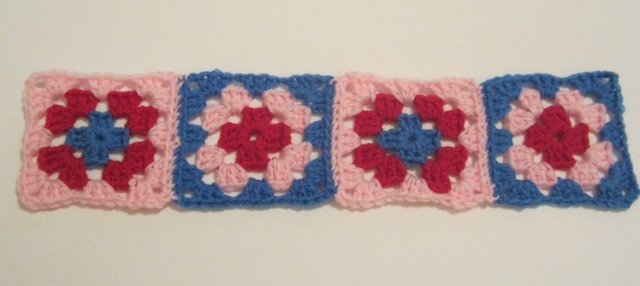
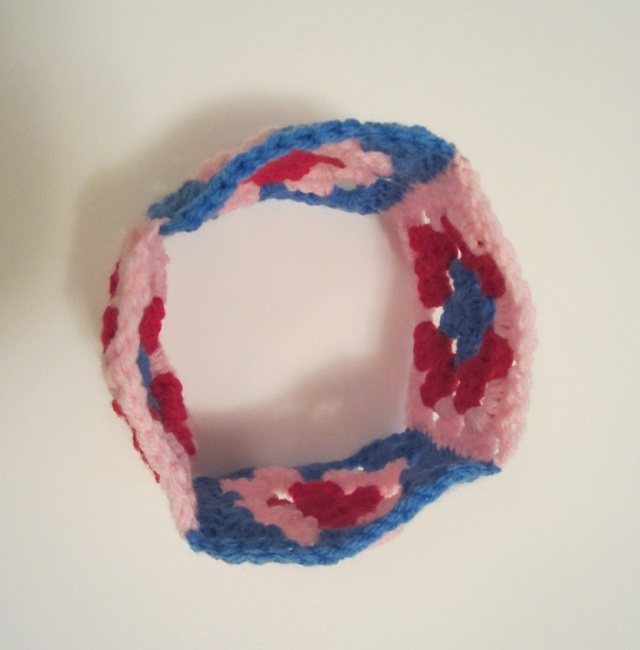
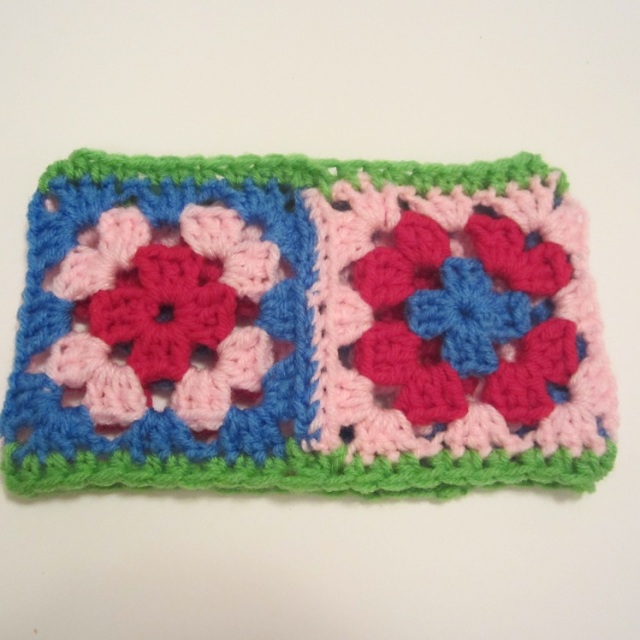
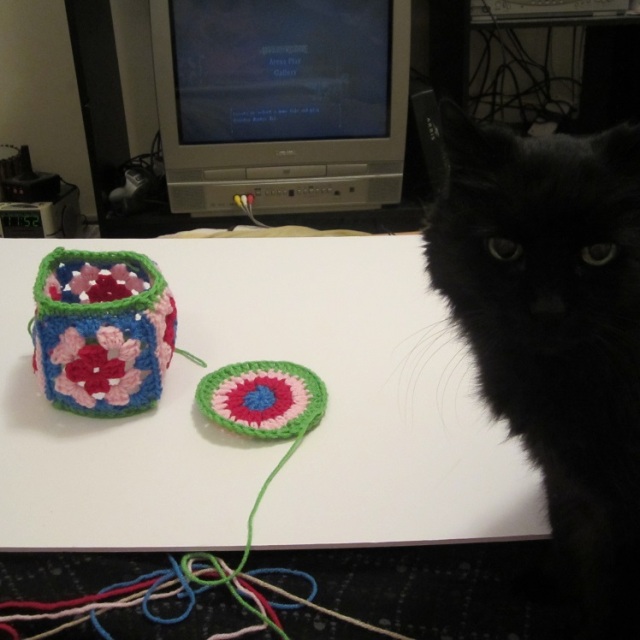
The squares are simple granny squares. You’ll want to start with the first round or two and then keep working outwards in the same pattern until the square is as tall as you want your plant hanger. Then make as many squares as needed to circle your plant pot when you sew them together.
Rnd 1: Ch 6, jn with a sl st in first ch to form a ring. Ch 2, (counts as first dc), 2 dc in circle, ch 3, (3dc, ch 3) three times, and then join with a sl st in first dc.
(12 dc and 4 ch-3 corner spaces)
Rnd 2: If using the same color, sl st to the nearest ch-3 space. If using different color, join with a sl st in any ch-3 space. Ch 2, (2dc, ch 3, 3dc), ch 1. (3dc, ch 3, 3dc, ch 1) in each of the ch-3 spaces around. Jn with a sl st in first dc.
(24 dc, 4 ch-1 spaces, 4 ch-3 spaces)
Rnd 3: If using the same color, sl st to the nearest ch-3 space. If using different color, join with a sl st in any ch-3 space. Ch 2, (counts as first dc), (2dc, ch 3, 3dc, ch 1) in corner. (3dc, ch 1) in ch-1 space. *(3dc, ch 3, 3dc, ch 1) in next corner, (3dc, ch 1) in next ch-1 space. Repeat from * two more times and jn with a sl st in first dc. Fasten off leaving a little bit of a tail to sew one side of this square to the side of another square.
* You can stack your squares to make the hanger taller if you desire, or you could keep working outward in rounds. If you choose to keep adding rounds, just add (3dc, ch-1) in each of the side spaces and (3dc, ch 3, 3dc, ch 1) in each corner like you have been doing. You could make a blanket that way if you wanted to! I have before!
* If your squares are just too short to reach, but you can’t fit another square in there, you could just add one or two dc or sc rows evenly along a few of the squares to make it fit perfect.
Sew your squares together.
Border:
If you would like a border on the top and bottom of your squares, what I do is:
Jn yarn with a sl st in the st right before one of the square’s left corners. *Double crochet decrease using the two touching corners of the squares. Then hdc in next three stitches, skip the ch-1 space, hdc in the next three stitches (for as many or few of these center stitches as you’ve created depending on how small or large your square is) and then double crochet decrease in the next touching corners. Repeat from * around and jn with a sl st in beginning stitch. Repeat for other side.
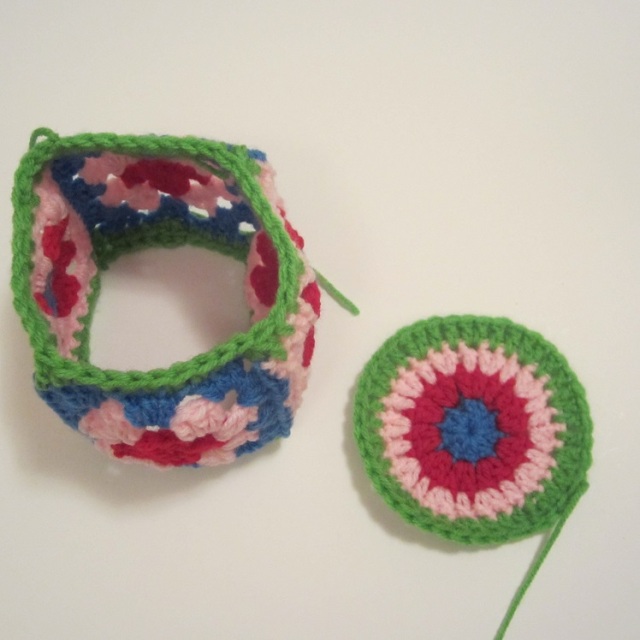
For the bottom circle:
I’m going to show you a pattern I LOVE for creating circles. I don’t know if it works forever outwards, as in if you wanted to make a circle blanket because I haven’t tried making a circle that large before, but I have used this pattern for many, many smaller circular projects:
Rnd 1: Ch 4, jn with a sl st in first ch to form a ring. Ch 2, (counts as first dc here and throughout), work 9 dc in ring. Jn with a sl st in first dc. (10 dc)
Rnd 2: Ch 2, dc in same st, 2 dc in each st around. Jn. (20 dc)
Rnd 3: Ch 2, dc in same st, (dc, 2dc) around. Jn. (30 dc)
Rnd 4: Ch 2, dc in same st, (dc, dc, 2dc) around. Jn. (40 dc)
You continue this pattern, stopping when the circle is as large as you want. You increase the number of dc before your 2dc by one with each round. So you begin each round the same: Ch 2, dc in same st. You end the rounds the same by joining with a sl st. The pattern will go like this starting with round 5:
Rnd 5: (dc, dc, dc, 2dc) around.
Rnd 6: (Dc, dc, dc, dc, 2dc) around.
Rnd 7: (Dc, dc, dc, dc, dc, 2dc) around.
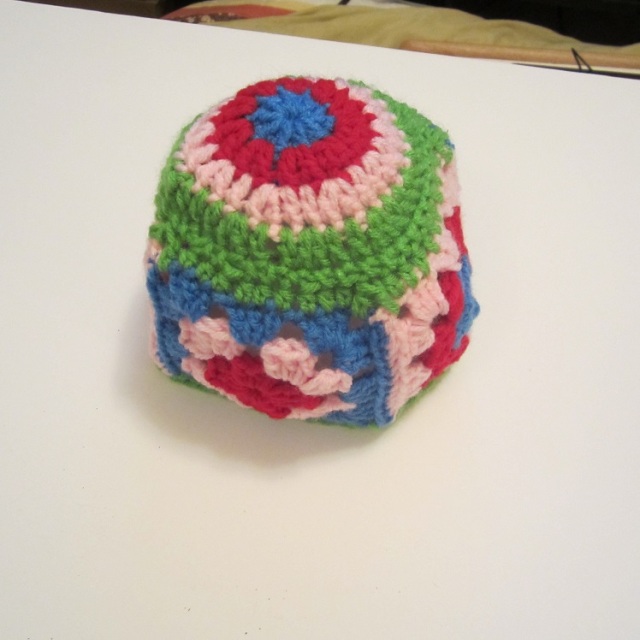
Sew the bottom to the bottom in place.
Handles:
(Make 4)
Rw 1: Ch 51, sc in 2nd ch from hook and in each chain across, ch 1, sl st in the same space as your very last sc.
Rw 2: Ch 2, pivot. Dc in same st. (Ch 2, sk next 2 st, dc in next st) across. (Add a dc in any extra stitches at the end if you miscounted at some point. Then you won’t have to start all over! *wink* Well…plus my math might be off here.)
Rw 3: Ch 1, turn, sc in same st. (2sc in ch-2 space, sc in dc) across. To make the end more strong and make it easier to have stitches to sew the handle to the pot base: Sc a second time inthe last stich, shift work, sc in center, 2sc in other corner. Jn with a sl st in very first sc. Fasten off at end leaving a tail long enough to set handle to plant pot firmly and securely.
Sew the handles to the sides of the plant hanger and then either stitch the tops of them together very securely, or loop them all onto whatever you’re hanging the pot from.

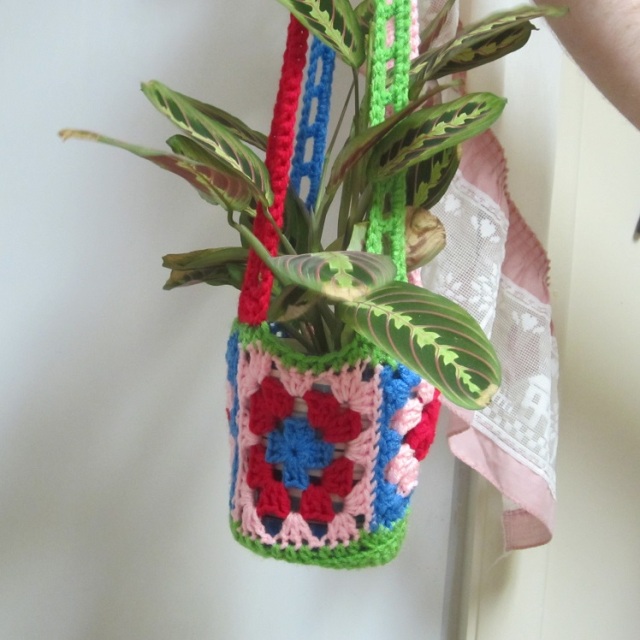
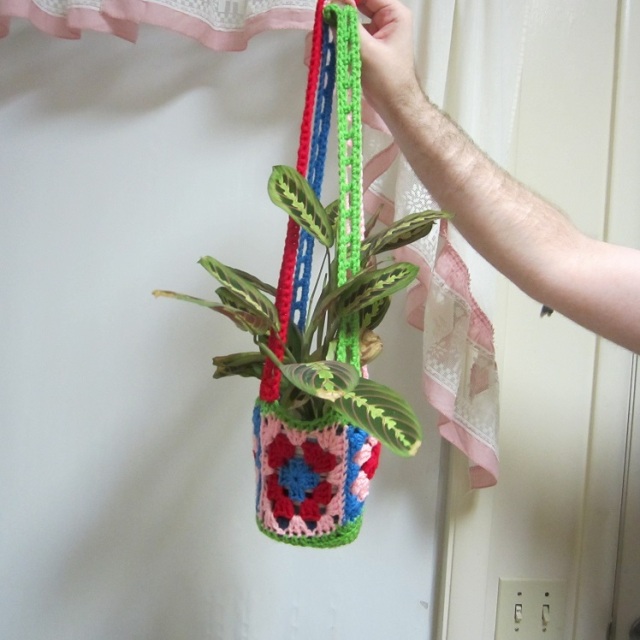
This is cute, very nice job! Just curious what is the name of that lovely plant?
I’m not sure what it is! My great grandmother had this plant, and got a cutting of it from her mom, and then my aunt grabbed a clipping from my great grandmother’s plant and grew one for her, and then clipped some for me and rooted it so that now I have a piece of it that I can pass down. I’ll have to try and get a hold of my aunt and see if she can identify it for me.