I’ve done this to quite a few pairs of headphones now – my “good” pair, Hubby’s pair, and this cheap crappy set.
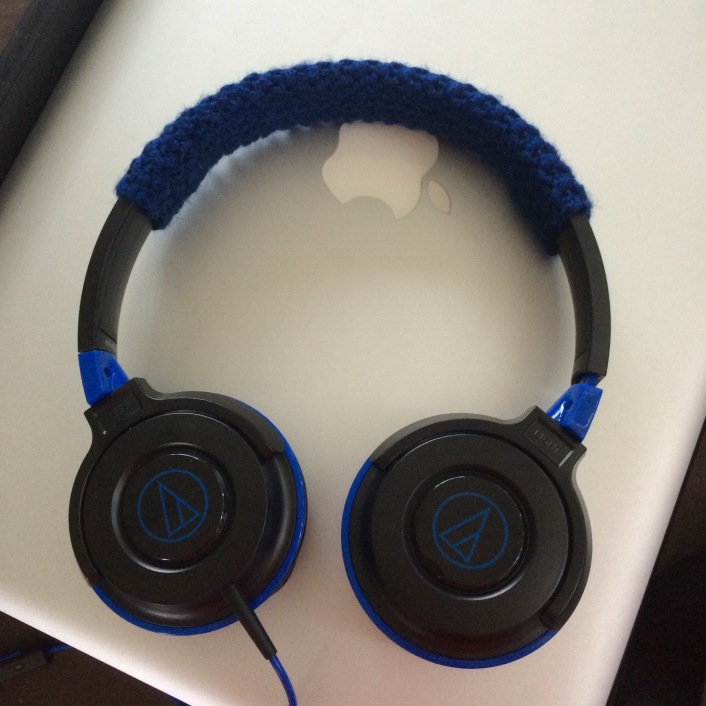
I started with my good pair, because the plastic cover on the padding up the top was flaking and getting annoying (and a new pair wasn’t an option – they’re $300 headphones). Then the same was happening to Hubby’s, so I did one for his too. I did the one in the picture yesterday, because the headband kept getting stuck in my hair.
Here’s the pattern I’ve used for all 3, for anyone who wants it! I find this makes a nicely patterned swatch, without any obvious ‘stripes’ to show rows (making it less obvious if it twists a bit with wear). This is a quick project, the one above only took me 1 episode of Doctor Who to finish.
Crochet Headphone ‘Headband’ wrap
You’ll need:
- scrap wool (you won’t need much)
- appropriate crochet hook
Directions:
This pattern is crocheted from side to side (looking at headphones straight on, the row starts at one ear and go across to the other. There will be significantly less rows than there are stitches in a row.
Chain an odd number of stitches, leaving a long tail at the start (the tail will be used to stitch it together at the end). The foundation chain should be long enough to cover the area you want on the headband. If you just want to cover a padded section, allow about 2cm (1inch) either side of the section so that the finished product completely covers the padding, with enough either side to grip the headband well.
1st row – Skip first chain, then single crochet (sc) in the 2nd chain. Double crochet (dc) in the next chain. Alternate sc and dc until you reach the end of the chain (you should be ending on a dc).
2nd row – Chain one, TURN. sc in first stitch, dc in second stitch, alternate sc & dc to end of row.
Repeat 2nd row until the swatch is long enough to barely wrap around the top of the headphones. You’ll want about a 5mm (1/4 inch) gap between the edges when you’re just gently wrapping it around.
If your headphones have a particularly large amount of padding, you should put in a few rows (about 1/4 of the final # of rows – usually 2-4 rows) where the row starts and ends with an even # of sc, with the pattern in the middle. The pattern would look like this:
4 sc, *sc dc alternating to last 3 stitches (last stitch of pattern section will be a dc)*, 4 sc.
Adjust the # of sc at the start and end to roughly make the patterned area the same size as the padding you want to cover. Make sure that there is always an odd number of stitches in the pattern section, and that the # of sc on each end is the same (and an even number). DO NOT count the first sc of the pattern section as part of the 4 edge sc (otherwise the pattern won’t match up properly).
Stitch the two edges together and you’re done! The slight tension created by sewing up the gap will keep the wrap in place on the headband. If it slips, just put a couple of drops of craft glue under the ends and allow to dry. I’ve never needed to use glue, but depending on the kind of wool you use, it may need it.
This is what the stitch pattern looks like up close:

Any questions, feel free to ask below.
~K

I love this idea 🙂 Thank you for the free pattern!
No worries! This is one of those things that always annoys me, so I figure there are other people out there who can benefit from it 🙂 I’m thinking of making a version that has ears on it, for the “cute factor” 🙂