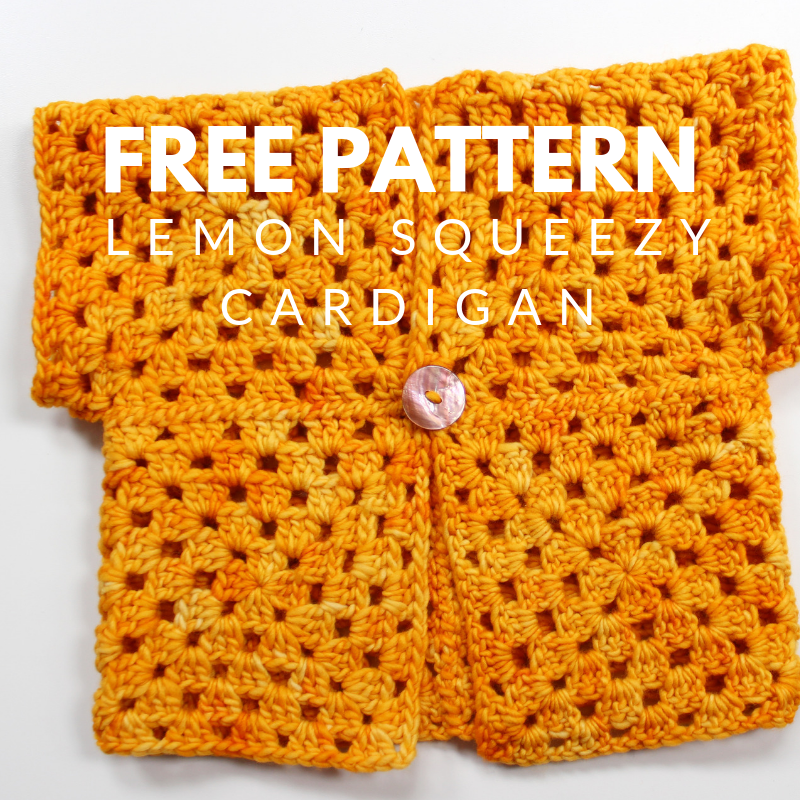
lemon squeezy cardigan | free crochet pattern
What do you get if you use a skein of Malabrigo worsted in the uh-mazing colour Cadmium, to make eight bog standard granny squares?
An easy peasy, lemon squeezy cardigan for your little uns, that's what. And it could not be easier, a complete crochet novice could knock one up in their lunch break and I'm not even kidding (well maybe a long, lazy, European lunch break rather than a 'dashed out to Pret for a sandwich' English one but you know what I'm saying, yeah?).

I wanted something a bit different for Betsy to wear to a wedding on Saturday and I had found these two colours of Malabrigo, Cadmium and Glazed Carrot (which is just as yum and shortly to be transformed into something equally as easy and cute), I couldn't believe how well the colours matched Betsy's rocking, retro outfit from Next that is flowery and gorgeous and really begs the question, "why can you not buy adult dresses in this pattern?"

So here is the pattern, gauge is not important because you are sizing up as you go along, just make sure you are using a worsted or aran weight yarn (if you aren't using the Malabrigo) like Rico Essentials Soft Merino Aran (squidgy) or Hayfield Bonus Aran Tweed (the Turquoise colour is perfection), otherwise your grannies could be endless, you need something with just that little bit of chunk, something that works with a 5mm hook.
//PATTERN BEGINS// UK TERMINOLOGY
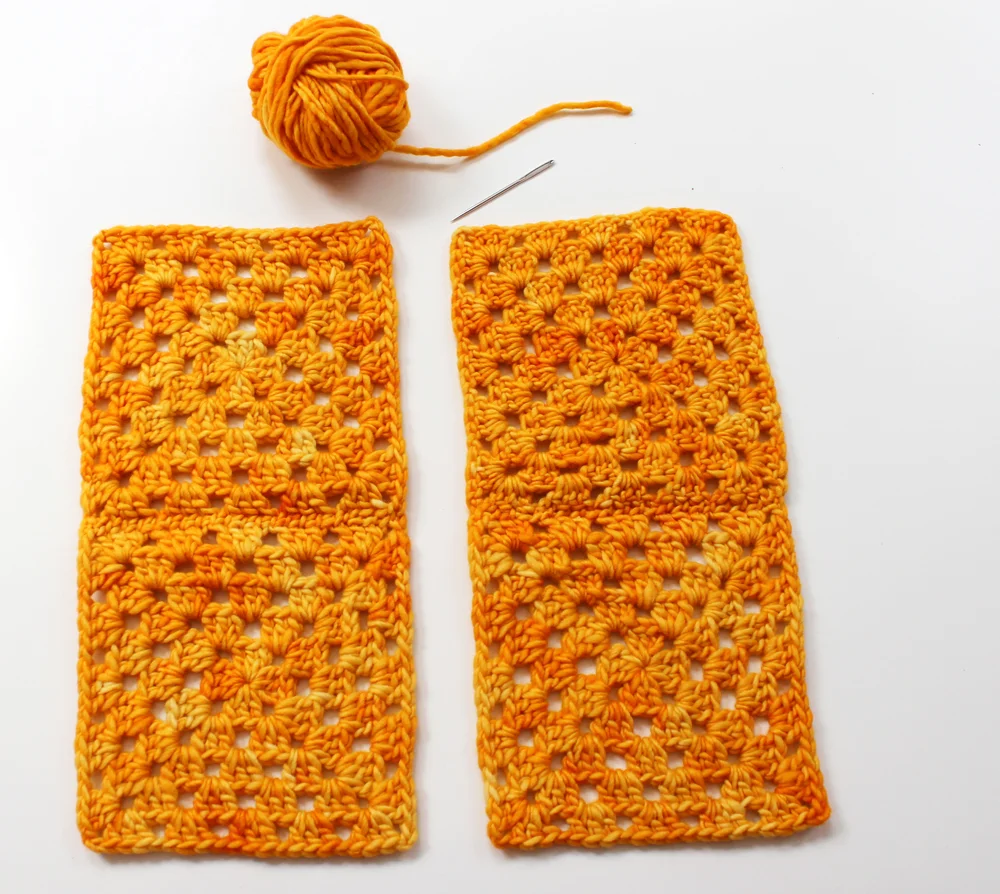
Using your aran weight yarn and a 5mm hook, make eight granny squares like this.
Round 1. Start with a magic loop (or ch4 and join with a ss to form a ring), ch3, 2tr, *ch2, 3tr, repeat from * twice more, ch2 and join with a ss to top of beginning ch3.
Round 2. Slip stitch (ss) over two tr and ss into first corner space, (ch3, 2tr, 2ch, 3tr) into first space, ch1, (3tr, 2ch, 3tr) into next space, ch1, (3tr, 2ch, 3tr) into next space, ch1, (3tr, 2ch, 3tr) into last space, ch1 and join with ss to beginning ch3.
Round 3. SS over two tr and ss into first corner space, (ch3, 2tr, 2ch, 3tr) into first space, *ch1, 3tr into ch1 space, ch1, (3tr, 2ch, 3tr) into next corner space, repeat from to end finishing with ch1, 3tr into ch1 space, ch1, join with ss to beginning ch3.
Continue in this way, always working 3tr, 2ch, 3tr in each corner space and 3tr in each ch1 space, until your granny square is as big as you fancy or as big as your toddler. Betsy is two and three quarters (can't quite bring myself to say she is nearly 3!), and I made five rounds - I did start off with six rounds but sized up on Betsy and they were way too big!

Once you have your eight beautiful granny squares - make sure you sew all your ends in and block them lightly if you think they need it (I did). Then sew four of them together to form the back of the cardigan. This looks lovely and flat if you use a whip stitch (see instructions here).

Then sew two grannies together for your front left and two grannies together for your front right.
These pieces then need to be sewn to the back along the side seams (so you are sewing just the bottom squares together, the top squares forming the armholes).

Once you have the side seams sewn, sew along the top seams to create the shoulders. You can either sew all the way to the end or do like me and stop sewing so you leave the last granny cluster free (to make more room at the neck). You should have something like this.

Almost finished and in fact this bit is optional because the cardigan looks just lovely even without but perhaps more waistcoaty and I wanted a proper cardi. I re-joined the yarn under the arm section in a ch1 space and ch3, 2tr, then ch1, 3tr in the spaces all the way round, join with ss to beginning ch3 and do it all again for another round of grannies - the joy of granny patterning is that this looks seamless.

And that my loves is pretty much it. Find a pretty button and sew it on the front, you won't need to make a button hole, just line it up with a granny gap on the opposite side and you are sorted. I'm so happy with this quick and easy pattern that I even created a gif (the world has tilted ever so slightly off axis I reckon) and made Betsy try it on in her pyjamas too...let me hear you say yo!

Happy crocheting, hope your littles love their easy peasy lemon squeezies.