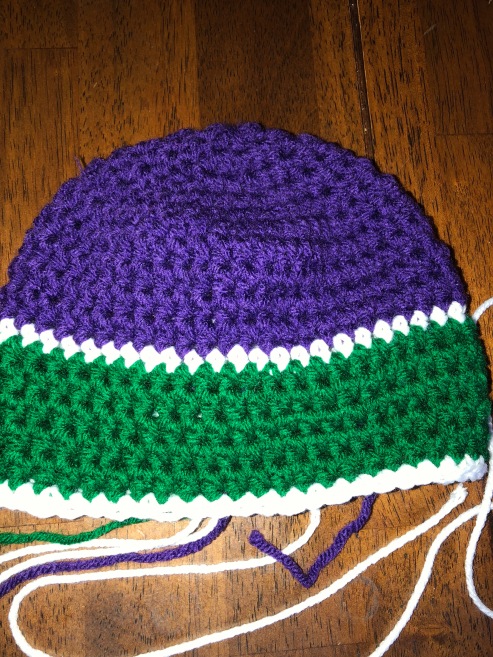
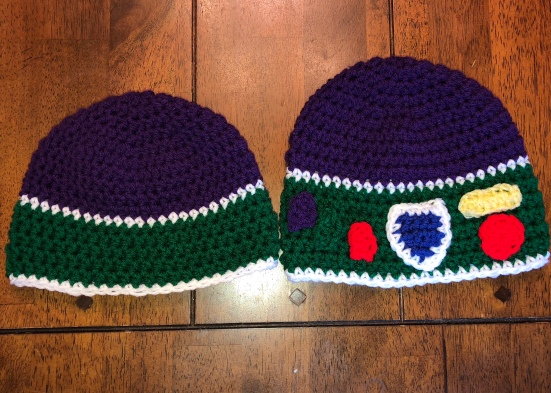
I just got an order for one of these cuties today and I realized that I hadn’t posted the pattern yet. It was ordered for a head sized 17″ so those are the instructions I’ll post. It’s very easy to size up though. I’m still trying to use a majority of Hobby Lobby yarn even though it’s not as easy to get there in Pittsburgh as it was in So Cal.
Yarn: Less than 1 skein each of Hobby Lobby I Love This Yarn in Grape, White, Jelly Bean, Fire Red, Royal, and Yellow.
Size H Hook
Hat –
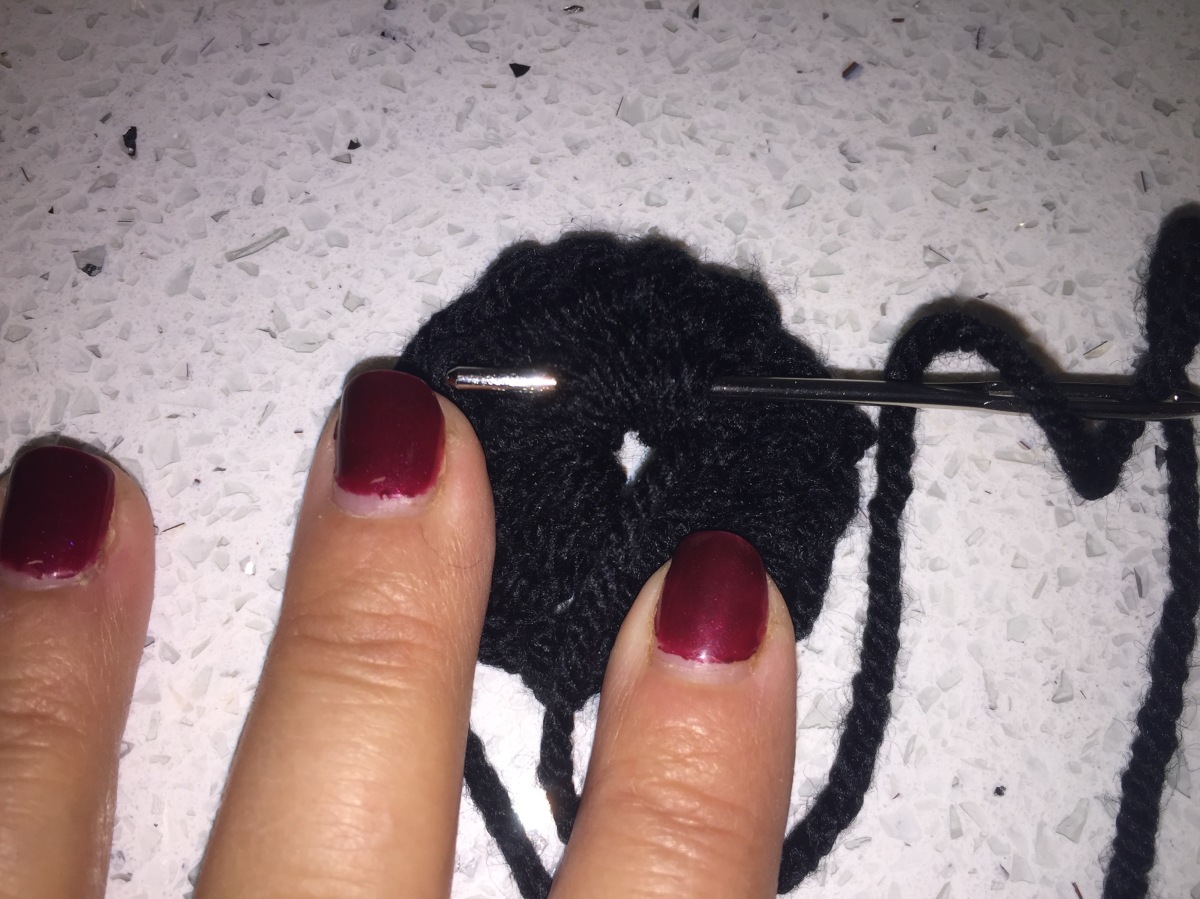
Round 1 – With Grape, Start 8 hdc in a Magic Circle, join with a sl st to 1st hdc (8)
Round 2 – Ch 2, 2 hdc in each stitch around, join with a sl st to 1st hdc (16)
Round 3 – Ch 2, *2 hdc in 1st stitch, 1 hdc in next stitch* 8 times, join with a sl st to 1st hdc (24)
Round 4 – Ch 2, *2 hdc in 1st stitch, 2 hdc* 8 times, join with a sl st to 1st hdc (32)
Round 5 – Ch 2, *2 hdc in 1st stitch, 3 hdc* 8 times, join with a sl st to 1st hdc (40)
Round 6 – Ch 2, *2 hdc in 1st stitch, 4 hdc* 8 times, join with a sl st to 1st hdc (48)
Round 7-9 – Ch 2, hdc in each stitch around, join with a sl st to 1st hdc (48)
Round 10 – Ch 2, hdc in each stitch around, switch yarn to White, join with a sl st to 1st hdc (48)
Round 11 – Ch 1, sc in each stitch around, switch yarn to Jelly Bean, join with a sl st to 1st sc (48)
Round 12 – Ch 2, hdc in each stitch around, join with a sl st to 1st hdc (48)
Rounds 13-17 – Ch 2, hdc in each stitch around, switch to White, join with a sl st to 1st hdc (48)
Round 18 – Ch 1, sc in each stitch around, join with a sl st to 1st sc. Tie off. (48)
Sew in all tails, making sure to secure the magic ring.
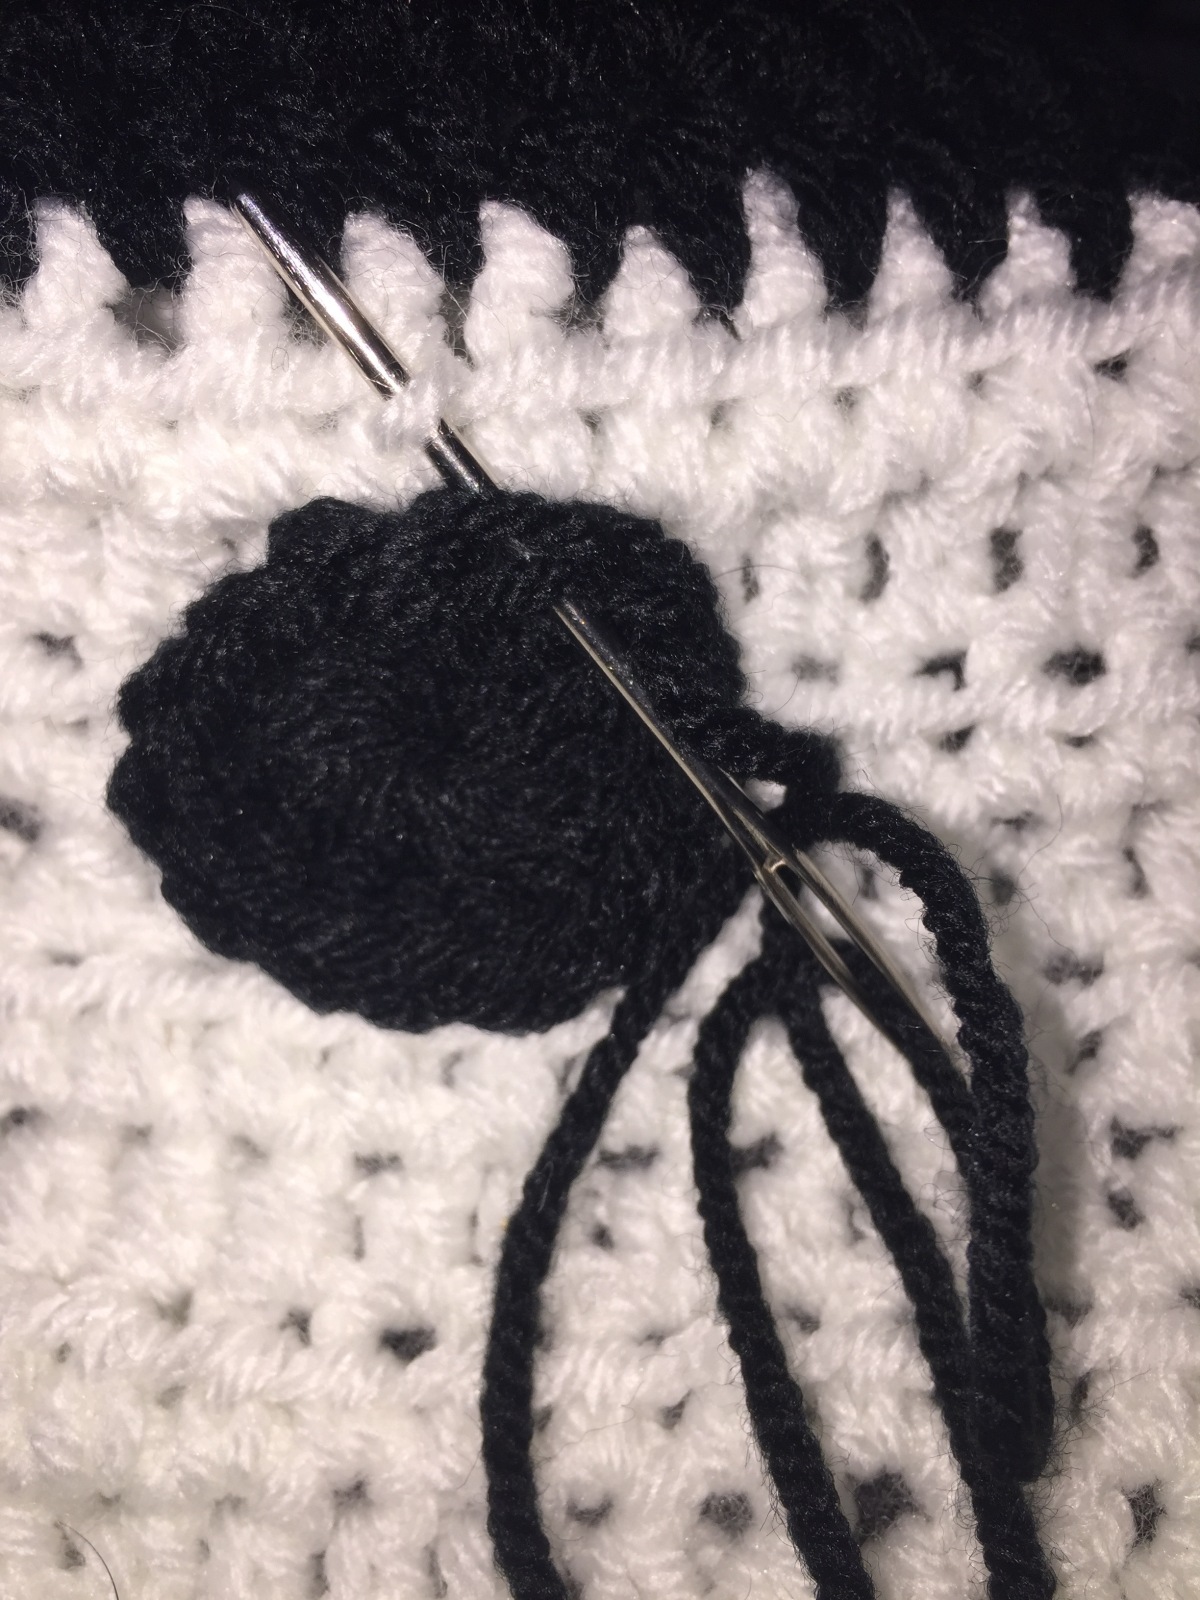
Buzz’s Buttons –
Make 3, one of each Grape, Jelly Bean and Fire Red:
Ch 5, hdc in 3rd ch from hook, 2 hdc. Tie off leaving a long tail for sewing.
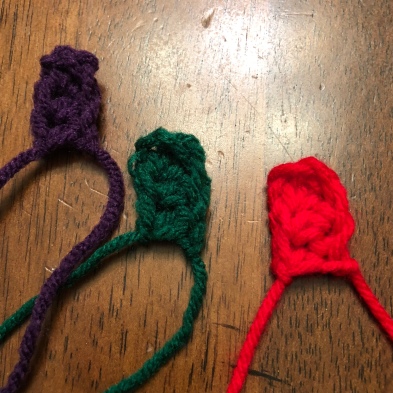
In Royal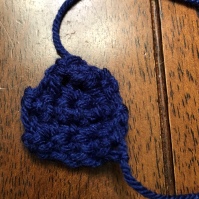
Ch 6, sc in 2nd ch from hook, 4 sc, turn (5)
Ch 1, sc 2 tog, sc, sc 2 tog, turn (3)
Ch 1, sc 3 tog. Tie off (1)
In White: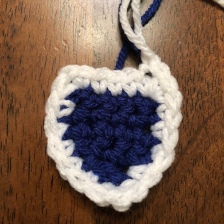
Sc in each stitch around the Royal piece making 3 sc in each corner.
Tie off leaving a long tail for sewing.
In Yellow: 
Ch 9, hdc in 3rd ch, 7 hdc.
Tie off leaving a long tail for sewing.
In Fire Red:
Ch 3, 10 hdc in 1st ch, join with a sl st to 1st hdc.
Tie off leaving a long tail for sewing.
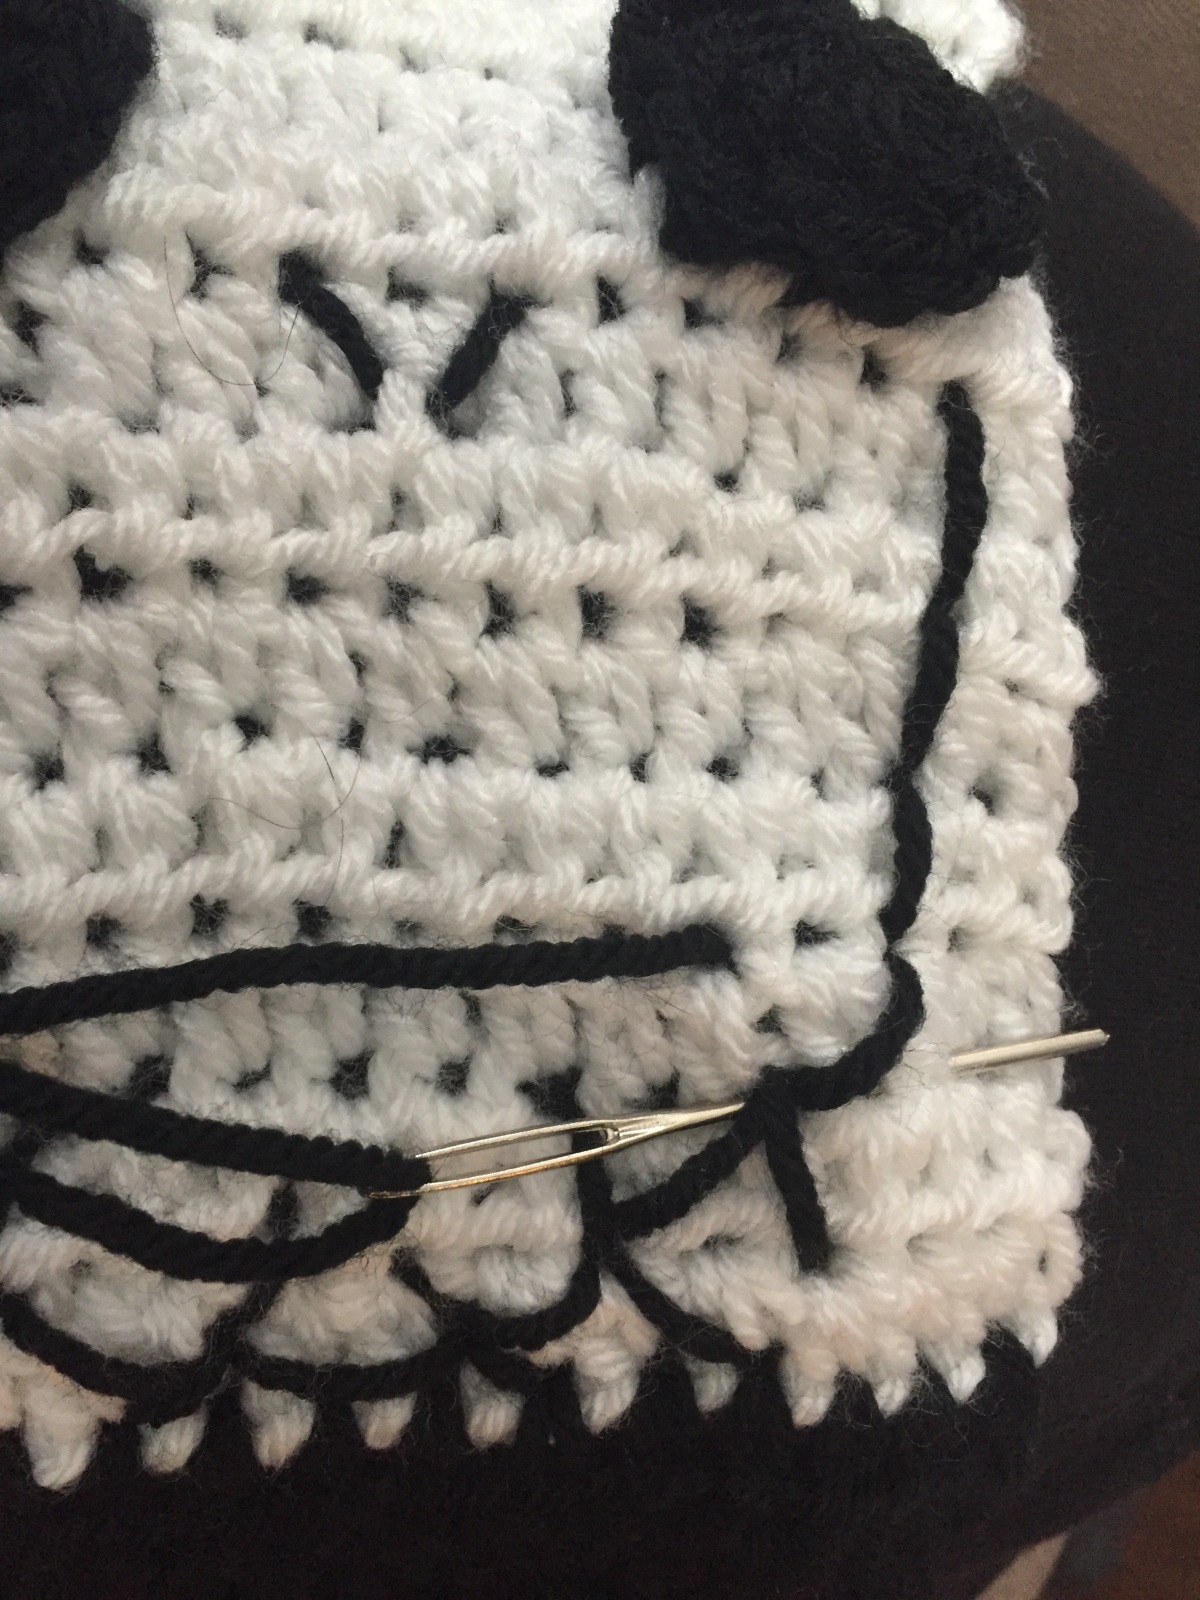
Assembly – 
I pin everything onto the hat before I start sewing. Whenever I don’t do it, it all comes out uneven. Remember that you are manipulating the shapes when you sew. The buttons on the left have a more rounded top. The yellow button is a sharper rectangle.
You can also manipulate the size by changing up your hook size. These 2 were done with the same number of stitches. The larger was with an H hook and the smaller was with a G hook.
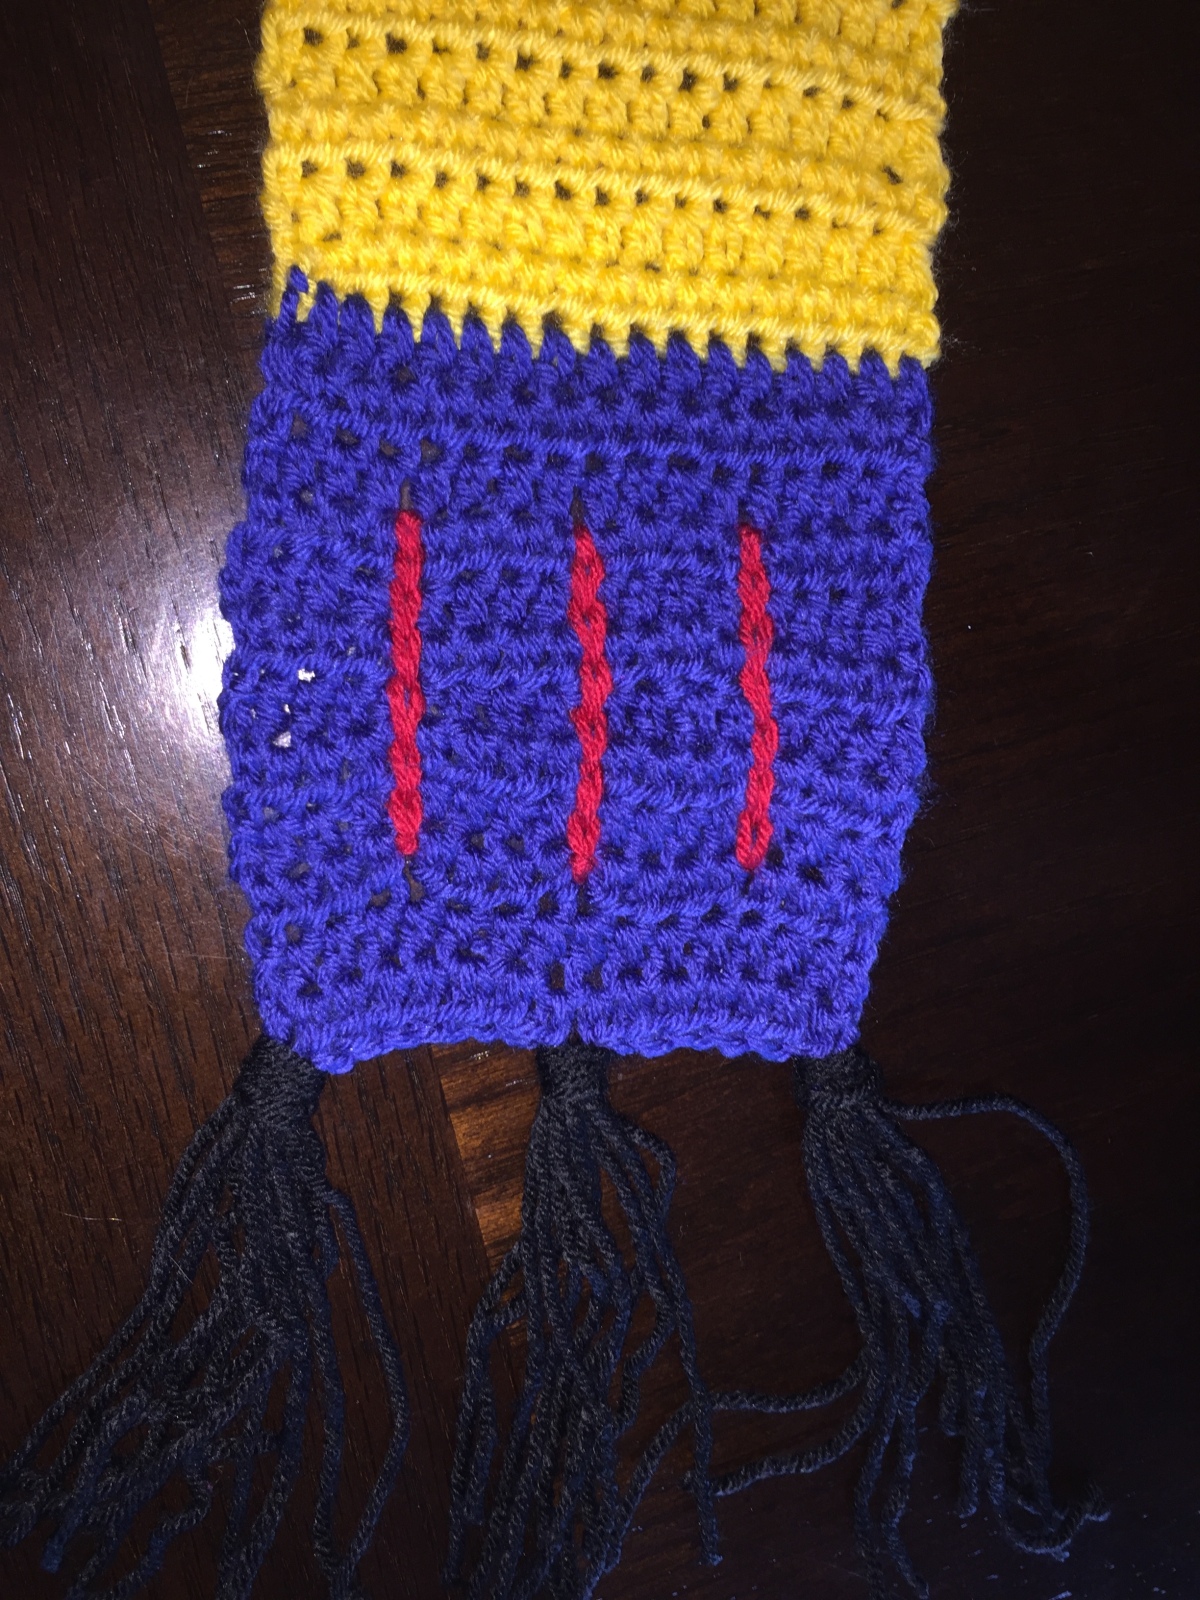
To Infinity and Beyond!


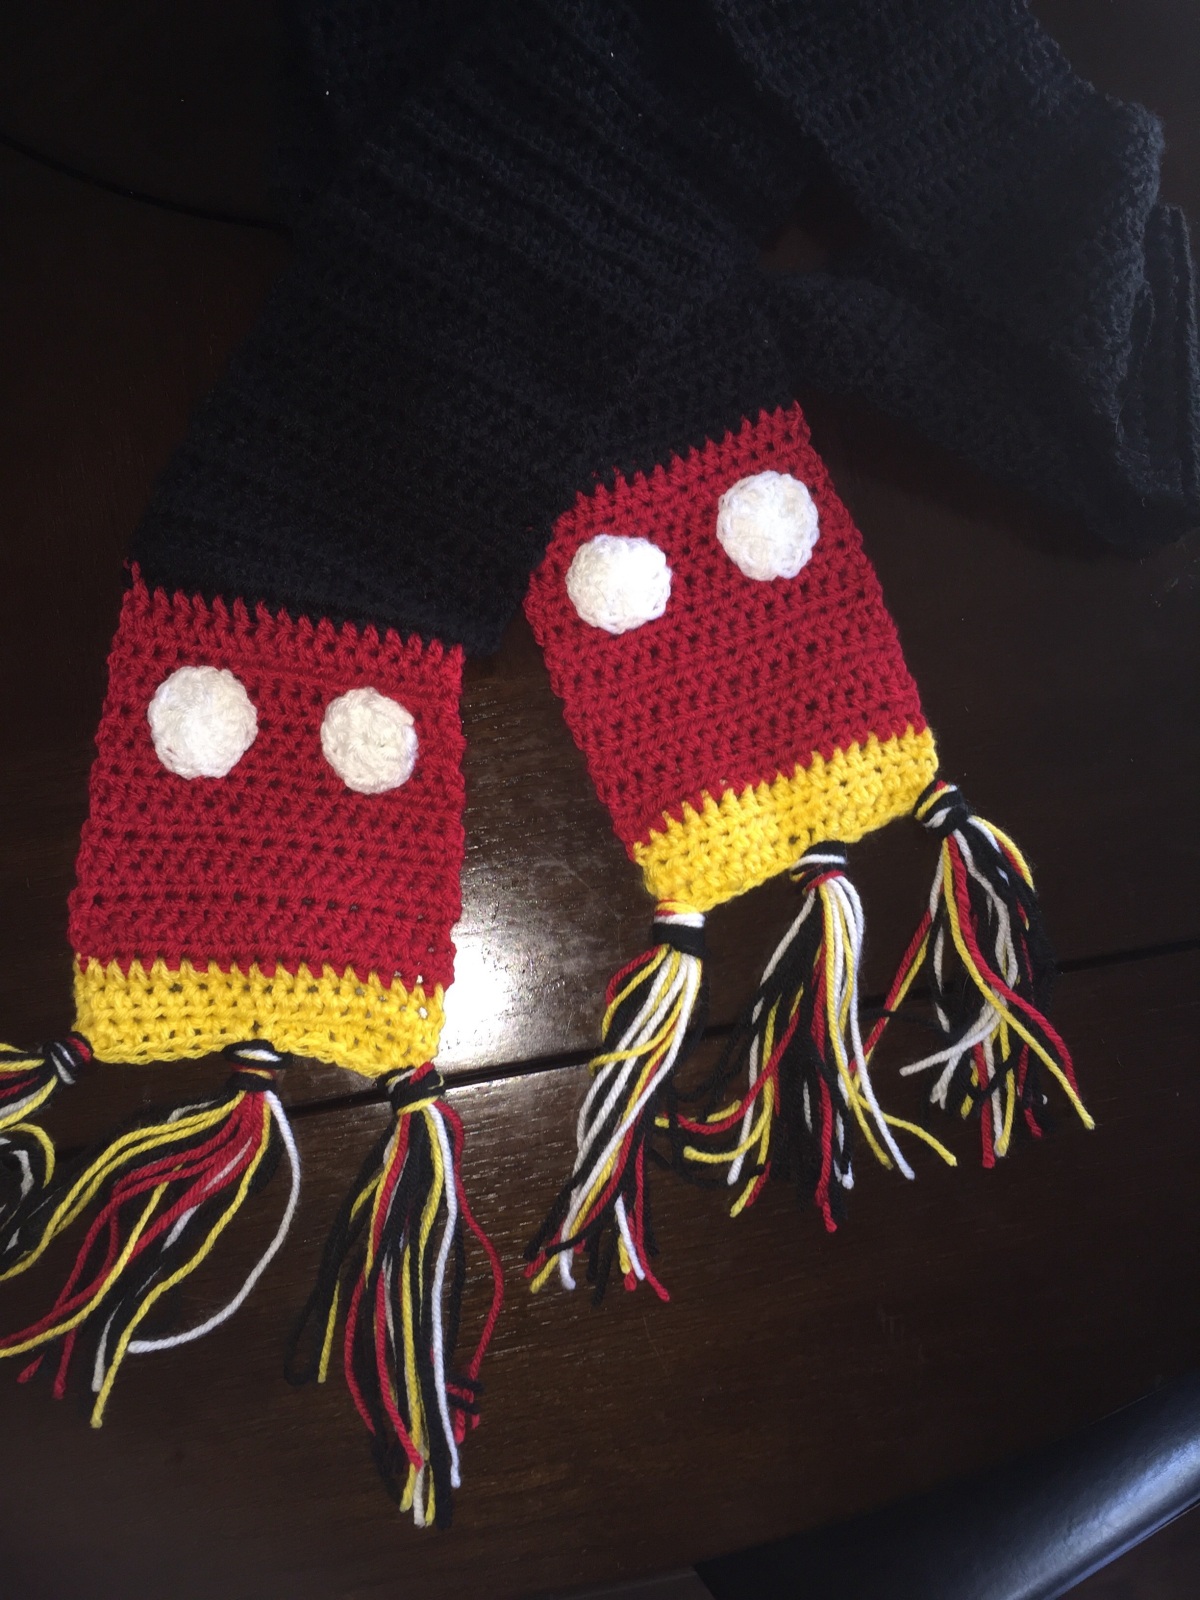
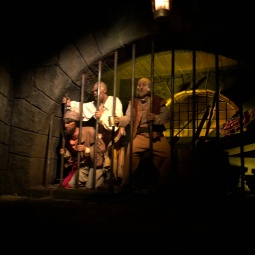 He loves Pirates of the Caribbean. The Disneyland version is definately his favorite attraction. He spent some of his best times working for Disney in New Orleans Square. Rum is his drink of choice by far. Rum and pirates are a perfect combination.
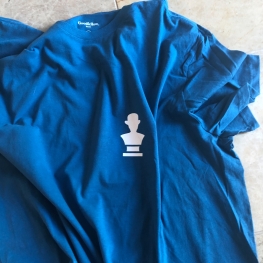
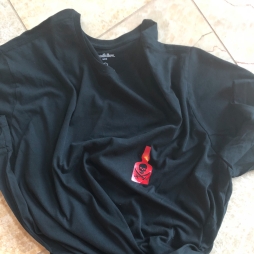 When it comes to graphic t’s, he likes to have a smaller graphic on the front and the bigger graphic on the back. I’ve been trying to make my designs with that in mind.


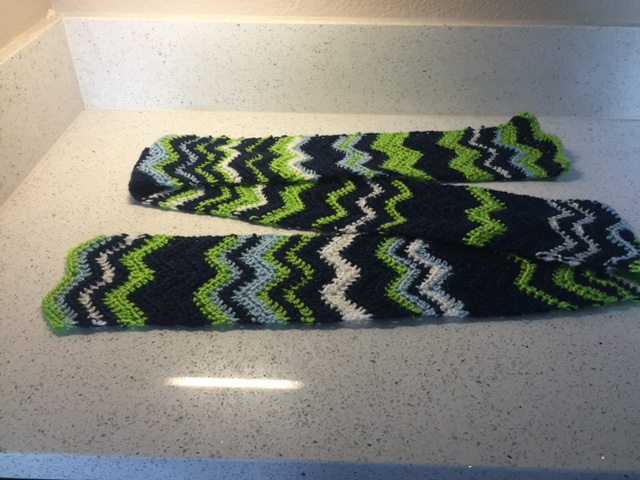
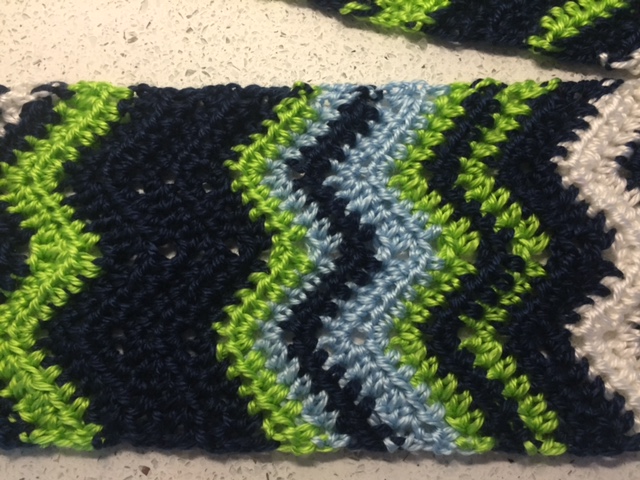
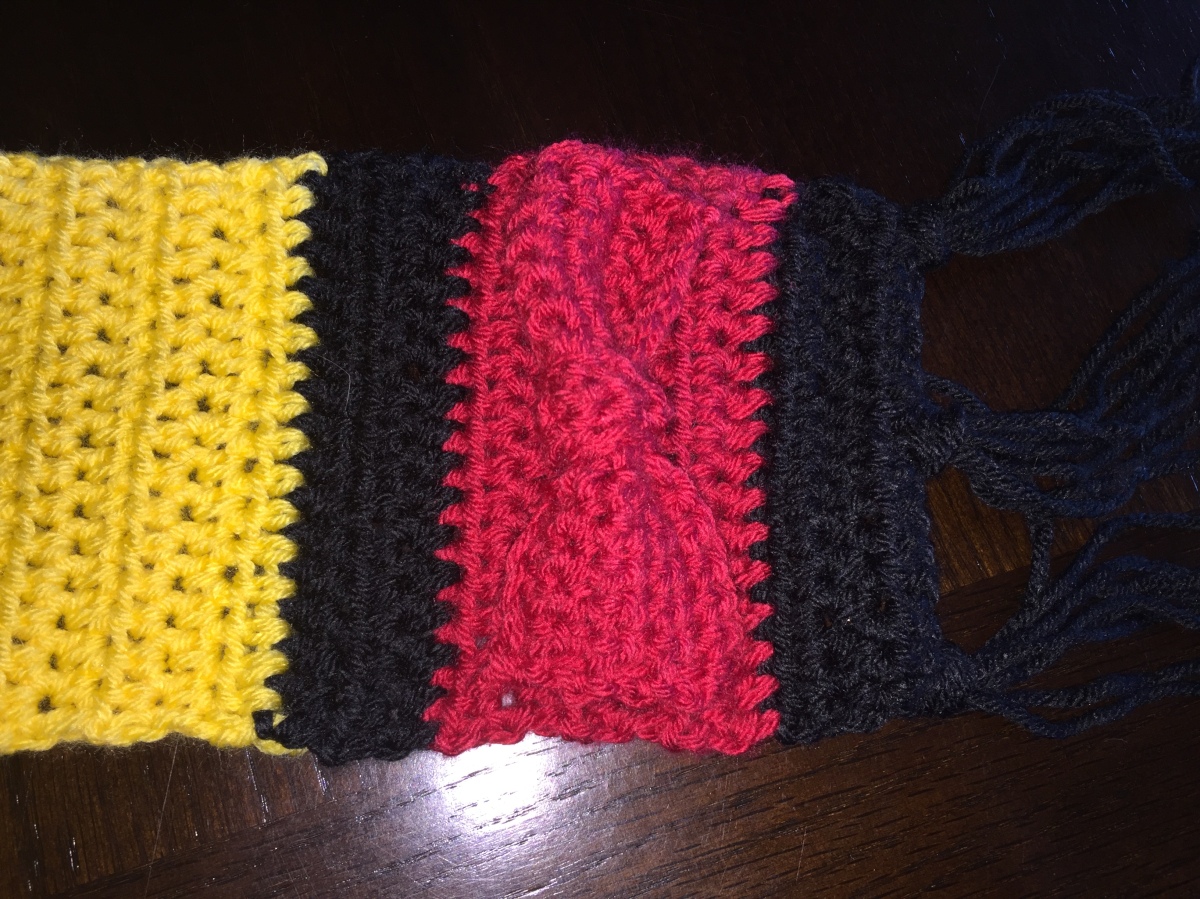
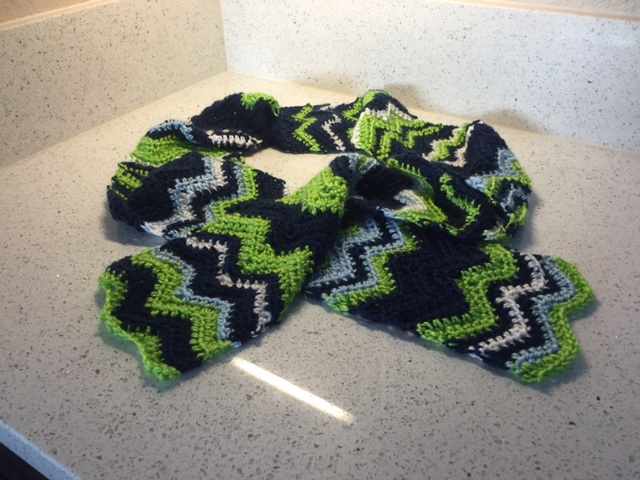 I’ve been thinking about some scarves for football season lately. A mom friend, my daughter’s friend’s mom, asked me for something Seahawks to wear for work. I couldn’t wait. I’ve also been wanting to do a chevron scarf. I haven’t been happy with any of the patterns I’ve found. They all had problems, too wide, not pointy enough, etc… I think I finally got the pattern to where I wanted it. I used a stripe generator for the great Seahawk colors and to make it fun. I used the Hobby Lobby Yarn Bee Soft Secret so it was a little lighter for her to wear as an accessory rather than to keep warm.