
Hello April!, I hope you guy have a great weekend. To cerebrate My Baby Boy Geo turned 2 year old! Guess what?
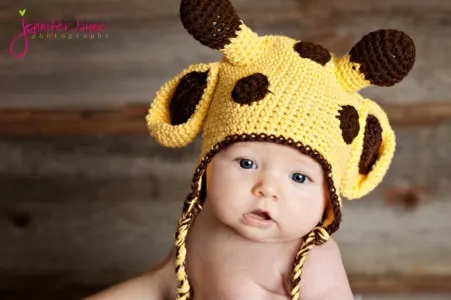
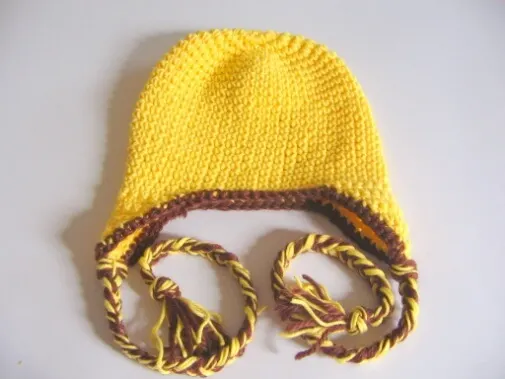
This super cute giraffe crochet hat pattern is free for all. This cute giraffe hat very easy to whip up with basic crochet stitches like single. This hat will be a great baby shower gift for your special friend and family.
Are you ready to grab this easy pattern?
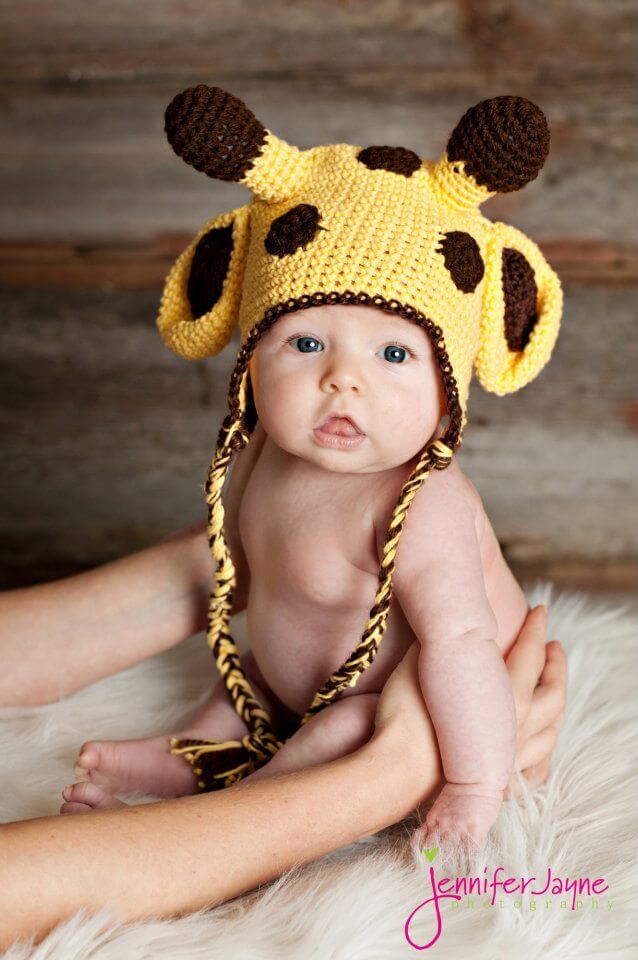
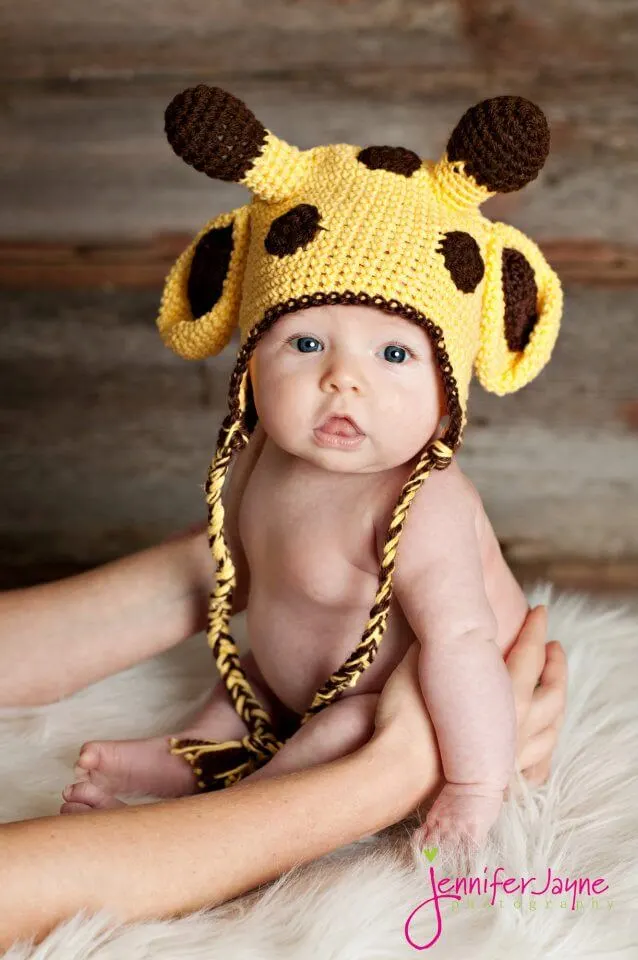
A Big Thank you to Jennifer Jayne Photographer for this super cute photo!
Sizes:
Baby 0-3 months (fits up to 12-14 inch)
Materials:
You will need
- MC (shown here in yellow colour): 50 grams/95 meters of Panda cotton Blend 8ply 50% acrylic, 50% cotton)
- CC (shown here in dark brown): small amount
Crochet hook size 3.5 mm
Sewing yarn needle
Polyester fibre fill
Removable stitch markers or contrasting coloured yarn
Gauge: 4 single crochet stitches x 4 rows = 1 square inch

Skill and abbreviations:
This pattern is writing in US crochet Term.
You will need to know how to make:
Chain (ch)
Slip stitch (sl st)
Single crochet (sc)
Magic ring or adjustable ring
My beginner tutorial check it out here
How to add braid to an earflap
Note:
- In this pattern, you will work in the round continuously. You may use a removable stitch marker or a short piece of yarn of contrasting colour to mark the beginning of each round. At the end of each round, you will not join, but begin the next round in the next stitch.
- The stitch counts at the end of each round are given.
Hat body (sizes Baby size 0-3 months only)
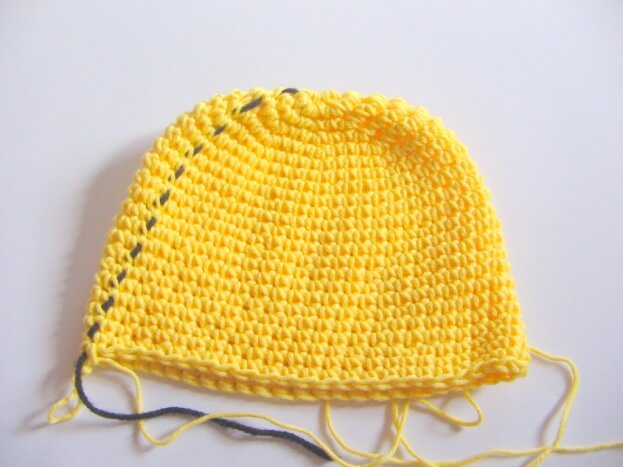
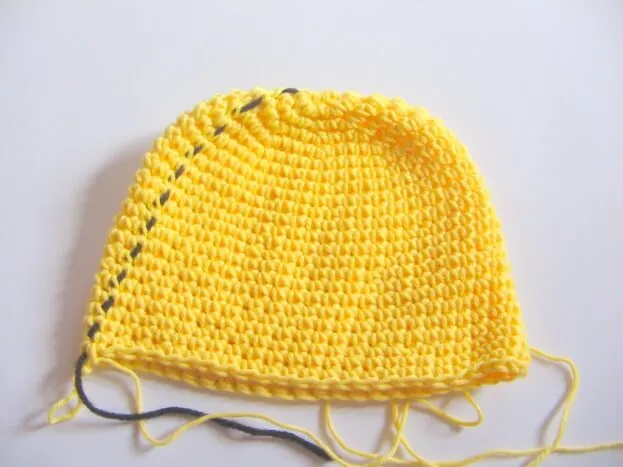
You will work from top to bottom
Round1. Make magic ring or adjustable ring and 10sc in ring (10 sts)
Round2. 2sc in each st around (20 sts)
Round3. *Sc in next st, 2sc in next st*, repeat from * around (30 sts)
Round4. *Sc in next 2 st, 2sc in next st*, repeat from * around (40 sts)
Round5. *Sc in next 3 st, 2sc in next st*, repeat from * around (50 sts)
Round6-23 . Sc in each st around (50 sts). Finish off at the end of Round23.
Shape earflap:
Use two stitch markers to mark the stitch in the middle of each side of the hat. Join MC at the first marker with sl st.

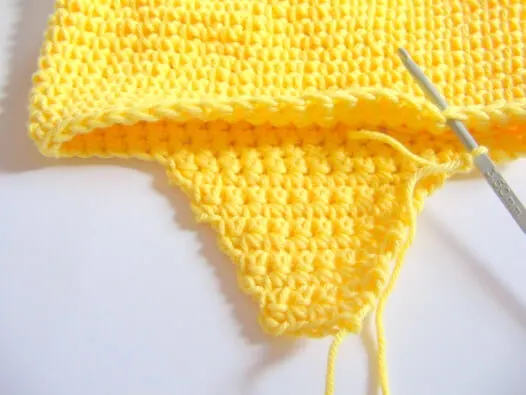
Row1. Ch 1 (counts as first sc here and throughout), sc 12, ch1, turn (13 sts)
Row2. Sc in next 11 sts, ch1, turn (12 sts)
Row3. Sc in next 10 sts, ch1, turn (11 sts)
Row4. Sc in next 9 sts, ch1 turn (10 sts)
Row5. Sc in next 8 sts, ch1 turn (9 sts)
Row6. Sc in next 7 sts, ch1, turn (8 sts)
Row7. Sc in next 6 sts, ch1, turn (7 sts)
Row8. Sc in next 5 sts, ch1, turn (6 sts)
Row9. Sc in next 4 sts, (5sts) fasten off. Join CC at second marker with sl st and repeat as above for second earflap.

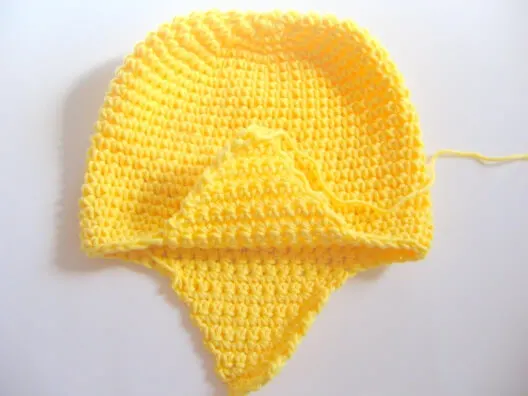
Edging:
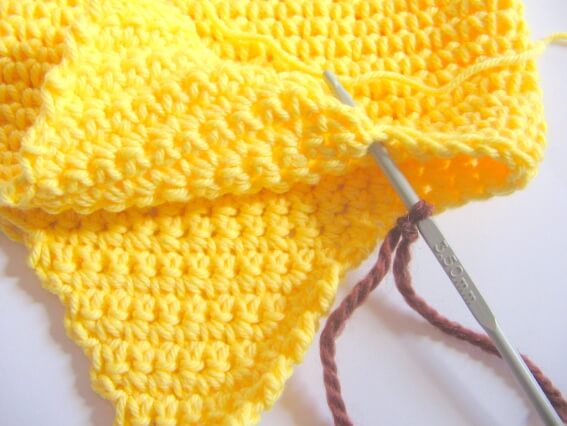

Join CC at any st along the edging with sl st and work one round of sc around the edge, going around the earflaps. Fasten off.
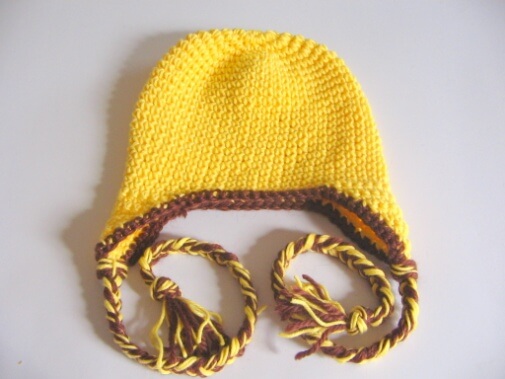
Ties:
With MC, loop yarn into approximately 18-20 inch long loops as shown in the picture.
Note. Please use these pictures only as a guide.

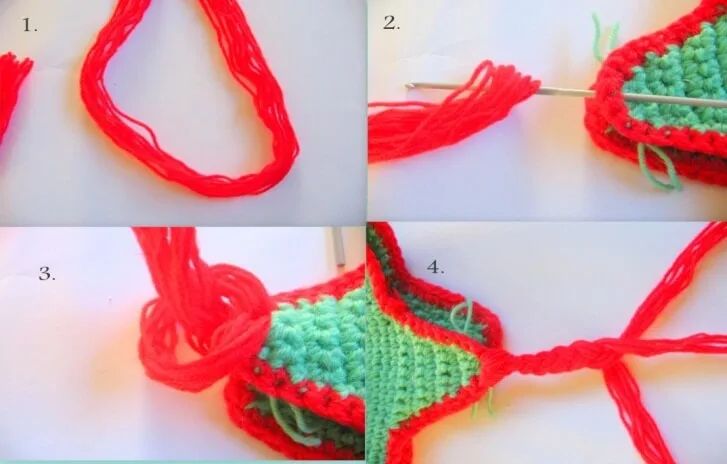
Using a crochet hook, pull the folded side of the yarn through the centre stitch at the bottom of the earflap, making a loop. Pull the free ends of the yarn through this loop and pull tight.
Divide yarn in to three parts, plaint or braid to the end, and tie a knot to finish up. One tie is made. Repeat on the other earflap to make second tie.
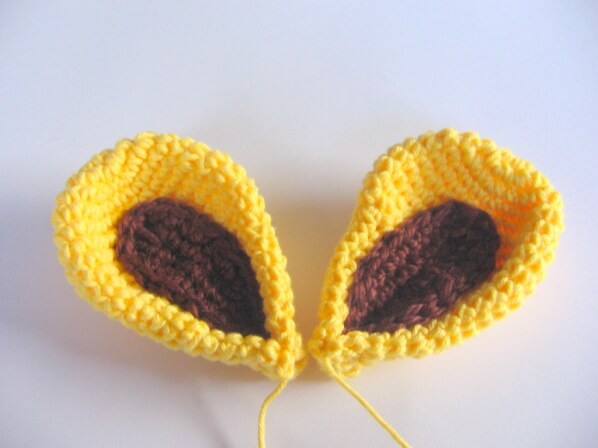
Ears:
Make 2 pieces with MC (shown yellow colour)

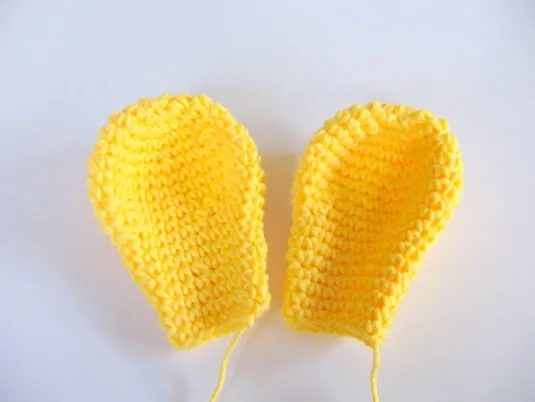
You will work from top to bottom
Round1. Make magic ring and 8sc in ring (8)
Round2. 2sc in each st around (16)
Round3. *Sc in next st, 2sc in next st* and repeat from * around (24)
Round4-5. sc in each st around (24)
Round6. *Sc in next 2 st,2sc in next st* and repeat from * around (32)
Round7-8. Sc in each st around (32)
Round9. *sc in each of next 6 st,dec 1* and repeat from * around (28)
Round10. *sc in each of next 5 st,dec 1* and repeat from * around (24)
Round11. *sc in each of next 4 st,dec 1* and repeat from * around (20)
Round12-14. Sc in each st around (20)
Round15. *sc in each of next 3 st,dec 1* and repeat from * around (16)
Round16-18. Sc in each st around (16).Then finish off and leave long tail for sewing.
Inner of the ear.
Make 2 pieces with CC (colour of your choice).
Start with 11 chain.
Round1-2. sc in next st from hook each st around (20). Then finish off and leave long tail for sewing.

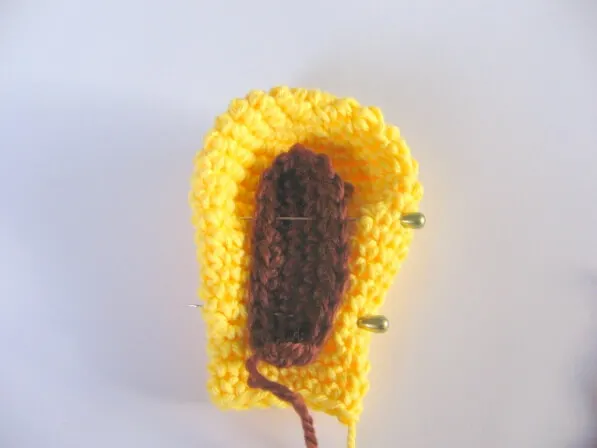
After we got ears and inner ears, we will put them together by sewing.

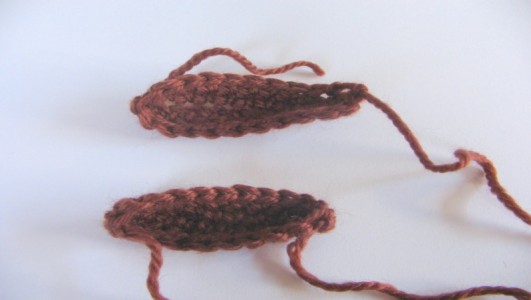
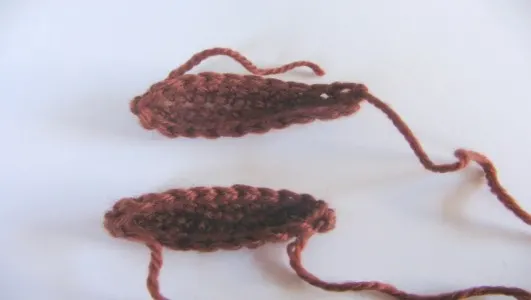
Horn
Make 2 pieces.
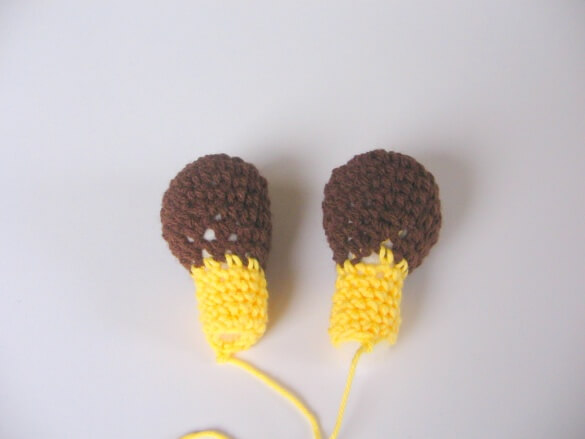
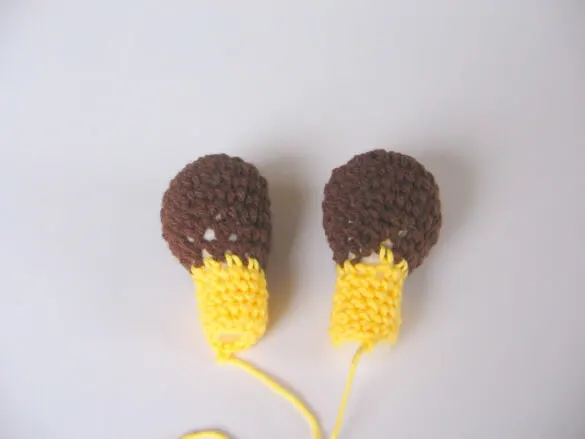
You will work from top to bottom
Round1. Make magic ring and 6sc in ring (6) brown
Round2. 2sc in each st around (12) brown
Round3. *Sc in next st, 2sc in next st* and repeat from * around (18) brown
Round4-6. Sc in each st around (18) brown
Round7. *sc in each of next 4 st,dec 1* and repeat from * around (15)brown
Round8. *sc in each of next 3 st,dec 1* and repeat from * around (12)brown
Round9. *sc in each of next 2 st,dec 1* and repeat from * around (9)brown
Round10-15. Sc in each st around (9)yellow
Then finish off leave long tail for sewing. And stuffing polyester firmly
Little spot
Make 3-4 pieces with CC (colour of your choice).

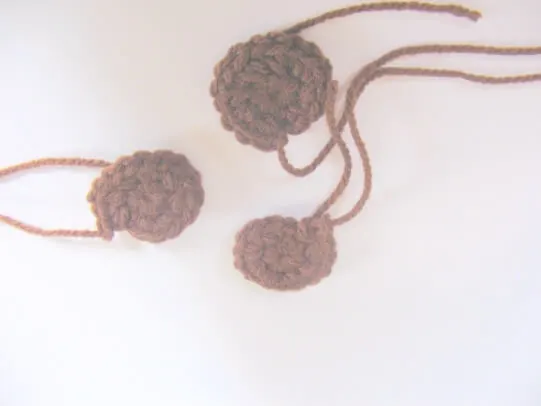
Round1. Make magic ring and 8sc in ring (8)
Round2. 2sc in each st around (16) .Then finish off and leave long tail for sewing.
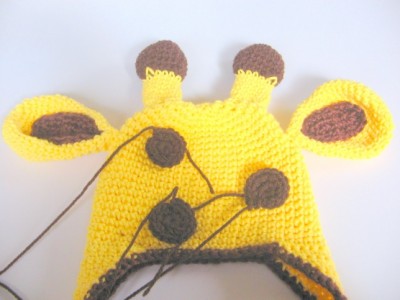
Finishing
Attach ears first, then horn and finally little spot.
Thank you.

allison
Tuesday 31st of January 2017
This is perfect! I'm going to make it for my giraffe-obsessed friend as a baby shower gift. I'd like to make a matching one for her, could you tell me how to convert it to adult size?
jane
Wednesday 1st of February 2017
Hi Alison, thanks for lovely compliment, to make it adult size just add more round of crochet increase. hope this help.
Mary Lee Rodriguez
Wednesday 30th of November 2016
Thanks Jane for sharing your Giraff Pattern, I like ve it.
jane
Friday 2nd of December 2016
I am glad you like it Mary.
Kim Six
Sunday 5th of June 2016
this is the cutest thing EVER! I'm featuring you this week, on the blog and on facebook.. since I can't wait to share it! Thanks for linking up To You're Gonna Love it!
jane
Sunday 5th of June 2016
thank you Kim.
Kim @ This Ole Mom
Wednesday 1st of June 2016
Oh my goodness, that giraffe hat is adorable!!! And, the baby is precious. Thank you for sharing at the Talented Tuesday link Party. Have a lovely night, Kim (Pinned)
jane
Thursday 2nd of June 2016
Thank you Kim.
Dianne Tunby
Thursday 21st of April 2016
My pleasure