I made this baby cardigan for my youngest daughter, 2 years ago now. I bought some Hand dyed merino yarn it was beautiful, until in my sleep deprived state I stuffed it in the washing machine……it shrank…….. Now its a lovely felted cardigan for the teddy. I will have to dig in the teddy pit and find it, to show you guys.
So when I wrote ( I use that term loosely) this pattern, it was on a small square of paper. I’ve recreated the pattern, made some adjustments. it is a fairly simple pattern, made using various stitches ; sc, tr, shell stitch and picot edge.
So hopefully I haven’t over explained it and it will perfect for any little baby, if you do make this cardigan please share a picture of it with me using #ycmermaidcardi, so I can check out all your beautiful creations and colours. I think one in turquoise with a star applique would be totally cute.
without further ado here it is –
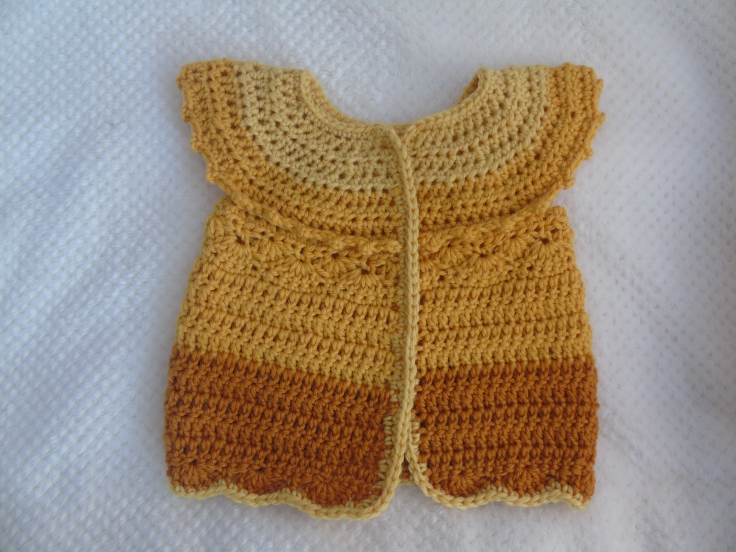
Mermaid cardigan –
this size fits up to 3\4 months
You will need –
100g of DK yarn
5mm hook
2 Stitch markers
scissors or yarn cutter
a large eyed needle for sewing in ends.
note, this cardigan is worked from the neck down.
- ch 56
- 1hdc in 3rd ch from hook, 1 hdc in to the rest of the chain, ch2 turn (turning 2 chain doesn’t count throughout pattern) 54.
- *1hdc in next 4, 2 hdc in next stitch* repeat * * until last 4, hdc in each, ch2 turn 64.
- *1 hcd in next 5, 2 hdc* repeat * * until last 4, hdc in each, ch2 turn 74.
- *1 hdc in next 6, 2 hdc* repeat * * until last 4, hdc in each, ch2 turn 84
- *1 hdc in next 7, 2 hdc* repeat * * until last 4, hdc in each, ch2 turn 94
- * 1 hdc in next 8, 2 hdc* repeat * * until last 4, hdc in each, ch2 turn 104
- *1 hdc in next 9, 2 hdc* repeat * * until last 4, hdc in each, ch2 turn 114
- ( now we are making armhole, use stitch markers here to keep count if you wish ) 15 hdc (ch5 skip 26 stitches) 32 hdc (ch5 skip 26 stitches) 15 hdc 72.
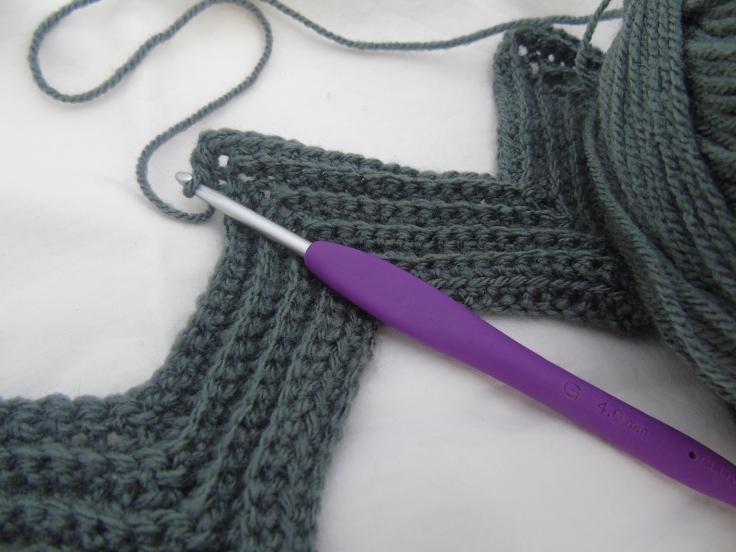
9A. now this is a bit tricky to explain, first you need to check the cardigan is the right way around, you can tell by the chain.
then you to ch 1 and insert hook into the loop on the hdc of row 9, (the loops you will be working with are the second loops from my finger.
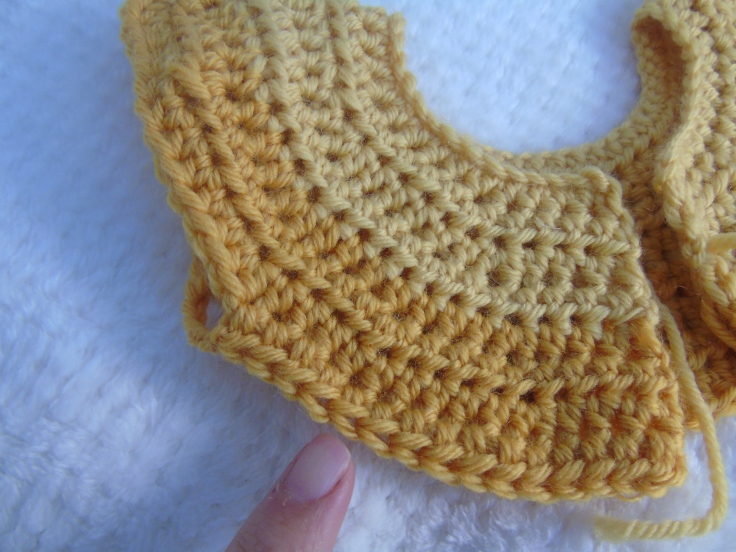
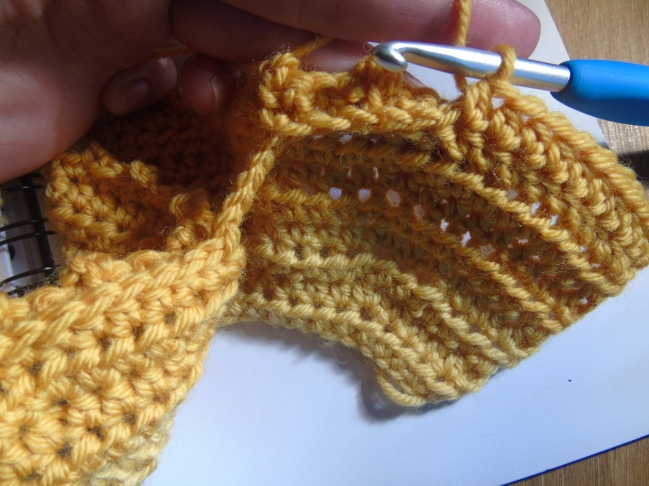
sc in to the first stitch then picot (ch 3 slip stitch into the first ch) * 3 sc then picot * repeat * * all along the front of the cardigan and follow-up the arm holes there you will put your stitches in to the top of the hdc as you normally would.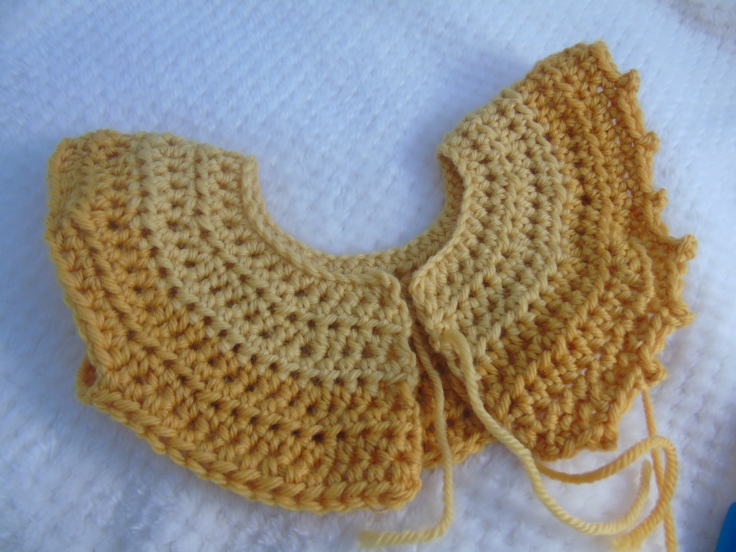
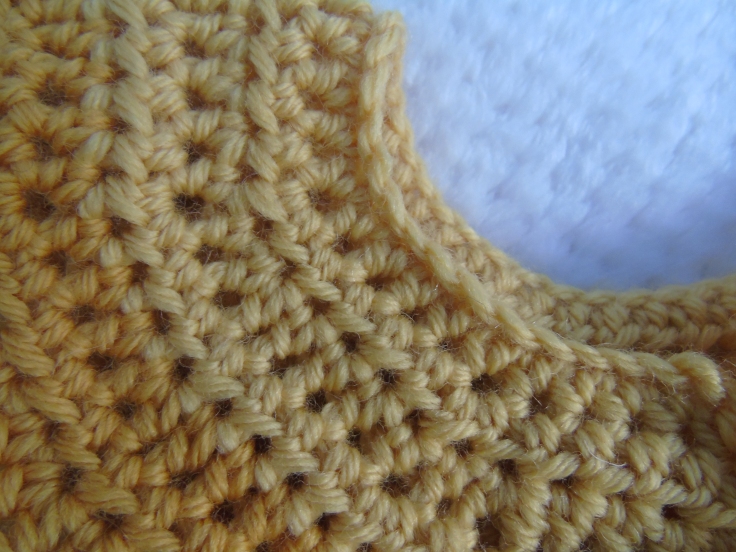
once you have completed the first arm hole, you will be continuing in the hdc loop along the back. ( photo shows tour last armhole stitch placement, stitch marker shows the first hdc loop on the back.)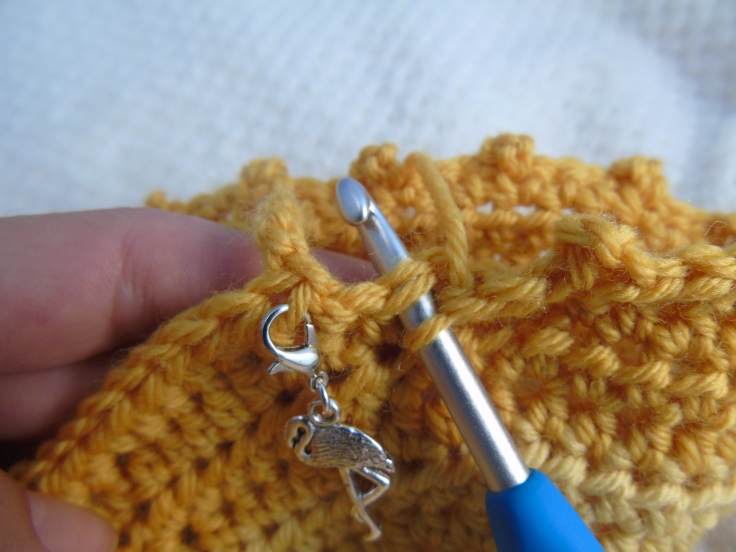
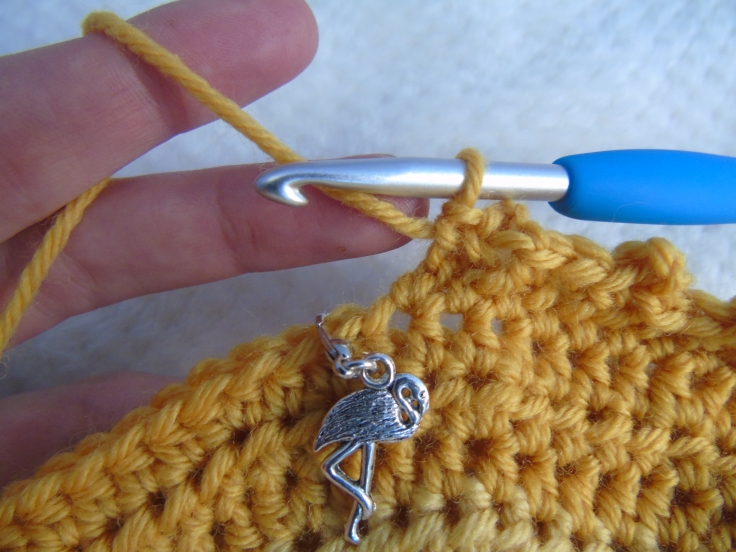
above picture shows where you will start the second armhole. complete the second armhole and the front. ch 1 and slip stitch into the top of row 9, so working under the last row (see picture)
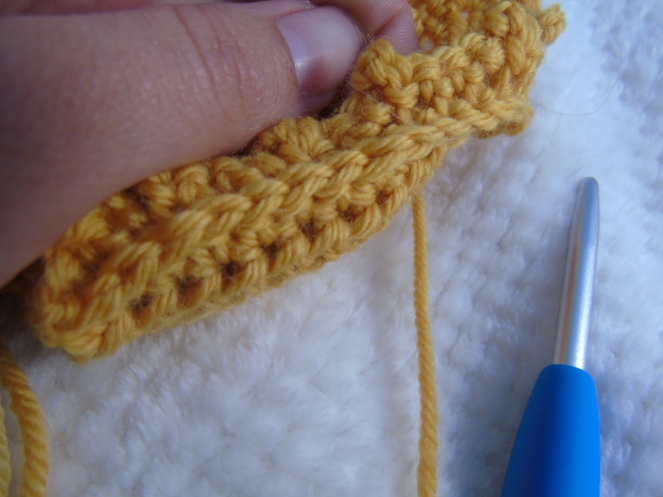
10. ch2 (doesn’t count) hdc in each stitch including the armhole chains, ch1 turn 72
11. sc * skip 2 stitches 5tr in the next skip 2, sc* repeat * * until last 3 stitches, sc in each one, ch1 turn 72
12. sc * skip 2 stitches 5tr in the next stitch skip 2, sc* repeat * *until last 3 stitches skip 2 and 3 tr in the last stitch 62 (note, you should be sc in the top of the middle (3rd tr) of previous round, then you should be putting your 5 tr in the sc of previous round. ch1 turn 72
13. sc in all the tr from previous round and hdc in each sc of previous round, this is to level out the cardigan. ch3 turn 72
14. tr in each stitch, ch3 turn 72
15. 1 tr in next 10, 2tr in next, 1 tr in next 10, 2 tr in next, 1 tr in next 26, 2tr, 1 in next 10, 2tr, 1 in the next 10, ch3 turn 76
16 – 24. 1 tr in each, ch3 turn 76
25. 1 tr in each, ch 1 turn 76
26. sc * skip 2 stitches 5tr in the next skip 2, sc* repeat * * until last 3 stitches, sc in each one, ch1 turn
27. sc all around the edges, I recommend that you sc along both front edges twice as this gives a neater finish.
*** you may make and sell products from my patterns but if ou do, I ask that you link back to my post. Also I worked hard on this please don’t copy and post this pattern or claim it as your own, this applies to the photos as well.
I’m always happy to help with any problems with my patterns, just leave me a comment and I will get back to you don’t forget to #ycmermaidcardi

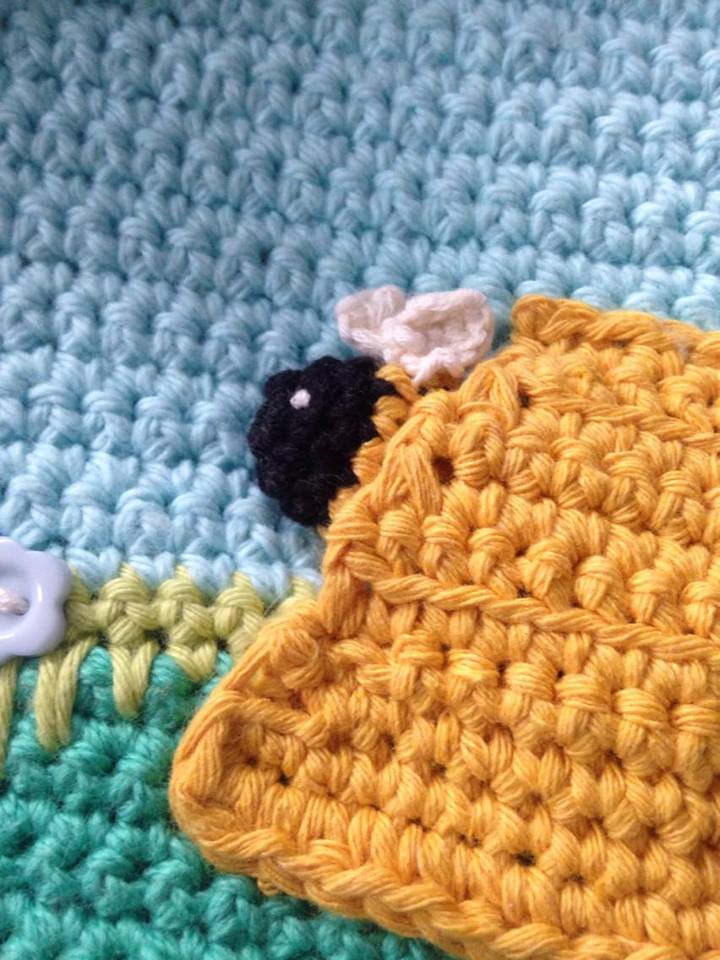 (sneak peek at current project, you can find the bee pattern at attic24 )
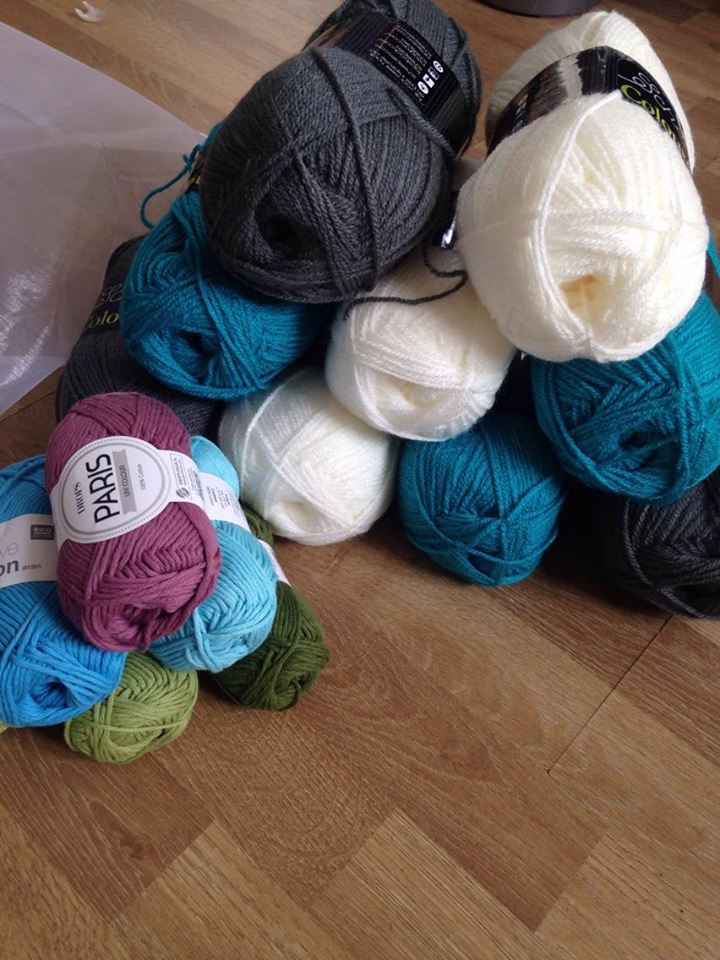 On first arrival (order from Wool Warehouse) the colours seem brighter then stylecraft special DK yarn it also is a lot softer then the stylecraft yarn, so for a special baby blanket that isn’t going to break the bank it seems like a good choice, I will be making a simple zig zag crochet blanket with it, will update as I go.


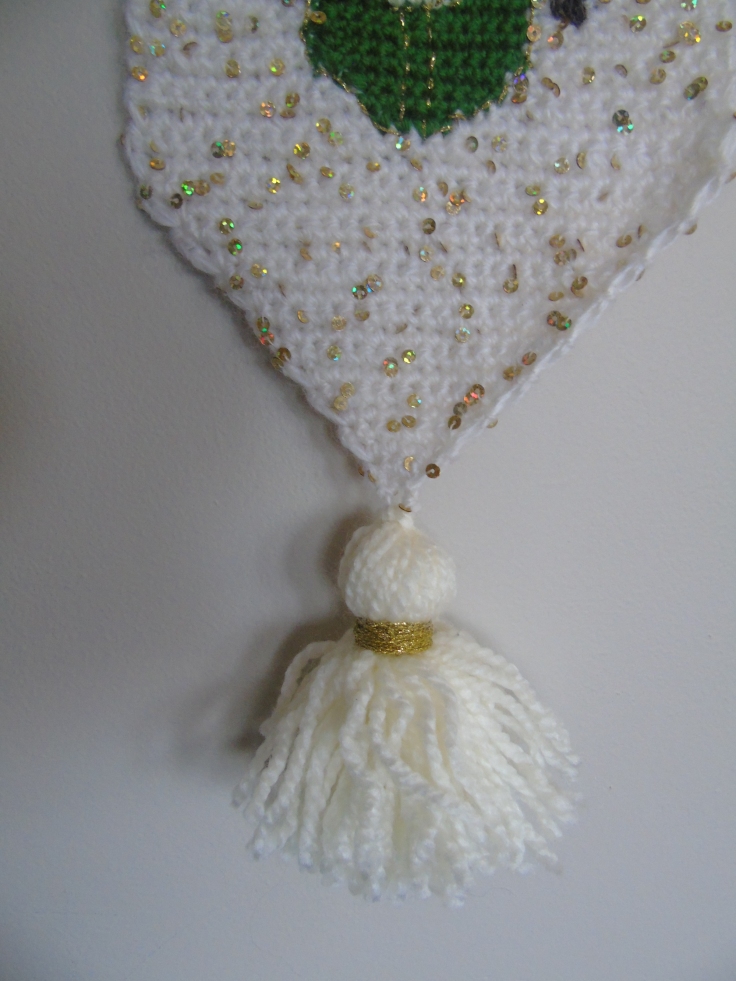
 When I had finished, I used some gold thread to go around the book for an edging and binding type effect.